


笔者环境
- OS:windows11
- Python:3.10.6
- CUDA11.6
所需环境
安装kohya_ss
方式一:带有GUI的kohya_ss仓库
1、克隆该项目仓库
地址
该项目为 kohya-ss的sd-scripts提供了一个以 Windows 为中心的 Gradio GUI,可以方便的进行参数的预设。
2、双击项目根目录下的 setup.bat
Warning: Python version 3.10.9 is recommended.
=============================================================
Modules installed outside the virtual environment were found.
This can cause issues. Please review the installed modules.

You can uninstall all local modules with:

deactivate
pip freeze > uninstall.txt
pip uninstall -y -r uninstall.txt
=============================================================
Do you want to continue?

[1] - Yes
[2] - No
# 选择1
Enter your choice (1 or 2): 1

Please choose the version of torch you want to install:
[1] - v1 (torch 1.12.1) (Recommended for best compatibility)
[2] - v2 (torch 2.0.0) (Experimental, faster but more prone to issues)

# 这一步选择1,也就是非torch2.0版本,因为Windows目前(2023-06-04)不支持torch2.0中的一些方法的使用,比如torch.compile。如果选择安装torch2.0,那么在训练过程中可能出现错误:RuntimeError:windows not yet supportted torch.compile
Enter your choice (1 or 2):1

# 等该torch下载完成
Looking in indexes: https://mirrors.cloud.tencent.com/pypi/simple, https://download.pytorch.org/whl/cu116
Collecting torch==1.12.1+cu116
  Downloading https://download.pytorch.org/whl/cu116/torch-1.12.1%2Bcu116-cp310-cp310-win_amd64.whl (2388.4 MB)
     ━━━━━━━━━━━━━━━━━━━━━━━━━━━━━━━━━━━━━━━╺ 2.4/2.4 GB 6.6 MB/s eta 0:00:05
......
#如果 从github下载xformers时太慢了,此时可以直接关掉这个cmd了
 Downloading https://github.com/C43H66N12O12S2/stable-diffusion-webui/releases/download/f/xformers-0.0.14.dev0-cp310-cp310-win_amd64.whl (184.3 MB)
     ━━━━━━━━━╺━━━━━━━━━━━━━━━━━━━━━━━━━━━━━━ 43.7/184.3 MB 28.0 kB/s eta 1:23:47
# 然后,重新进入项目根目录下,通过pip命令手动下载xformers,并且加一个代理,这样我这里十几秒就可以下载完成了
PS D:\AI\sd\kohya_ss> .\venv\Scripts\activate
(venv) PS D:\AI\sd\kohya_ss> pip install -U -I --no-deps https://ghproxy.com/https://github.com/C43H66N12O12S2/stable-diffusion-webui/releases/download/f/xformers-0.0.14.dev0-cp310-cp310-win_amd64.whl
Looking in indexes: https://mirrors.cloud.tencent.com/pypi/simple
Collecting xformers==0.0.14.dev0
  Downloading https://ghproxy.com/https://github.com/C43H66N12O12S2/stable-diffusion-webui/releases/download/f/xformers-0.0.14.dev0-cp310-cp310-win_amd64.whl (184.3 MB)
     ━━━━━━━━━━━━━━━━━━━━━━━╸━━━━━━━━━━━━━━━━ 110.4/184.3 MB 6.7 MB/s eta 0:00:11
# 等xformers下载完成后关掉当前cmd,再次双击项目根目录下的 setup.bat,之后的两个步骤还和上面一样,都选择 1


In which compute environment are you running?
Please select a choice using the arrow or number keys, and selecting with enter
# 选择第一项(直接回车)
 * This machine
    AWS (Amazon SageMaker)
 Which type of machine are you using?

# 选择第一项(直接回车)
Please select a choice using the arrow or number keys, and selecting with enter
 * No distributed training
    multi-CPU
    multi-GPU
    TPU
    MPS

# 选择NO,然后回车
Do you want to run your training on CPU only (even if a GPU is available)? [yes/NO]:NO

# 选择NO,然后回车
Do you wish to optimize your script with torch dynamo?[yes/NO]:NO

# 选择NO,然后回车
Do you want to use DeepSpeed? [yes/NO]: NO

# 输入0,然后回车,也就是使用第一张显卡,如果输入all,可能会在训练过程中报错:ValueError: fp16 mixed precision requires a GPU
What GPU(s) (by id) should be used for training on this machine as a comma-seperated list? [all]:0
------------------------------------------------------------------------------------------------------------------------

# 选择fp16,如果键盘上下键不起作用,则敲数字键盘上的 1,然后回车
Do you wish to use FP16 or BF16 (mixed precision)?
Please select a choice using the arrow or number keys, and selecting with enter
 * no
    fp16
    bf16
3、 NVIDIA 30X0/40X0系列显卡
NVIDIA 30X0/40X0系列显卡可以额外安装 CUDNN 8.6 ,它允许更大的训练批量和更快的训练速度(该作者说:在 4090 GPU 上几乎提高 50%的样本生成速度)。
首先在项目根目录下新建文件夹 cudnn_windows(只用于临时存放下载的依赖库),然后执行以下命令
PS D:\AI\sd\kohya_ss> .\venv\Scripts\activate
(venv) PS D:\AI\sd\kohya_ss> python .\tools\cudann_1.8_install.py
[ ] xformers version 0.0.14.dev0 installed.
[+] bitsandbytes version 0.35.0 installed.
[ ] diffusers version 0.10.2 installed.
[+] transformers version 4.26.0 installed.
[+] torch version 1.12.1+cu116 installed.
[+] torchvision version 0.13.1+cu116 installed.
Checking for CUDNN files in D:\AI\sd\kohya_ss\venv\Lib\site-packages\torch\lib
Copied CUDNN 8.6 files to destination
至此安装完成!
4、运行项目
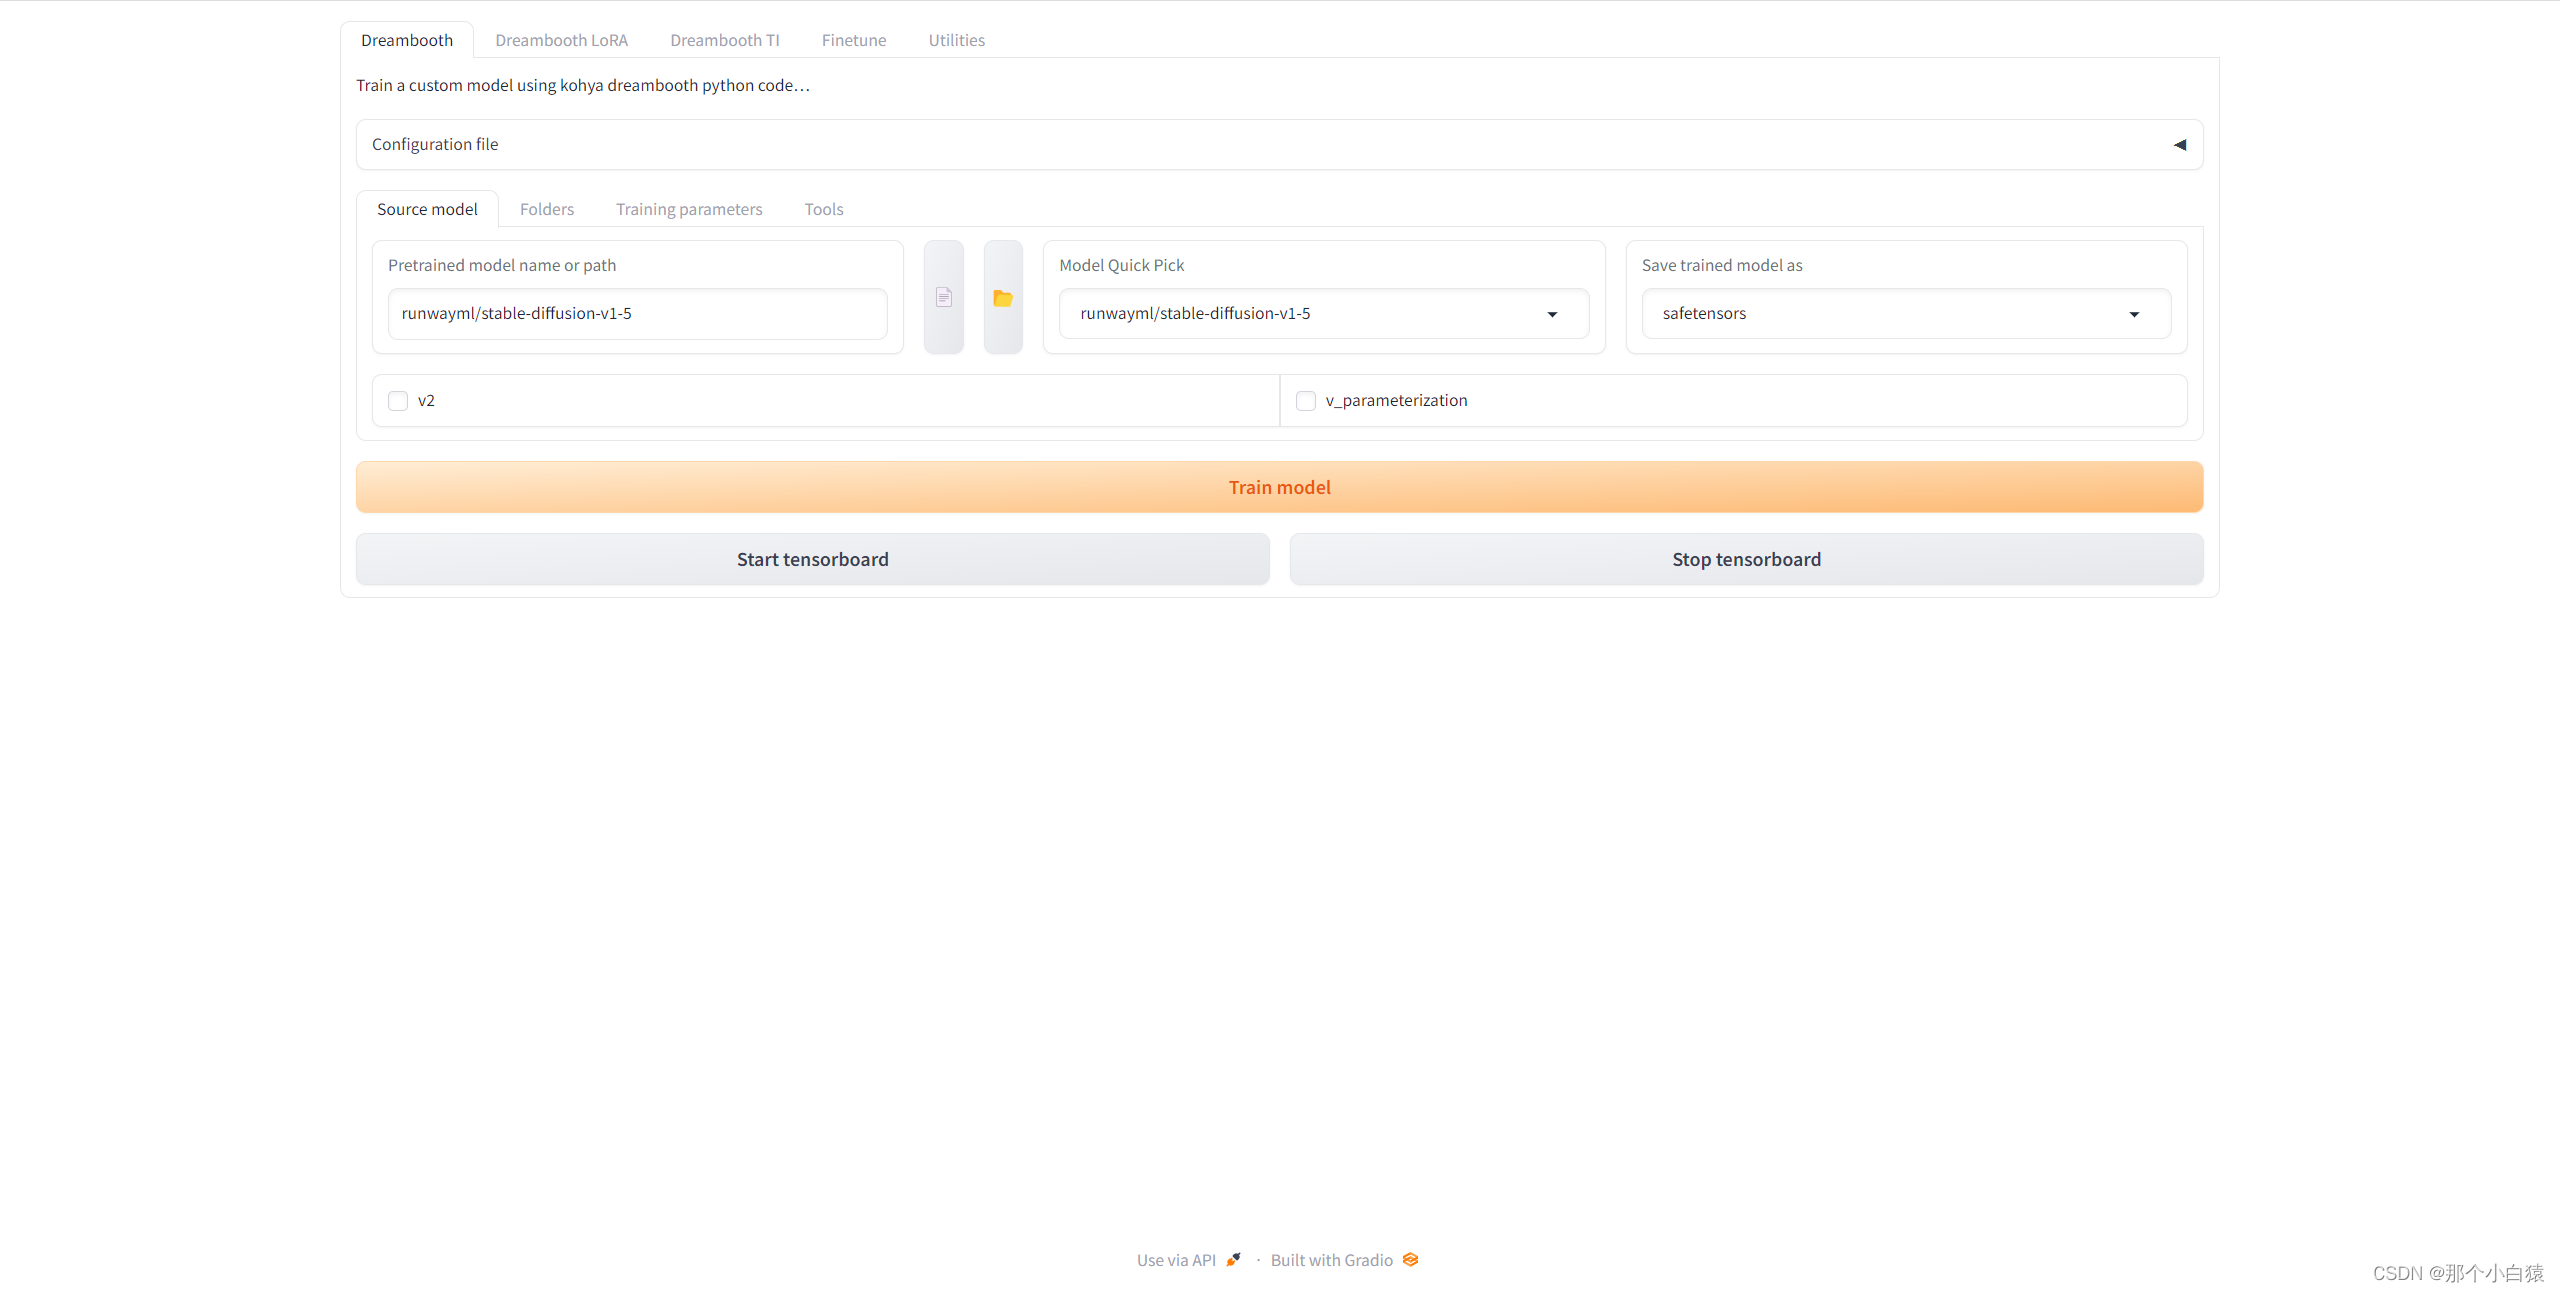
进入项目根目录下双击gui.bat,等待控制台出现地址http://127.0.0.1:7860/,即可在浏览器中访问该地址进行训练
方式二:kohya_ss核心仓库
地址
该仓库包含稳定扩散模型的训练、生成和实用脚本。该仓库没有供用户直接使用的GUI界面,而是通过python编码来进行使用。
1、创建python虚拟环境
进入项目根目录下
PS D:\AI\sd\sd-scripts> python -m venv venv
PS D:\AI\sd\sd-scripts> .\venv\Scripts\activate
# 需要更改执行策略
.\venv\Scripts\activate : 无法加载文件 D:\AI\sd\sd-scripts\venv\Scripts\Activate.ps1,因为在此系统上禁止运行脚本。有关
详细信息,请参阅 https:/go.microsoft.com/fwlink/?LinkID=135170 中的 about_Execution_Policies。
所在位置 行:1 字符: 1
+ .\venv\Scripts\activate
+ ~~~~~~~~~~~~~~~~~~~~~~~
    + CategoryInfo          : SecurityError: (:) [],PSSecurityException
    + FullyQualifiedErrorId : UnauthorizedAccess
更改执行策略
以管理员身份运行windows的power shell
PS C:\Windows\system32> set-ExecutionPolicy RemoteSigned

执行策略更改
执行策略可帮助你防止执行不信任的脚本。更改执行策略可能会产生安全风险,如 https:/go.microsoft.com/fwlink/?LinkID=135170
中的 about_Execution_Policies 帮助主题所述。是否要更改执行策略?
[Y] 是(Y)  [A] 全是(A)  [N] 否(N)  [L] 全否(L)  [S] 暂停(S)  [?] 帮助 (默认值为“N”): Y
PS C:\Windows\system32>
2、安装依赖库
PS D:\AI\sd\sd-scripts> .\venv\Scripts\activate
# 官方建议安装cuda11.6对应的torch,否则训练过程中会有意想不到的错误产生
(venv) PS D:\AI\sd\sd-scripts> pip install torch==1.12.1+cu116 torchvision==0.13.1+cu116 --extra-index-url https://download.pytorch.org/whl/cu116

# 安装必要依赖包
(venv) PS D:\AI\sd\sd-scripts> pip install --upgrade -r requirements.txt

# 安装xformers
(venv) PS D:\AI\sd\sd-scripts> pip install -U -I --no-deps https://ghproxy.com/https://github.com/C43H66N12O12S2/stable-diffusion-webui/releases/download/f/xformers-0.0.14.dev0-cp310-cp310-win_amd64.whl

# 拷贝一些必要依赖到当前python虚拟环境中
(venv) PS D:\AI\sd\sd-scripts> cp .\bitsandbytes_windows\*.dll .\venv\Lib\site-packages\bitsandbytes\
(venv) PS D:\AI\sd\sd-scripts> cp .\bitsandbytes_windows\cextension.py .\venv\Lib\site-packages\bitsandbytes\cextension.py
(venv) PS D:\AI\sd\sd-scripts> cp .\bitsandbytes_windows\main.py .\venv\Lib\site-packages\bitsandbytes\cuda_setup\main.py

# 选择一些加速训练的配置
(venv) PS D:\AI\sd\sd-scripts> accelerate config
------------------------------------------------------------------------------------------------------------------------In which compute environment are you running?
This machine
------------------------------------------------------------------------------------------------------------------------Which type of machine are you using?
No distributed training
Do you want to run your training on CPU only (even if a GPU is available)? [yes/NO]:NO
Do you wish to optimize your script with torch dynamo?[yes/NO]:NO
Do you want to use DeepSpeed? [yes/NO]: NO
# 这里输入0,也就是使用第一张显卡
What GPU(s) (by id) should be used for training on this machine as a comma-seperated list? [all]:0
-----------------------------------------------------------------------------------------------------------------------
Do you wish to use FP16 or BF16 (mixed precision)?
# 选择fp16,如果键盘上下键不起作用,则敲数字键盘上的 1,然后回车
Please select a choice using the arrow or number keys, and selecting with enter
 * no
    fp16
    bf16
accelerate configuration saved at C:\Users\/.cache\huggingface\accelerate\default_config.yaml
至此安装完成!
题外话
此外,想创建一个微信群大家交流学习。入群需要遵守规定:
禁止有关包括但不限于政治、色情、宗教类等违法中华人民共和国法律的消息;
禁止广告;
禁止私自加群友;
群友一切的损失由自己承担,应当提高警惕,不要轻信他人!!!
个人微信:INYOURWORLDWITHME(加群备注:AI绘画)


 4218
4218

 被折叠的 条评论
为什么被折叠?
被折叠的 条评论
为什么被折叠?
 到【灌水乐园】发言


