


 本文详细介绍了如何在Windows系统上使用WePE和UltraISO将GHO格式文件转为ISO,然后在Mac系统上利用ParallelsDesktop虚拟机进行PE启动,进行分区和Ghost系统还原,最后安装Win10系统的步骤。
一、在Window系统上操作的部分
1、安装过程用到的相关文件见下面

WePE下载官网地址
Win10 Ghost系统文件下载地址
2、安装软件:UltraISO.PE_9.7.2.3561
傻瓜式一直下一步即可
3、将GHO格式文件转成ISO格式
打开刚安装的UltralISO软件后将文件拖入空白区域
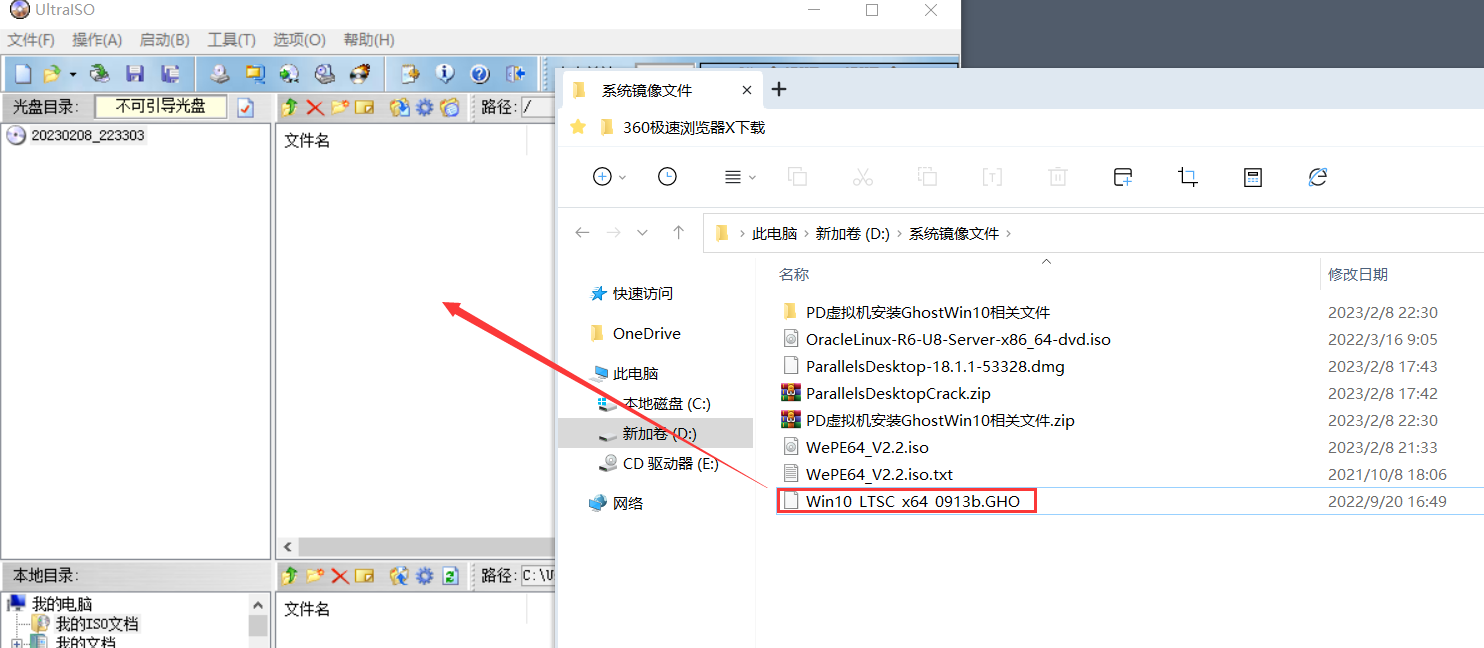
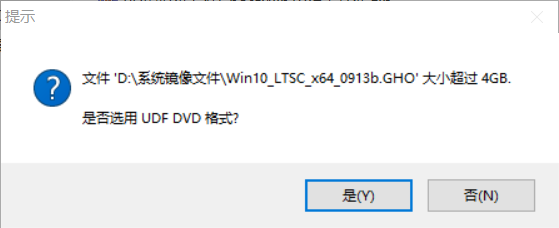
弹窗选择是
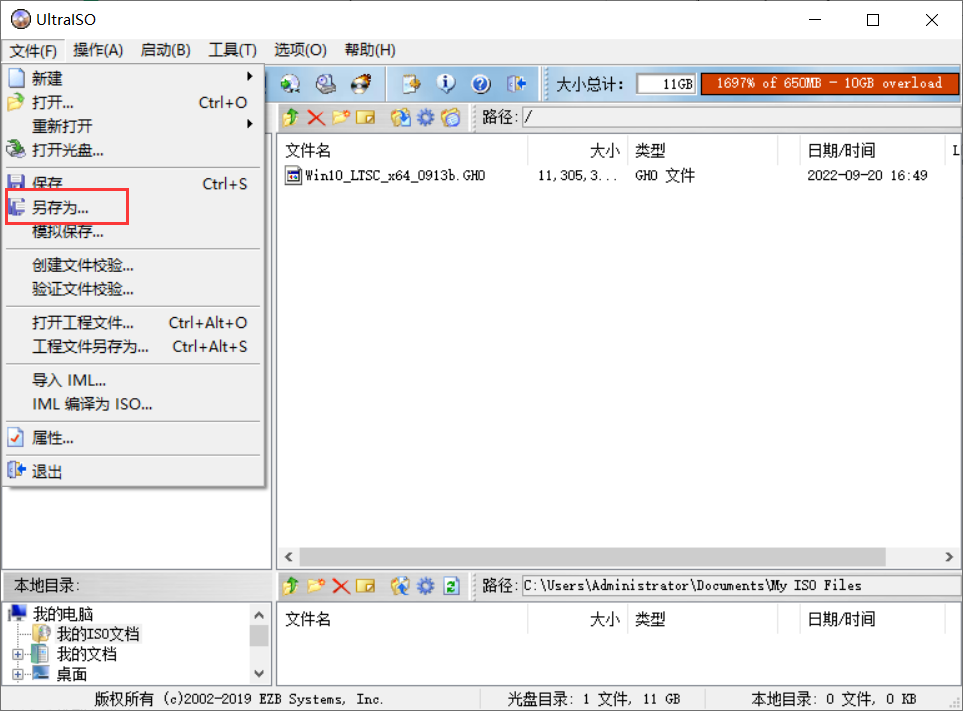
文件-另存为
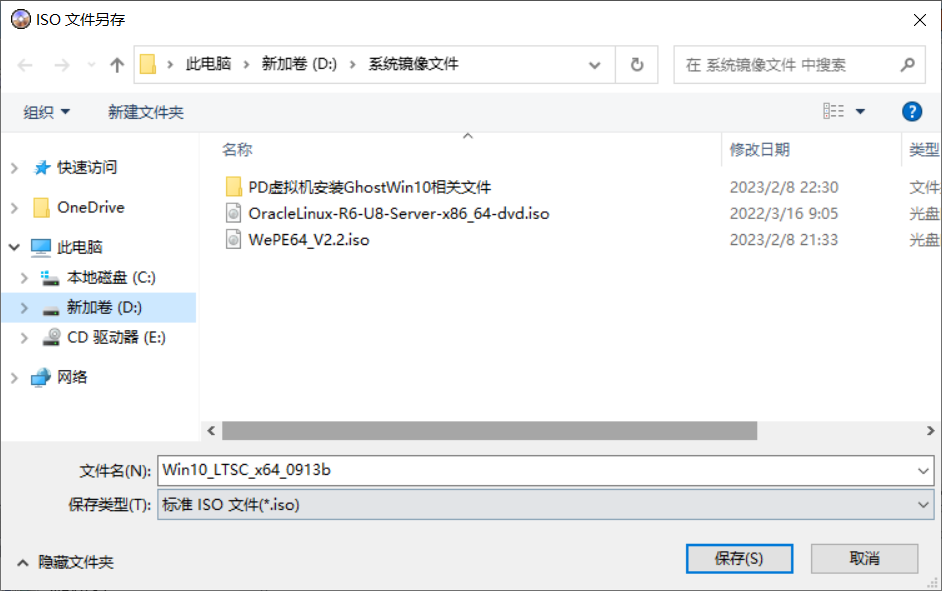
设置好ISO文件名称后点击保存
等待进度条完成

可以看到成功另存为了ISO文件
4、制作PD虚拟机可以直接引导进入PE的ISO文件
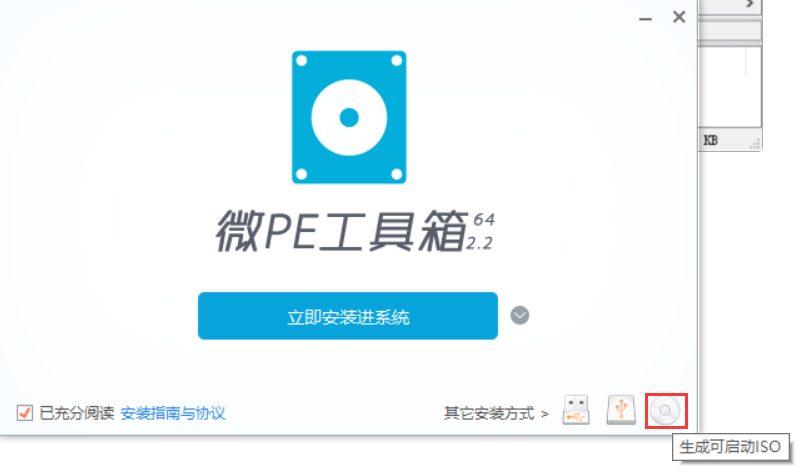
打开WePE64_V2.2软件点击光盘位置会有提示
选择文件位置,名称,勾选后点击立即生成ISO
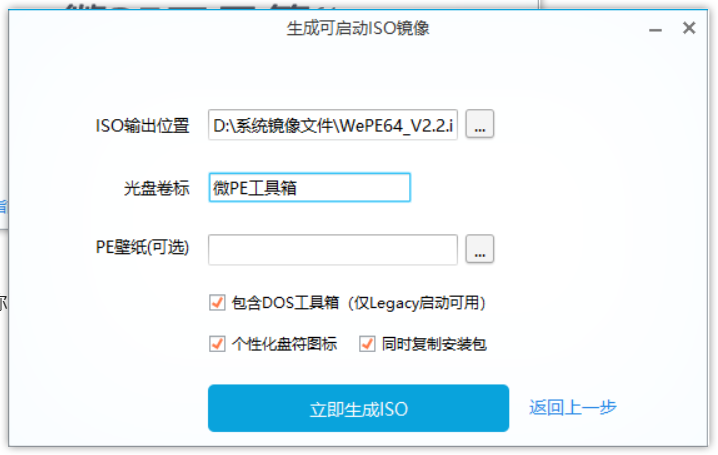
生成完成

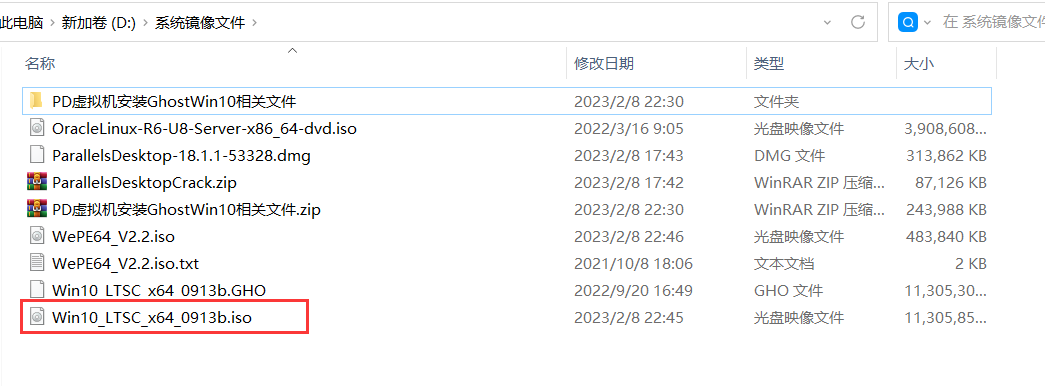
生成后的iso文件
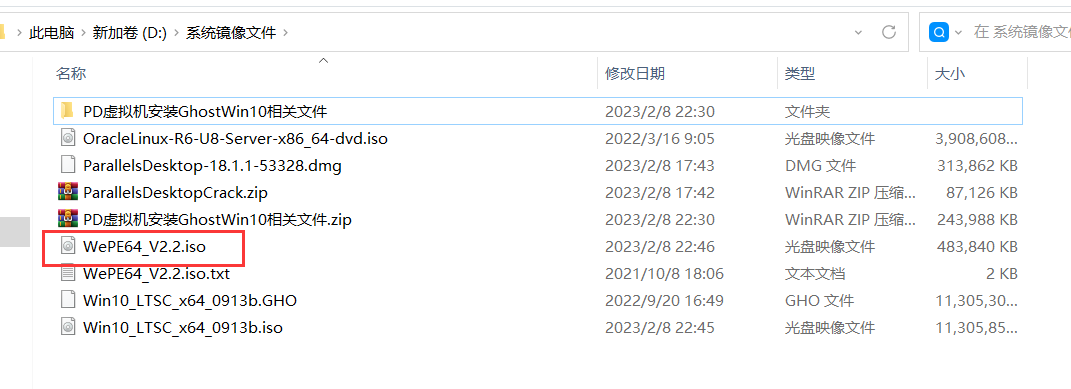
下面是上图生成好的iso文件
二、在Mac系统上操作的部分
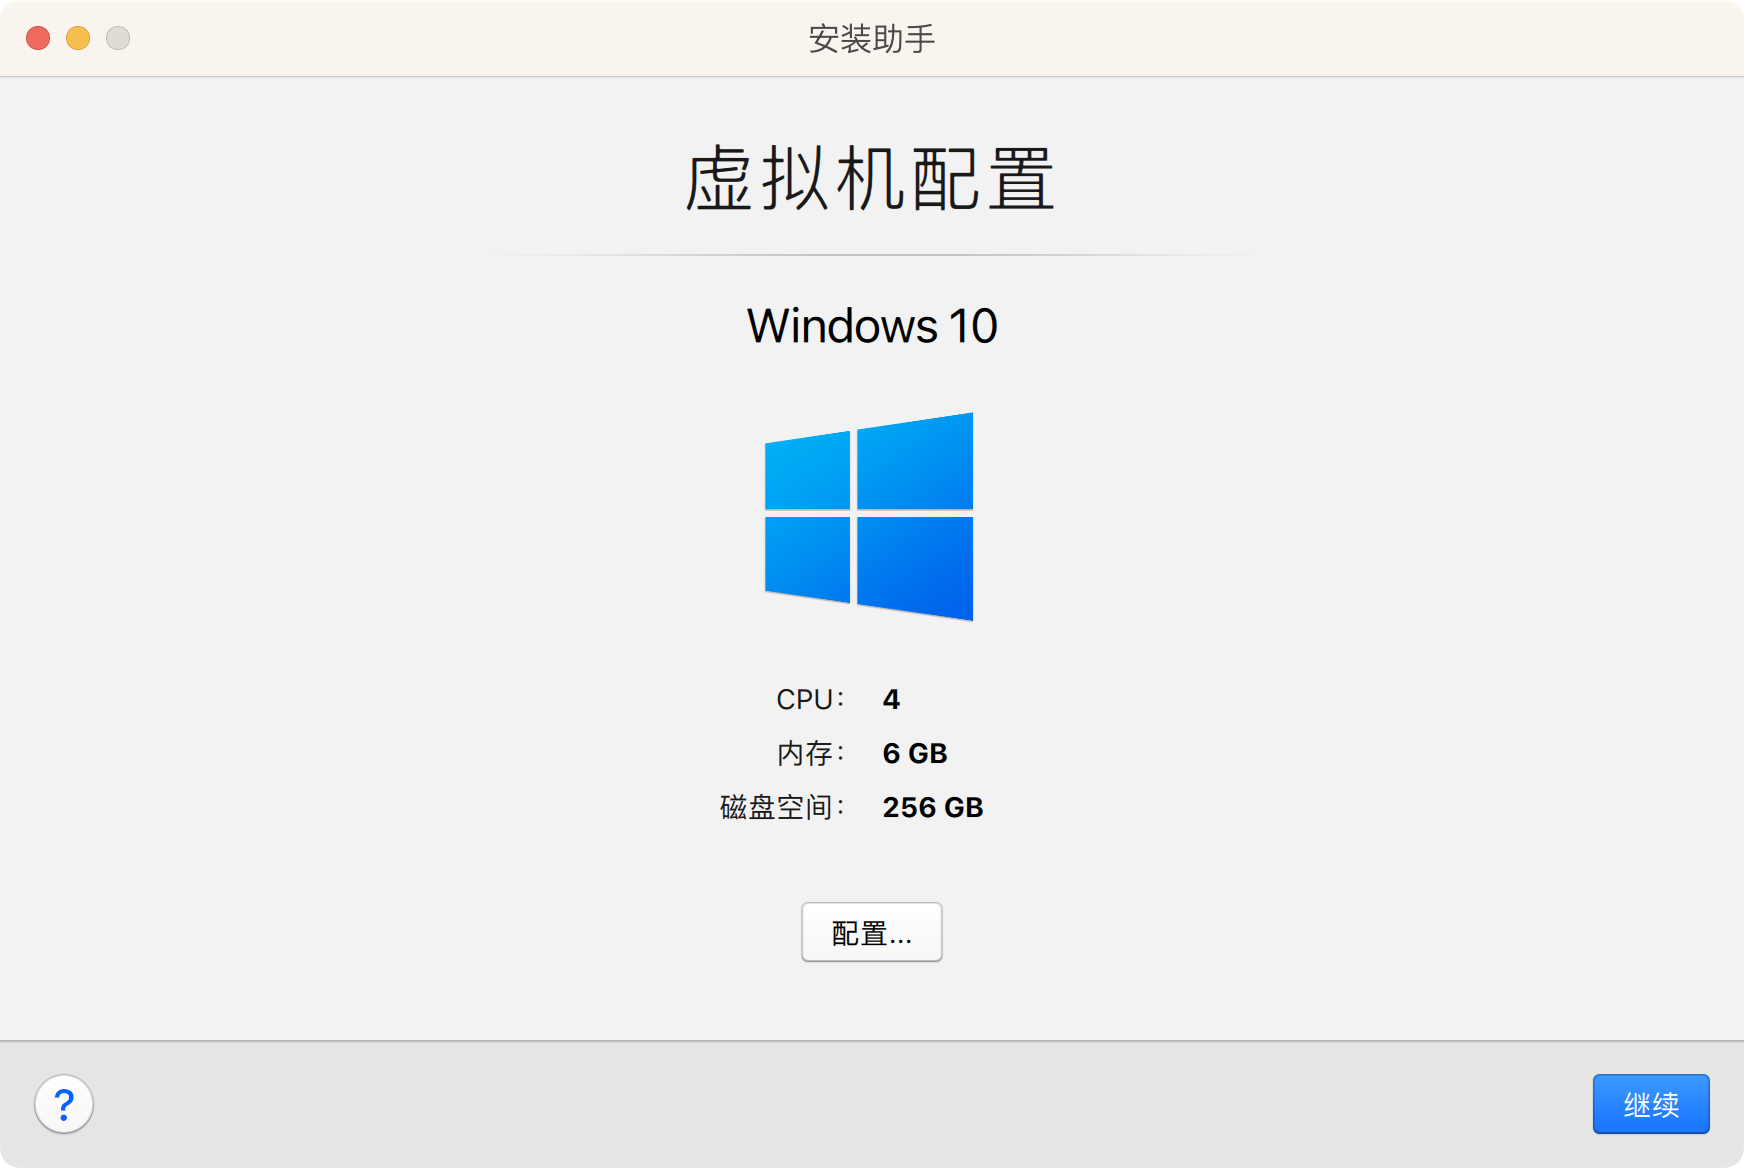
1、新建虚拟机
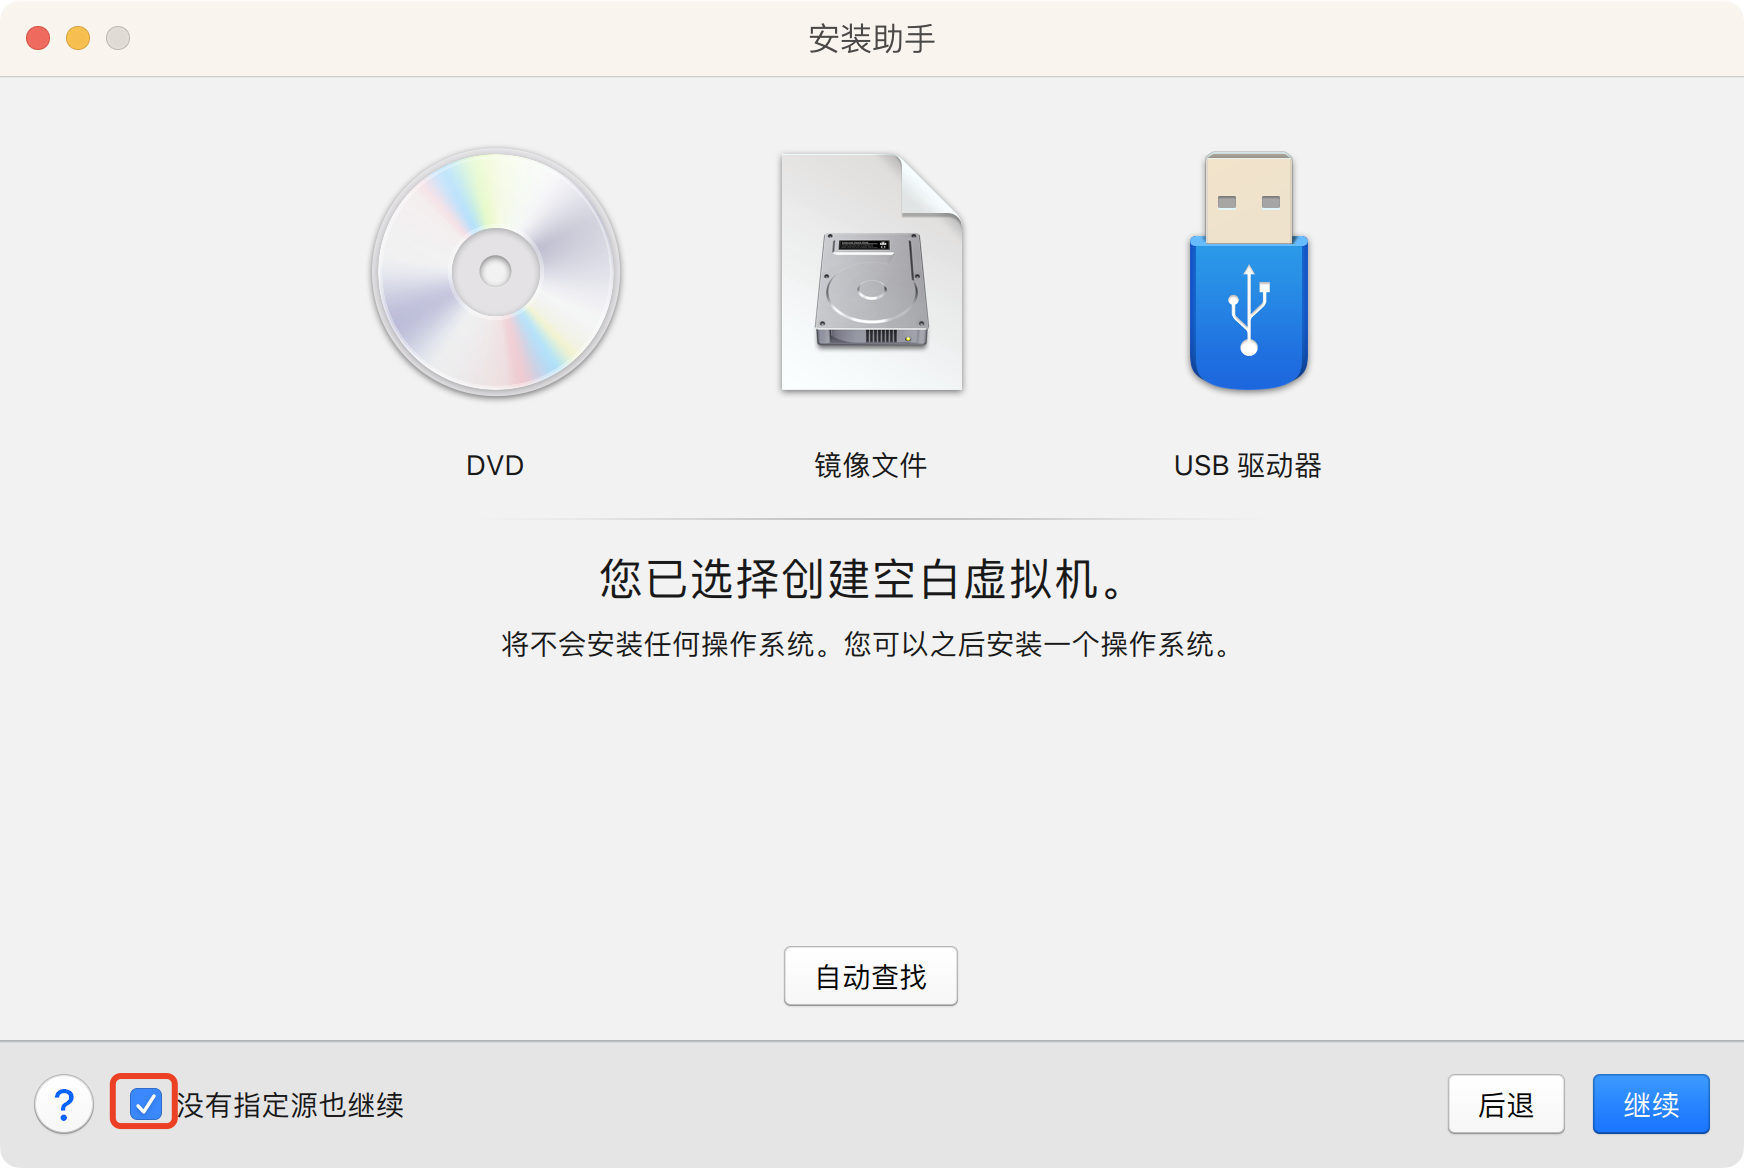
选择中间图标后点击继续

勾选没有指定源也继续按钮后点击继续
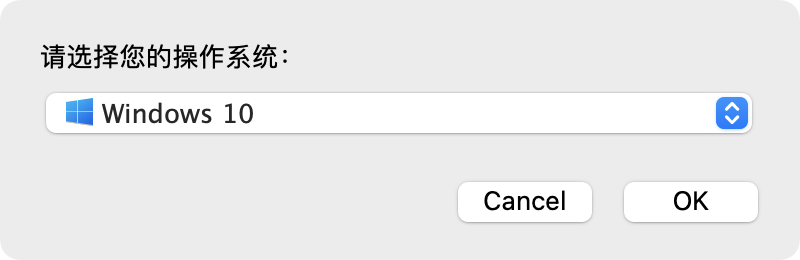
操作系统选择Win10
默认继续
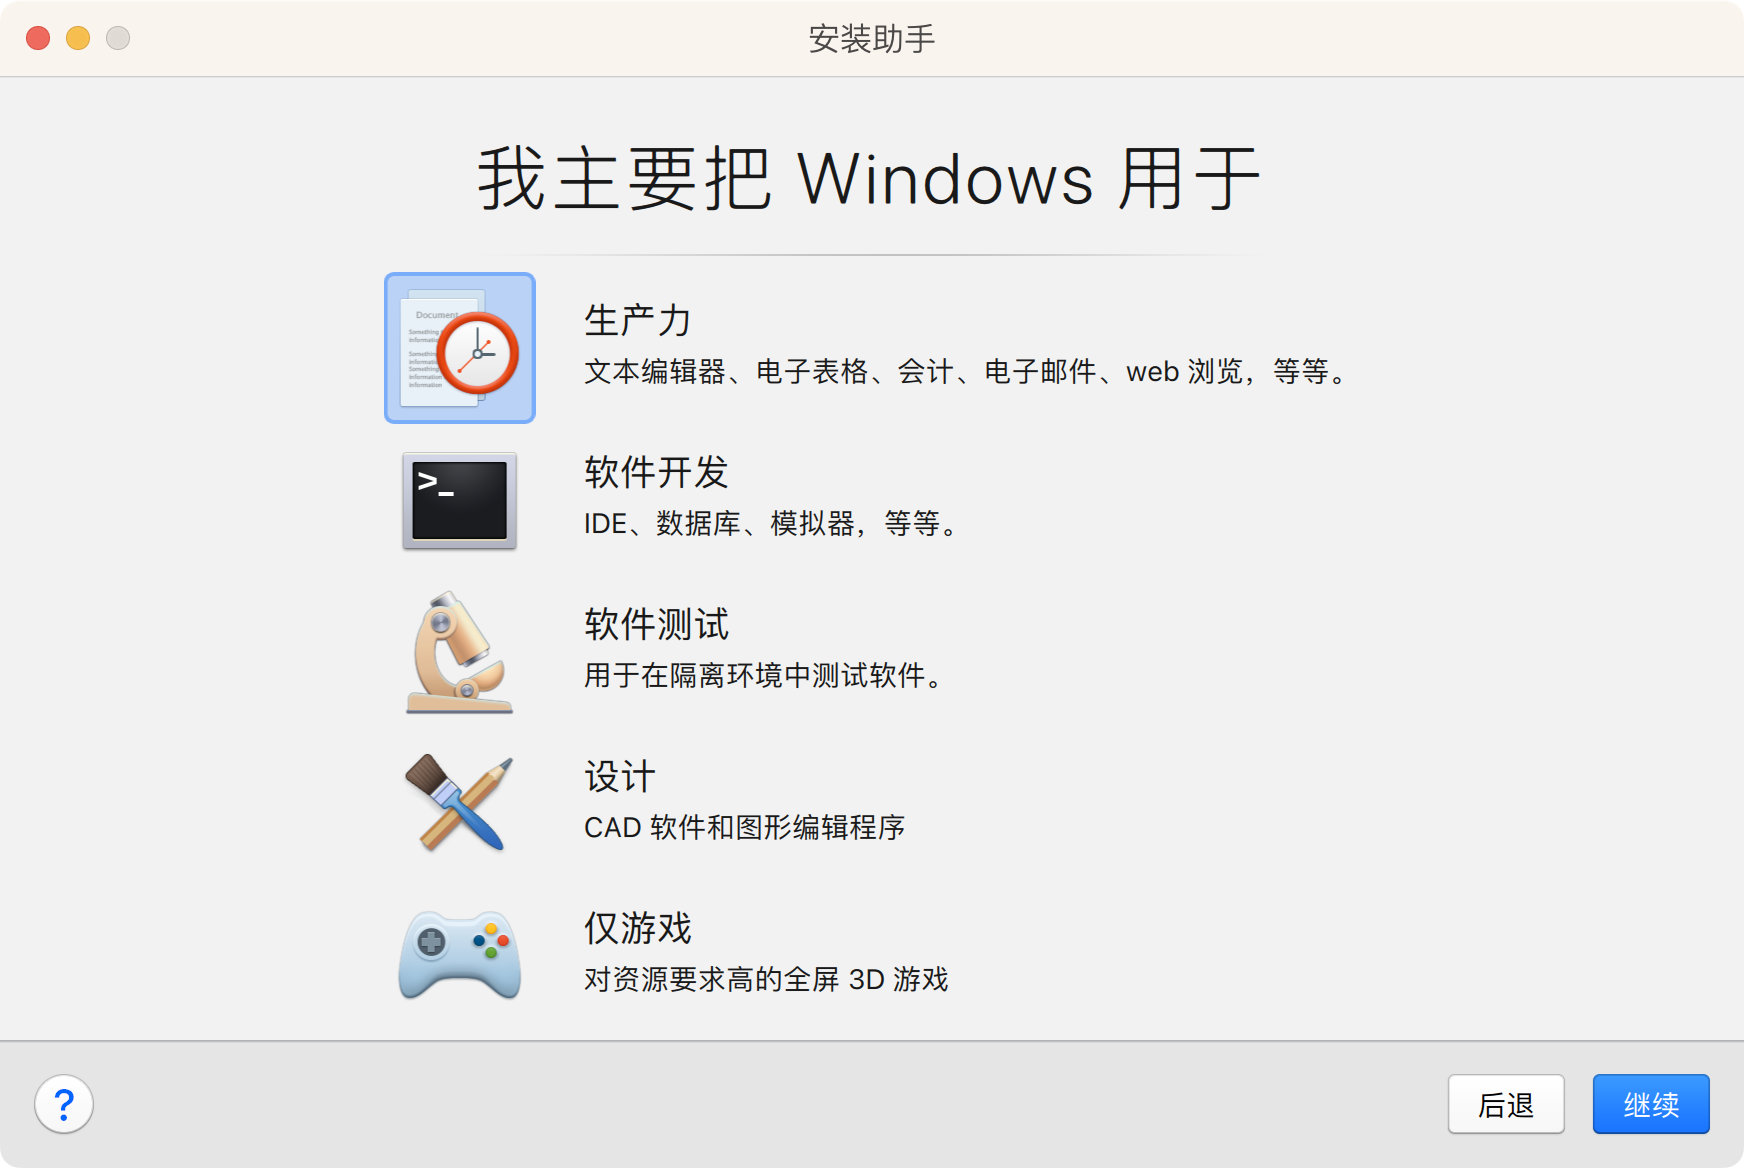
勾选后继续

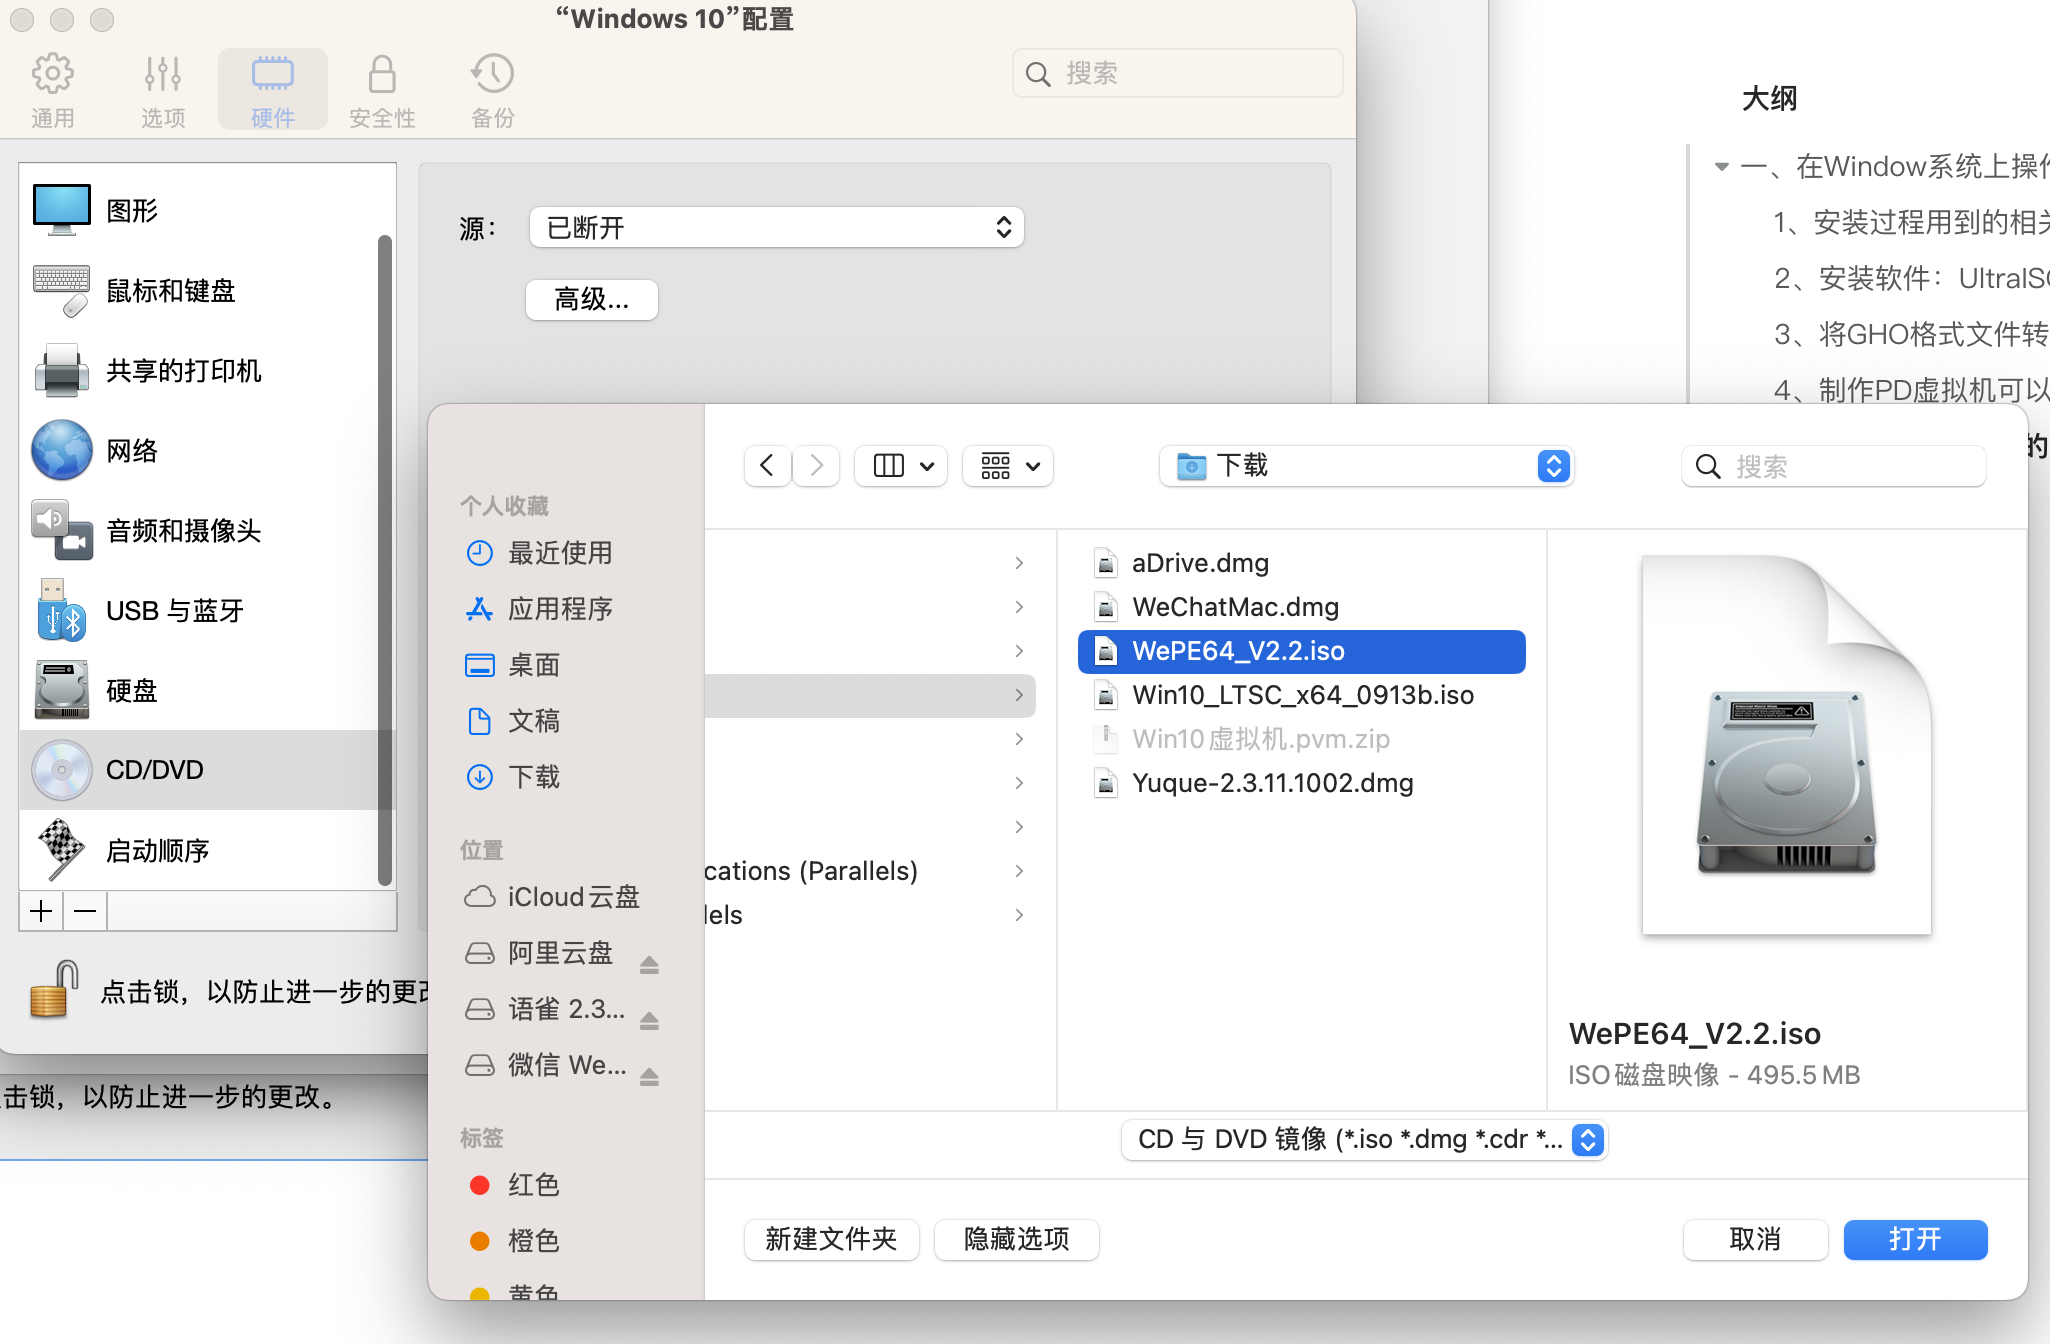
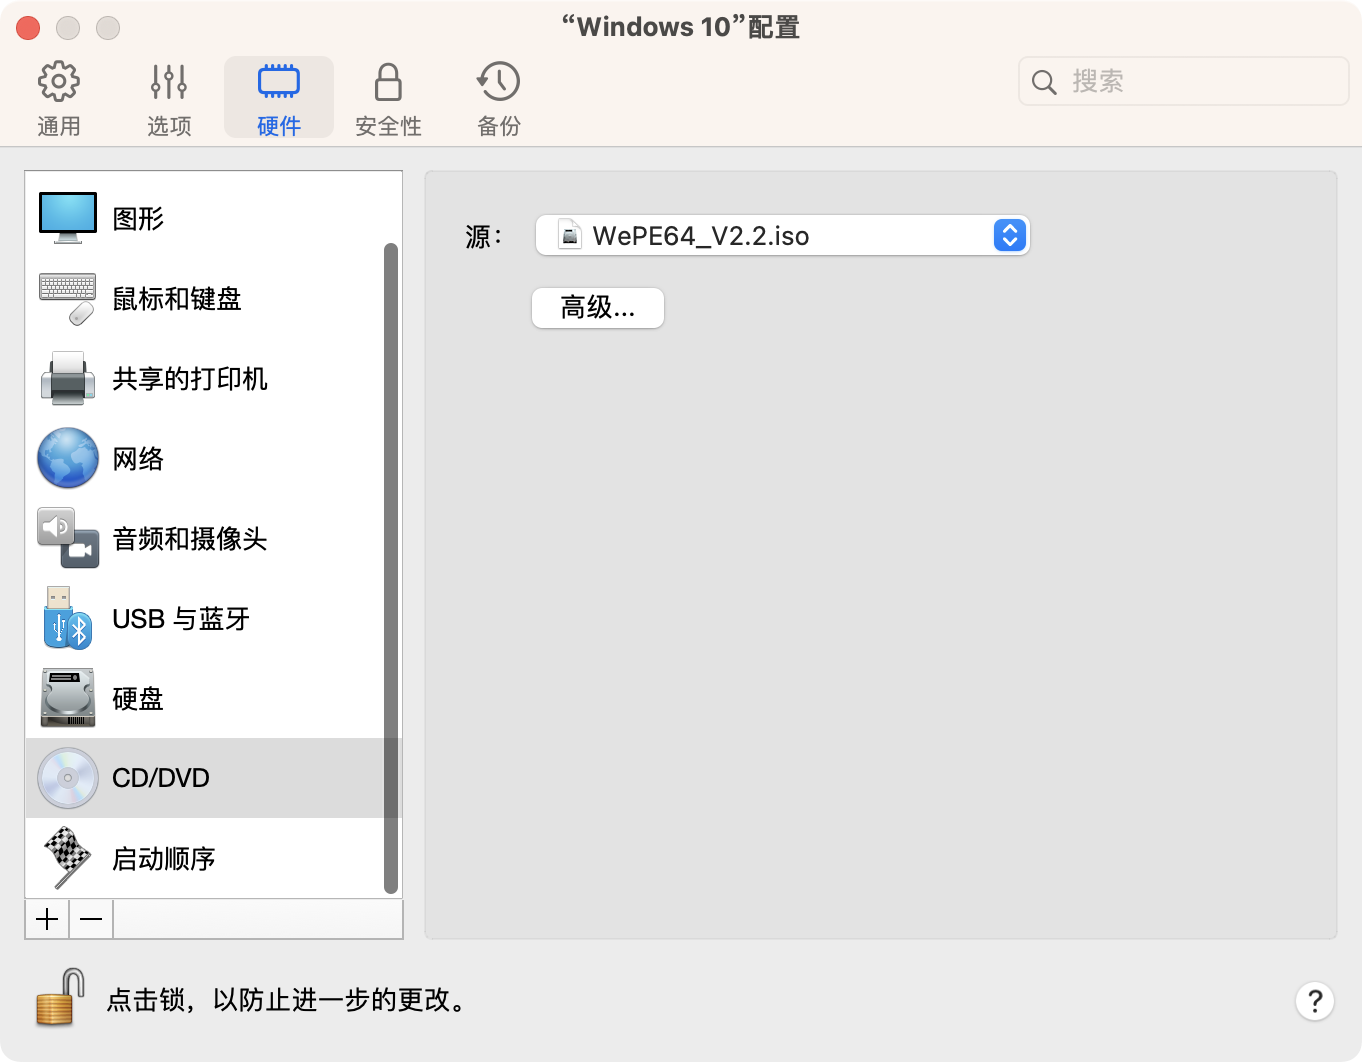
选择镜像文件
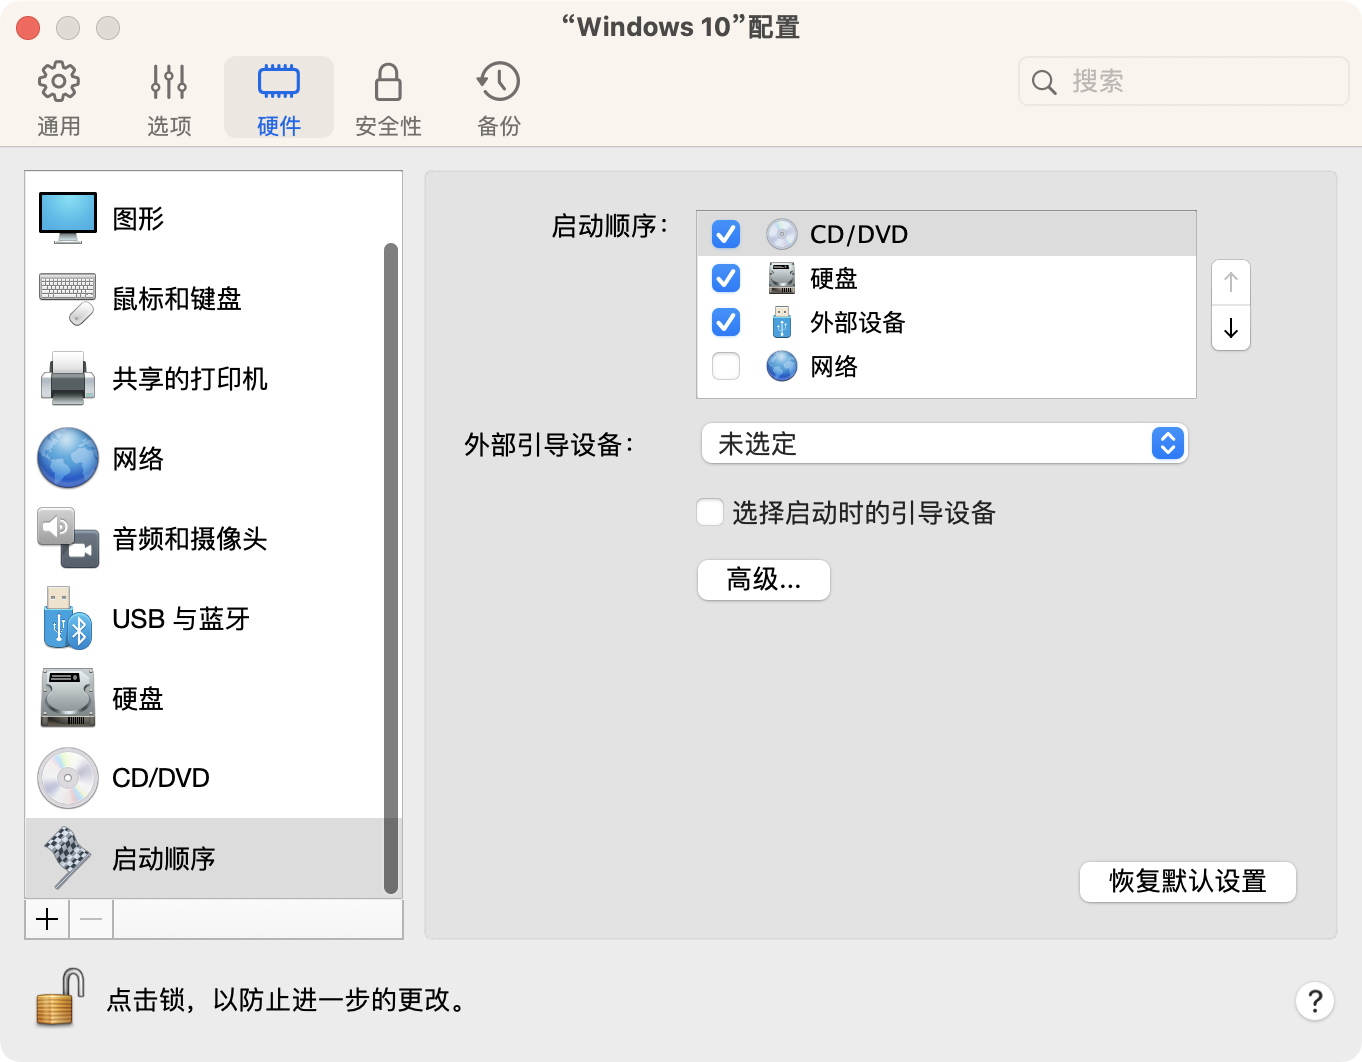
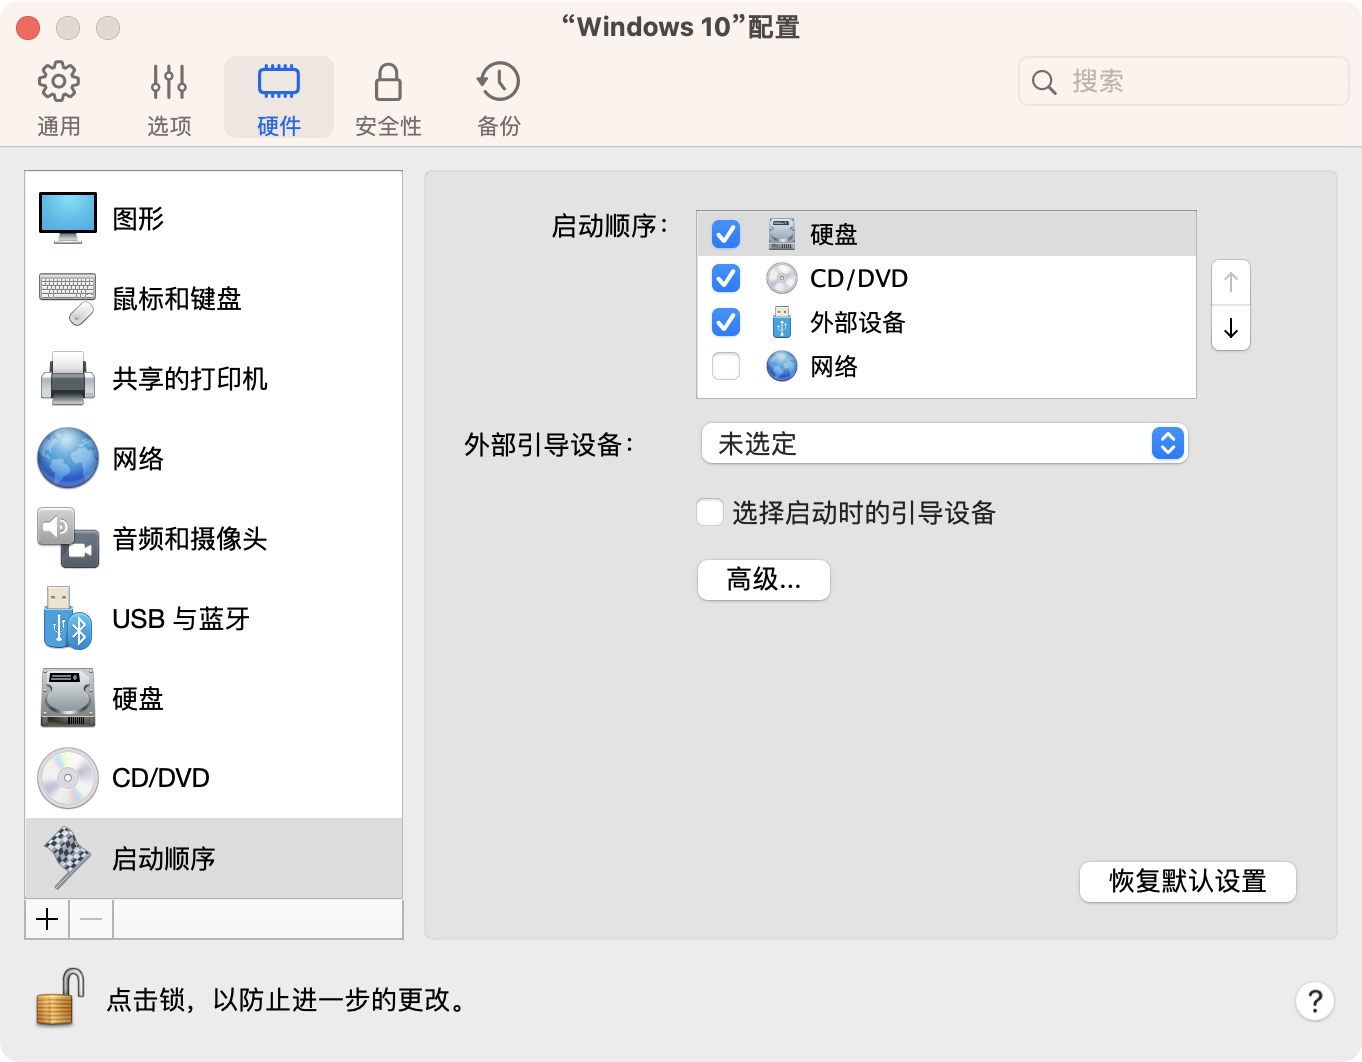
设置启动顺序
继续
2、进入PE进行分区以及Ghost系统还原
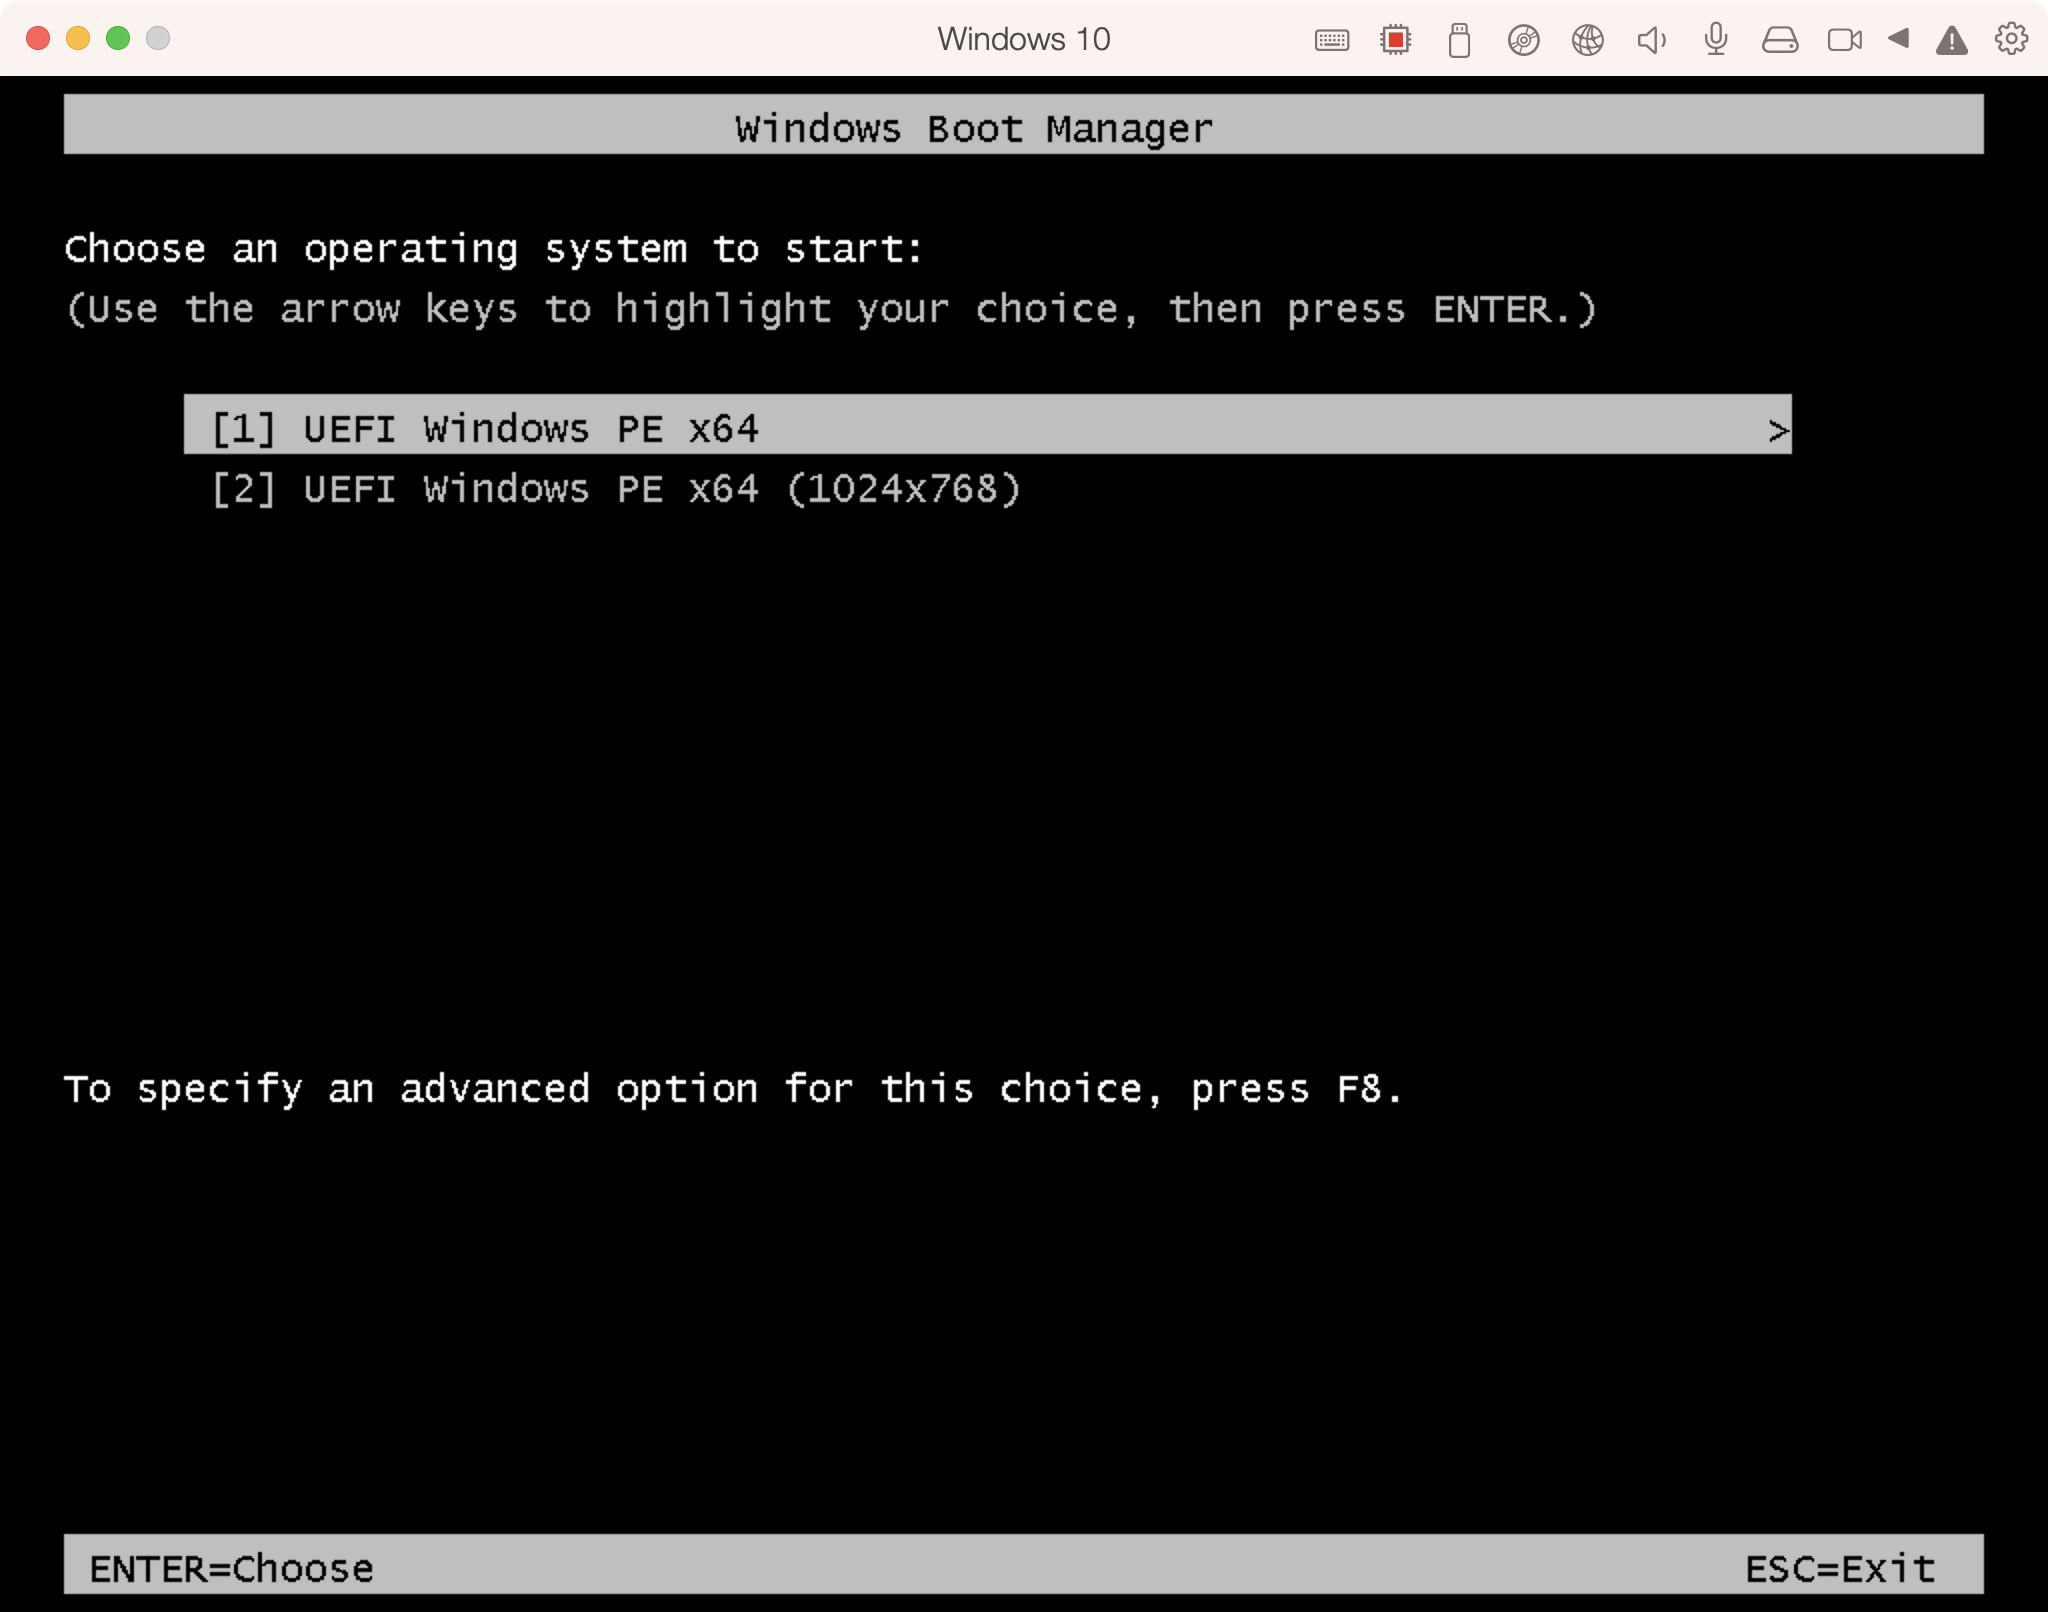
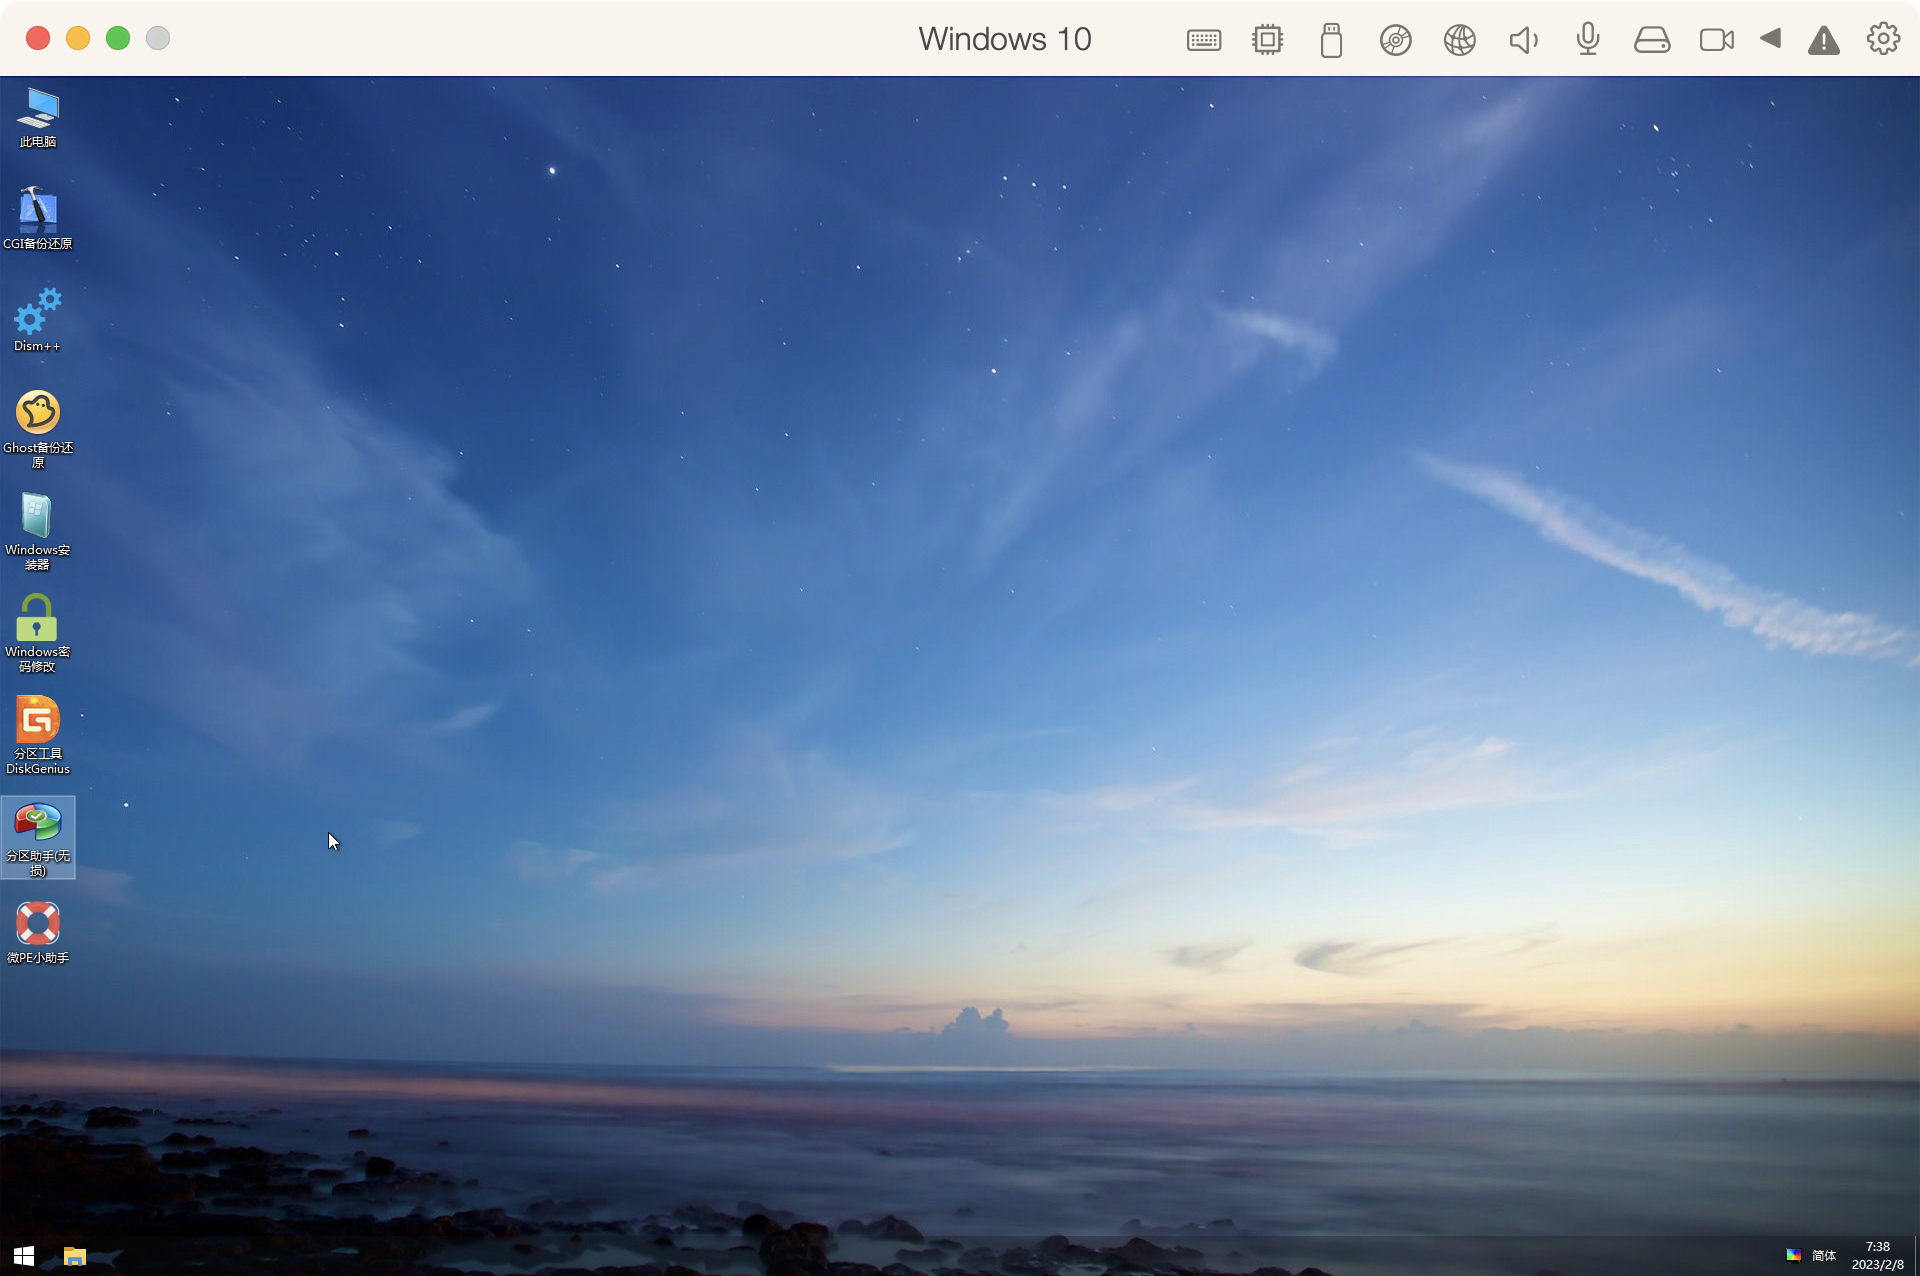
默认回车进入PE
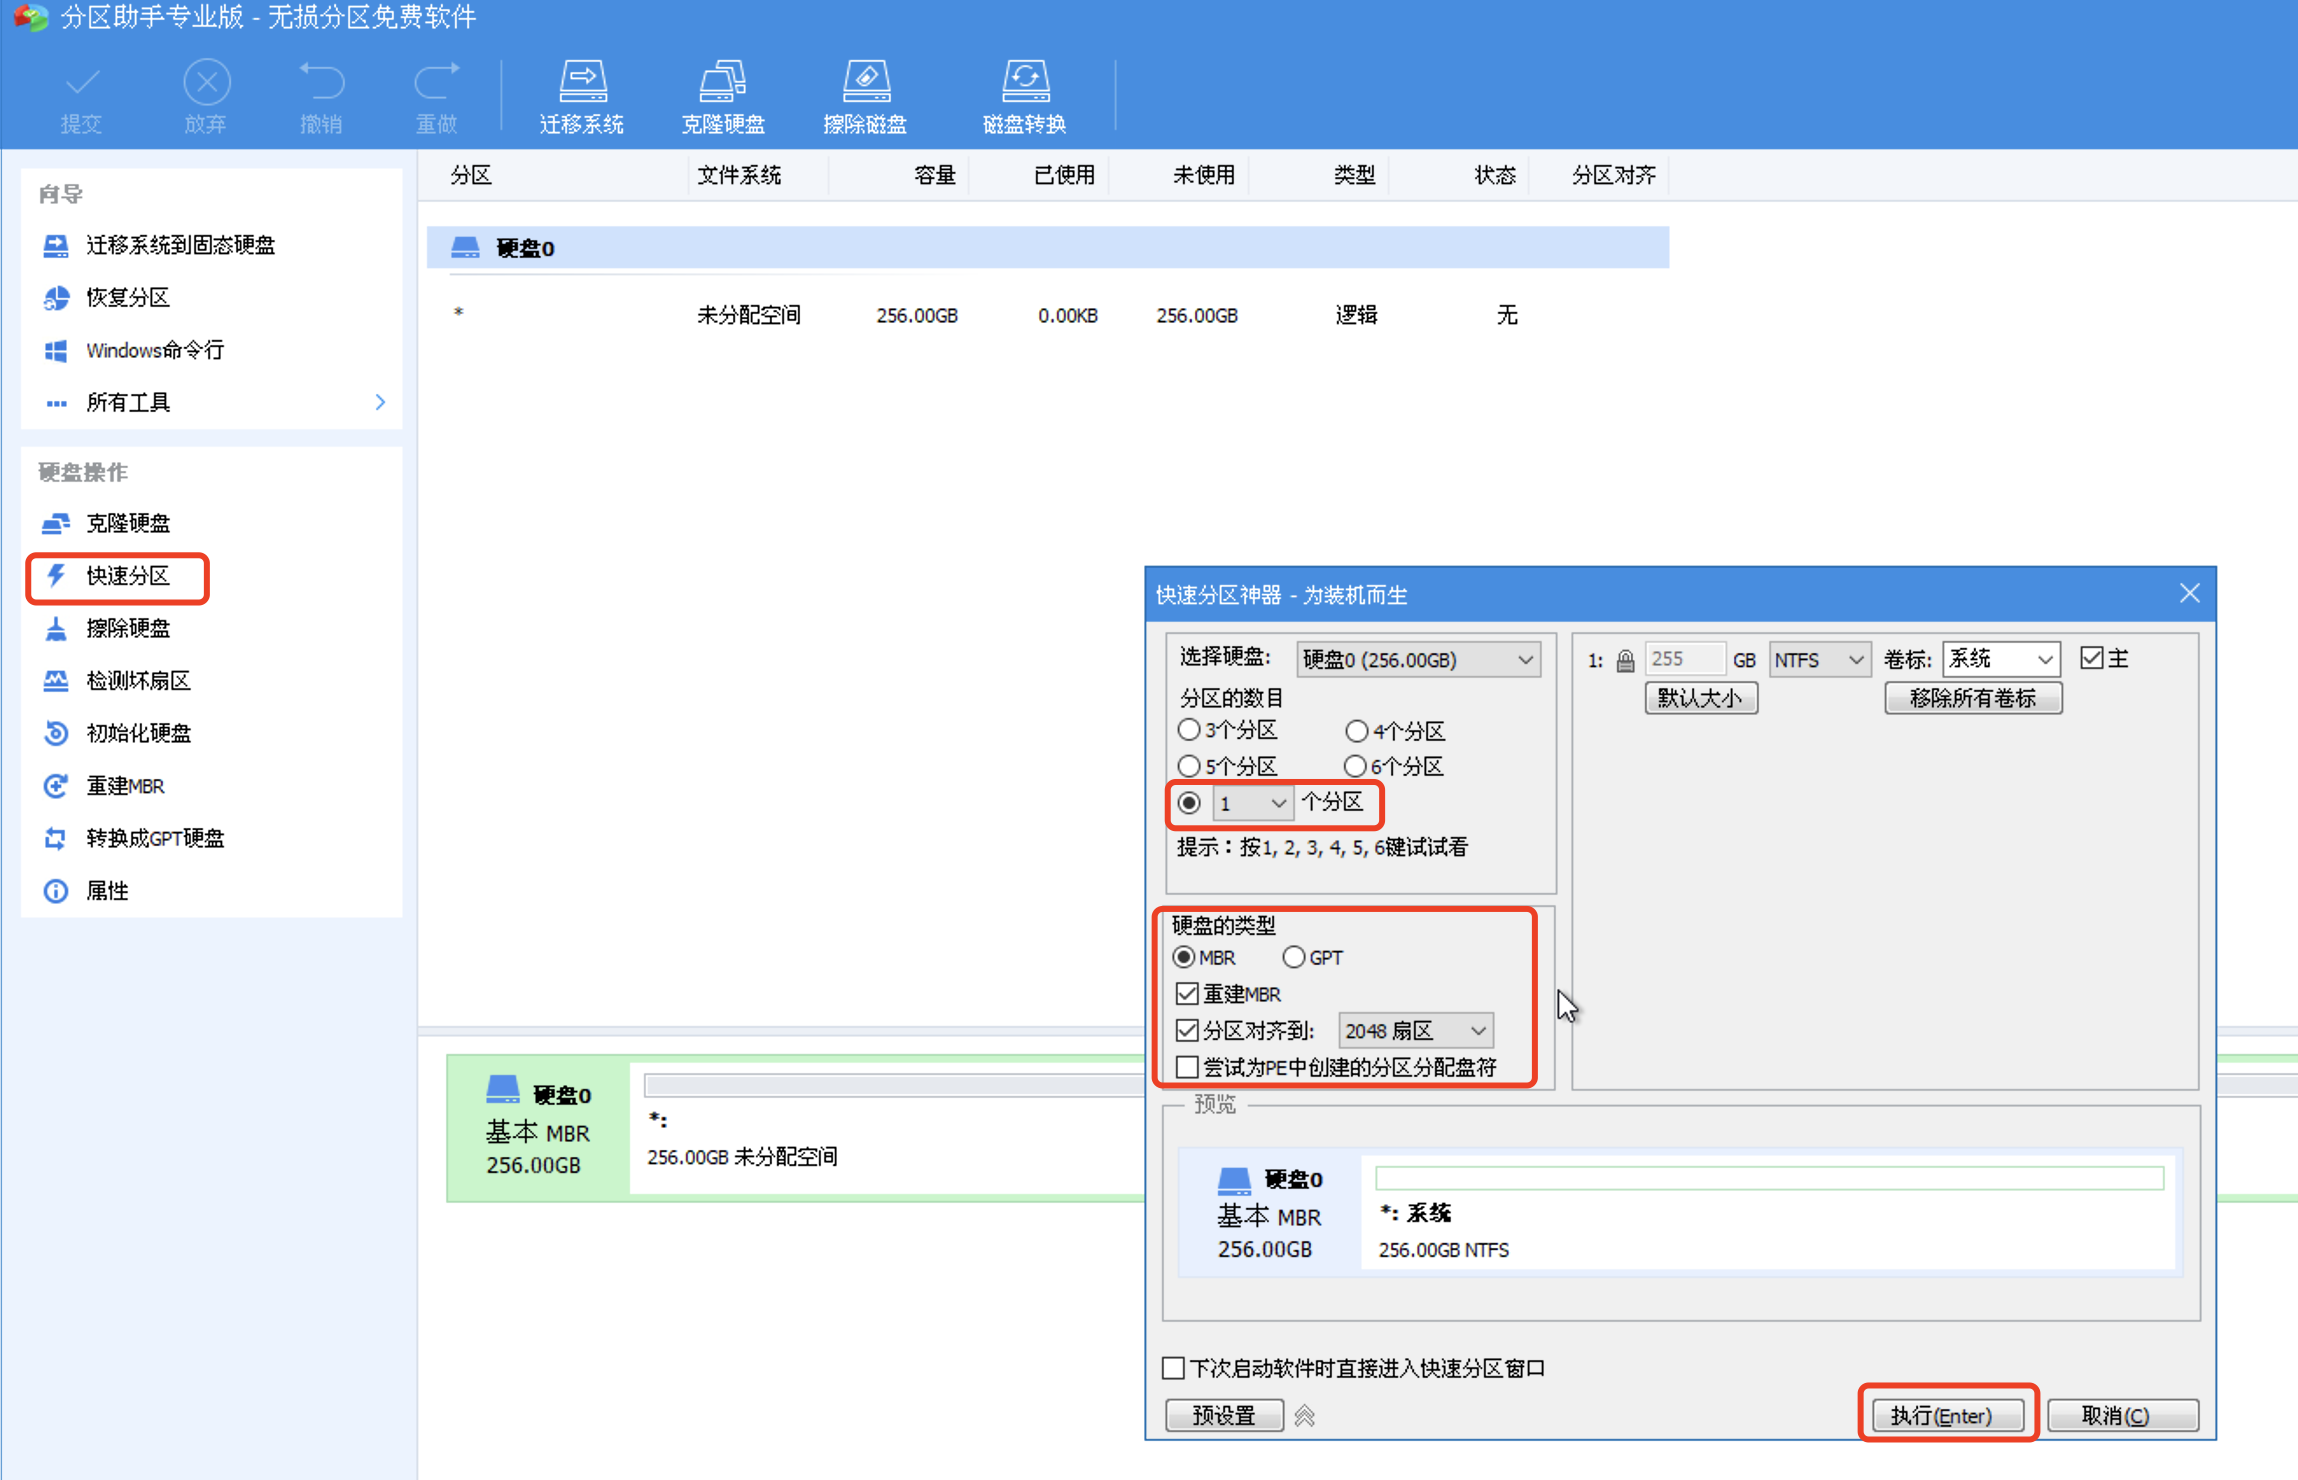
打开桌面上的分区助手
设置好分区信息后点击执行
注意硬盘类型必须选择MBR
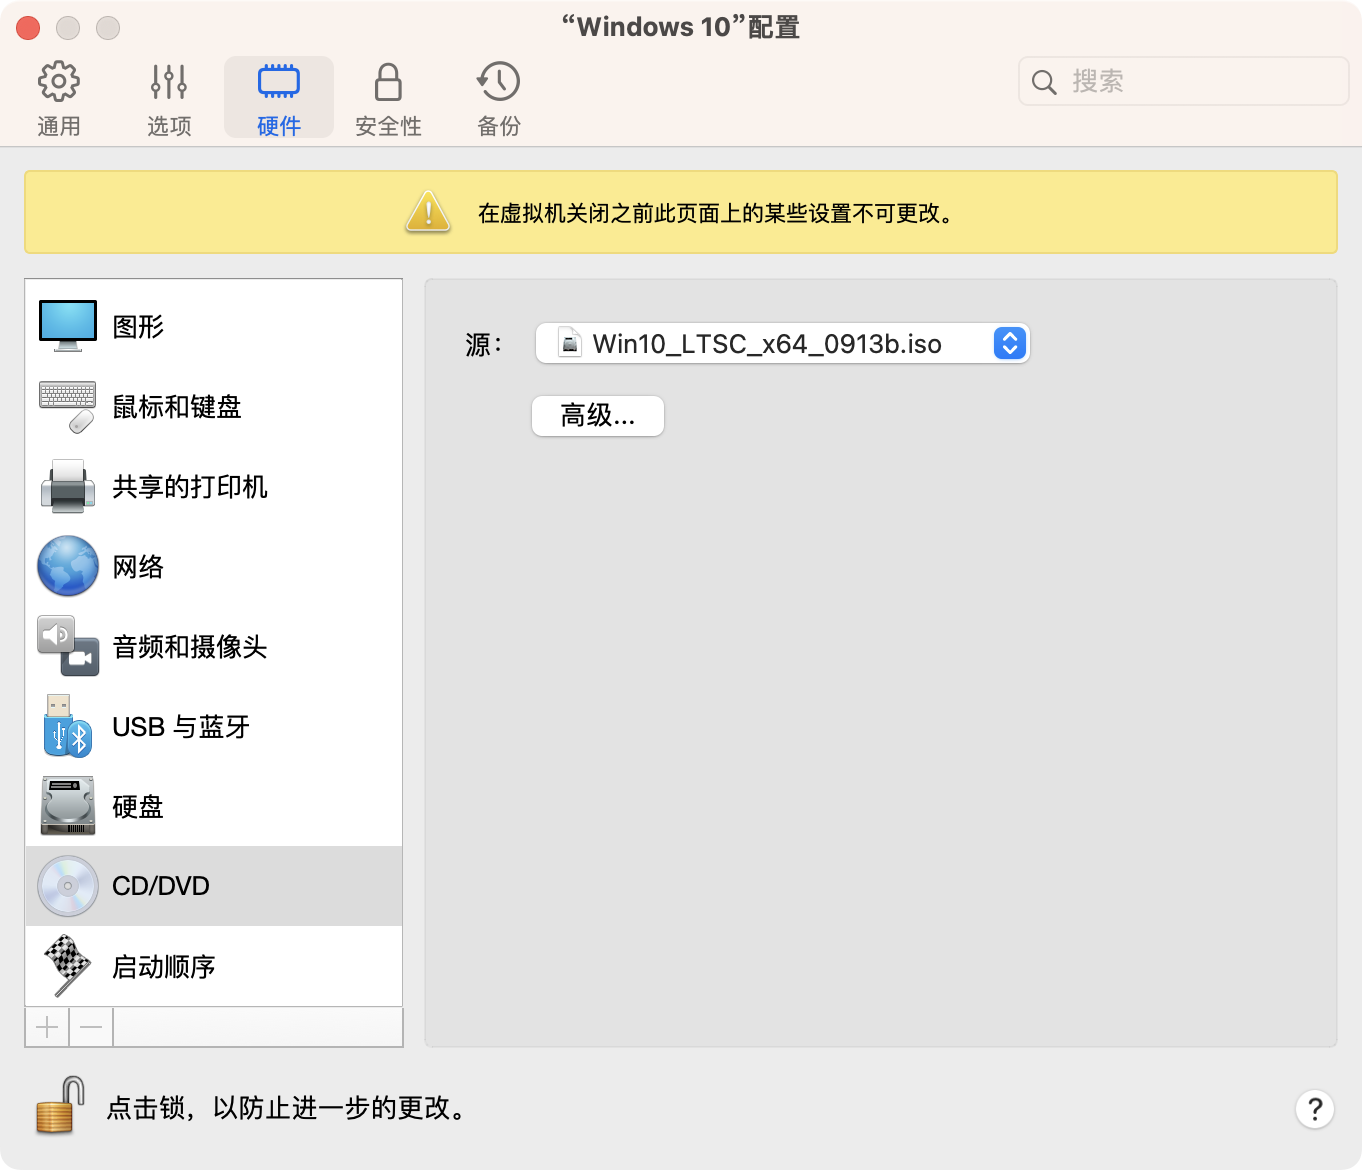
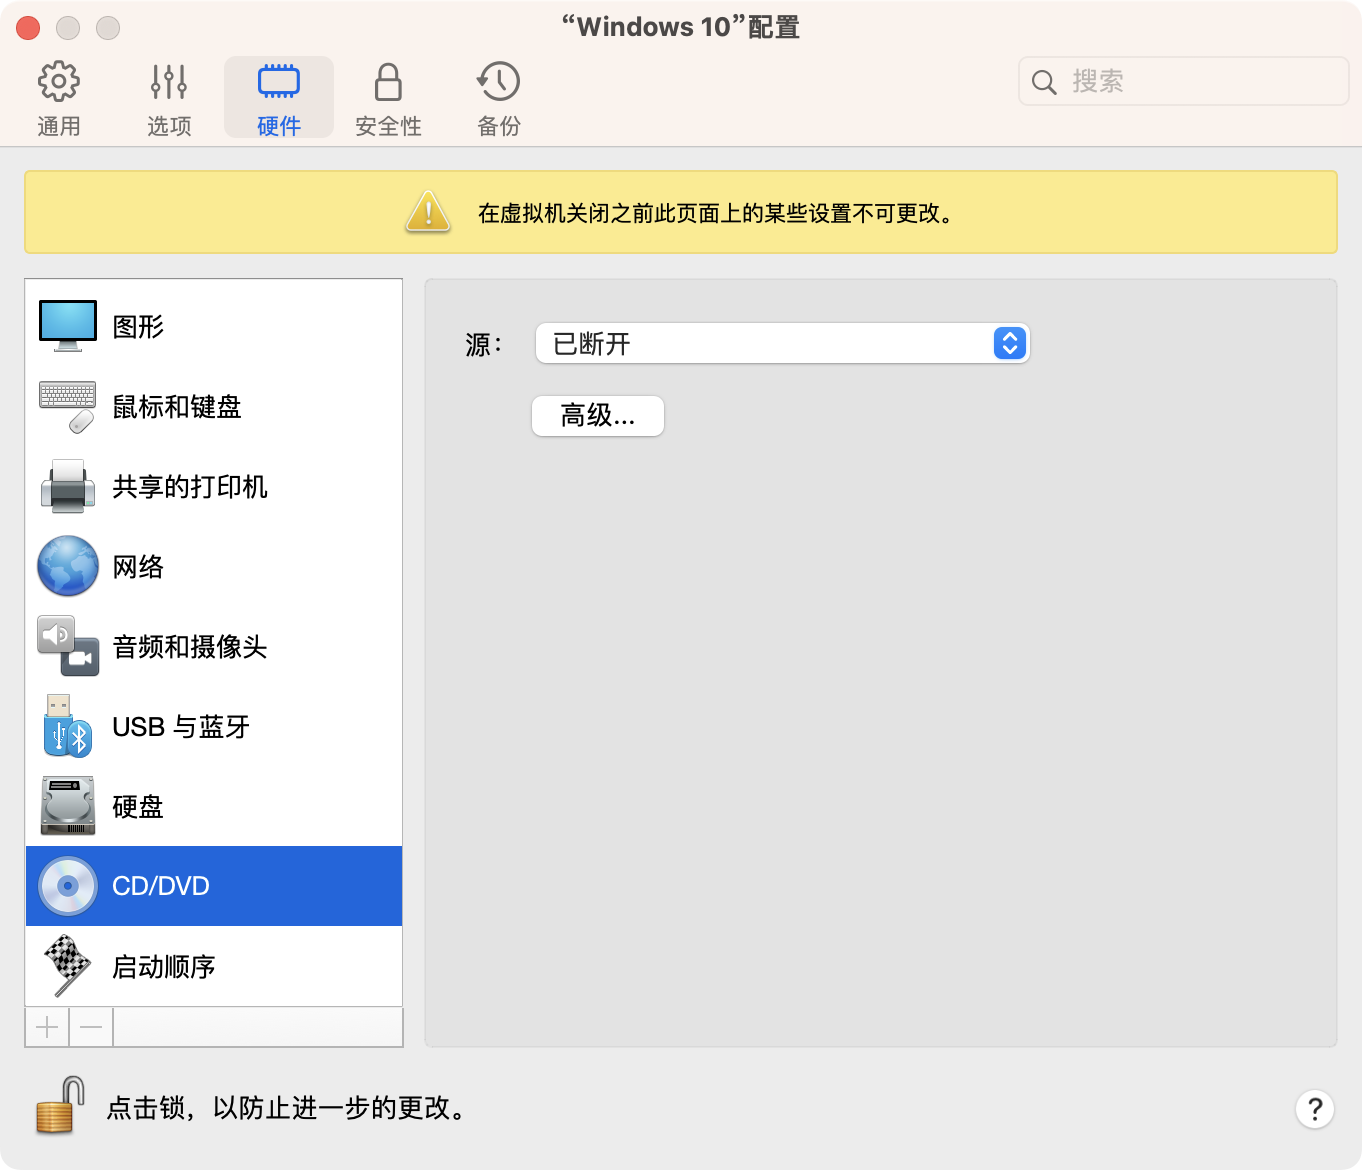
打开右上角进入虚拟机设置界面

将镜像文件修改为之前GHO转过来的ISO文件
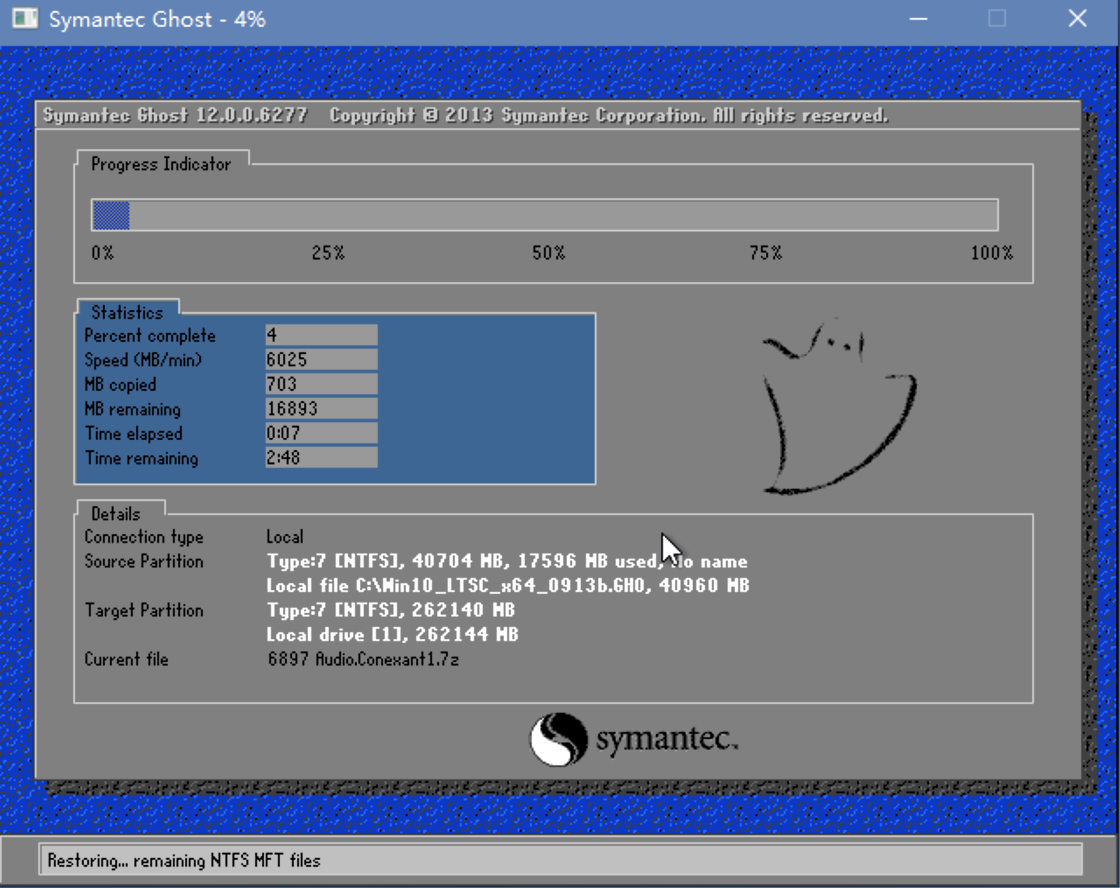
进入虚拟机打开桌面上的CGI备份还原软件后选择GHO文件,点击执行
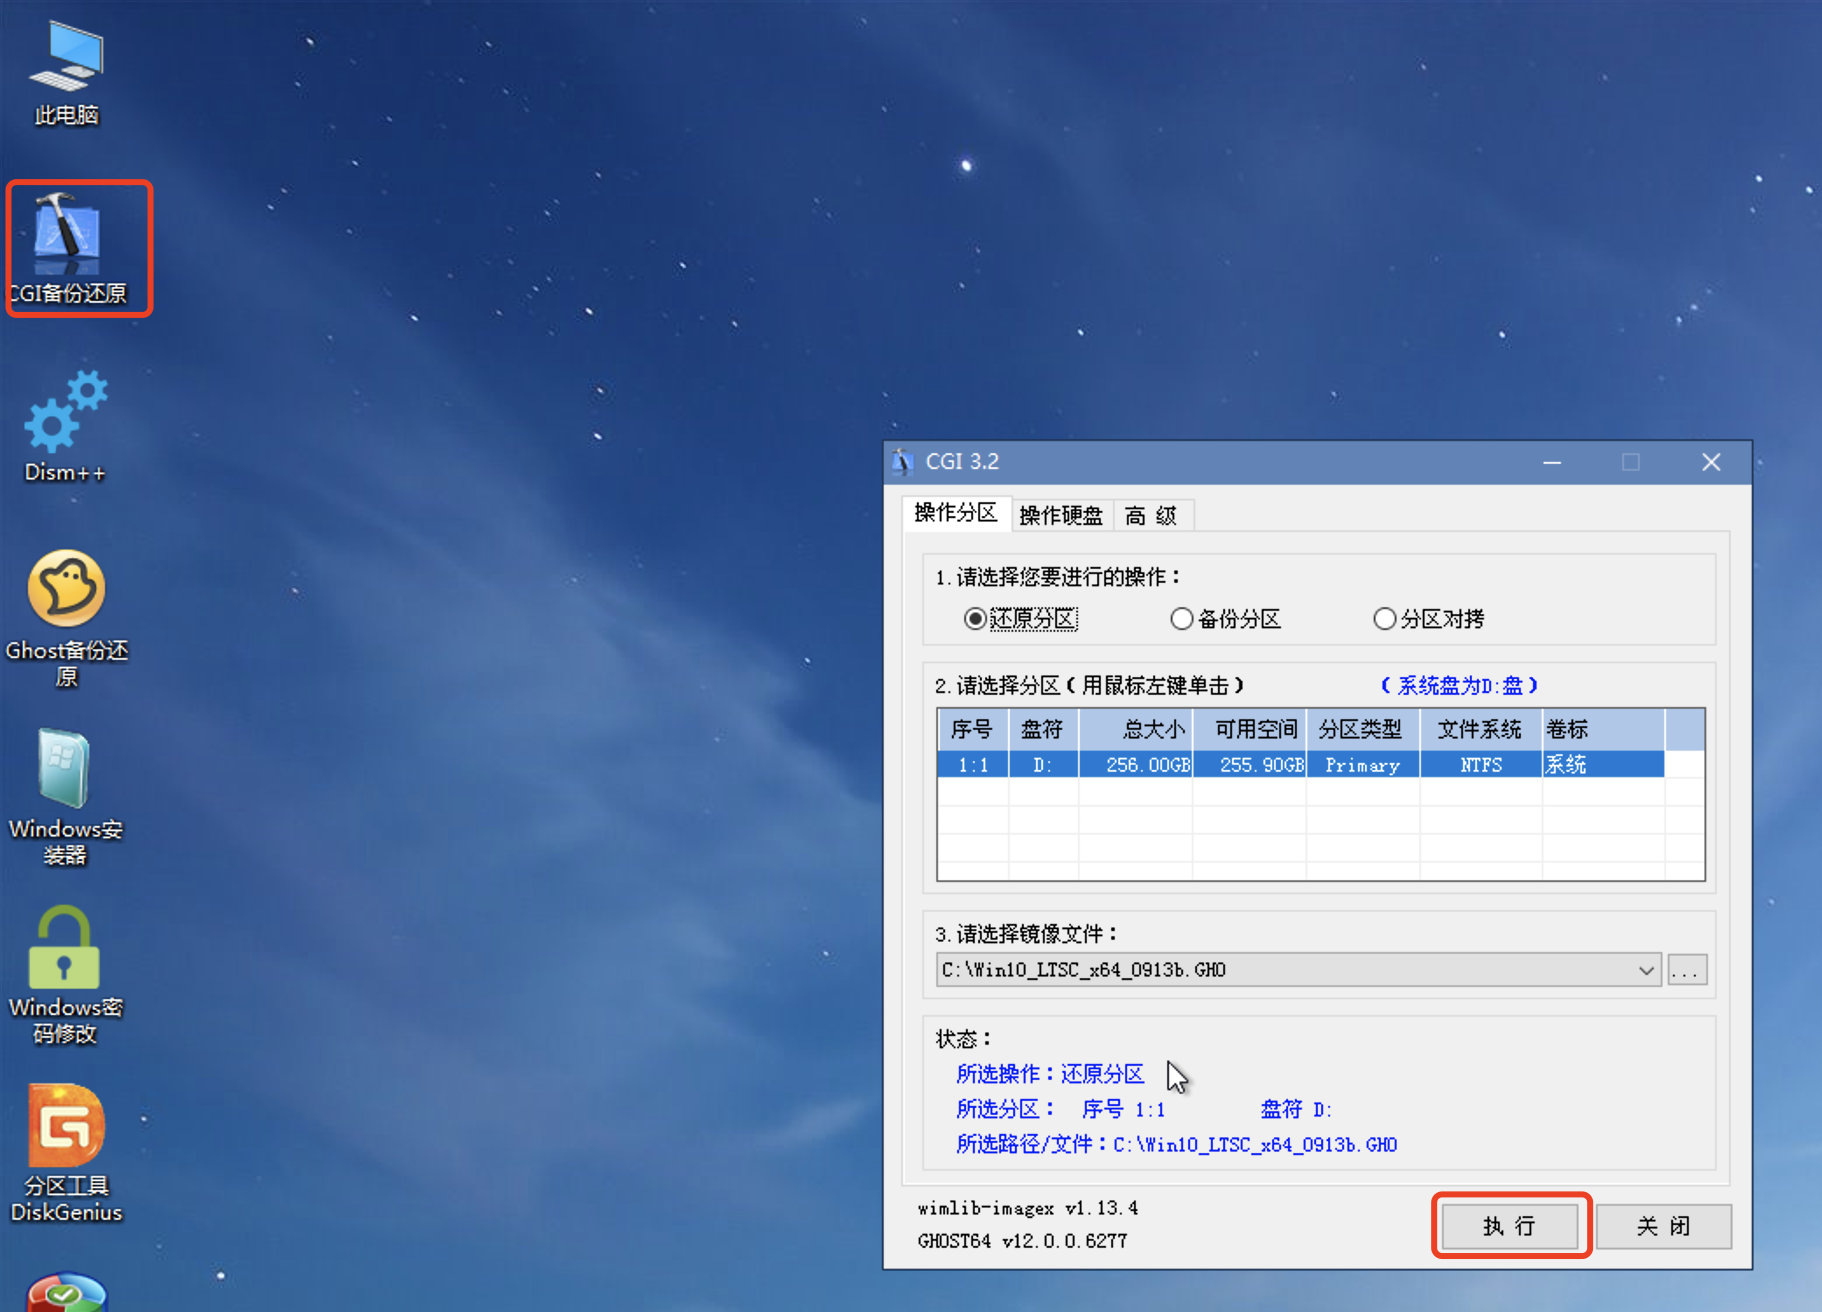
确定

等待系统还原完成
还原完成后断开镜像链接
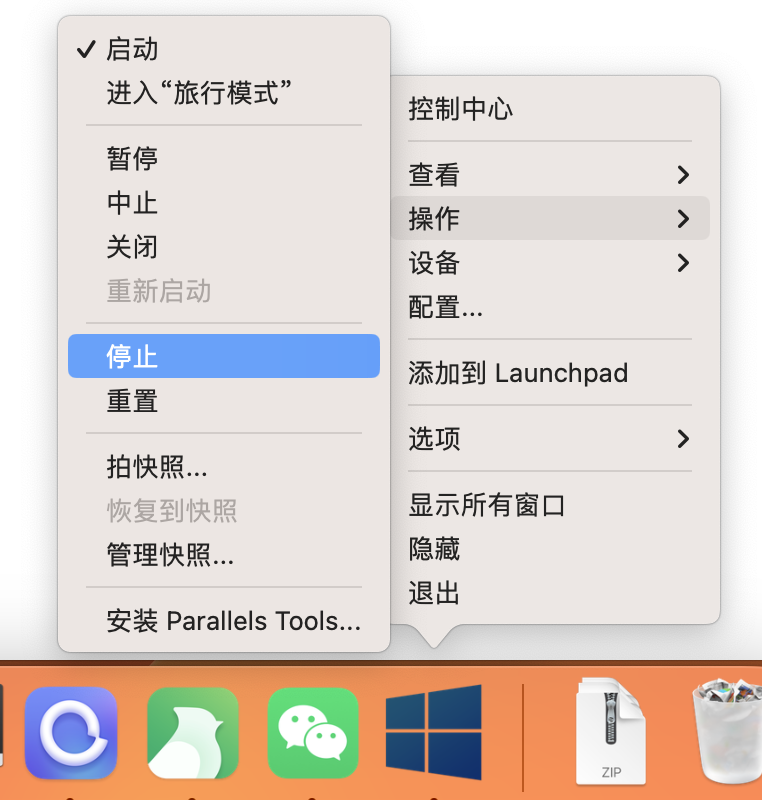
停止打开的虚拟机
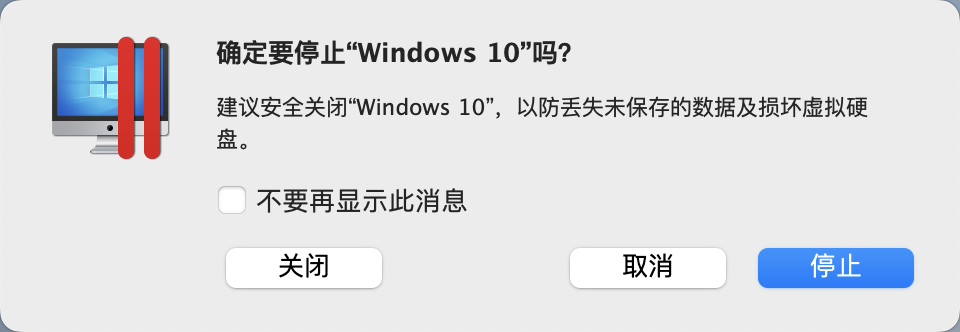
确认停止
调节启动顺序为硬盘第一优先级
3、系统安装
重新打开虚拟机即可发现GHOST系统会自动安装
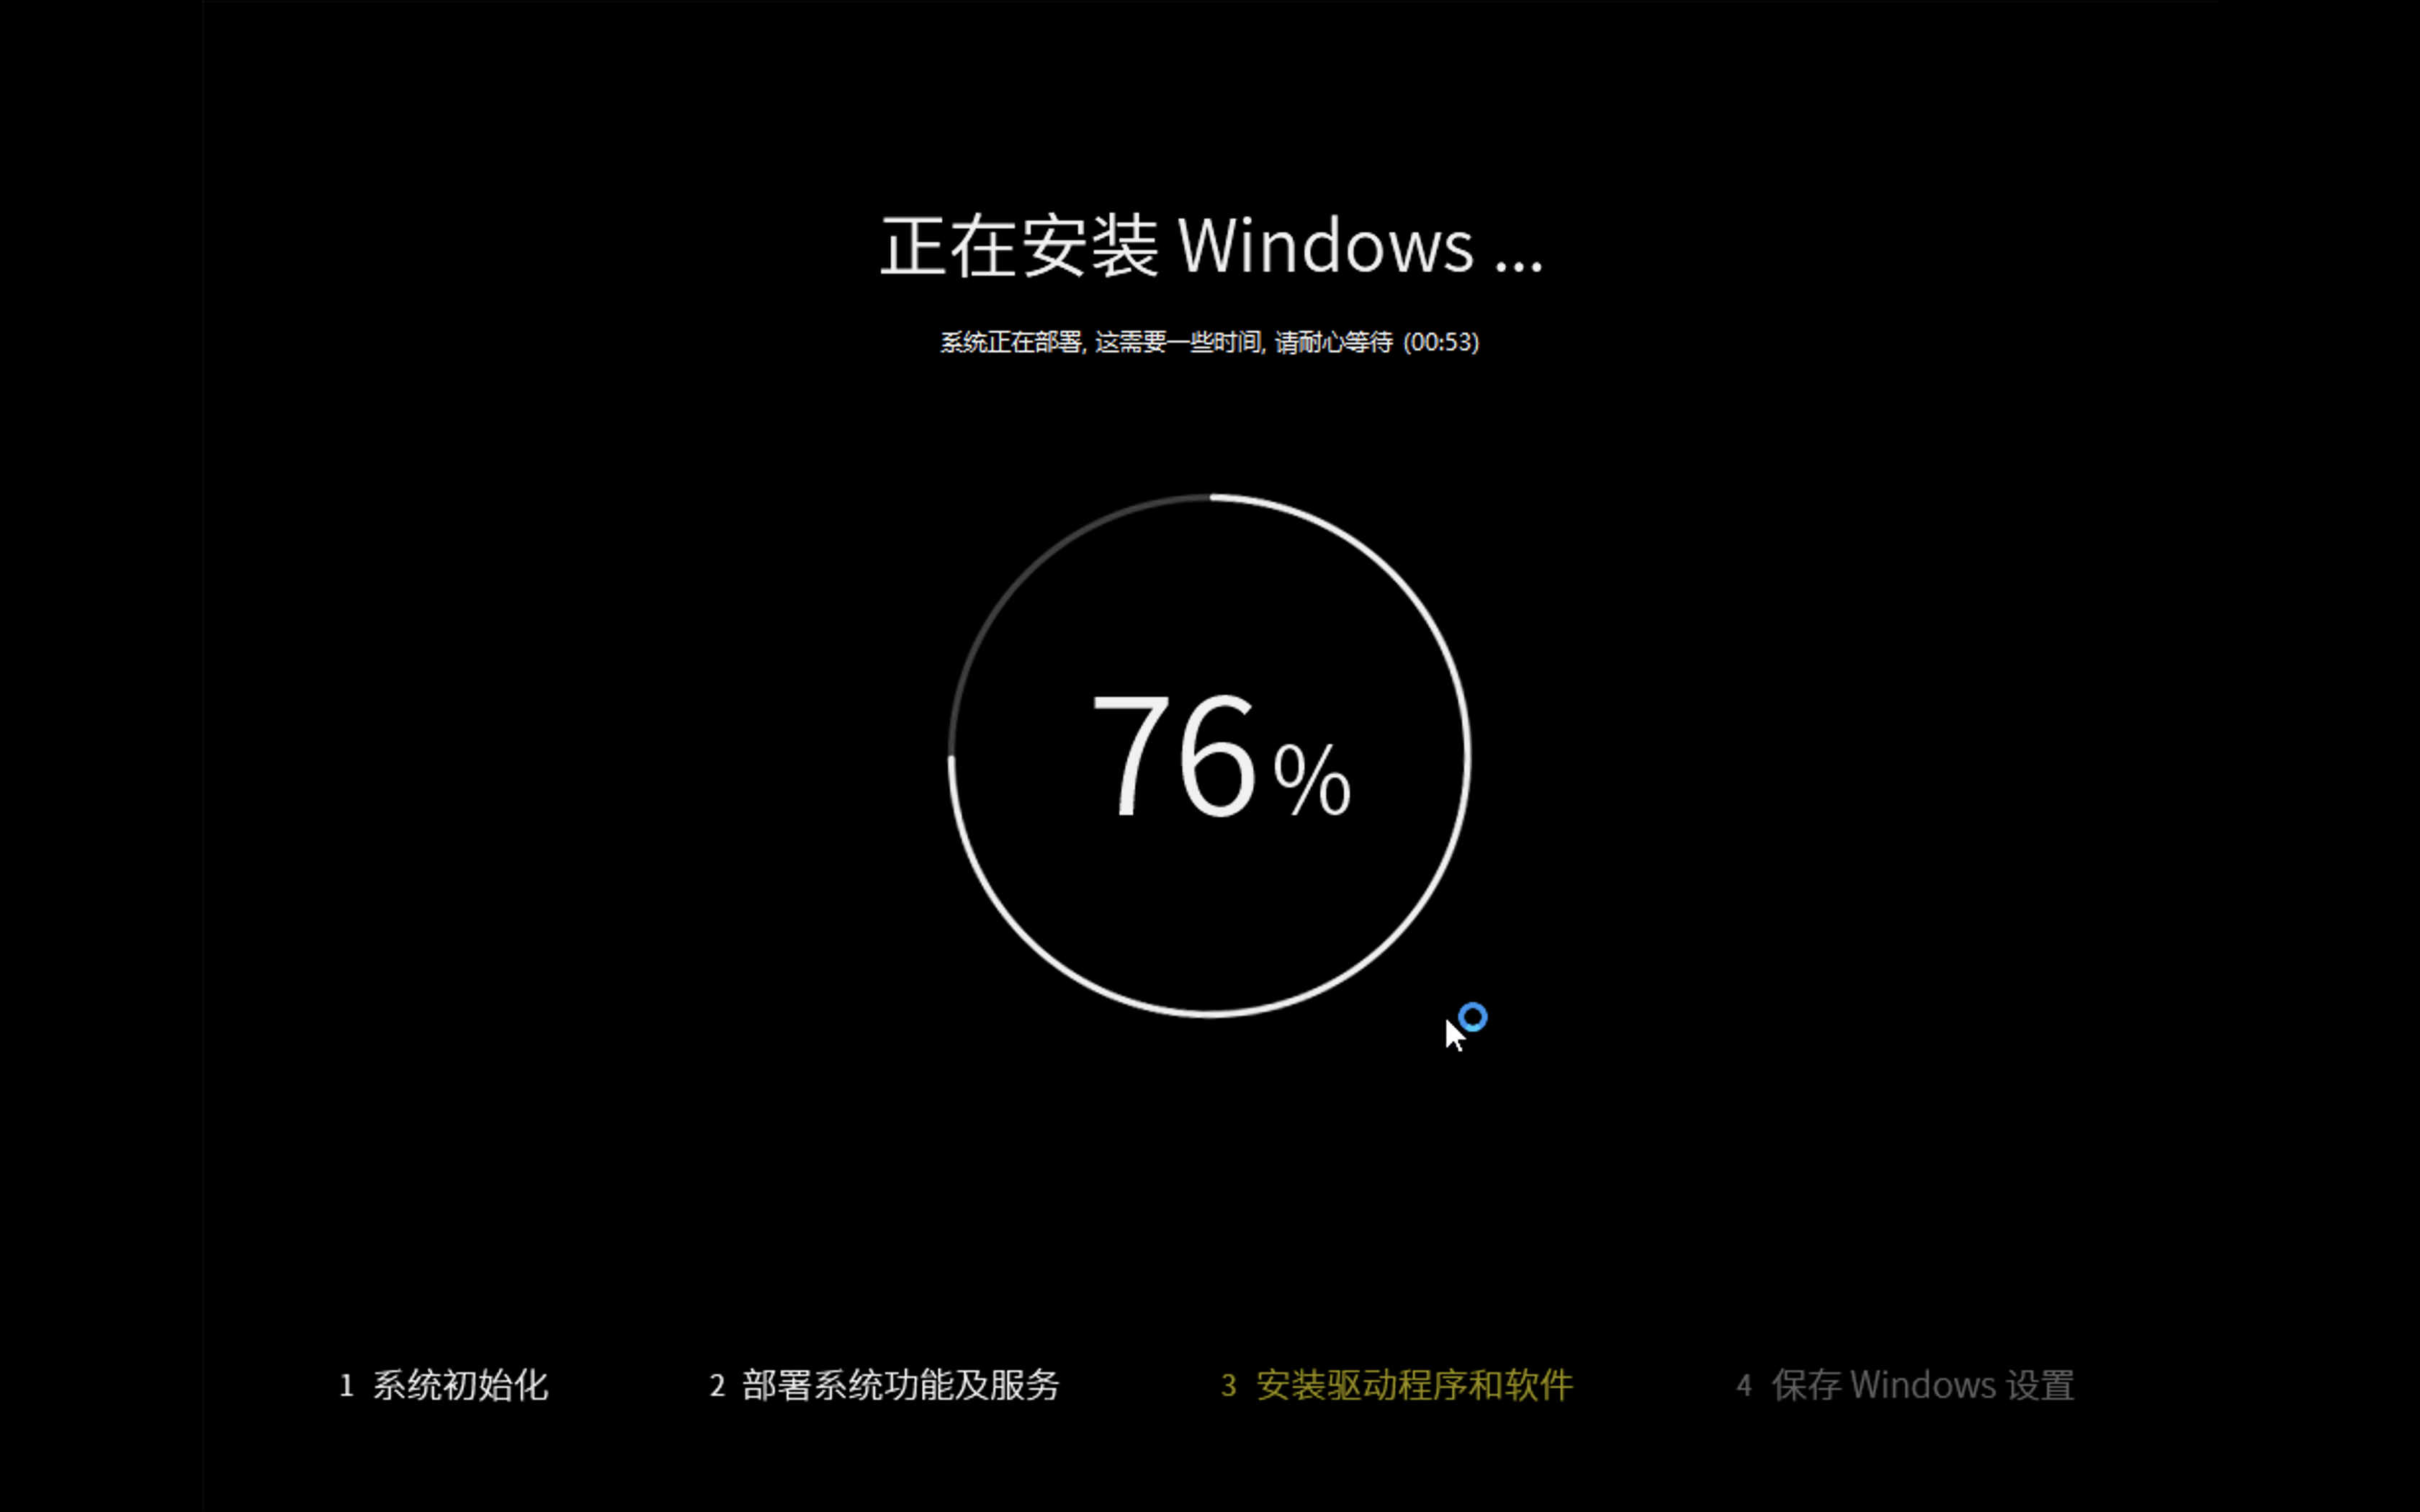
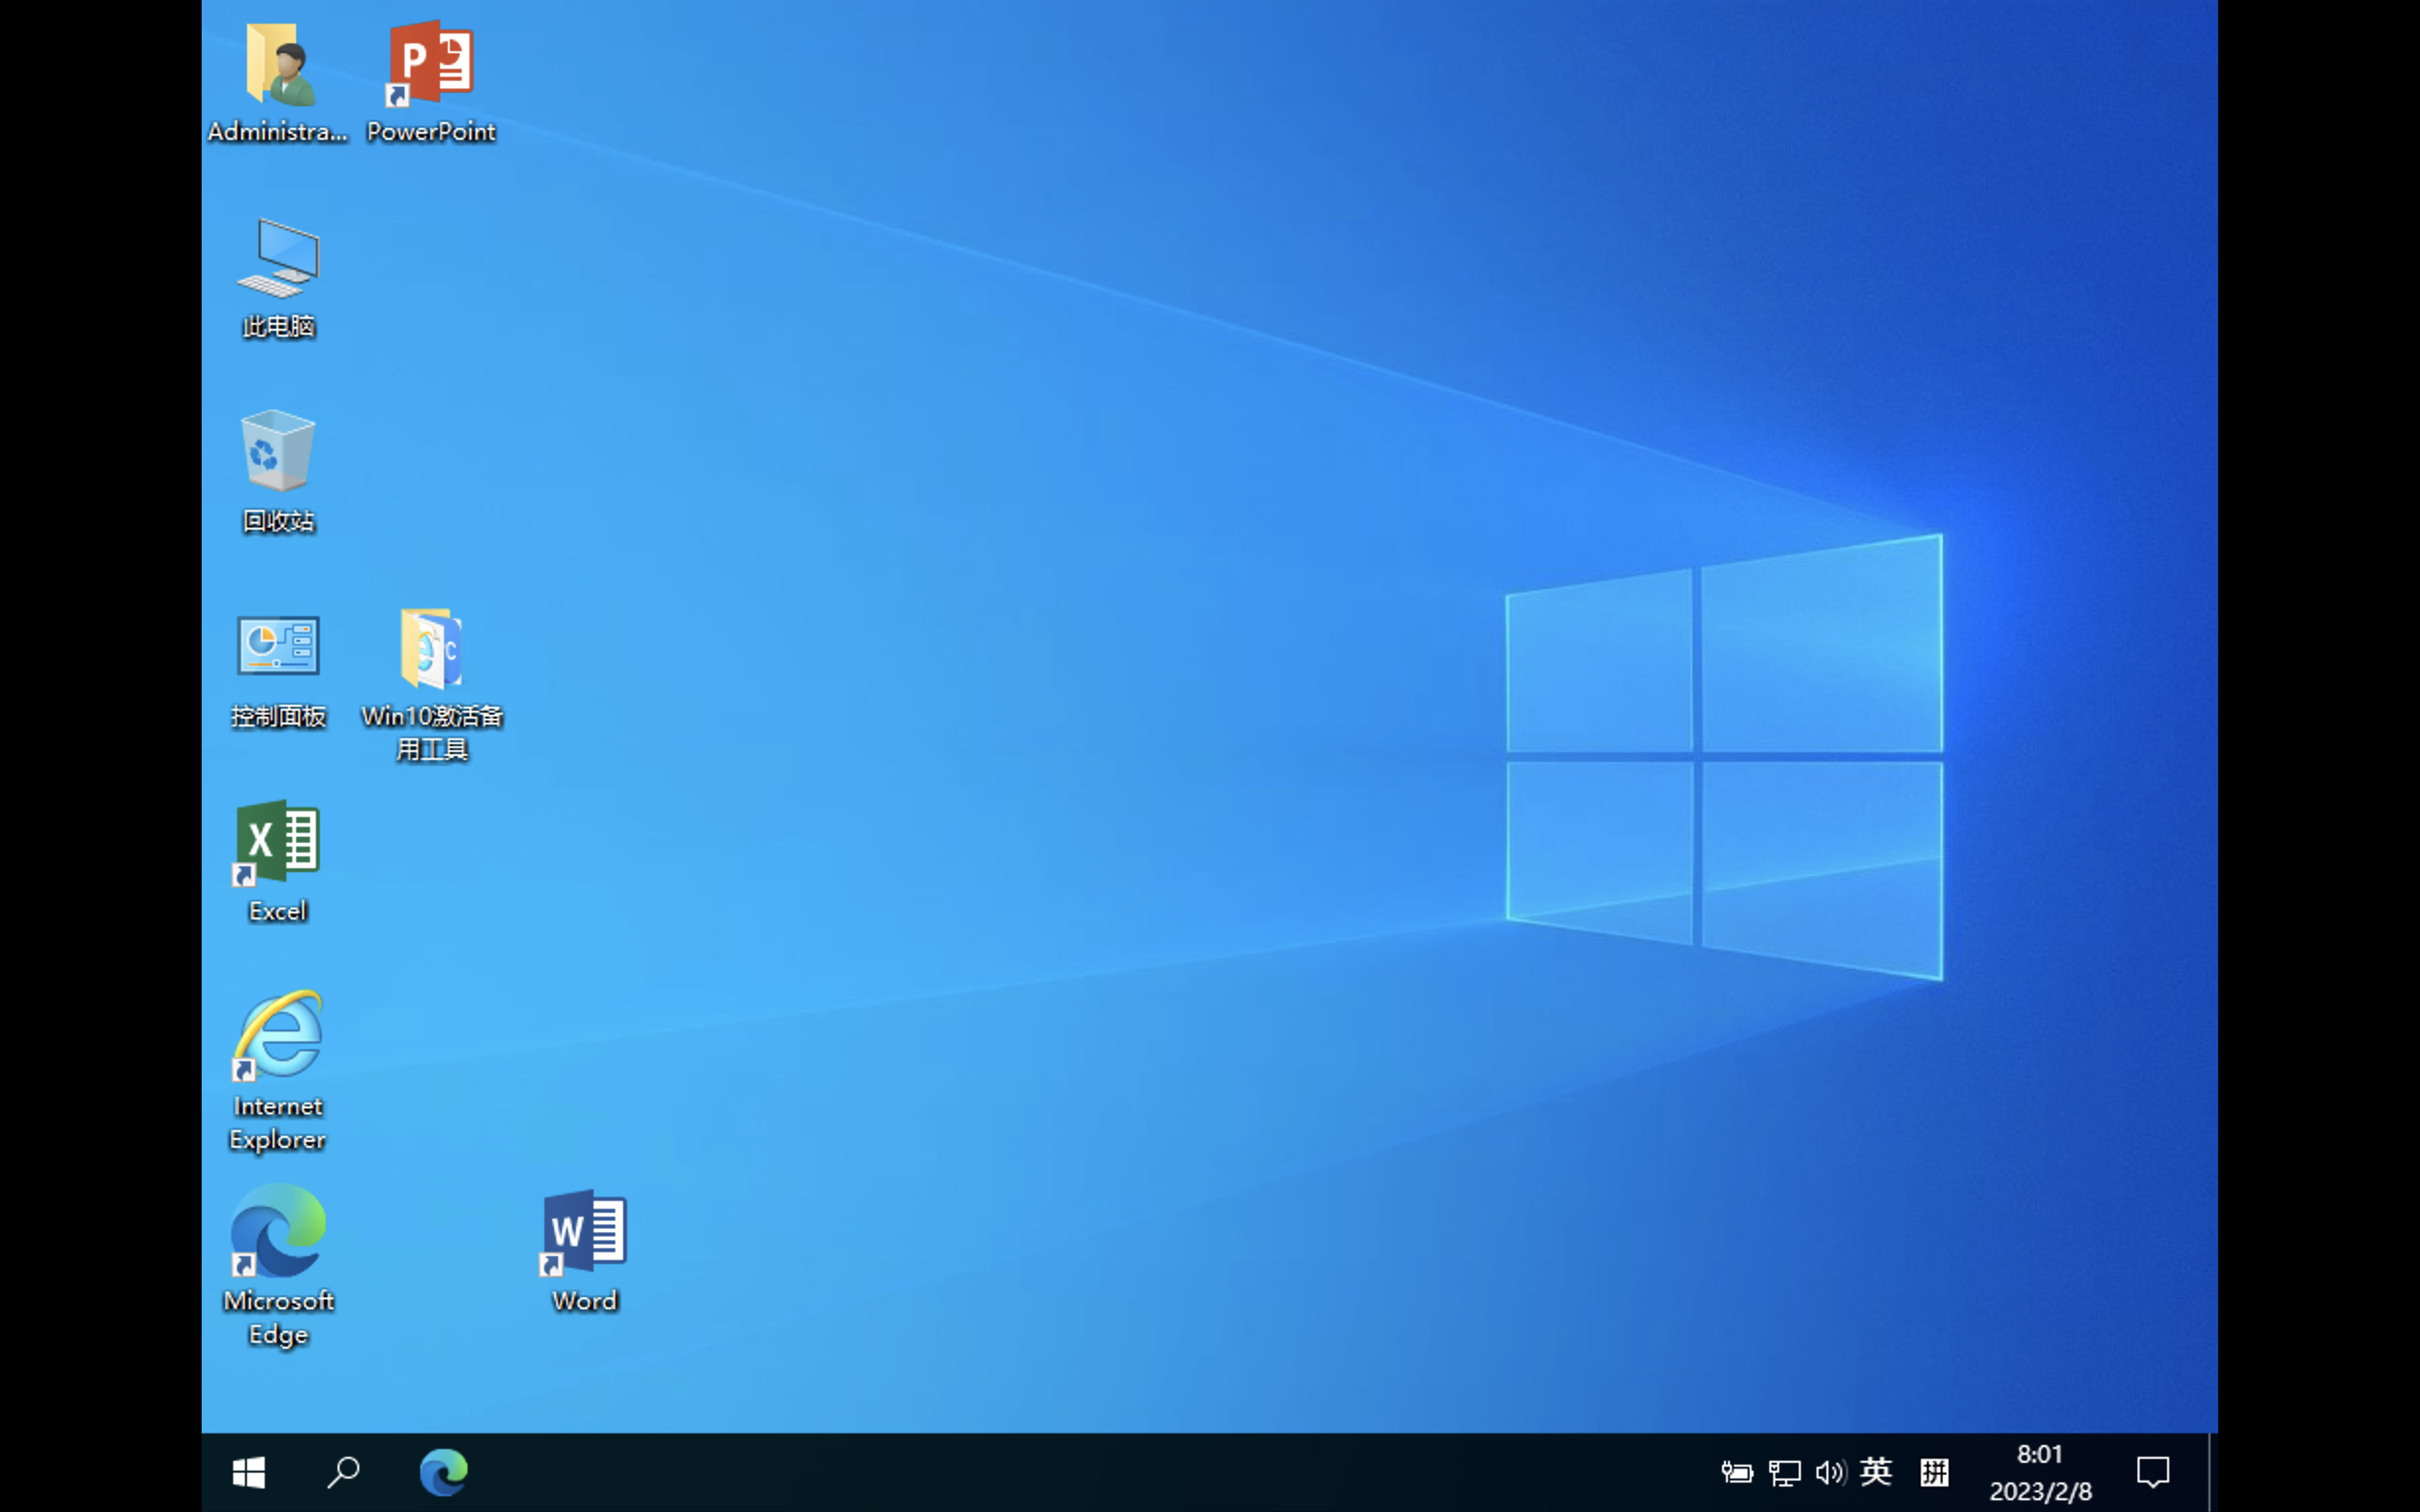
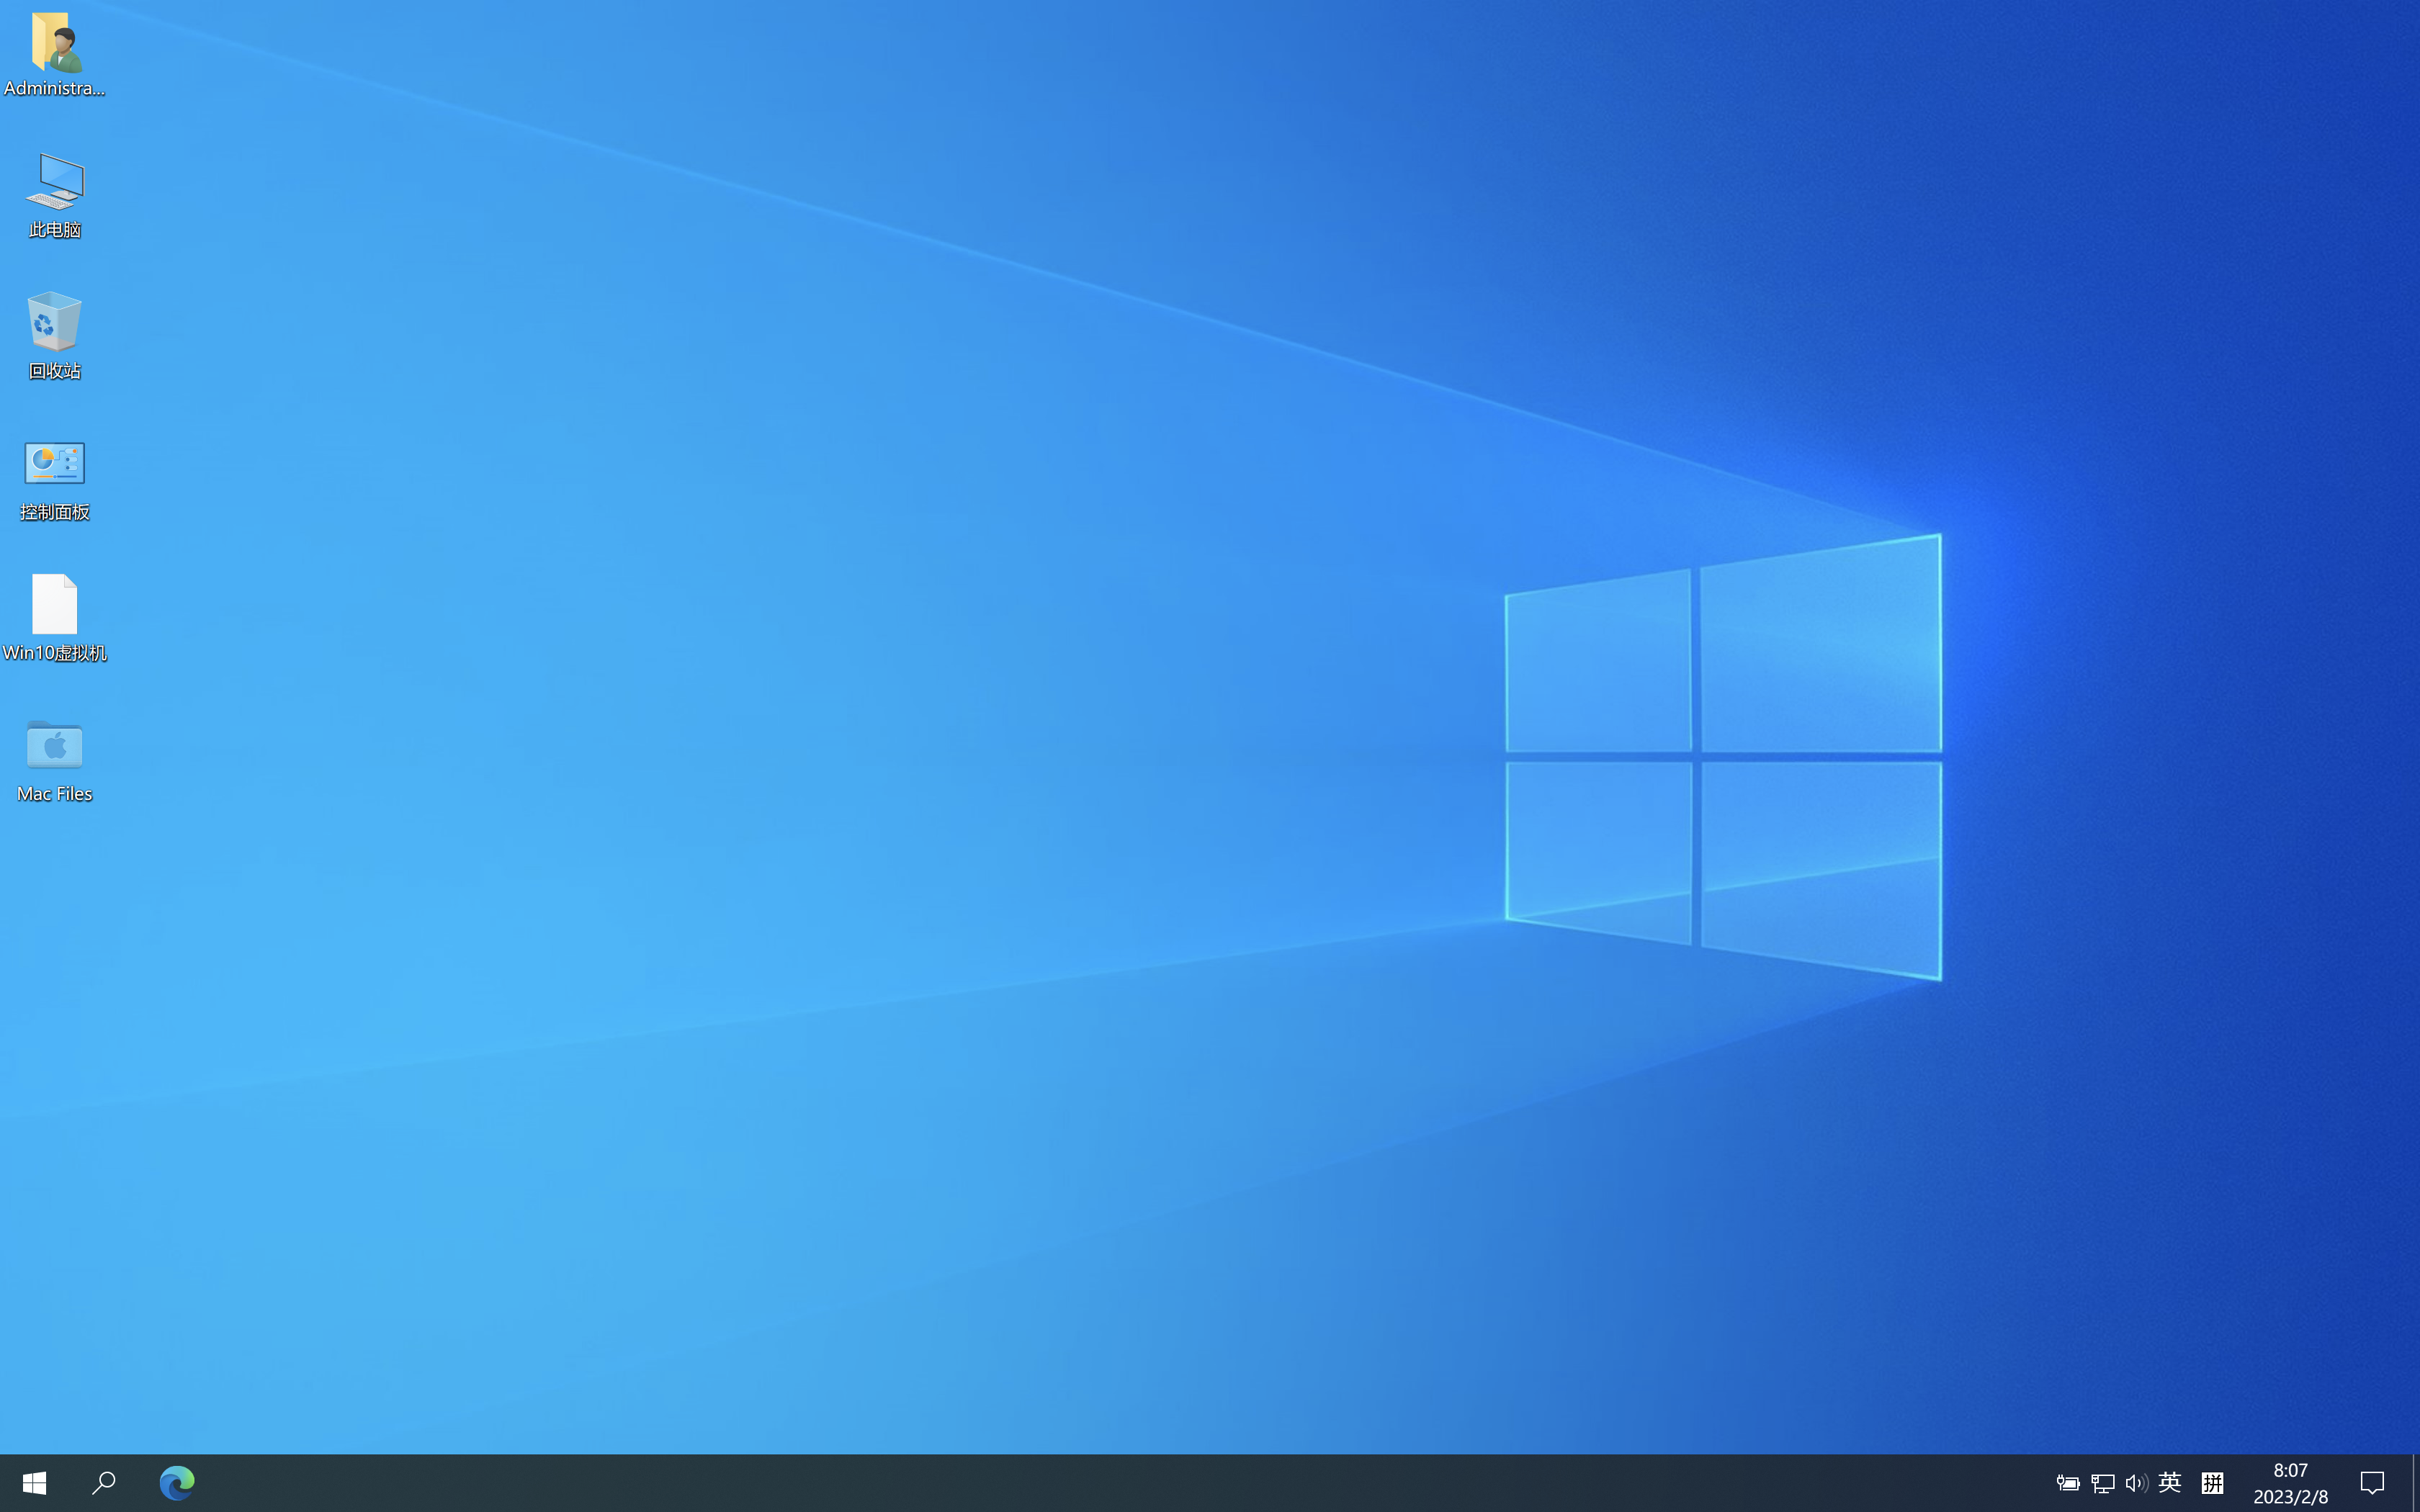
会有几次重启,最后会进入window桌面
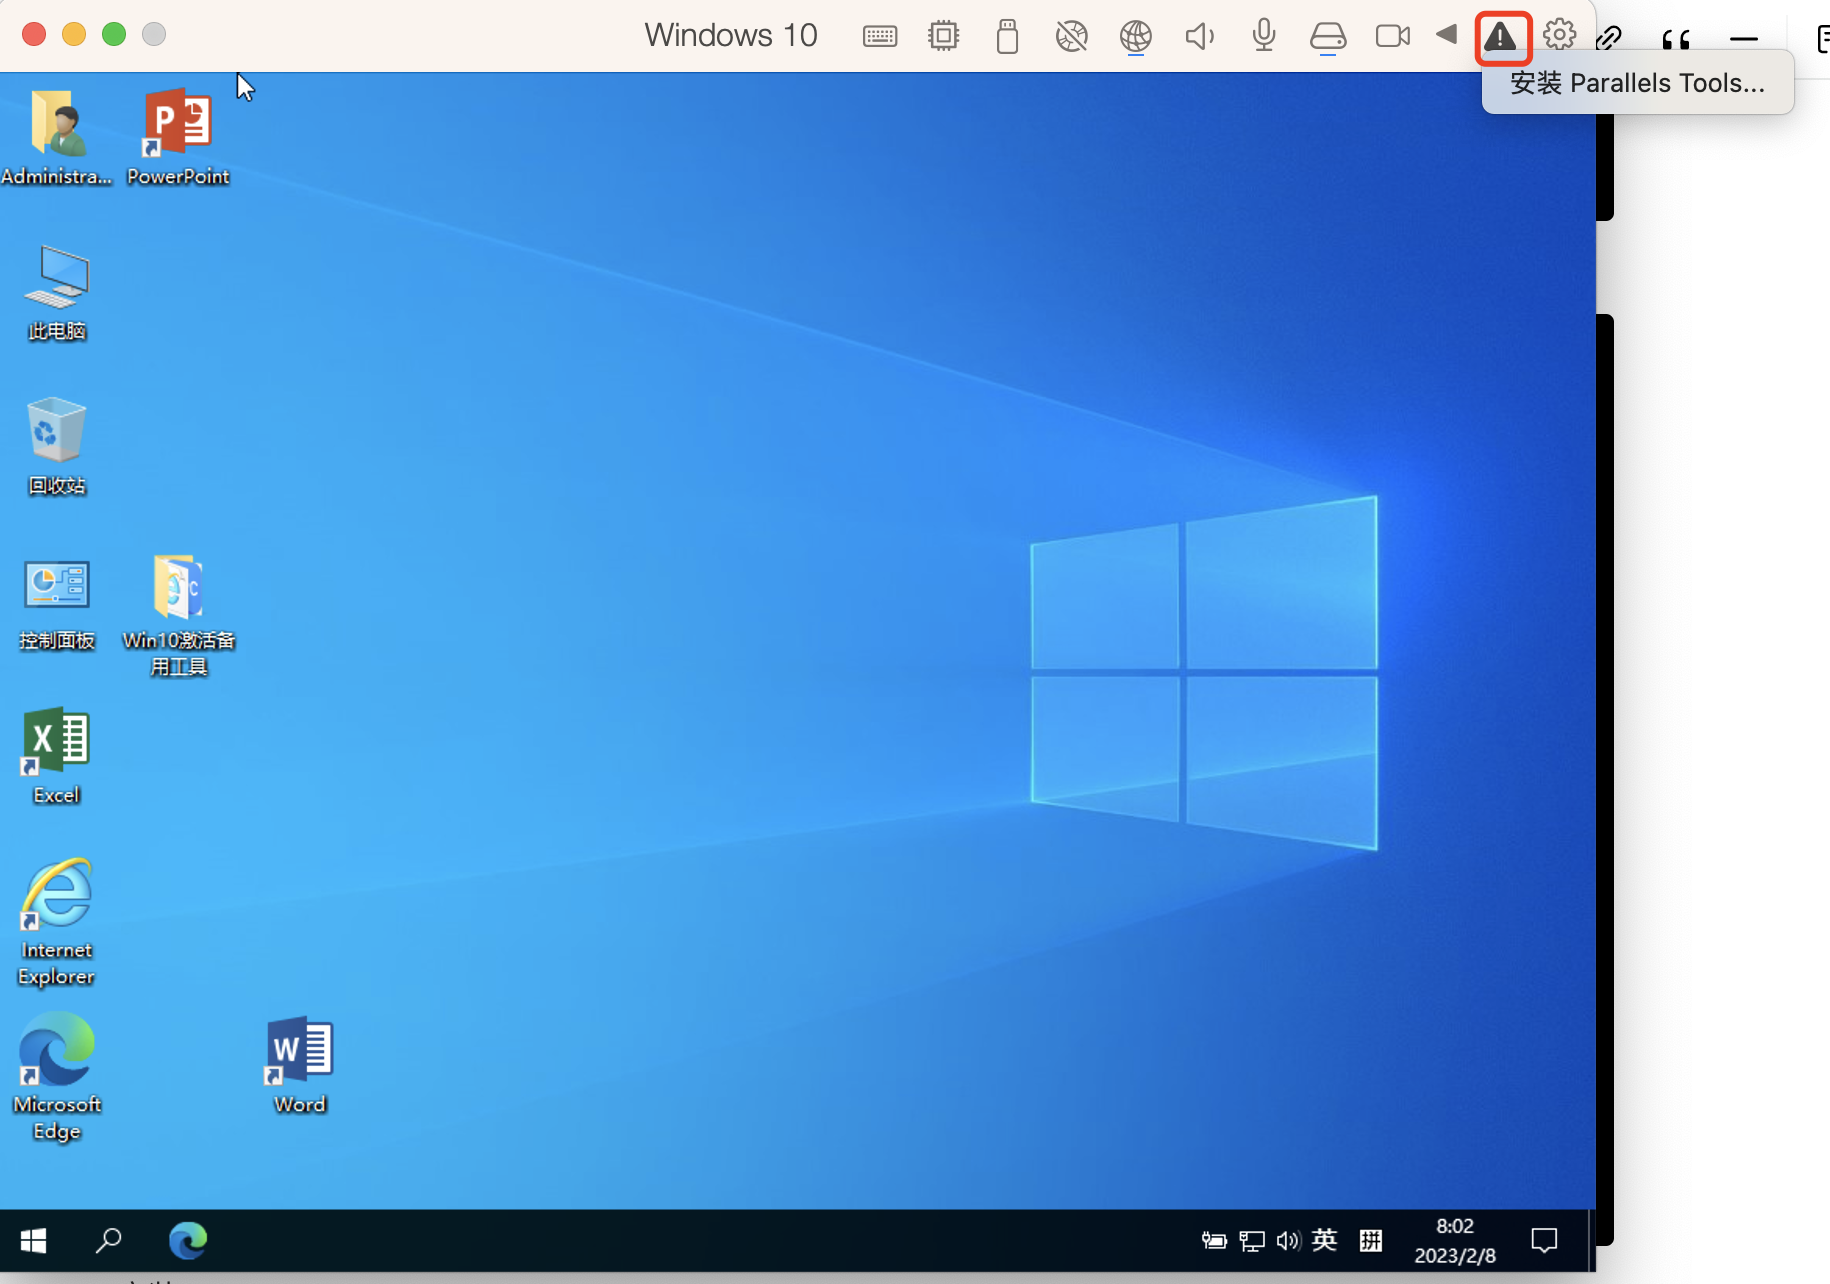
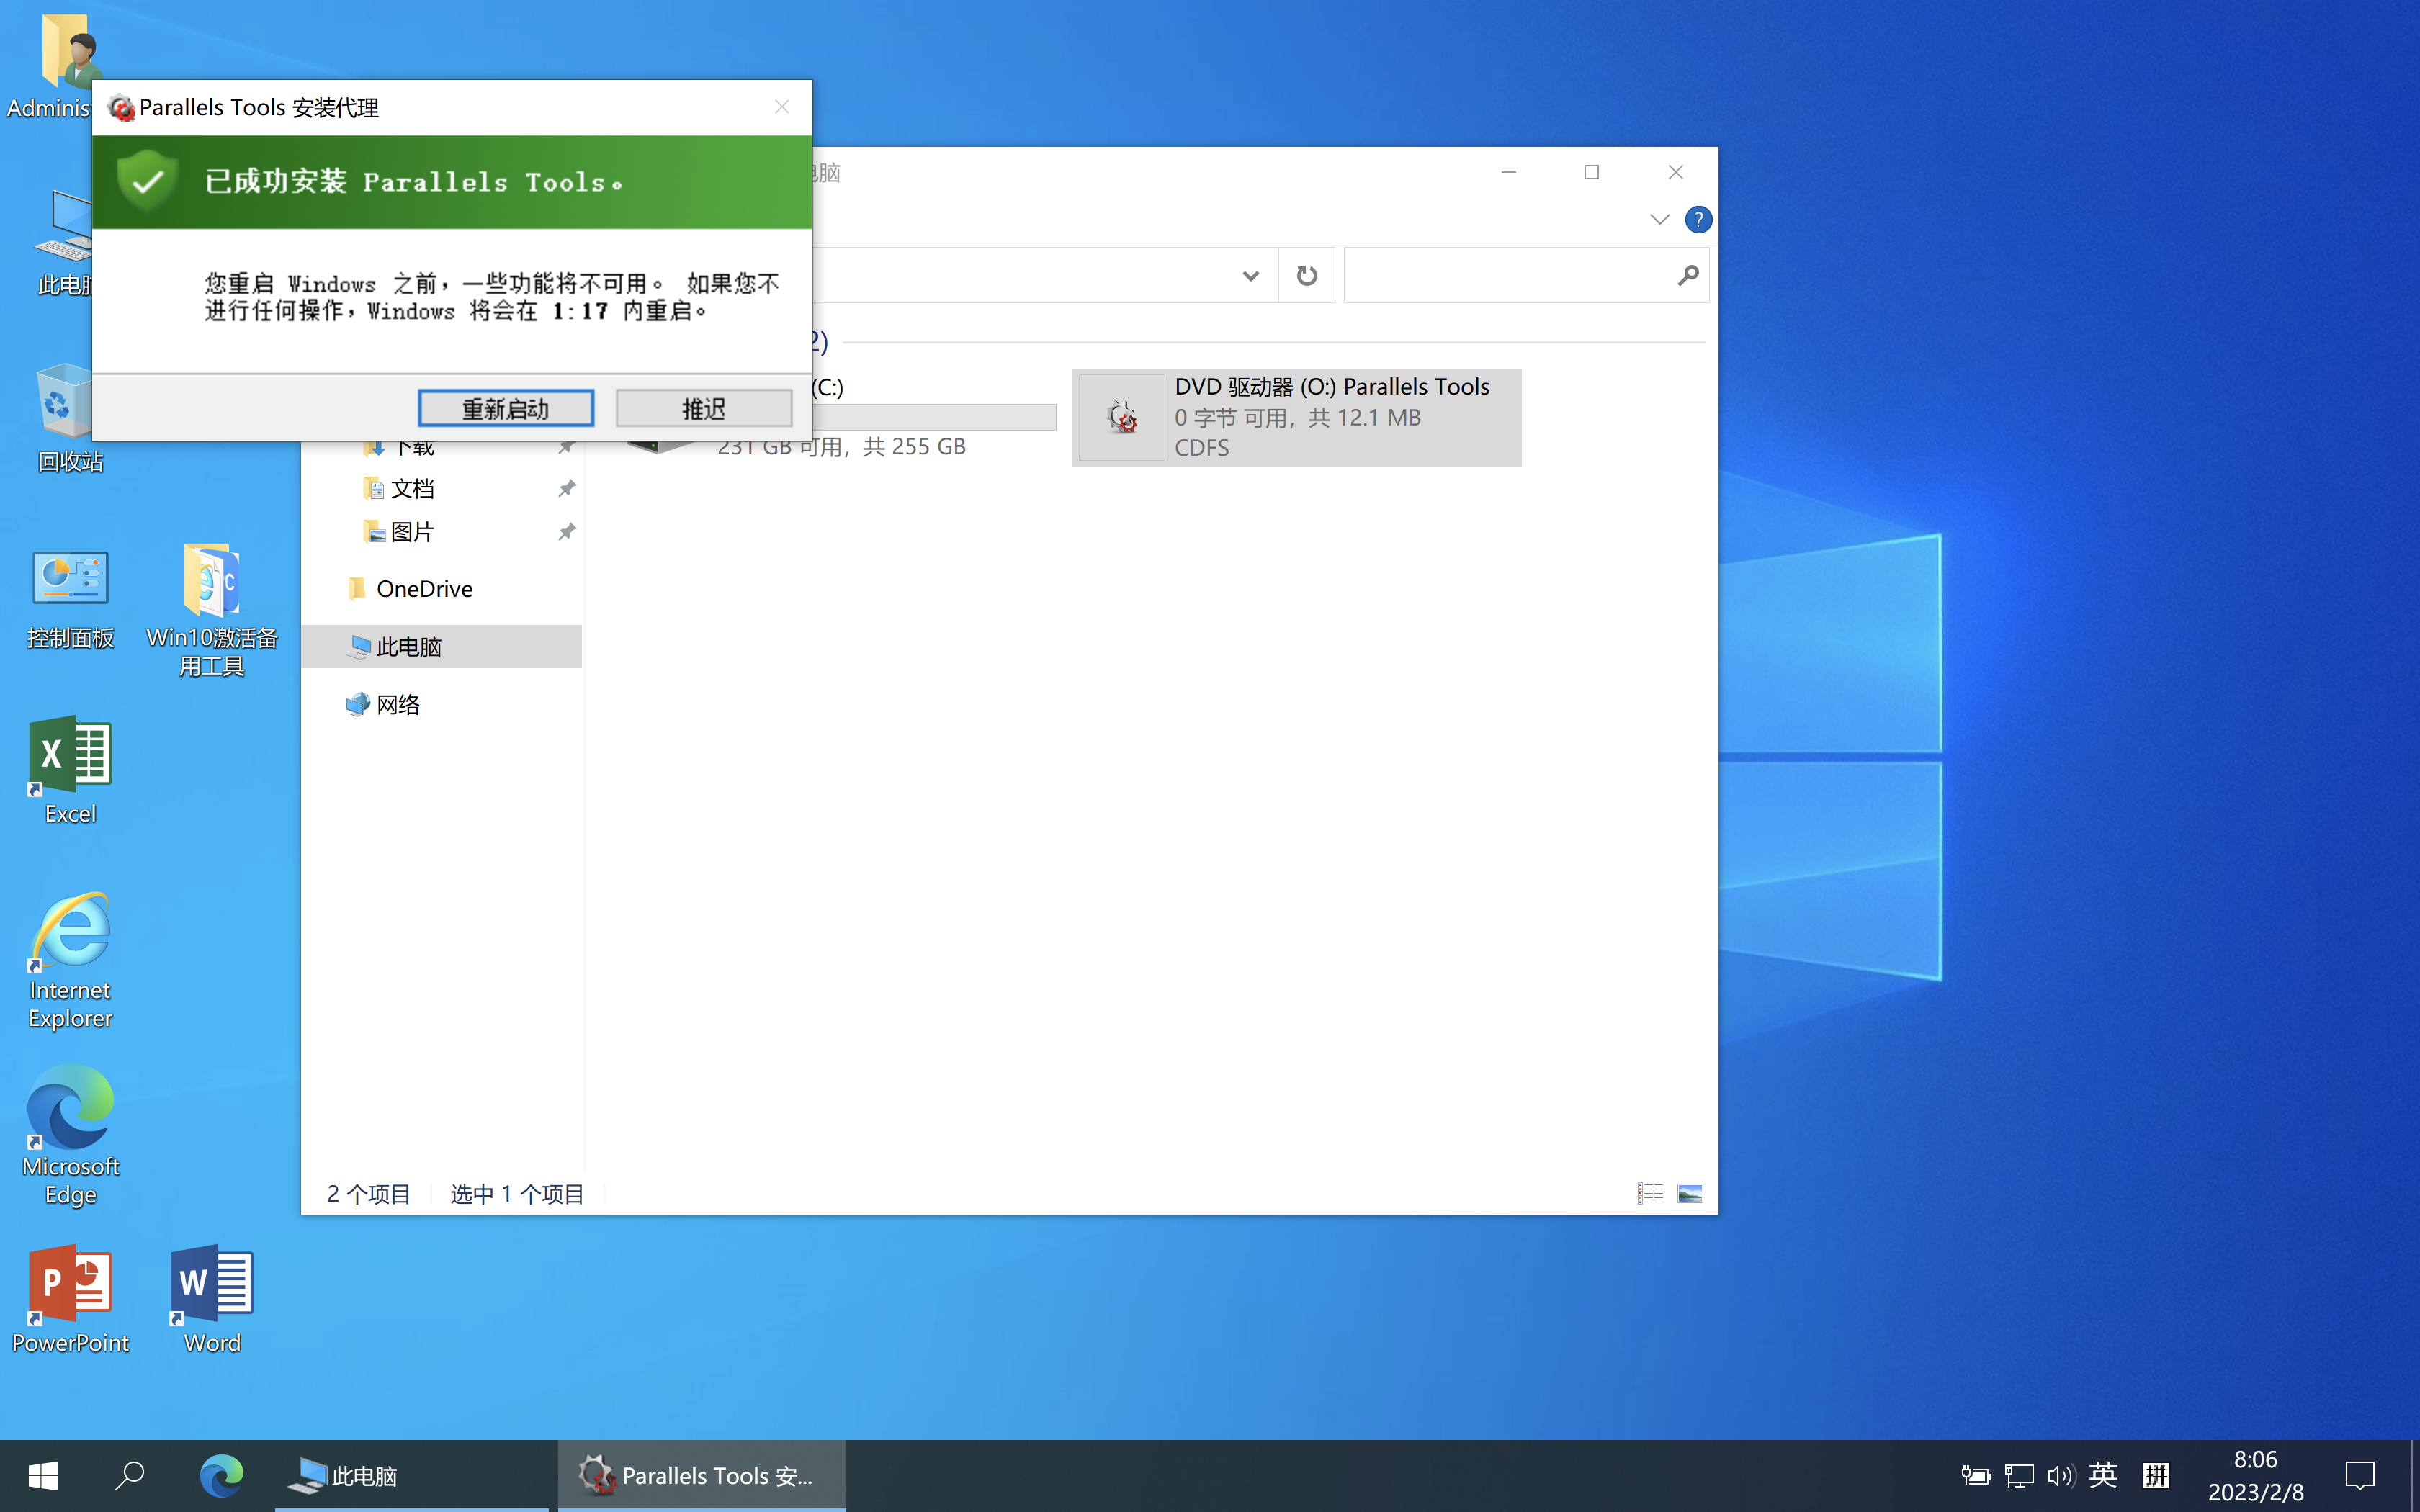
点击右上角第二个图标安装Parallels Tools
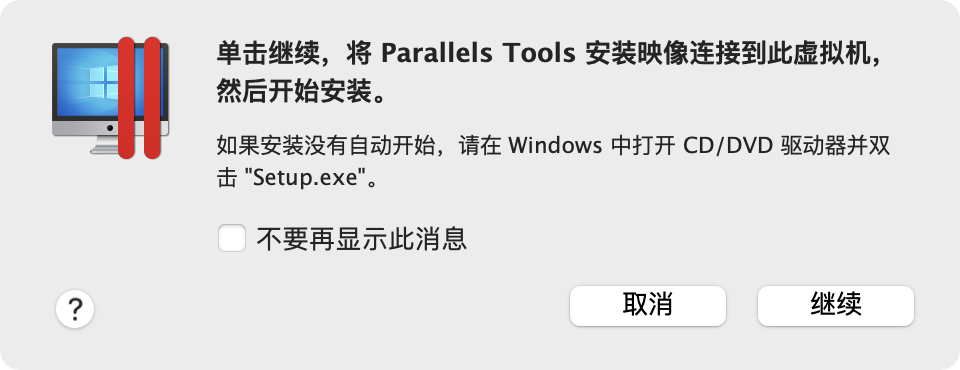
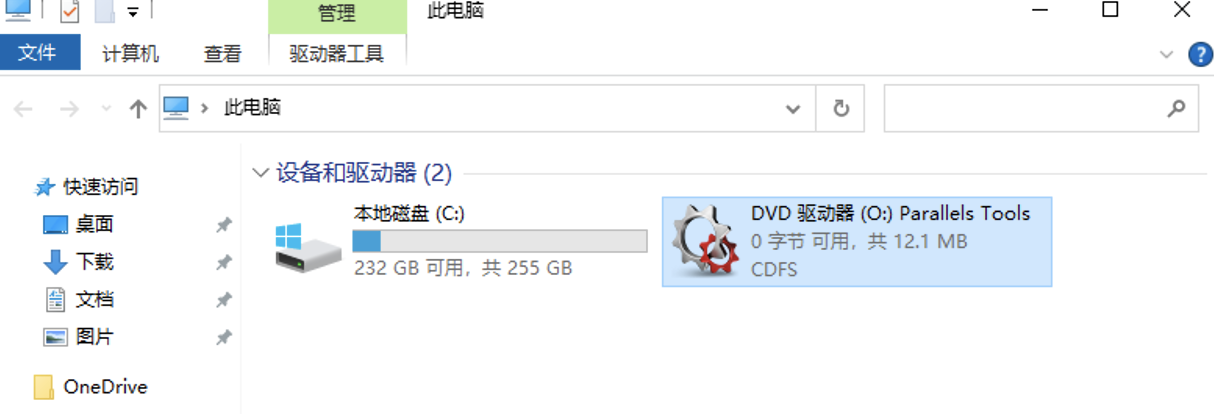
在虚拟机内打开计算机-双击打开安装
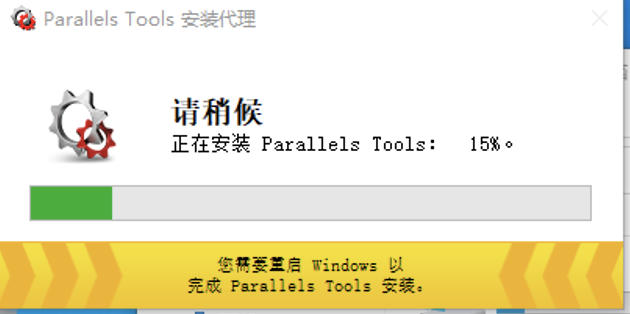
安装完成后会自动根据当前窗口调节分辨率
点击重新启动
至此,安装完成✅


 4130
4130

 被折叠的 条评论
为什么被折叠?
被折叠的 条评论
为什么被折叠?
 到【灌水乐园】发言


