


需求
在文章编辑模块中,经常会使用到富文本编辑器,它可以实现丰富的文本编辑功能,优化用户的体验,下面我们就以Thymeleaf结合wangEditor来实现这个需求
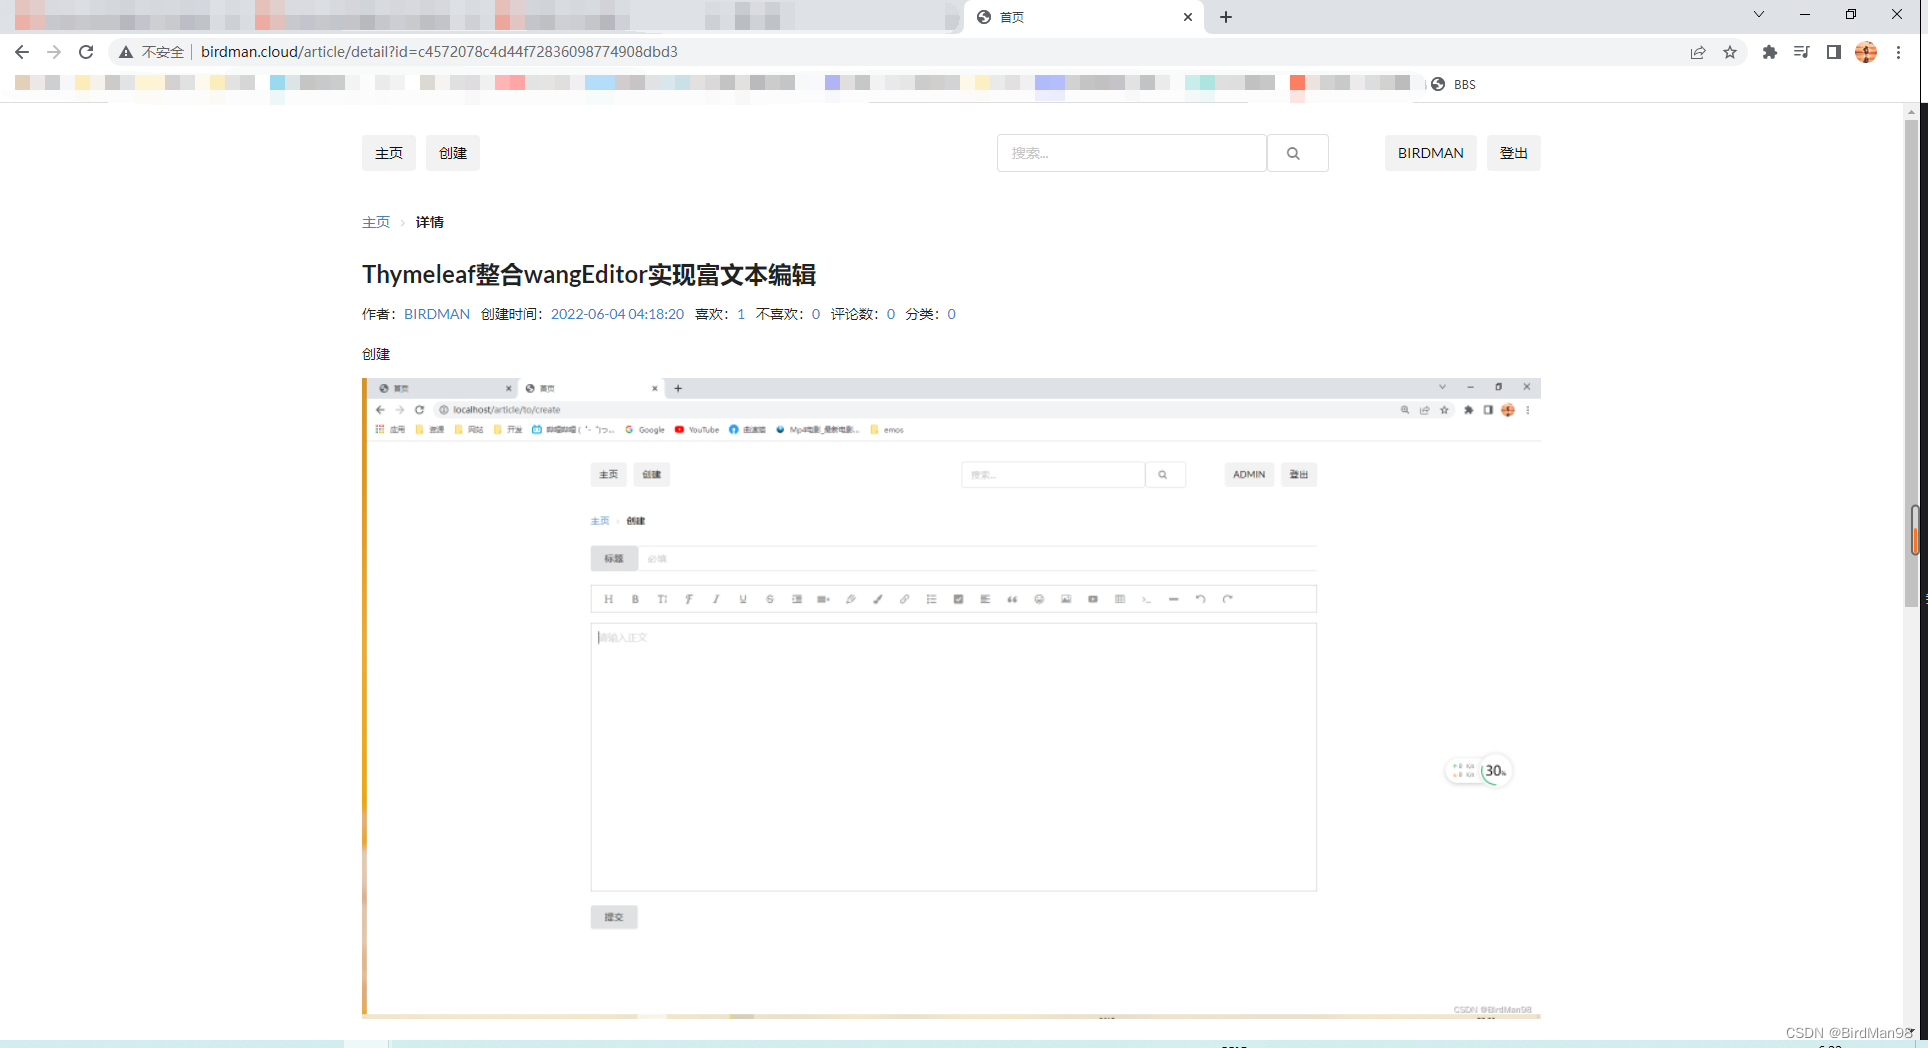
效果
先看看最终的效果
编辑

文章展示
代码
前端使用Thymeleaf模板引擎,结合SemanticUI组件构建HTML页面
<!DOCTYPE html>
<html lang="en" xmlns:th="http://www.thymeleaf.org" xmlns="http://www.w3.org/1999/html">
<head>
    <meta charset="utf-8"/>
    <title>首页</title>
    <script src='https://cdn.jsdelivr.net/npm/jquery@3.2.1/dist/jquery.min.js'></script>
    <link rel="stylesheet" href="https://cdn.jsdelivr.net/semantic-ui/2.2.10/semantic.min.css">
    <script src="https://cdn.jsdelivr.net/semantic-ui/2.2.10/semantic.min.js"></script>
    <script src="https://cdn.jsdelivr.net/npm/wangeditor@latest/dist/wangEditor.min.js"></script>
    <style>
        .toolbar {
            border: 1px solid #ccc;
        }

        .text {
            border: 1px solid #ccc;
            min-height: 400px;
        }
    </style>
</head>
<body>
<br>
<div class="ui centered grid">
    <!--header-->
    <div class="ten wide column">
        <div class="ui secondary menu">
            <a class="active item" href="/">
                主页
            </a>
            <a class="active item" th:if="${session.user} ne null" href="/article/to/create">
                创建
            </a>
            <div class="right menu">
                <div class="item" style="margin-right: 100px">
                    <form class="ui form" th:method="post" th:action="@{/article/search}">
                        <div class="ui icon input">
                            <input type="text" name="keywords" placeholder="搜索...">
                            <button class="ui basic button" type="submit"><i class="search link icon"></i></button>
                        </div>
                    </form>
                </div>
                <a class="active ui item" href="/user/to/profile" th:if="${session.user} ne null"
                   th:text="${session.user.nickname}">登出 </a>
                <a class="active ui item" href="/user/logout" th:if="${session.user} ne null">登出 </a>
                <a class="active ui item" href="/user/to/register" th:if="${session.user} eq null">注册 </a>
                <a class="active ui item" href="/user/to/login" th:if="${session.user} eq null">登录</a>
            </div>
        </div>
    </div>
    <!--nav-->
    <div class="ten wide column">
        <div class="ui breadcrumb">
            <a class="section" href="/">主页</a>
            <i class="right angle icon divider"></i>
            <div class="active section">创建</div>
        </div>
    </div>
    <!--CREATE ARTICLE-->
    <div class="ten wide column">
        <form method="post" action="/article/create">
            <div class="ui fluid action input">
                <div class="ui button">标题</div>
                <input type="text" name="title" required placeholder="必填">
            </div>
            <br>
            <div>
                <div id="toolbar-container" class="toolbar"></div>
                </p>
                <div id="text-container" class="text"></div>
                <textarea style="display: none" name="content" id="txtIntro"></textarea>
                <input name="author" hidden th:value="${user.id}"></input>
                <br>
                <button class="ui button" type="submit">提交</button>
            </div>
        </form>
    </div>
</div>
<!-- 引入 wangEditor.min.js -->
<script>
    const E = window.wangEditor
    const editor = new E('#toolbar-container', '#text-container') // 传入两个元素
    const $text1 = $('#txtIntro')
    editor.config.onchange = function (html) {
        $text1.val(html)
    }
    editor.config.height = 2000
    // editor.config.uploadImgServer = '/upload-img'
    editor.create()
    $text1.val(editor.txt.html())// 初始化 textarea 的值
</script>
</body>
</html>
引入wangEditor的JS如下,主要逻辑就是将用户编辑的富文本转成HTML保存在标签中,然后传给后台保存,前台在展示时,直接渲染从后台获取到的HTML内容即可,但是要注意,该组件功能还未完善,可能存在小部分HTML标签样式解析不出来的情况
<!-- 引入 wangEditor.min.js -->
<script>
    const E = window.wangEditor
    const editor = new E('#toolbar-container', '#text-container') // 传入两个元素
    const $text1 = $('#txtIntro')
    editor.config.onchange = function (html) {
        $text1.val(html)
    }
    editor.config.height = 2000
    // editor.config.uploadImgServer = '/upload-img'
    editor.create()
    $text1.val(editor.txt.html())// 初始化 textarea 的值
</script>


 7659
7659


 被折叠的 条评论
为什么被折叠?
被折叠的 条评论
为什么被折叠?
 到【灌水乐园】发言


