


Part1:下载CIFAR数据集
CIFAR数据集,迅雷下载链接在文章后面,嘎嘎快(失效可私信):
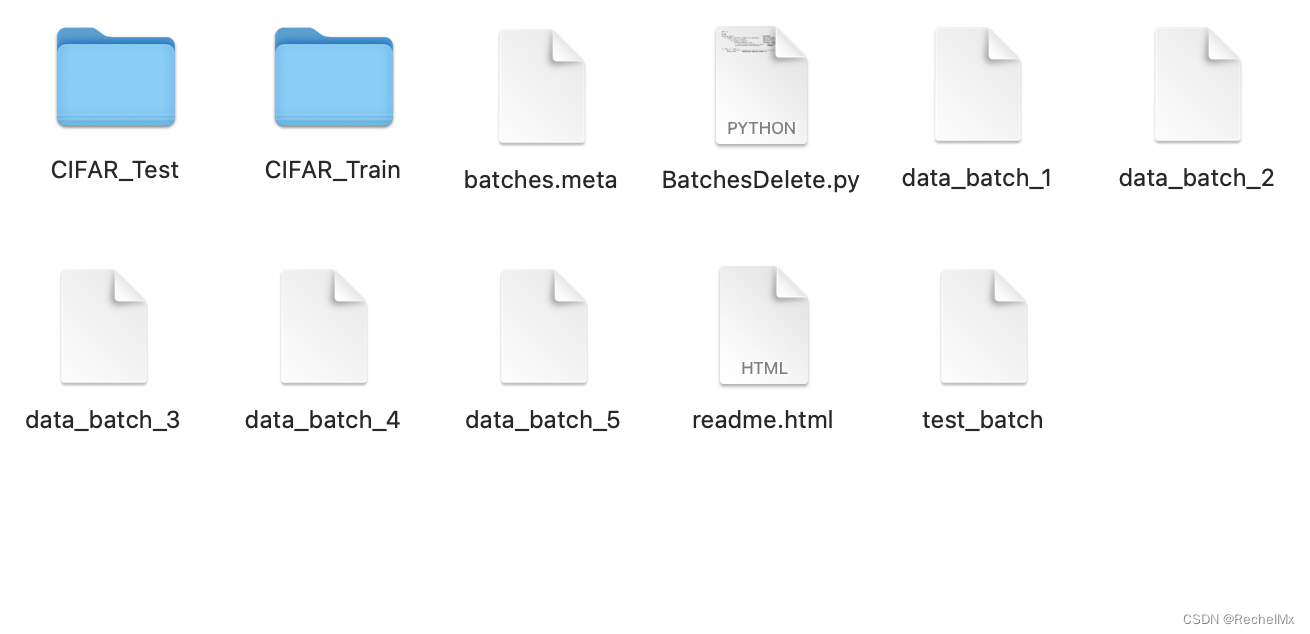
下载并解压完:

Part2: 复制我的CIFAR转换为图片的代码(Python3.x),并修改file_dir以及loc_1和loc_2,一共三个路径需要您的修改。
import cv2
import numpy as np
import os
import pickle
import torch

device = torch.device("cuda" if torch.cuda.is_available() else "cpu")


#官方给出的python3解压数据文件函数,返回数据字典
def unpickle(file):
    with open(file, 'rb') as fo:
        dict = pickle.load(fo, encoding='bytes')
    return dict

loc_1 = '.../CIFAR_Train/'
loc_2 = '.../CIFAR_Test/'

#判断文件夹是否存在,不存在的话创建文件夹
if os.path.exists(loc_1) == False:
    os.mkdir(loc_1)
if os.path.exists(loc_2) == False:
    os.mkdir(loc_2)


#训练集有五个批次,每个批次10000个图片,测试集有10000张图片
def cifar10_img(file_dir):
    for i in range(1,6):
        data_name = file_dir + '/'+'data_batch_'+ str(i)
        data_dict = unpickle(data_name)
        print(data_name + ' is processing')

        for j in range(10000):
            img = np.reshape(data_dict[b'data'][j],(3,32,32))
            img = np.transpose(img,(1,2,0))
            #通道顺序为RGB
            img = cv2.cvtColor(img,cv2.COLOR_BGR2RGB)
            #要改成不同的形式的文件只需要将文件后缀修改即可
            img_name = loc_1 +str(data_dict[b'labels'][j]) + str((i)*10000 + j) + '.jpg'
            cv2.imwrite(img_name,img)

        print(data_name + ' is done')


    test_data_name = file_dir + '/test_batch'
    print(test_data_name + ' is processing')
    test_dict = unpickle(test_data_name)

    for m in range(10000):
        img = np.reshape(test_dict[b'data'][m], (3, 32, 32))
        img = np.transpose(img, (1, 2, 0))
        # 通道顺序为RGB
        img = cv2.cvtColor(img, cv2.COLOR_BGR2RGB)
        # 要改成不同的形式的文件只需要将文件后缀修改即可
        img_name = loc_2 +str(test_dict[b'labels'][m]) + str(10000 + m) + '.jpg'
        cv2.imwrite(img_name, img)
    print(test_data_name + ' is done')
    print('Finish transforming to image')


if __name__ == '__main__':
    file_dir = '.../cifar-10-batches-py'
    cifar10_img(file_dir)
Part3:运行代码,查看.../.../cifar-10-batches-py文件夹底下就会发现已经转换成功并分为Train和Test两个文件夹,如下:
CIFAR数据集:「链接:https://pan.xunlei.com/s/VNRGPmwRuPGqiJL2TO5aOPPdA1?pwd=mifa# 提取码:mifa”复制这段内容后打开手机迅雷App,查看更方便」


 1537
1537


 被折叠的 条评论
为什么被折叠?
被折叠的 条评论
为什么被折叠?
 到【灌水乐园】发言


