


网上有很多实现属性折叠和下拉框显示的方法,但是都需要重写属性,太繁琐,而且新的项目有需要重新写,太繁琐了。今天分享一个简单的方法实现属性框折叠和下拉框显示。
1.实现折叠
其实就是把需要折叠的属性变成一个对象。但是有很关键的一步:定义实例的时候需要增加一行: [TypeConverter(typeof(ExpandableObjectConverter))]
 public class Person
    {
        [Category("基本属性"), DisplayName("姓名")]
        public string Name { get; set; }
        [Category("基本属性"), DisplayName("年龄")]
        public int Age { get; set; }


        public Person()
        {
            //Name = name;
            //Age = age;
            //Gender = gender;
        }
    }
 public class Company
    {

        [Category("基本属性"), DisplayName("公司名称"), Description("公司名称")]
        public string Name { get; set; }

        [Category("基本属性"), DisplayName("公司地址"), Description("公司地址")]
        public string Address { get; set; }
        [TypeConverter(typeof(ExpandableObjectConverter))]
        [Category("基本属性"), DisplayName("老板信息")]
        public Person Boss { get; set; }
    }
添加用
public partial class Form1 : Form
    {
        public Form1()
        {
            InitializeComponent();
        }
        private void Form1_Load(object sender, EventArgs e)
        {
            Company __Param = new Company();
            __Param.Boss = new Person();
            propertyGrid1.SelectedObject = __Param;
        }
    }
运行即可得到下图
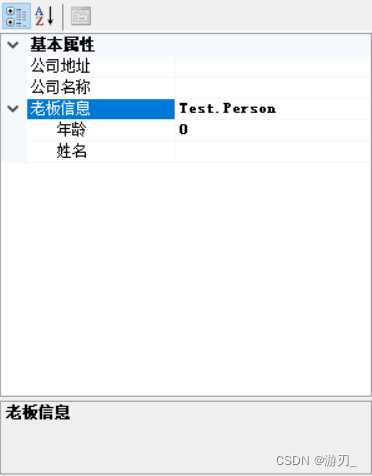
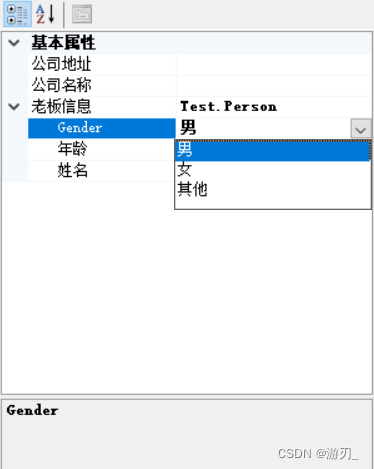
2.实现下拉框
其实就是增加枚举类型,性别
[TypeConverter(typeof(EnumConverter))]
 public enum 性别
    {
        男,
        女,
        其他
    }
    public class Person
    {
        [Category("基本属性"), DisplayName("姓名")]
        public string Name { get; set; }
        [Category("基本属性"), DisplayName("年龄")]
        public int Age { get; set; }

        //使用枚举作为属性
        [TypeConverter(typeof(EnumConverter))]
        public 性别 Gender { get; set; }

    }

    public class Company
    {

        [Category("基本属性"), DisplayName("公司名称"), Description("公司名称")]
        public string Name { get; set; }

        [Category("基本属性"), DisplayName("公司地址"), Description("公司地址")]
        public string Address { get; set; }
        [TypeConverter(typeof(ExpandableObjectConverter))]
        [Category("基本属性"), DisplayName("老板信息")]
        public Person Boss { get; set; }
    }
运行即可
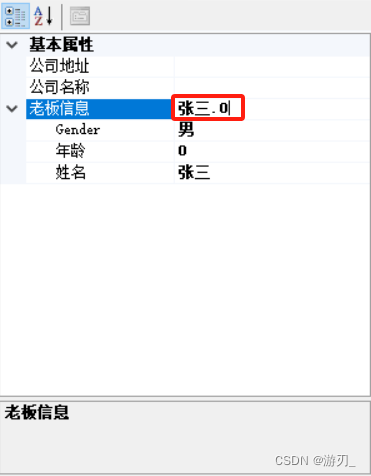
3.折叠框的“值”
细心的朋友会发现,折叠框的右边会显示“Test.Person”,影响美观,实际项目中,定义只会更长更丑。怎么修改显示值呢,方法很简单。重写ToString()接口;
        /// <summary>
        /// 此处定义折叠框显示的内容,暂定位姓名.年龄
        /// </summary>
        /// <returns></returns>
        public override string ToString()
        {
            return $"{Name}.{Age}";
        }
运行一下
写在最后
propertyGrid是项目常用的,以上功能在高手看来不值一哂,就当是给自己备忘吧;
当然能帮到别人更好了。


 417
417

 被折叠的 条评论
为什么被折叠?
被折叠的 条评论
为什么被折叠?
 到【灌水乐园】发言


