


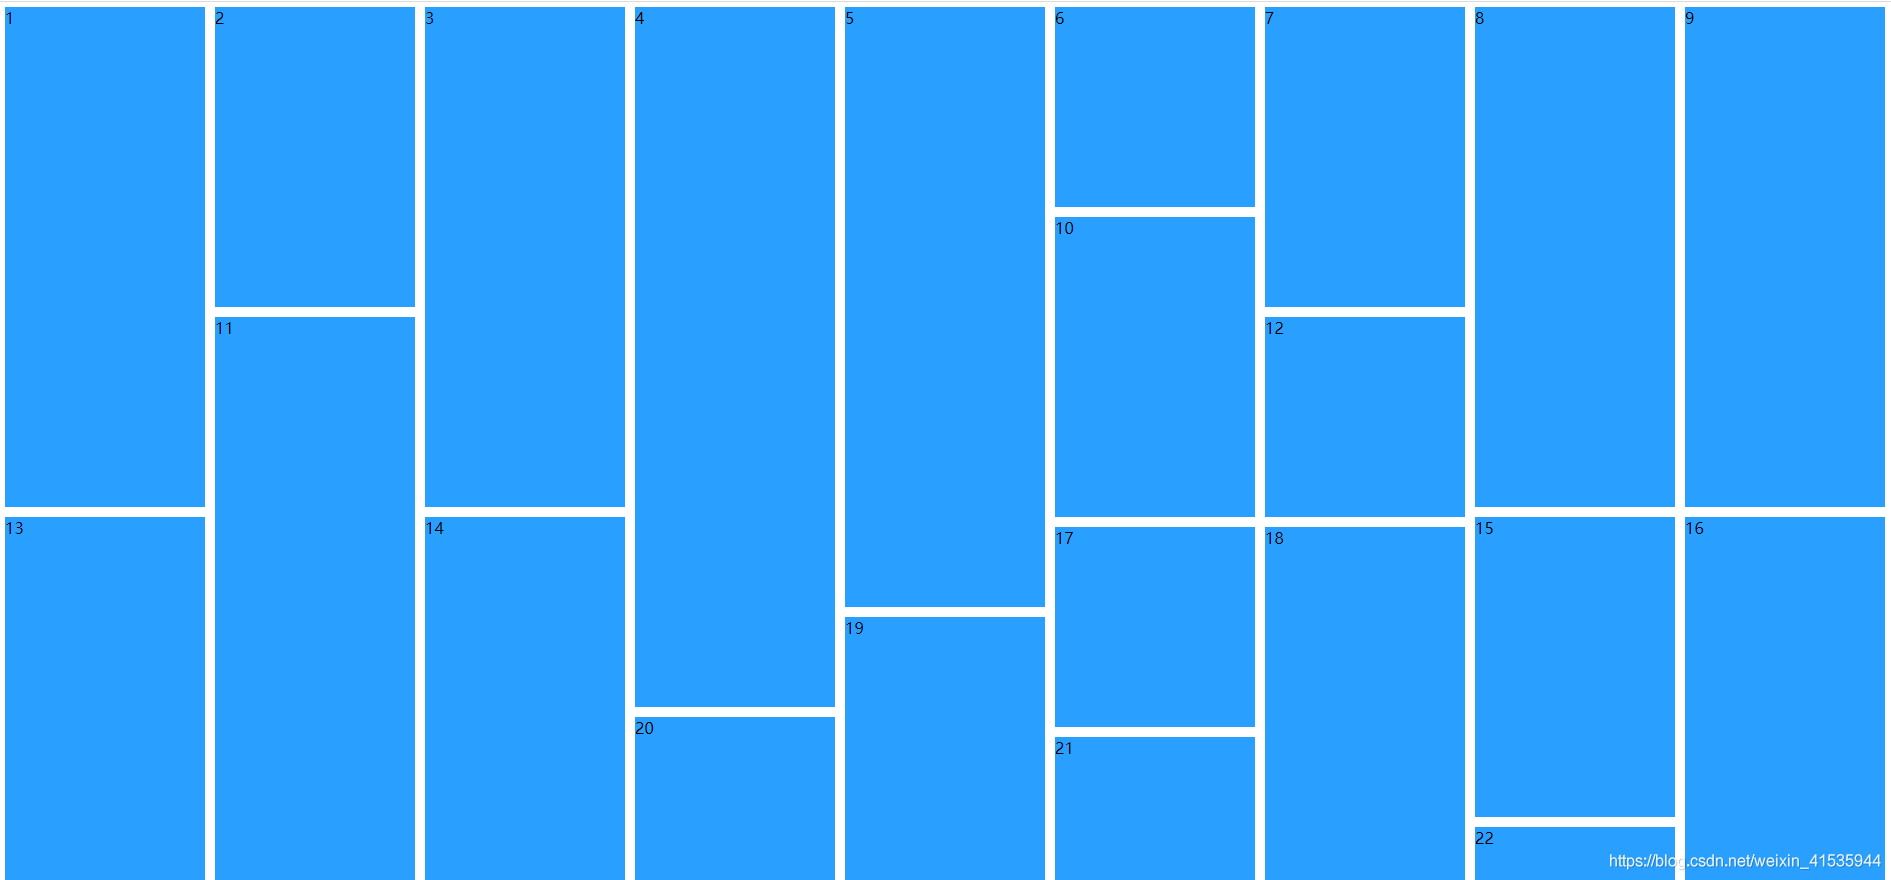
原理分析:
1、瀑布流就是第一排从左到右依次排序,第二排的第一个盒子排列在第一排中最小盒子的后面,后面的就以此类推。
2、这里需要计算每排盒子的高度+外边距、宽度+外边距。
3、最后通过定位来放在高度最小的盒子的后面。
代码实现:
var test = (function init(){
	// 1、获取所有的盒子  宽度都是固定的
	var node = document.querySelectorAll('.item');
	// 2、获取第一个盒子的宽度+外边距
	var nodeWidth = node[0].offsetWidth + 10;
	// 3、这里根据浏览器视口大小进行动态更新展示一排显示的个数
	var colCount = parseInt(document.body.offsetWidth / nodeWidth);
	// 4、定义一个数组保存最后一排的高度
	var colItemHeight = [];
	// 5、默认第一排都是为0
	for(var j = 0; j < colCount;j++){
	  colItemHeight.push(0);
	}
	// 6、遍历所有的盒子
	node.forEach(function(item){
	  // 7、假设第一排第一个为最小的高度
	  var minHeight = colItemHeight[0];
	  // 8、保存最小高度盒子的索引值
	  var index = 0;
	  // 9、遍历最新高度的数组
	  colItemHeight.forEach(function(pro,idx){
	    // 10、判断最小高度是不是大于当前遍历到的高度
	    if(minHeight > pro){
	      // 11、如果条件成立  将当前最小的高度重新复制给最小高度变量
	      minHeight = pro;
	      // 12、同时更新当前最小高度盒子的索引
	      index = idx;
	    }
	  })
	  // 13、获取到最小高度的盒子后  开始设置盒子的定位
	  item.style.top = minHeight + 'px';
	  item.style.left = (nodeWidth * index) + 'px';

	  // 14、动态更新当前遍历的盒子的高度+外边距+最小盒子的高度
	  colItemHeight[index] = (item.offsetHeight + 10) + colItemHeight[index];
	})
	return { init }
})()

document.body.onresize = function(){
	test.init();
}
<style type="text/css">
   body {margin: 0;padding: 0;}
   .water-basic {
     position: relative;
   }
   .item {
     position: absolute;
     width: 200px;
     margin: 5px;
     transition: all 1s;
     background-color: rgb(41, 159, 255);
   }
   .box1 {
     height: 500px;
   }
   .box2 {
     height: 300px;
   }
   .box3 {
     height: 200px;
   }
   .box4 {
     height: 700px;
   }
   .box5 {
     height: 600px;
   }
 </style>
<div class="water-basic">
   <div class="item box1">1</div>
   <div class="item box2">2</div>
   <div class="item box1">3</div>
   <div class="item box4">4</div>
   <div class="item box5">5</div>
   <div class="item box3">6</div>
   <div class="item box2">7</div>
   <div class="item box1">8</div>
   <div class="item box1">9</div>
   <div class="item box2">10</div>
   <div class="item box4">11</div>
   <div class="item box3">12</div>
   <div class="item box1">13</div>
   <div class="item box5">14</div>
   <div class="item box2">15</div>
   <div class="item box1">16</div>
   <div class="item box3">17</div>
   <div class="item box1">18</div>
   <div class="item box2">19</div>
   <div class="item box1">20</div>
   <div class="item box4">21</div>
   <div class="item box5">22</div>
   <div class="item box3">23</div>
   <div class="item box2">24</div>
   <div class="item box1">25</div>
   <div class="item box1">26</div>
   <div class="item box2">27</div>
   <div class="item box4">28</div>
   <div class="item box3">29</div>
   <div class="item box1">30</div>
   <div class="item box5">31</div>
   <div class="item box2">32</div>
   <div class="item box1">33</div>
   <div class="item box3">34</div>
 </div>
原文链接:https://www.cnblogs.com/linhaisheng/p/12970748.html


 6647
6647


 被折叠的 条评论
为什么被折叠?
被折叠的 条评论
为什么被折叠?
 到【灌水乐园】发言


