


4步搞定ILSVRC2012_img_val数据集的预处理及pytorch加载
1,前言
ILSVRC2012_img_val作为图像领域主流的数据集,但是从官网上下载后还需进行预处理才能使用Pytorch转载输入到模型里进行训练,下面就介绍一下imageNet数据集的预处理以及装载的方法。
imageNet2012数据集下载链接imagenet2012数据集及标签
数据预处理的步骤如下:
step 1下载数据, 其中ILSVRC2012_devkit_t12.tar.gz为标签数据,ILSVRC2012_img_val.tar为图片数据step 2解压文件step 3使用Python脚本将数据转为Pytorch要求的数据格式step 4使用Pytorch装载数据
2,数据格式转换
import scipy.io
import  shutil
def move_valimg(val_dir='./cache/data/imagenet/val', devkit_dir='./cache/data/ILSVRC2012_devkit_t12'):
    """
    move valimg to correspongding folders.
    val_id(start from 1) -> ILSVRC_ID(start from 1) -> WIND
    organize like:
    /val
       /n01440764
           images
       /n01443537
           images
        .....
    """
    # load synset, val ground truth and val images list
    synset = scipy.io.loadmat(os.path.join(devkit_dir, 'data', 'meta.mat'))

    ground_truth = open(os.path.join(devkit_dir, 'data', 'ILSVRC2012_validation_ground_truth.txt'))
    lines = ground_truth.readlines()
    labels = [int(line[:-1]) for line in lines]

    root, _, filenames = next(os.walk(val_dir))
    for filename in filenames:
        # val image name -> ILSVRC ID -> WIND
        val_id = int(filename.split('.')[0].split('_')[-1])
        ILSVRC_ID = labels[val_id - 1]
        WIND = synset['synsets'][ILSVRC_ID - 1][0][1][0]
        print("val_id:%d, ILSVRC_ID:%d, WIND:%s" % (val_id, ILSVRC_ID, WIND))

        # move val images
        output_dir = os.path.join(root, WIND)
        if os.path.isdir(output_dir):
            pass
        else:
            os.mkdir(output_dir)
        shutil.move(os.path.join(root, filename), os.path.join(output_dir, filename))

if __name__ == '__main__':
    val_dir = './cache/data/imagenet/val'
    devkit_dir = './cache/data/ILSVRC2012_devkit_t12'
    move_valimg()
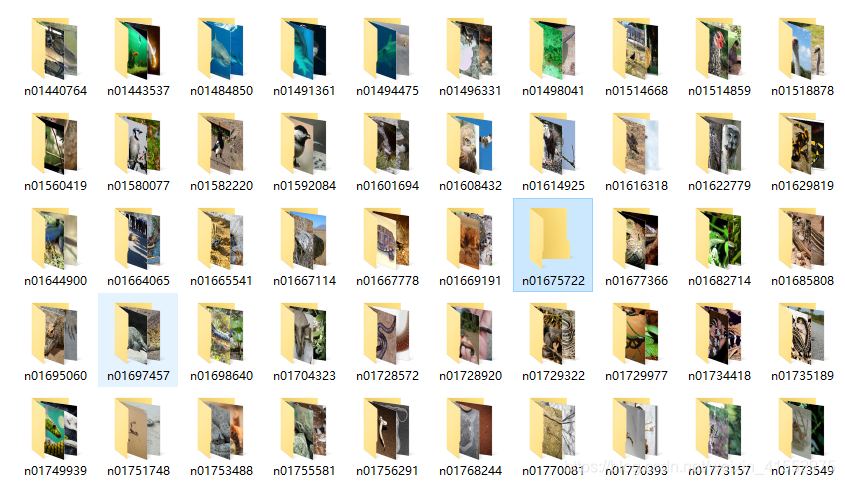
运行上面的脚本程序即可将每类图片放在一个单独的文件夹里,其中图片路径cache为根目录,即脚本程序.py同一级目录
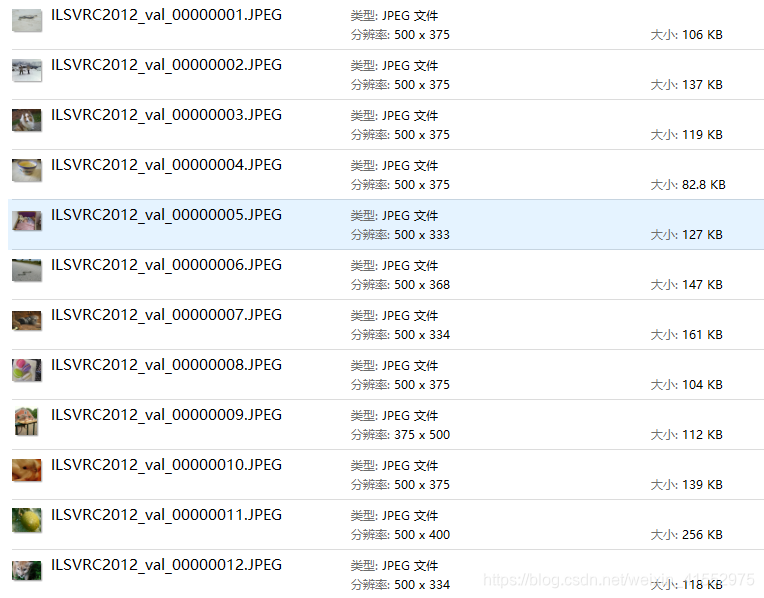
处理前:
处理后:
3,Pytorch数据装载
from torchvision.datasets import ImageFolder
from torchvision import transforms
import glob
    normalize = transforms.Normalize(mean=[.5, .5, .5], std=[.5, .5, .5])
    transform = transforms.Compose([
        transforms.RandomCrop(180),
        transforms.RandomHorizontalFlip(),
        transforms.ToTensor(),  # 将图片转换为Tensor,归一化至[0,1]
        normalize
    ])
    dataset = ImageFolder('./cache/data/imagenet', transform=transform)
    print(dataset[0])
    print(dataset.classes)  # 根据分的文件夹的名字来确定的类别
    print(dataset.class_to_idx)  # 按顺序为这些类别定义索引为0,1...
    print(dataset.imgs)  # 返回从所有文件夹中得到的图片的路径以及其类别
(tensor([[[ 0.2078,  0.2549,  0.0824,  ...,  0.2549,  0.2706,  0.2863],
         [-0.2471, -0.2471,  0.0745,  ...,  0.3098,  0.1686,  0.3490],
         [-0.0667, -0.1373,  0.0667,  ...,  0.1373,  0.1922,  0.1843],
         ...,
         [-0.0745, -0.1137, -0.2784,  ..., -0.3176, -0.3490, -0.3412],
         [-0.0902, -0.0510, -0.2627,  ..., -0.2941, -0.3098, -0.3176],
         [-0.1529, -0.2549, -0.3804,  ..., -0.2706, -0.3098, -0.3098]],
        [[ 0.4667,  0.4196, -0.0510,  ...,  0.2706,  0.2627,  0.2863],
         [-0.1451, -0.0980,  0.0118,  ...,  0.2235,  0.3412,  0.4039],
         [-0.0588, -0.0510,  0.0745,  ...,  0.1765,  0.2549,  0.2471],
         ...,
         [-0.1137, -0.0902, -0.2078,  ..., -0.3569, -0.3725, -0.3647],
         [-0.0588, -0.0588, -0.1608,  ..., -0.3255, -0.3412, -0.3490],
         [-0.1686, -0.2627, -0.2941,  ..., -0.3176, -0.3412, -0.3412]],
        [[ 0.3176,  0.4275, -0.3882,  ...,  0.0980,  0.0431, -0.1216],
         [-0.3647, -0.3333, -0.3490,  ...,  0.0824,  0.0588, -0.0039],
         [-0.4039, -0.2863, -0.1686,  ..., -0.0039,  0.0745,  0.0588],
         ...,
         [-0.4431, -0.5373, -0.4510,  ..., -0.4039, -0.4275, -0.4196],
         [-0.4588, -0.4824, -0.3804,  ..., -0.4118, -0.4118, -0.4196],
         [-0.4745, -0.4275, -0.4196,  ..., -0.4118, -0.4275, -0.4118]]]), 0)
类别: ['n01440764', 'n01443537', 'n01484850', 'n01491361', 'n01494475', 'n01496331', 'n01498041', 'n01514668', 'n01514859', 'n01518878', .....

索引: {'n01440764': 0, 'n01443537': 1, 'n01484850': 2, 'n01491361': 3, 'n01494475': 4, 'n01496331': 5, 'n01498041': 6, 'n01514668': 7, 'n01514859': 8,

所有文件夹中得到的图片的路径以及其类别 :49, 'n07747607': 950, 'n07749582': 951, 'n07753113': 952, 'n07753275': 953, 'n07753592': 954, 'n07754684': 955, 'n07760859': 956, 'n07768694': 957, 'n07802026': 958, 'n07831146': 959, 'n07836838': 960, 'n07860988': 961, 'n07871810': 962, 'n07873807': 963, 'n07875152': 964, 'n07880968': 965, 'n07892512': 966, 'n07920052': 967, 'n07930864': 968, 'n07932039': 969, 'n09193705': 970, 'n09229709': 971, 'n09246464': 972, 'n09256479': 973, 'n09288635': 974, 'n09332890': 975, 'n09399592': 976, 'n09421951': 977, 'n09428293': 978, 'n09468604': 979, 'n09472597': 980, 'n09835506': 981, 'n10148035': 982, 'n10565667': 983, 'n11879895': 984, 'n11939491': 985, 'n12057211': 986, 'n12144580': 987, 'n12267677': 988, 'n12620546': 989, 'n12768682': 990, 'n12985857': 991, 'n12998815': 992, 'n13037406': 993, 'n13040303': 994, 'n13044778': 995, 'n13052670': 996, 'n13054560': 997, 'n13133613': 998, 'n15075141': 999}
.JPEG', 712), ('./cache/data/imagenet\\n03920288\\ILSVRC2012_val_00049600.JPEG', 712), ('./cache/data/imagenet\\n03924679\\ILSVRC2012_val_00000489.JPEG', 713),


 被折叠的 条评论
为什么被折叠?
被折叠的 条评论
为什么被折叠?
 到【灌水乐园】发言


