


目录
环境
VMware Workstation Pro17 Pro
istoreos 的虚拟机镜像文件
1.准备工作
1. 1 准备工作
确保你的计算机上已经安装了VMware Workstation Pro。这是运行虚拟机的基础软件。自己可以在官网中下载。
1. 2 准备 istoreos 的虚拟机镜像文件
没有虚拟机镜像文件的可以通过 StarWind Converter 将 istoreos固件转换为虚拟机可识别的格式。
选择并下载适合的固件,例如:istoreos-22.03.6-2024071911-x86-64-squashfs-combined.img.gz
StarWind Converter 转换工具下载https://www.starwindsoftware.com/tmplink/starwindconverter.exe安装并运行转换工具,按照向导选择“Local file”并选择下载的镜像文件进行转换vmdk。
2. 虚拟机环境设置
2.1 创建虚拟机
在VMware中创建新的空白系统虚拟机,
完成建立后,打开虚拟机配置,添加新硬盘,导入我们刚才转换后的istoreos 的虚拟机VMDK。
导入硬盘后的虚拟机配置表

3. 配置 istoreos
3.1 修改 istoreos的默认IP
打开network文件 ,配置 ip 、网关与子网掩码
vi /etc/config/network
在文件中lan口下添加自己的IP,设置完后重启
config interface 'lan'
        option proto 'static'
        option gateway '192.168.31.1'
        option ipaddr '192.168.31.244'
        option netmask '255.255.255.0'
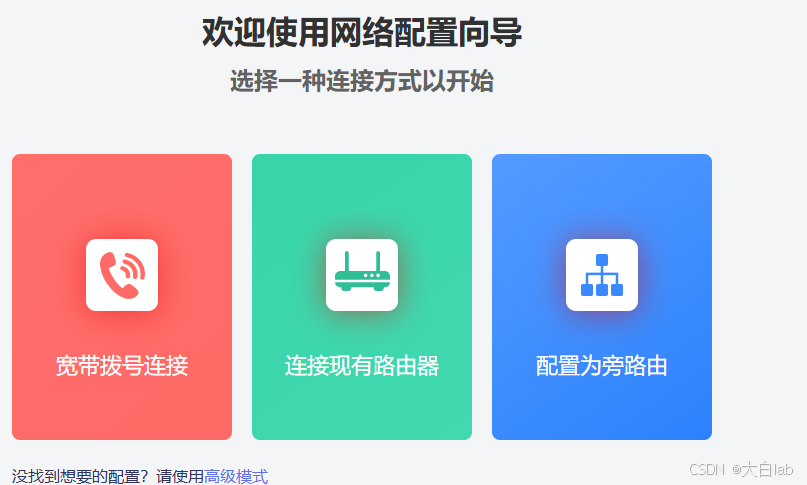
3.2 设置旁路由模式
登录到 istoreos后台 192.168.31.244 , root用户,默认密码为password
将局域网内终端设备的网关设置为istoreos旁路由的IP地址,即可通过旁路由上网。

3.3 安装插件
istoreos 中的iStore商店 无法更新的问题 由于istoreos 服务器的域名备案问题导致,更新一下连接地址
sh -c "$(curl -sSL http://fw.koolcenter.com/iStoreOS/alpha/fix-istore.sh)"
这样就可根据需要,自行安装所需插件。
参考
https://blog.csdn.net/wykqh/article/details/135183762
https://space.bilibili.com/250915741/article


 8127
8127

 被折叠的 条评论
为什么被折叠?
被折叠的 条评论
为什么被折叠?
 到【灌水乐园】发言


