


目录
目录前言安装python3.61、查看默认版本2、安装依赖环境3、下载Python3安装包5、进入解压后的目录,添加配置6、编译源码7、执行安装8、将python3的目录复制到/usr/bin/目录下9、建立软连接10、配置环境变量11、检查验证12、安装模块
正文
前言:
python3应该是Python的趋势所在,当然目前争议也比较大,这篇随笔的主要目的是记录在centos6.7下搭建python3环境的过程
以及碰到的问题和解决过程。
另外,如果本机安装了python2,尽量不要管他,使用python3运行python脚本就好,因为可能有程序依赖目前的python2环境,
比如yum!!!!!
不要动现有的python2环境!
不要动现有的python2环境!
不要动现有的python2环境!
重要的使用说三遍!
安装python3、6
一、查看默认版本
查看当前CentOS-6.7系统默认的python版本[hadoop@hadoop1 ~]$ python -V
Python 2.6.6
[hadoop@hadoop1 ~]$
二、安装依赖环境
此处需要使用root用户进行安装[root@hadoop1 hadoop]# yum -y install zlib-devel bzip2-devel openssl-devel ncurses-devel sqlite-devel readline-devel tk-devel gdbm-devel db4-devel libpcap-devel xz-devel
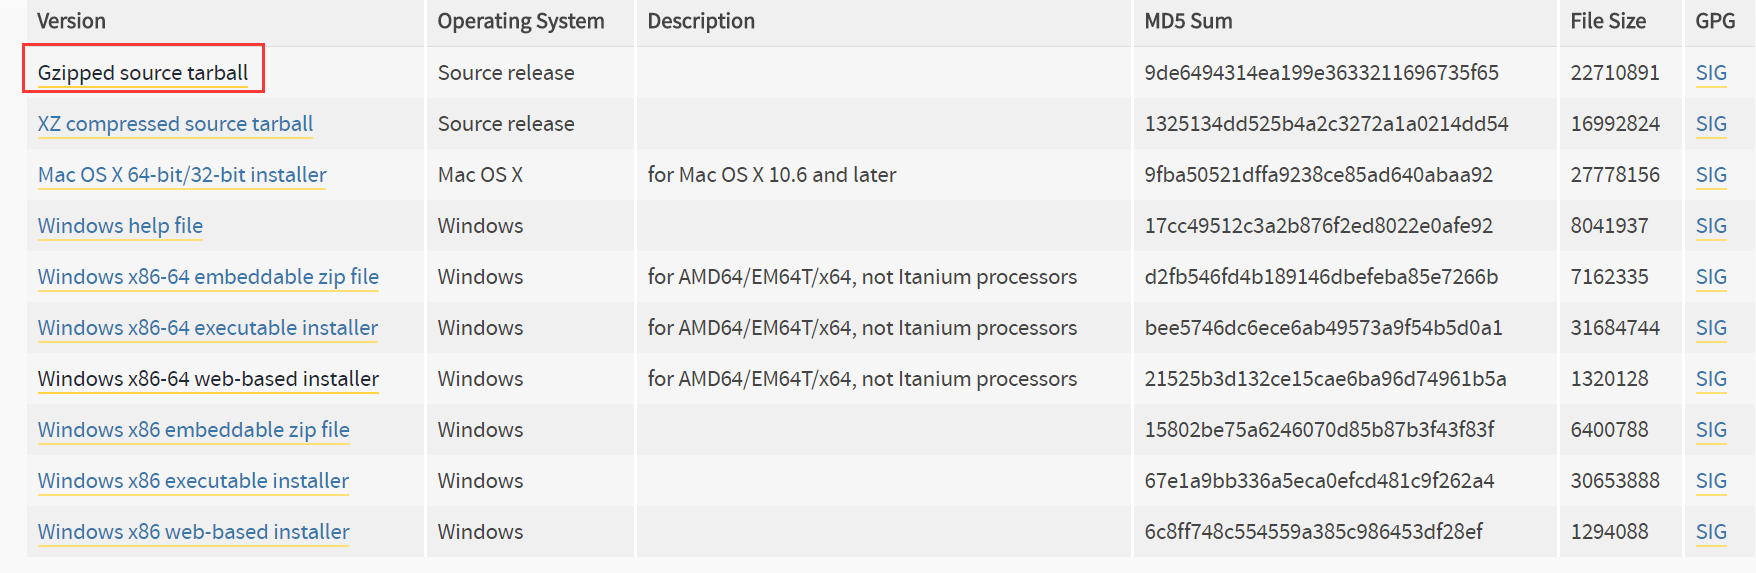
三、下载python3安装包
https://www.python.org
也可以从华中科技大学开源镜像站里面下载:http://mirrors.hust.edu.cn/
从官网下载,下载的版本是Python-3.6.4.tgz
四、安装python3
个人习惯安装在/usr/local/python3(具体安装位置看个人喜好)
创建目录:[root@hadoop1 bin]# mkdir -p /usr/local/python3
[root@hadoop1 bin]#
上传并解压安装包:[root@hadoop1 soft]# ls
Python-3.6.4.tgz
[root@hadoop1 soft]# tar -zxvf Python-3.6.4.tgz -C /usr/local/python3/
五、进入解压后的目录、添加配置[root@hadoop1 soft]# cd /usr/local/python3/
[root@hadoop1 python3]# ls
Python-3.6.4
[root@hadoop1 python3]# cd Python-3.6.4/
[root@hadoop1 Python-3.6.4]# ./configure --prefix=/usr/local/python3执行过程中报错
[root@hadoop1 Python-3.6.4]# ./configure --prefix=/usr/local/python3
checking build system type... x86_64-pc-linux-gnu
checking host system type... x86_64-pc-linux-gnu
checking for python3.6... no
checking for python3... no
checking for python... python
checking for --enable-universalsdk... no
checking for --with-universal-archs... no
checking MACHDEP... linux
checking for --without-gcc... no
checking for --with-icc... no
checking for gcc... no
checking for cc... no
checking for cl.exe... no
configure: error: in `/usr/local/python3/Python-3.6.4':
configure: error: no acceptable C compiler found in $PATH
See `config.log' for more details
[root@hadoop1 Python-3.6.4]#
报错原因是由于本机中缺少gcc编译环境,2种解决方式
1、通过yum安装gcc编译环境:yum install -y gcc
2、本机没有安装yum功能,可下载gcc安装包:https://gcc.gnu.org/[root@hadoop1 Python-3.6.4]# yum install -y gcc[root@hadoop1 Python-3.6.4]# yum install -y gcc
已安装:
gcc.x86_64 0:4.4.7-18.el6_9.2
作为依赖被安装:
cloog-ppl.x86_64 0:0.15.7-1.2.el6 cpp.x86_64 0:4.4.7-18.el6_9.2 mpfr.x86_64 0:2.4.1-6.el6
ppl.x86_64 0:0.10.2-11.el6
作为依赖被升级:
libgcc.x86_64 0:4.4.7-18.el6_9.2 libgomp.x86_64 0:4.4.7-18.el6_9.2
完毕!
[root@hadoop1 Python-3.6.4]#
重新执行命令 添加配置[root@hadoop1 Python-3.6.4]# ./configure --prefix=/usr/local/python3[root@hadoop1 Python-3.6.4]# ./configure --prefix=/usr/local/python3
checking for glibc _FORTIFY_SOURCE/memmove bug... no
checking for gcc ipa-pure-const bug... no
checking for stdatomic.h... no
checking for GCC >= 4.7 __atomic builtins... no
checking for ensurepip... upgrade
checking if the dirent structure of a d_type field... yes
checking for the Linux getrandom() syscall... no
checking for the getrandom() function... no
configure: creating ./config.status
config.status: creating Makefile.pre
config.status: creating Modules/Setup.config
config.status: creating Misc/python.pc
config.status: creating Misc/python-config.sh
config.status: creating Modules/ld_so_aix
config.status: creating pyconfig.h
creating Modules/Setup
creating Modules/Setup.local
creating Makefile
If you want a release build with all stable optimizations active (PGO, etc),
please run ./configure --enable-optimizations
[root@hadoop1 Python-3.6.4]#
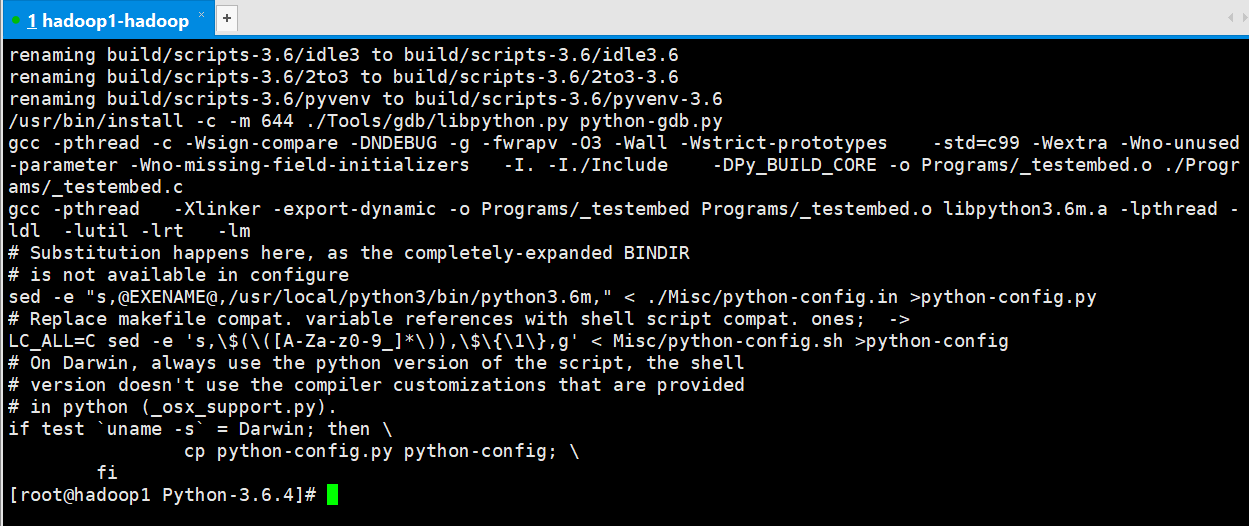
六、编译源码[root@hadoop1 Python-3.6.4]# make
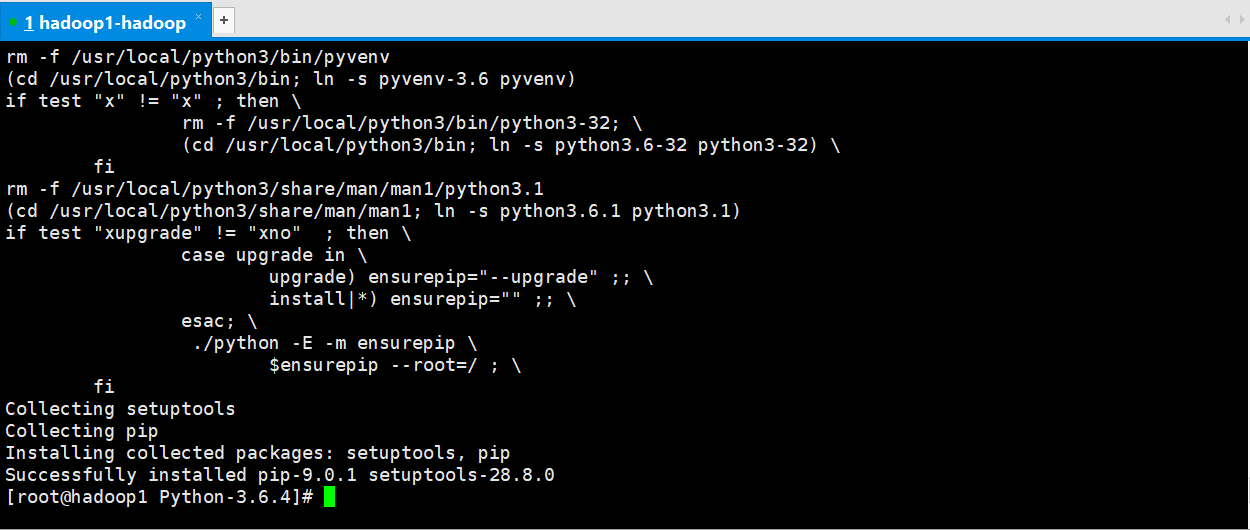
七、执行安装[root@hadoop1 Python-3.6.4]# make install
八、将python3的目录复制到/usr/bin/目录下[root@hadoop1 /]# cp /usr/local/python3/ /usr/bin/
[root@hadoop1 /]#
九、建立软连接对/usr/bin目录下的python3目录重命名为python364[root@hadoop1 bin]# mv python3 python364建立软链接[root@hadoop1 bin]# ln -s /usr/local/python3/bin/python3 /usr/bin/python3可以ls -l查看一下
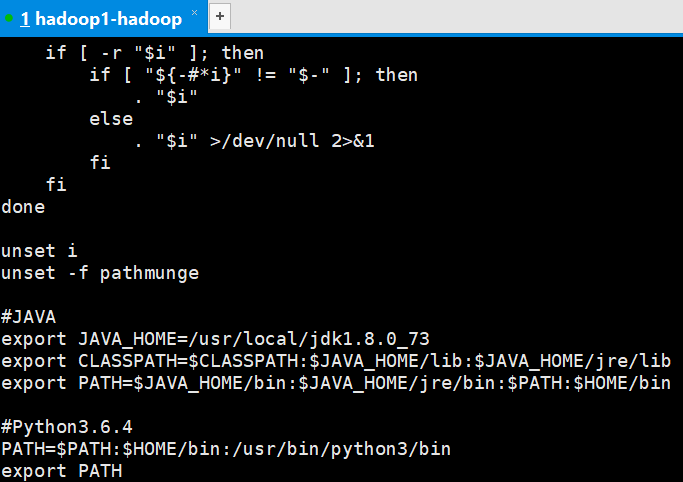
十、配置环境变量[root@hadoop1 bin]# vi /etc/profile#Python3.6.4
PATH=$PATH:$HOME/bin:/usr/bin/python3/bin
export PATH
修改完记得执行行下面的命令,让上一步的修改生效:[root@hadoop1 bin]# source /etc/profile
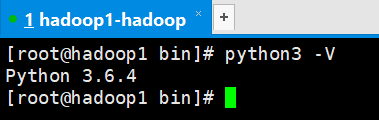
十一、检查验证[root@hadoop1 bin]# python3 -V
Python 3.6.4
[root@hadoop1 bin]#
十二、安装模块[root@hadoop1 bin]# pip3 install paramiko
bash: /usr/bin/pip3: 没有那个文件或目录
报错么有这个命令
建立pip3的软连接[root@hadoop1 bin]# ln -s /usr/local/python3/bin/pip3.6 /usr/bin/pip3
重新安装模块[root@hadoop1 bin]# pip3 install paramiko
Collecting paramiko
Could not find a version that satisfies the requirement paramiko (from versions: )
No matching distribution found for paramiko
You are using pip version 9.0.1, however version 9.0.3 is available.
You should consider upgrading via the 'pip install --upgrade pip' command.
[root@hadoop1 bin]#


 203
203


 被折叠的 条评论
为什么被折叠?
被折叠的 条评论
为什么被折叠?
 到【灌水乐园】发言


