


第一步:安装Apache Web 服务器
# 注:采用该方法安装Apache的配置文件的默认路径在/etc/httpd/conf/httpd.conf
[root@localhost ~]# yum install -y httpd httpd-tools

查看Apache运行状态
[root@localhost ~]# systemctl status httpd

启用Apache服务,并使其在系统启动时启动。
[root@localhost ~]# systemctl start httpd
[root@localhost ~]# systemctl enable httpd
检查Web服务器的版本,以确保已正确安装。
httpd -v
接下来我们测试一下Apache Web 服务器是否安装成功

本页面是在 Apache HTTP 服务器测试页 ,完成安装后用来测试它的正常运作。如果你能阅读此页面,此网站已能正常运作。
第二步:安装数据库
1、安装MariaDB
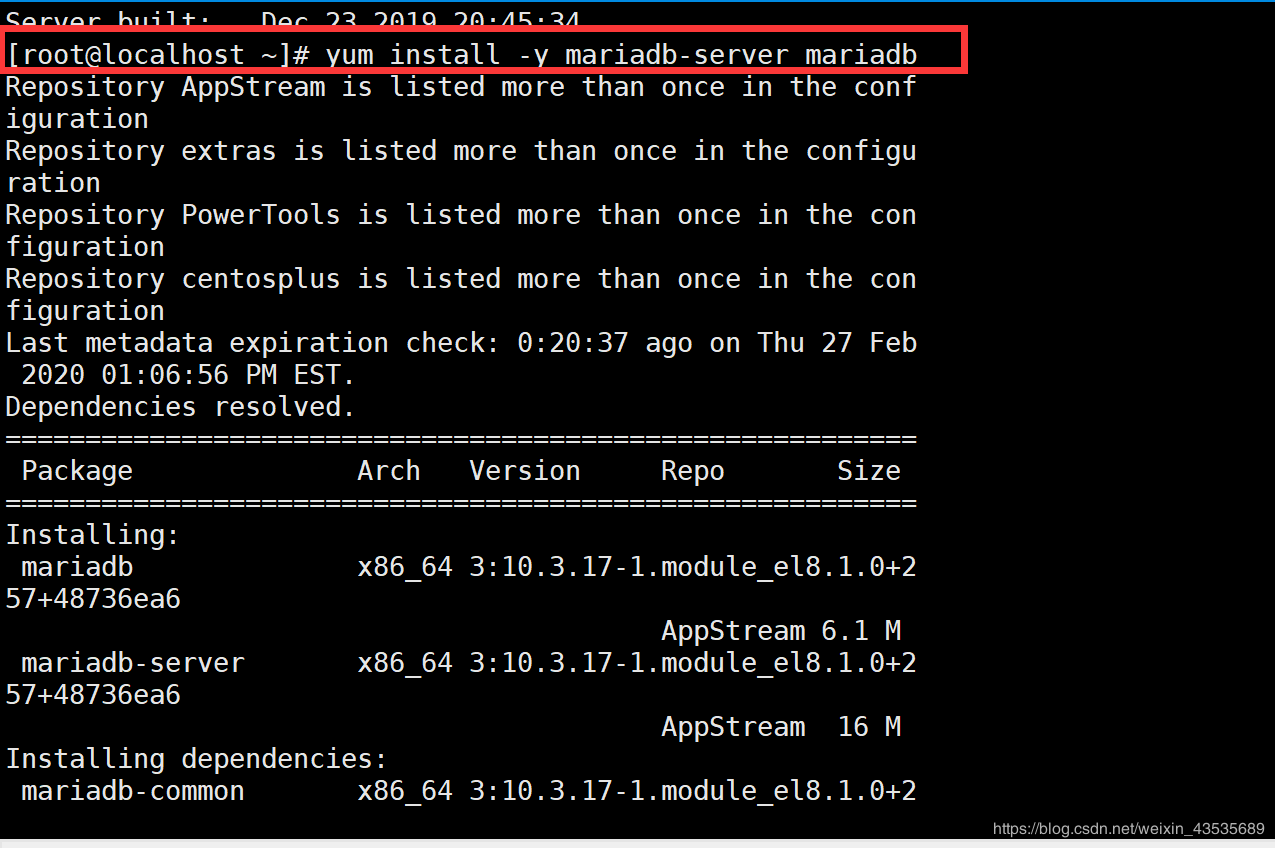
[root@localhost ~]# yum install -y mariadb-server mariadb
然后启动,并在系统启动时,启用MariaDB
[root@localhost ~]# systemctl start mariadb.service
[root@localhost ~]# systemctl enable mariadb.service

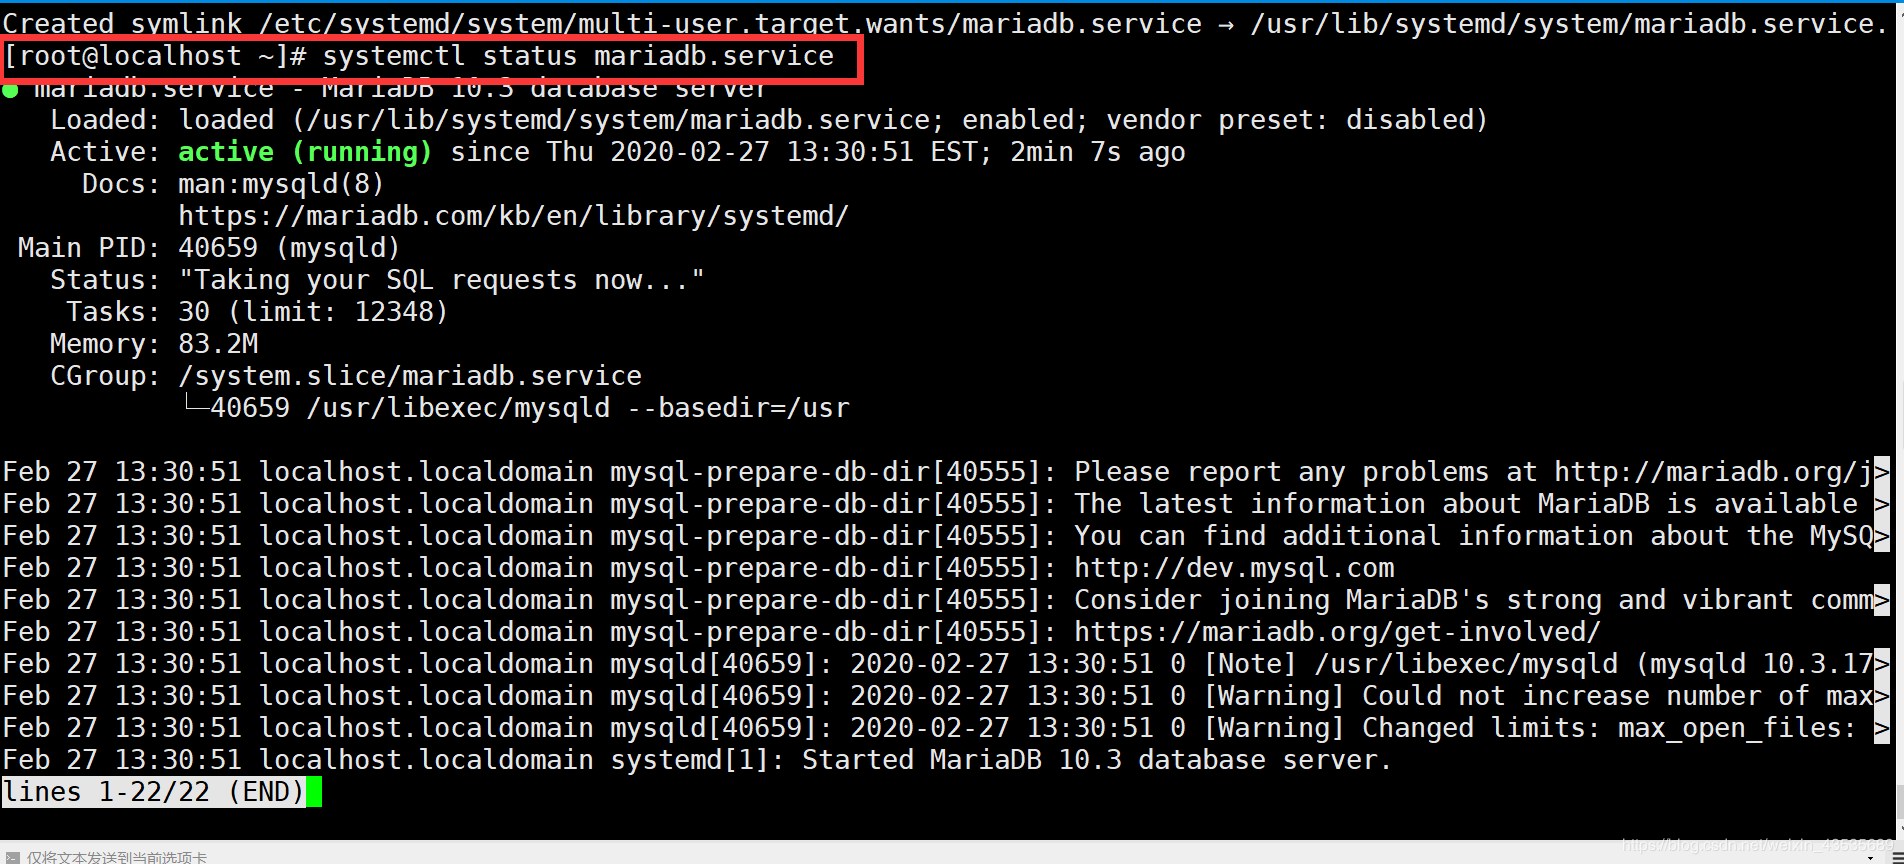
查看MariaDB运行状态
systemctl status mariadb.service
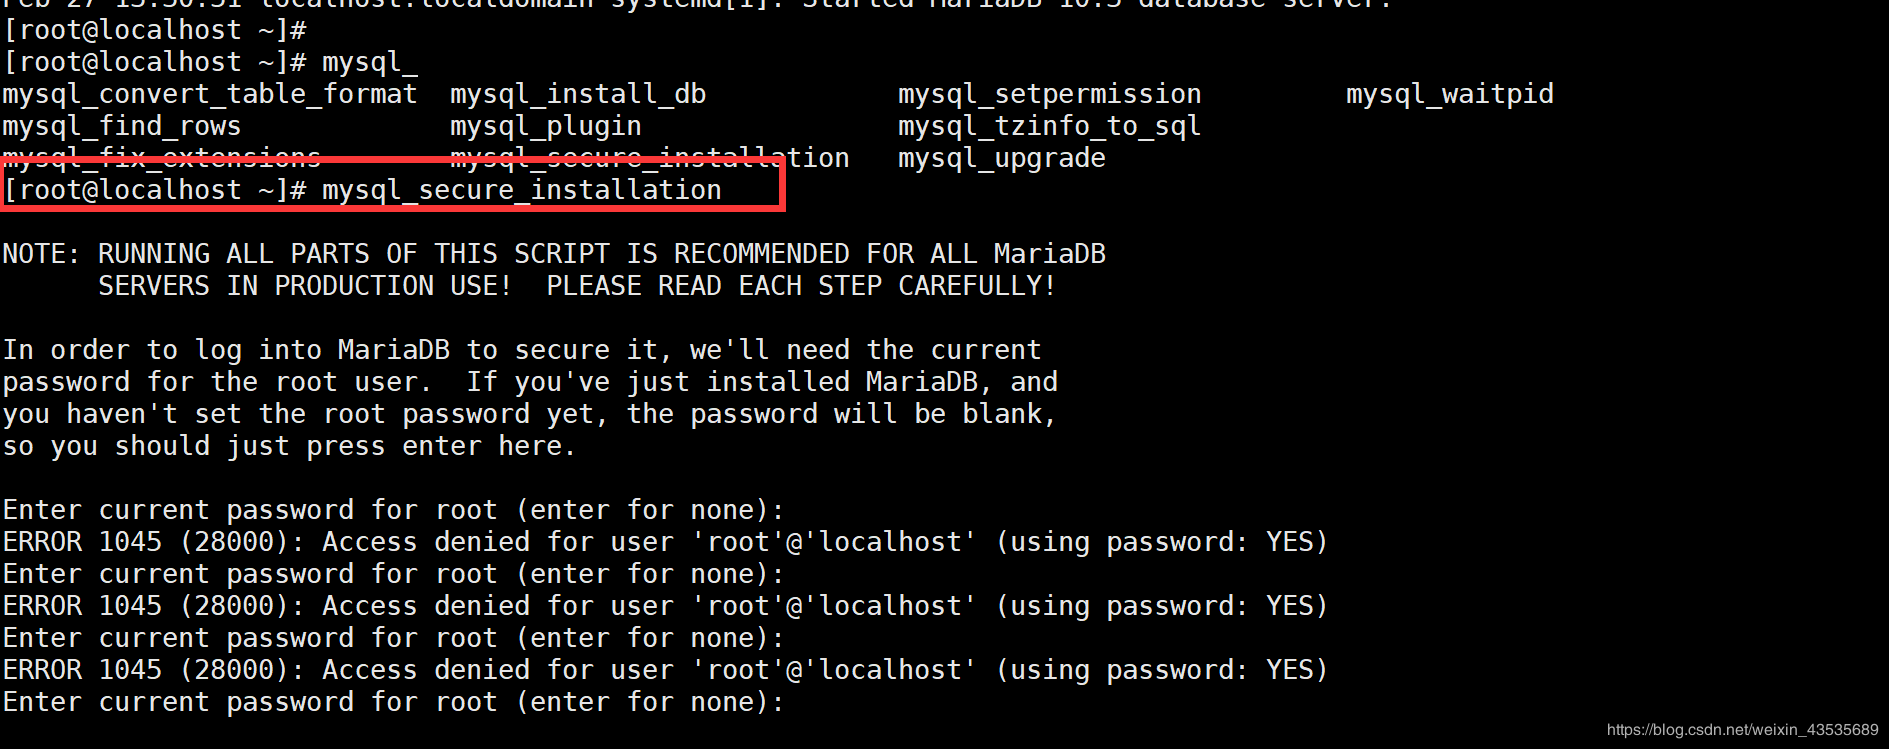
最后,我们需要通过secure来保护MariaDB数据库引擎,做好数据库安全
#初始化,执行命令,重置密码
mysql_secure_installation
注:
安装完mysql-server 会提示可以运行mysql_secure_installation。运行mysql_secure_installation会执行几个设置:
--为root用户设置密码
--删除匿名账号
--取消root用户远程登录
--删除test库和对test库的访问权限
--刷新授权表使修改生效
通过这几项的设置能够提高mysql库的安全。
建议生产环境中mysql安装这完成后一定要运行一次mysql_secure_installation
[root@server1 ~]# mysql_secure_installation
NOTE: RUNNING ALL PARTS OF THIS SCRIPT IS RECOMMENDED FOR ALL MySQL
SERVERS IN PRODUCTION USE! PLEASE READ EACH STEP CAREFULLY!
In order to log into MySQL to secure it, we'll need the current
password for the root user. If you've just installed MySQL, and
you haven't set the root password yet, the password will be blank,
so you should just press enter here.
Enter current password for root (enter for none):
OK, successfully used password, moving on…
Setting the root password ensures that nobody can log into the MySQL
root user without the proper authorisation.
Set root password? [Y/n]
New password:
Re-enter new password:
Password updated successfully!
Reloading privilege tables..
… Success!
By default, a MySQL installation has an anonymous user, allowing anyone
to log into MySQL without having to have a user account created for
them. This is intended only for testing, and to make the installation
go a bit smoother. You should remove them before moving into a
production environment.
Remove anonymous users? [Y/n]
… Success!
Normally, root should only be allowed to connect from 'localhost'. This
ensures that someone cannot guess at the root password from the network.
Disallow root login remotely? [Y/n]
… Success!
By default, MySQL comes with a database named 'test' that anyone can
access. This is also intended only for testing, and should be removed
before moving into a production environment.
Remove test database and access to it? [Y/n]
- Dropping test database…
… Success!
- Removing privileges on test database…
… Success!
Reloading the privilege tables will ensure that all changes made so far
will take effect immediately.
Reload privilege tables now? [Y/n]
… Success!
Cleaning up…
All done! If you've completed all of the above steps, your MySQL
installation should now be secure.
Thanks for using MySQL!
[root@server1 ~]#
此过程我们输入root密码,其他选项都选 y 即可 。
2、安装Mysql
(1)使用安装命令 :yum -y install mysql mysql-server mysql-devel
注:
mysql-devel 开发用到的库以及包含文件
mysql mysql 客户端
mysql-server 数据库服务器
要去官网上进行下载,找到链接,用wget打开:
1、 wget http://dev.mysql.com/get/mysql-community-release-el7-5.noarch.rpm
2、 rpm -ivh mysql-community-release-el7-5.noarch.rpm
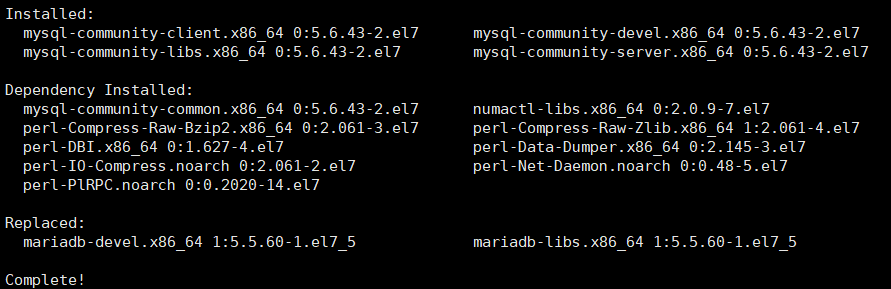
3、两次进行yum -y install mysql mysql-server mysql-devel,安装成功。再次使用该命令,然后得到以下信息
(2)Mysql分为client,server端两个端口,如果想要使用,先打开服务端
service mysqld start
#加入开机启动
systemctl enable mysqld
#启动mysql服务进程
systemctl start mysqld

(3)接下来进入客户端,作用命令mysql -u root -p 输入密码,默认为空
(4)常用数据库操作
mysql数据库使用总结
本文主要记录一些mysql日常使用的命令,供以后查询。
1.更改root密码
mysqladmin -uroot password 'yourpassword'
2.远程登陆mysql服务器
mysql -uroot -p -h192.168.137.10 -P3306
3.查询数据库
show databases;
4.进入某个数据库
use databasename;
5.列出数据库中的表
show tables;
6.查看某个表全部字段
desc slow_log;
show create table slow_log\G; (不仅可以显示表信息,还可以显示建表语句)
7.查看当前用户
select user();
8.查看当前所在数据库
select database();
9.创建新数据库(可以指定字符集)
create database db1 charset utf8;
10.创建新表
create table t1 (`id` int(4), `name` char(40));
11.查看数据库版本
select version();
12.查看数据库状态
show status; 当前会话状态
show global status; 全局数据库状态
show slave status\G; 查看主从数据库状态信息
13.查询数据库参数
show variables;
14.修改数据库参数
show variables like 'max_connect%';
set global max_connect_errors = 1000;(重启数据库会失效,要在配置文件中修改)
15.查看当前数据库队列
show processlist;
16.创建普通用户并授权给某个数据库
grant all on databasename.* to 'user1'@'localhost' identified by '123456';
17.查询表数据
select * from mysql.db; //查询该表中的所有字段
select count(*) from mysql.user; //count(*)表示表中有多少行
select db,user from mysql.db; //查询表中的多个字段
select * from mysql.db where host like '10.0.%';在查询语句中可以使用万能匹配 “%”
18.插入一行数据
insert into db1.t1 values (1, 'abc');
19.更改表的某一行数据
update db1.t1 set name='aaa' where id=1;
20.清空表数据
truncate table db1.t1;
21.删除表
drop table db1.t1;
22.清空数据库中的所有表(数据库名是eab12)
mysql -N -s information_schema -e "SELECT CONCAT('TRUNCATE TABLE ',TABLE_NAME,';') FROM TABLES WHERE TABLE_SCHEMA='eab12'" | mysql -f eab12
23.删除数据库
drop database db1;
24.数据库备份
mysqldump -uroot -p'yourpassword' mysql >/tmp/mysql.sql
25.数据库恢复
mysql -uroot -p'yourpassword' mysql
26.新建普通用户
CREATE USER name IDENTIFIED BY 'ssapdrow';
27.更改普通用户密码
SET PASSWORD FOR name=PASSWORD('fdddfd');
28.查看name用户权限
SHOW GRANTS FOR name;
29.脚本中执行mysql命令
mysql -uuser -ppasswd -e"show databases"
echo "show databases"|mysql -uuser -ppassword
以下是执行大量mysql语句采用的方式
mysql -uuser -hhostname -ppasswd <
mysql语句
EOF
第三步:安装PHP7


 549
549


 被折叠的 条评论
为什么被折叠?
被折叠的 条评论
为什么被折叠?
 到【灌水乐园】发言


