


jupyter
系统环境
CentOS Linux release 7.7.1908 (Core)
Linux version 3.10.0-1062.1.1.el7.x86_64 (mockbuild@kbuilder.bsys.centos.org) (gcc version 4.8.5 20150623 (Red Hat 4.8.5-39) (GCC) ) #1 SMP Fri Sep 13 22:55:44 UTC 2019
1. 目标
- 安装jupyter,并配置nginx
- 用Anconda创建一个tensorflow1.x的环境
Anconda在linux上的安装
主要是安装jupyter
2. 创建用户
root用户
useradd -G anaconda tf1

# 查看
id tf1

改密码
passwd tf1
3. 创建一个tensorflow的环境
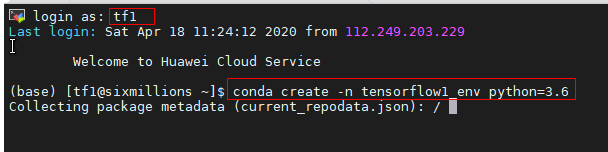
用刚才创建的tf1用户登录
我们先初始化一下
conda init

重新登录该环境,再创建
conda create -n tensorflow1_env python=3.6
再激活该环境
conda activate tensorflow1_env
4. 安装tensorflow
查找tensorflow
conda search tensorflow
安装
conda install tensorflow==1.14.0
如果安装失败再试一遍
如果没有合适的可以使用pip安装
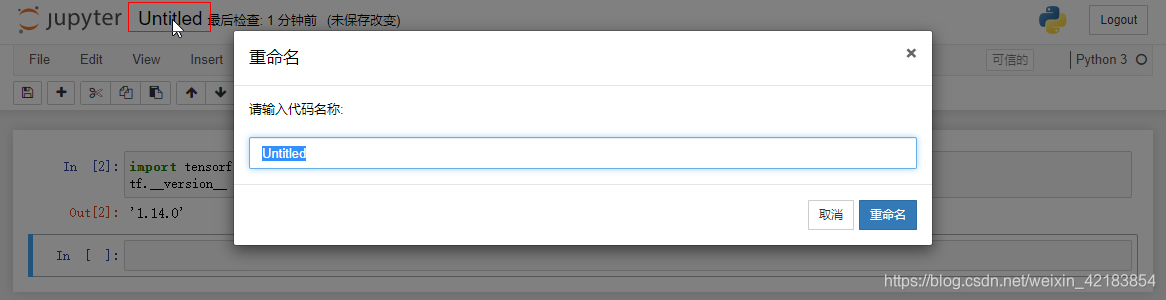
测试安装
python

 import tensorflow as tf
tf.__version__
5. 安装jupyter
1. 安装
conda install jupyter
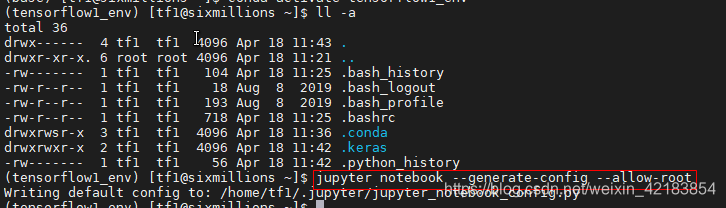
先让配置显示出来,因为我用的tf1用户所以在tf1的home目录就有了
jupyter notebook --generate-config --allow-root
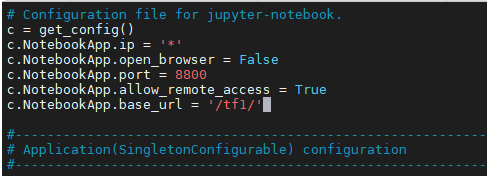
编辑配置
vim /home/tf1/.jupyter/jupyter_notebook_config.py

# 添加
c = get_config()
c.NotebookApp.ip = '*'
c.NotebookApp.open_browser = False
c.NotebookApp.port = 8800
c.NotebookApp.allow_remote_access = True
c.NotebookApp.base_url = '/tf1/'
增加密码
jupyter notebook password

6. 运行
tf1用户
jupyter notebook
如果你是root用户运行jupyter
jupyter notebook --allow-root

访问看一下

后台运行
nohup jupyter notebook &
7. 配置nginx(包括域名访问)
假设你已经安装了
切换到root用户,因为我nginx是root安装的
编辑nginx配置
vim /etc/nginx/conf.d/defult.conf

    location /tf1/ {
        proxy_pass http://127.0.0.1:8800;
        proxy_set_header Host $host;
        proxy_set_header X-Real-Scheme $scheme;
        proxy_set_header X-Real-IP $remote_addr;
        proxy_set_header X-Forwarded-For $proxy_add_x_forwarded_for;

        # WebSocket support
        proxy_http_version 1.1;
        proxy_set_header Upgrade $http_upgrade;
        proxy_set_header Connection "upgrade";

        proxy_read_timeout 120s;
        proxy_next_upstream error;
    }
生效
nginx -s reload
注意监听端口
https://blog.csdn.net/qq_40256654/article/details/86476738
访问测试

这样你ip和域名都能访问了
8. 测试
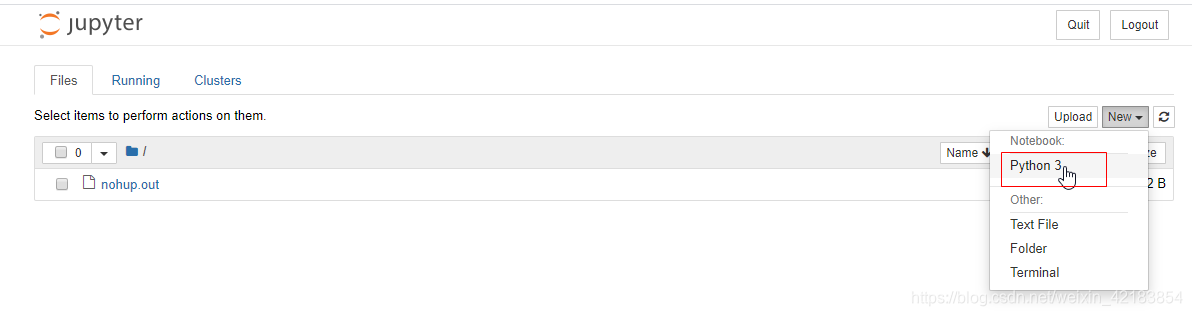
输入密码登录后
新建notebook


 253
253


 被折叠的 条评论
为什么被折叠?
被折叠的 条评论
为什么被折叠?
 到【灌水乐园】发言


