


06.
初识Spring Cloud
大家好,我是营长,上期给大家分享——Spring Boot 启动原理-02
本期分享内容:初识Spring Cloud
本期邀请的是李熠老师(某大型互联网公司系统架构师)为我们分享《Spring Cloud快速入门》专栏。
Spring Cloud
初识Spring Cloud
Spring Cloud 基于 Spring Boot,因此在前几篇,我们系统地学习了 Spring Boot 的基础知识,为深入研究 Spring Cloud 打下扎实的基础。
从本章开始,我们将正式进入探索 Spring Cloud 秘密的旅程中。学习完本课程后,读者将从中学习到如何搭建一个完整的分布式架构,从而向架构师方向靠近。
微服务概述
根据官网,微服务可以在“自己的程序”中运行,并通过“轻量级设备与 HTTP 型 API 进行沟通”。关键在于该服务可以在自己的程序中运行。通过这一点我们就可以将服务公开与微服务架构(在现有系统中分布一个 API)区分开来。在服务公开中,许多服务都可以被内部独立进程所限制。如果其中任何一个服务需要增加某种功能,那么就必须缩小进程范围。在微服务架构中,只需要在特定的某种服务中增加所需功能,而不影响整体进程。
微服务的核心是 API,在一个大型系统中,我们可以将其拆分为一个个的子模块,每一个模块就可以是一个服务,各服务之间通过 API 进行通信。
什么是 Spring Cloud
Spring Cloud 是微服务架构思想的一个具体实现,它为开发人员提供了快速构建分布式系统中一些常见模式的工具(例如配置管理、服务发、断路器,智能路由、微代理、控制总线等)。
Spring Cloud 基于 Spring Boot 框架,它不重复造轮子,而是将第三方实现的微服务应用的一些模块集成进去。准确的说,Spring Cloud 是一个容器。
最简单的 Spring Cloud 项目
学习任何一门语言和框架,从 Hello World 入门是最合适的,Spring Cloud 也不例外,接下来,我们就来实现一个最简单的 Spring Cloud 项目。
最简单的 Spring Cloud 微服务架构包括服务发现和服务提供者(即一个大型系统拆分出来的子模块),最极端的微服务可以做到一个方法就是一个服务,一个方法就是一个项目。在一个系统中,服务怎么拆分,要具体问题具体分析,也取决于系统的并发性、高可用性等因素。
接下来,我们就先创建一个最简单的 Spring Cloud 项目。
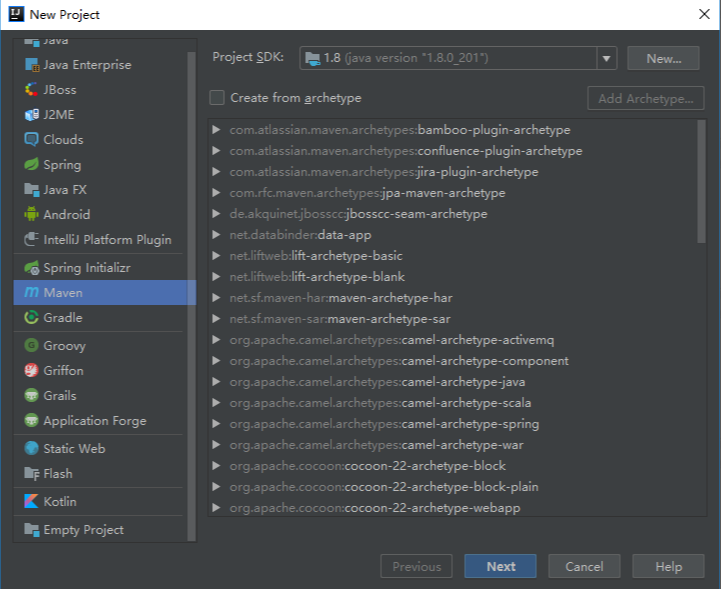
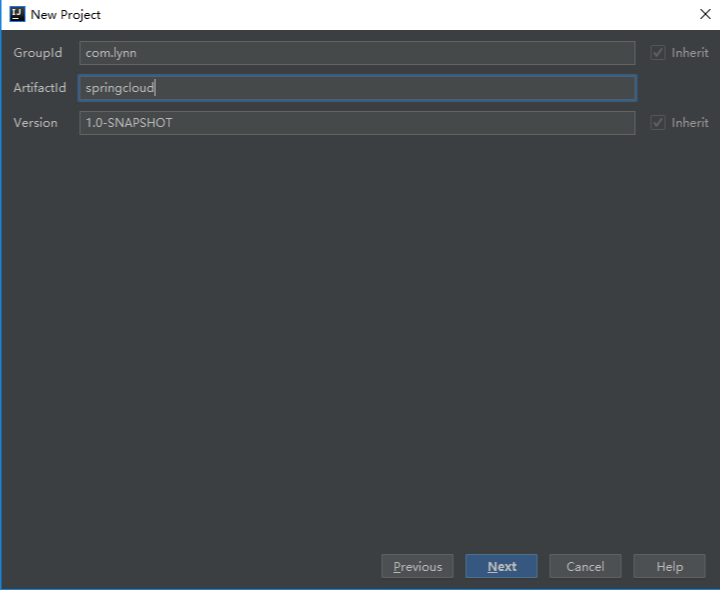
1. 新建一个 Maven 工程,ArtifactId 为 springcloud,GroupId 为 com.lynn,如图:
并在 pom.xml 添加依赖:
<packaging>pom</packaging>

    <parent>
        <groupId>org.springframework.boot</groupId>
        <artifactId>spring-boot-starter-parent</artifactId>
        <version>2.1.3.RELEASE</version>
        <relativePath/> <!-- lookup parent from repository -->
    </parent>
    <dependencyManagement>
        <dependencies>
            <dependency>
                <groupId>org.springframework.cloud</groupId>
                <artifactId>spring-cloud-dependencies</artifactId>
                <version>Greenwich.RELEASE</version>
                <type>pom</type>
                <scope>import</scope>
                <exclusions>
                </exclusions>
            </dependency>
        </dependencies>
    </dependencyManagement>
2.创建服务的注册与发现服务端,在 springcloud 工程右键 New-Module,ArtifactId 取名为 eurekaserver,如图:

在 eurekaserver 下的 pom.xml 中添加依赖如下:
<dependencies>
        <dependency>
            <groupId>org.springframework.cloud</groupId>
            <artifactId>spring-cloud-starter-netflix-eureka-server</artifactId>
        </dependency>
        <dependency>
            <groupId>org.springframework.cloud</groupId>
            <artifactId>spring-cloud-starter-netflix-hystrix</artifactId>
        </dependency>
        <dependency>
            <groupId>org.springframework.cloud</groupId>
            <artifactId>spring-cloud-starter-netflix-eureka-client</artifactId>
        </dependency>
    </dependencies>
3. 在 eurekaserver 新建配置文件 application.yml,并添加以下内容:
server:
  port: 8761
spring:
  application:
    name: eurekaserver
  profiles:
    active: dev
  cloud:
    inetutils:
      preferred-networks: 127.0.0.1
    client:
      ip-address: 127.0.0.1
eureka:
  server:
    peer-node-read-timeout-ms: 3000
    enable-self-preservation: true
  instance:
    prefer-ip-address: true
    instance-id: ${spring.cloud.client.ip-address}:${server.port}
  client:
    registerWithEureka: true
    fetchRegistry: false
    healthcheck:
      enabled: true
    serviceUrl:
      defaultZone: http://127.0.0.1:8761/eureka/
4. 添加一个启动类 Application.java:
@SpringCloudApplication
@EnableEurekaServer
public class Application {

    public static void main(String[] args) {
        SpringApplication.run(Application.class, args);
    }
}
启动 Application 的 main 方法,浏览器输入:http://localhost:8761,可以看到如图所示界面:

以上只是 Spring Cloud 的入门实例,是为了给大家展示什么是 Spring Cloud,本文暂不对上述代码做任何解释,在后面的学习中,将依次介绍Spring Cloud的各个组件,如果要深入研究它,就必须学习本文之后的课程。在后面的课程中,我将各个模块逐步拆解,一个一个给大家详细讲解。
今日内容有get吗,欢迎各位留言讨论!
下期预告:服务注册与发现
以上专栏均来自CSDN GitChat专栏《Spring Cloud快速入门》,作者李熠,专栏详情可识别下方二维码查看哦!
了解更多详情
可识别下方二维码


 213
213


 被折叠的 条评论
为什么被折叠?
被折叠的 条评论
为什么被折叠?
 到【灌水乐园】发言


