


安装搭建docker私有仓库Harbor
安装docker
- 先移除系统中的docker
yum remove docker docker-client docker-client-latest \
	docker-common docker-latest docker-latest-logrotate \
	docker-logrotate docker-engine
- 安装所需的软件包
yum install -y yum-utils device-mapper-persistent-data lvm2
- 设置阿里云仓库(国内仓库稳定)
yum-config-manager --add-repo http://mirrors.aliyun.com/docker-ce/linux/centos/docker-ce.repo
- 安装docker-ce(社区版)
yum install docker-ce
- 测试docker是否安装成功
docker -v
6. 启动docker
systemctl start docker
- 设置docker开机启动
systemctl enable docker
- docker配置阿里云镜像
访问阿里云镜像地址:https://cr.console.aliyun.com/cn-hangzhou/instances/mirrors

sudo mkdir -p /etc/docker
sudo tee /etc/docker/daemon.json <<-'EOF'
{
 "registry-mirrors": ["https://vh88t2zp.mirror.aliyuncs.com"]
}
EOF
sudo systemctl daemon-reload
sudo systemctl restart docker
安装harbor
安装docker的编排工具docker compose
- 配置扩展源
wget -O /etc/yum.repos.d/epel.repo http://mirrors.aliyun.com/repo/epel-7.repo
- 安装docker-compose
yum install http://rpmfind.net/linux/epel/7/x86_64/Packages/d/docker-compose-1.18.0-4.el7.noarch.rpm
- 查看docker-compose版本
docker-compose -v
下载harbor安装包
可以在网站上下载离线安装包
地址:https://github.com/goharbor/harbor/releases
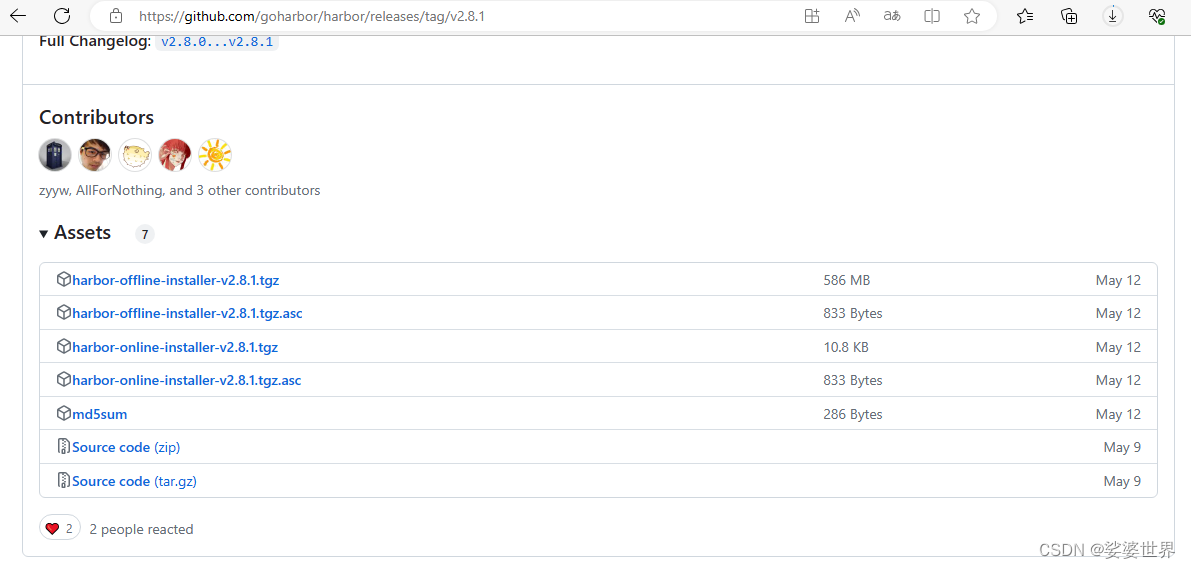
此处我们下载的是最新版:v2.8.1
https://github.com/goharbor/harbor/releases/download/v2.8.1/harbor-offline-installer-v2.8.1.tgz
解压harbor离线版安装包
harbor-offline-installer-v2.8.1.tgz
[root@localhost ws]# tar -zxvf harbor-offline-installer-v2.8.1.tgz
harbor/harbor.v2.8.1.tar.gz
harbor/prepare
harbor/LICENSE
harbor/install.sh
harbor/common.sh
harbor/harbor.yml.tmpl
[root@localhost ws]# ls
harbor  harbor-offline-installer-v2.8.1.tgz
修改harbor安装的配置文件
[root@localhost ws]# cd harbor/
[root@localhost harbor]# cp harbor.yml.tmpl harbor.yml
[root@localhost harbor]# mkdir -p /data/harbor
/data/harbor为仓库数据目录
修改harbor.yml的主要配置项
hostname: 10.182.17.5:8888
设置访问地址,可以使用ip、域名,不可以设置为127.0.0.1或localhost。默认情况下,harbor使用的端口是80,若使用自定义的端口,除了要改docker-compose.yml文件中的配置外,这里的hostname也要加上自定义的端口,否则在docker login、push时会报错
#http配置
http:
# port for http, default is 80. If https enabled, this port will redirect to https port
port: 8888

#https配置(如不需要可不配置,注释掉)
# https related config
#https:
# https port for harbor, default is 443
 #port: 443
# The path of cert and key files for nginx
 #certificate: /your/certificate/path
 #private_key: /your/private/key/path

#external_url: https://reg.mydomain.com:8433      //如果要启用外部代理,比如外层的NGINX、LB等,请取消注释external_url,当它启用时,hostname将不再使用。

harbor_admin_password: Harbor12345         //admin密码


#数据库配置
database:
# The password for the root user of Harbor DB. Change this before any production use.
password: Harbor12345
# The maximum number of connections in the idle connection pool. If it <=0, no idle connections are retained.
max_idle_conns: 50
# The maximum number of open connections to the database. If it <= 0, then there is no limit on the number of open connections.
# Note: the default number of connections is 100 for postgres.
max_open_conns: 100


#持久化数据目录

data_volume: /data/harbor
安装并启动Harbor
安装之前需要启动docker,然后执行安装脚本
[root@localhost harbor]# ./install.sh

[Step 0]: checking if docker is installed ...

Note: docker version: 24.0.2

[Step 1]: checking docker-compose is installed ...

Note: Docker Compose version v2.18.1

[Step 2]: loading Harbor images ...
abbd0b6fec72: Loading layer [==================================================>]  38.42MB/38.42MB
3d77f5033ecf: Loading layer [==================================================>]  5.771MB/5.771MB
4792c676ca3f: Loading layer [==================================================>]  4.096kB/4.096kB
4697aa95a6d3: Loading layer [==================================================>]  3.072kB/3.072kB
5e5b05ba0ba9: Loading layer [==================================================>]  17.57MB/17.57MB
34050640e209: Loading layer [==================================================>]  18.36MB/18.36MB
Loaded image: goharbor/registry-photon:v2.8.1
833ca653dc2d: Loading layer [==================================================>]  5.766MB/5.766MB
8146a802a6a3: Loading layer [==================================================>]  9.138MB/9.138MB
... ...

[Step 5]: starting Harbor ...
[+] Building 0.0s (0/0)
[+] Running 10/10
 ✔ Network harbor_harbor        Created                                                                                                                                                                   0.0s
 ✔ Container harbor-log         Started                                                                                                                                                                   1.8s
 ✔ Container harbor-portal      Started                                                                                                                                                                   4.2s
 ✔ Container harbor-db          Started                                                                                                                                                                   2.2s
 ✔ Container redis              Started                                                                                                                                                                   1.9s
 ✔ Container registry           Started                                                                                                                                                                   3.4s
 ✔ Container registryctl        Started                                                                                                                                                                   2.0s
 ✔ Container harbor-core        Started                                                                                                                                                                   3.4s
 ✔ Container nginx              Started                                                                                                                                                                   3.6s
 ✔ Container harbor-jobservice  Started                                                                                                                                                                   3.2s
✔ ----Harbor has been installed and started successfully.----
安装完成后查看下正在运行的docker容器:
[root@localhost harbor]# docker ps -a
CONTAINER ID   IMAGE                                COMMAND                   CREATED              STATUS                        PORTS                                       NAMES
56e82e72e977   goharbor/harbor-jobservice:v2.8.1    "/harbor/entrypoint.…"   About a minute ago   Up About a minute (healthy)                                               harbor-jobservice
2ccc16e72298   goharbor/nginx-photon:v2.8.1         "nginx -g 'daemon of…"   About a minute ago   Up About a minute (healthy)   0.0.0.0:8888->8080/tcp, :::8888->8080/tcp   nginx
792eac62cd4d   goharbor/harbor-core:v2.8.1          "/harbor/entrypoint.…"   About a minute ago   Up About a minute (healthy)                                               harbor-core
5374370abcc2   goharbor/harbor-registryctl:v2.8.1   "/home/harbor/start.…"   About a minute ago   Up About a minute (healthy)                                               registryctl
5136290d5fc3   goharbor/registry-photon:v2.8.1      "/home/harbor/entryp…"   About a minute ago   Up About a minute (healthy)                                               registry
48f8625ce6cd   goharbor/harbor-db:v2.8.1            "/docker-entrypoint.…"   About a minute ago   Up About a minute (healthy)                                               harbor-db
365fe76f3669   goharbor/redis-photon:v2.8.1         "redis-server /etc/r…"   About a minute ago   Up About a minute (healthy)                                               redis
0eb0f7b7550a   goharbor/harbor-portal:v2.8.1        "nginx -g 'daemon of…"   About a minute ago   Up About a minute (healthy)                                               harbor-portal
b16f881a5078   goharbor/harbor-log:v2.8.1           "/bin/sh -c /usr/loc…"   About a minute ago   Up About a minute (healthy)   127.0.0.1:1514->10514/tcp                   harbor-log
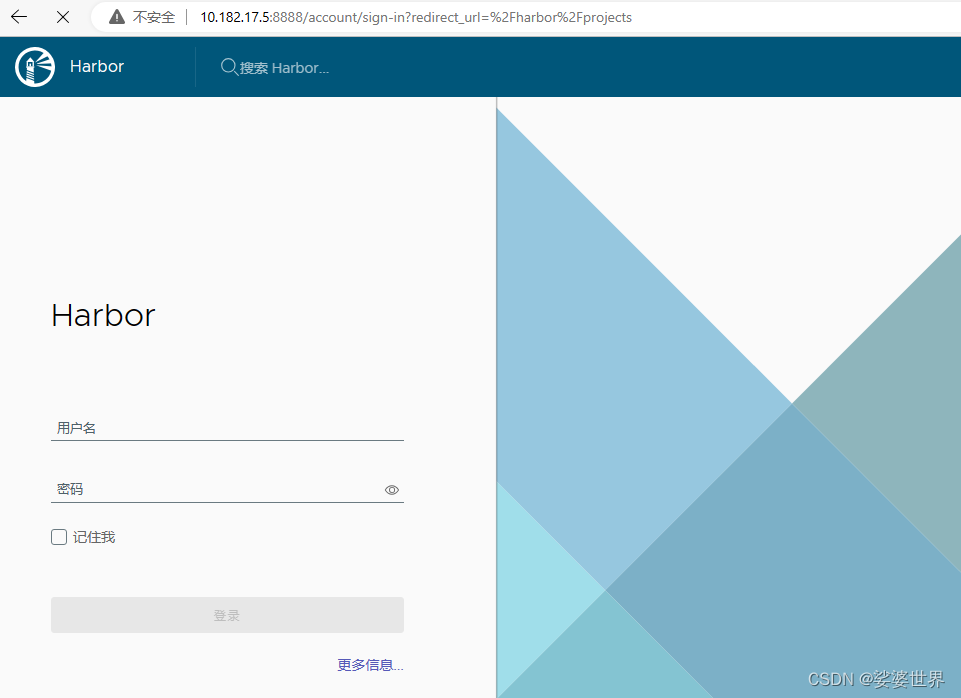
访问harbor WEB界面
http://10.182.17.5:8888 admin Harbor12345
设置harbor自动启动
配置文件
cd /etc/systemd/system

vi harbor.service
[Unit]

Description=Harbor

After=docker.service systemd-networkd.service systemd-resolved.service

Requires=docker.service

Documentation=http://github.com/vmware/harbor

[Service]

Type=simple

Restart=on-failure

RestartSec=5

ExecStart=/usr/local/bin/docker-compose -f /ws/harbor/docker-compose.yml up

ExecStop=/usr/local/bin/docker-compose -f /ws/harbor/docker-compose.yml down

[Install]

WantedBy=multi-user.target
配置权限
chmod 755 harbor.service
systemctl daemon-reload
systemctl enable harbor
systemctl status harbor
将本地docker镜像推送至镜像仓库
配置镜像源
$ vim /etc/docker/daemon.json
# 追加,其中 xxx.xxx.xxx:pppp 表示 harbor 的地址
> {"insecure-registries": ["10.182.17.5:8888"]}
重新加载进程
$ systemctl daemon-reload
$ systemctl restart docker
登录harbor
$ docker login 10.182.17.5:8888 -u 用户名
> 密码
为本地镜像打tag
docker tag nm-tools:1.6 10.182.17.5:8888/项目/nm-tools:1.6
推送镜像
docker push 10.182.17.5:8888/hsmrepo/nm-tools:1.6


 167
167


 被折叠的 条评论
为什么被折叠?
被折叠的 条评论
为什么被折叠?
 到【灌水乐园】发言


