


安装mysql 单机版
准备工作
Linux 使用的版本是 centos 7,为方便起见,先把防火墙关闭,配置好网络,在安装部分, 会分成两部分讲,首先讲单实例安装,也就是一台服务器上就装一个 mysql,接下来就多实 例安装,在一个服务器上安装 2 个甚至多个 mysql.
单实例安装
cp /soft/mysql-5.7.9-linux-glibc2.5-x86_64.tar.gz /usr/local/
源码包分享
提取码:upwi
解压 mysql 到/usr/local 目录
解压:
tar -zxvf mysql-5.7.9-linux-glibc2.5-x86_64.tar.gz
安装需要的依赖
yum install -y libaio
具体安装
shell> groupadd mysql
shell> useradd -r -g mysql mysql
shell> cd /usr/local
shell> tar zxvf /path/to/mysql-VERSION-OS.tar.gz
shell> ln -s full-path-to-mysql-VERSION-OS mysql
shell> cd mysql shell> mkdir mysql-files
shell> chmod 770 mysql-files
shell> chown -R mysql .
shell> chgrp -R mysql .
shell> bin/mysqld --initialize --user=mysql # MySQL 5.7.6 and up
shell> bin/mysql_ssl_rsa_setup # MySQL 5.7.6 and up
shell> chown -R root .
shell> chown -R mysql data mysql-files
shell> bin/mysqld_safe --user=mysql &
# Next command is optional
shell> cp support-files/mysql.server /etc/init.d/mysql.server
ps:bin/mysqld --initialize --user=mysql
这一步需要注意,因为mysql 会加载
/etc/my.cnf /etc/mysql/my.cnf /usr/local/mysql/etc/my.cnf ~/.my.cnf
按照这个顺序扫描,这个时候我们etc目录下面已经有my.cnf
但是因为没有权限会报错,所以我们逻辑删除一下
mv /etc/my.cnf my.cnfbak
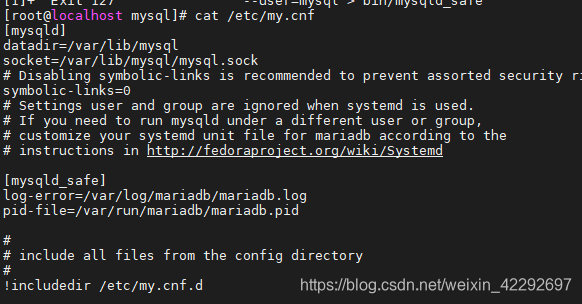

之后按照顺序继续执行以上命令。
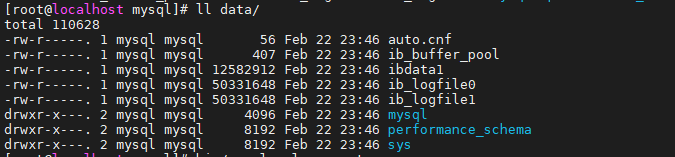
执行成功后data会有数据文件出来

设置mysql自启动
cp support-files/mysql.server /etc/init.d/mysql.server
查看自启动命令
chkconfig --list
mysql自启动
chkconfig mysql.server on
配置环境变量
vim /etc/profile
最后一行添加:
export PATH=/usr/local/mysql/bin:$PATH
应用环境变量
source /etc/profile
登陆mysql
mysql]# mysql -uroot -p
密码就是执行这条语句的值(每次都不一样)

登陆后-修改密码
set password = 'root1234%';
允许远程登陆
grant all on *.* to root@'%' identified by 'root1234%' with grant option;
刷新一下
flush privileges;


 1646
1646


 被折叠的 条评论
为什么被折叠?
被折叠的 条评论
为什么被折叠?
 到【灌水乐园】发言


