


今天要给大家分享的是如何在微信小程序中使用
微信同声传译插件实现文本转语音。
一、添加微信同声传译插件
appI:wx069ba97219f66d99
插件文档: https://mp.weixin.qq.com/wxopen/pluginbasicprofile?action=intro&appid=wx069ba97219f66d99&token=&lang=zh_CN
登陆 微信公众平台在设置里,通过appId搜索我们要添加的插件(注意:该插件不支持个人主体)


二、使用微信同声传译插件
- 在项目
app.json文件中添加并注册插件
  "plugins": {
    "WechatSI": {
      "version": "0.3.5",
      "provider": "wx069ba97219f66d99"
    }
  }
- 在
page页面的使用案例
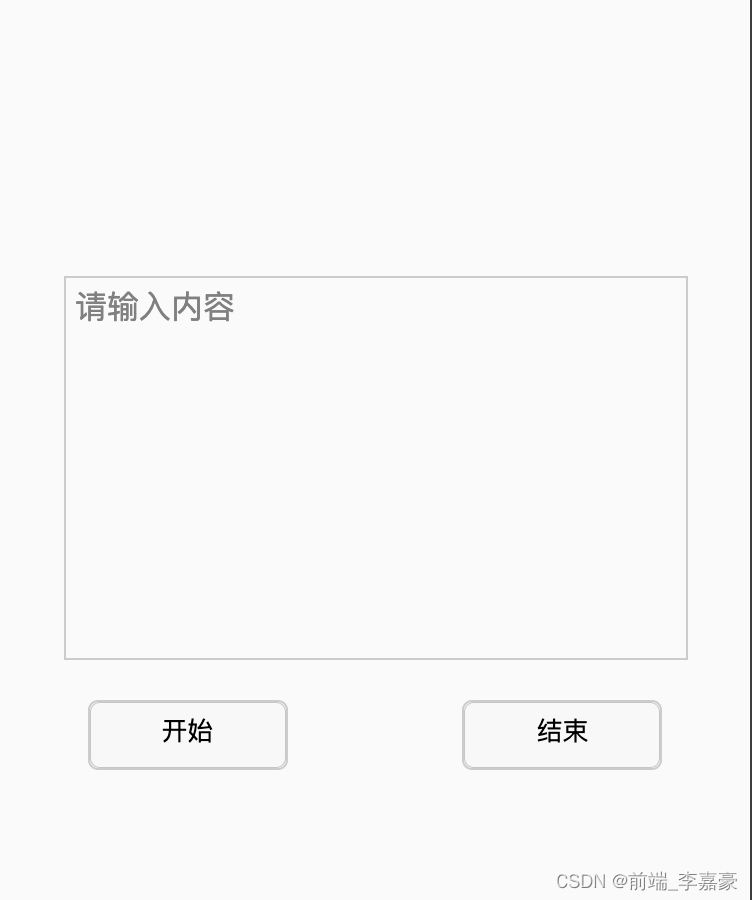
WXML
<view class="page-container">
  <textarea
    class="textarea"
    placeholder="请输入内容"
    value="{{ content }}"
    bindinput="onInput"
  ></textarea>
  <view class="flex">
    <button class="btn" size="mini" bindtap="handleStart">开始</button>
    <button class="btn" size="mini" bindtap="handleEnd">结束</button>
  </view>
</view>
JS
//引入插件
const plugin = requirePlugin("WechatSI");
//创建InnerAudioContext音频对象。
const innerAudioContext = wx.createInnerAudioContext();
Page({
  data: {
    content: "", //文本内容
    src: "", //音频地址
  },
  onReady(e) {
    innerAudioContext.onError(function (res) {
      console.log("onError", res);
      wx.showToast({
        title: "播放失败",
        icon: "none",
      });
    });
  },
  onInput(e) {
    this.setData({
      content: e.detail.value,
    });
  },
  //文字转语音
  handleStart(e) {
    const { content } = this.data;
    plugin.textToSpeech({
      lang: "zh_CN",
      tts: true,
      content: content,
      success: (res) => {
        this.setData({
          src: res.filename,
        });
        this.audioPlay();
      },
      fail: (res) => {
        console.log("fail", res);
      },
    });
  },

  //结束语音
  handleEnd(e) {
    innerAudioContext.pause();
  },

  //播放语音
  audioPlay(e) {
    if (this.data.src == "") {
      console.log(`暂无语音`);
      return;
    }
    console.log("正在播放");
    innerAudioContext.autoplay = true;
    //设置音频地址
    innerAudioContext.src = this.data.src;
    //播放音频
    innerAudioContext.play();
  },
});
WXSS
.page-container {
  margin-top:300rpx;
  height: 200px;
}
.textarea {
  border: 1px solid #ccc;
  margin: 0 auto;
  padding: 10rpx 10rpx 70rpx;
}
.btn {
  width: 100px;
  height: 70rpx;
  border: 1px solid #ccc;
}
.flex{
  margin-top: 20px;
  display: flex;
  align-items: center;
  justify-content: space-between;
}
以上就是通过微信同声传译插件实现文本转语音的基本功能,代码片段仅供参考,如有疑问的可以私信小编。


 692
692

 被折叠的 条评论
为什么被折叠?
被折叠的 条评论
为什么被折叠?
 到【灌水乐园】发言


