


声明
阅读本文需要有一定的HTML、CSS和JavaScript基础
设计
实现弹出层效果的思路非常简单:将待显示的内容先隐藏,在触发某种条件后(如点击按钮),将原本隐藏的内容显示出来。
实现
Window对象打开弹出层
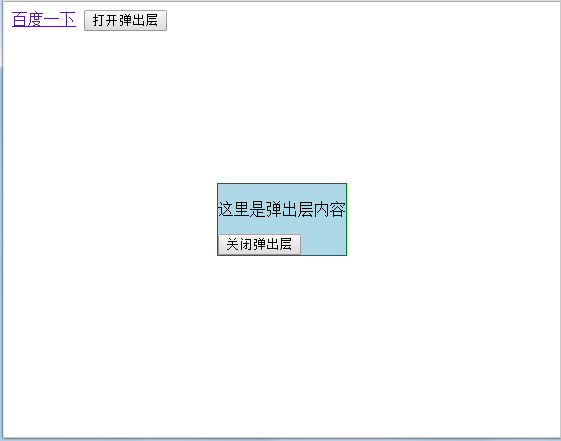
这里是弹出层内容
关闭弹出层
var toast = document.getElementById("toast");
document.getElementById("open").onclick = function(e){
toast.style.display = "block";
toast.style.position = "fixed";
var winWidth = window.innerWidth;
var winHeight = window.innerHeight;
var targetWidth = toast.offsetWidth;
var targetHeight = toast.offsetHeight;
toast.style.top = (winHeight - targetHeight) / 2 + "px";
toast.style.left = (winWidth - targetWidth) / 2 + "px";
}
document.getElementById("close").onclick = function(e){
toast.style.display = "none";
}
显示效果如下:
但是我们可以注意到,在弹出隐藏内容之后我们还是可以通过链接进入百度页面。为了防止这种情况的发生,我们可以提供遮罩层将原先的页面内容全部遮住。代码如下:
Window对象打开弹出层
这里是弹出层内容
关闭弹出层
var toast = document.getElementById("toast");
var cover = document.getElementById("cover");
document.getElementById("open").onclick = function(e){
cover.style.display = "block";
toast.style.position = "fixed";
var winWidth = window.innerWidth;
var winHeight = window.innerHeight;
var targetWidth = toast.offsetWidth;
var targetHeight = toast.offsetHeight;
toast.style.top = (winHeight - targetHeight) / 2 + "px";
toast.style.left = (winWidth - targetWidth) / 2 + "px";
}
document.getElementById("close").onclick = function(e){
cover.style.display = "none";
}
这是再次测试下效果,如下图:

总结
上述内容只是简单实现了弹出层效果,但是通过添加更多的代码也可以在此基础上实现更复杂的功能。
以上这篇使用JavaScript实现弹出层效果的简单实例就是小编分享给大家的全部内容了,希望能给大家一个参考,也希望大家多多支持脚本之家。


 1万+
1万+


 被折叠的 条评论
为什么被折叠?
被折叠的 条评论
为什么被折叠?
 到【灌水乐园】发言


