


5.7 安装
下载
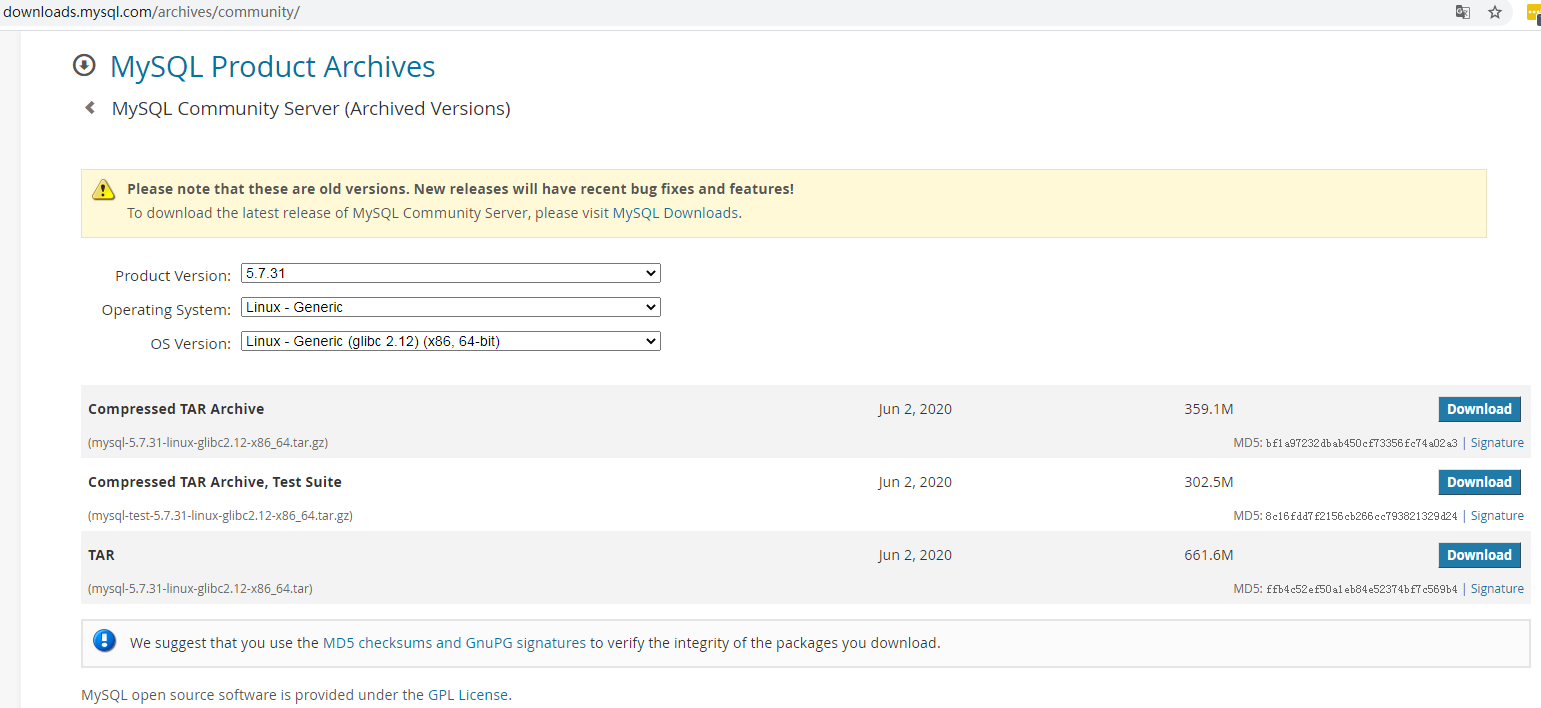
官网下载比较慢,国内镜像站可以加速下载,下载完成校验md5是否一致
官方二进制包安装步骤
shell> groupadd mysql
shell> useradd -r -g mysql -s /bin/false mysql
shell> cd /usr/local
shell> tar zxvf /path/to/mysql-VERSION-OS.tar.gz
shell> ln -s full-path-to-mysql-VERSION-OS mysql
shell> cd mysql
shell> mkdir mysql-files
shell> chown mysql:mysql mysql-files
shell> chmod 750 mysql-files
shell> bin/mysqld --initialize --user=mysql
shell> bin/mysql_ssl_rsa_setup
shell> bin/mysqld_safe --user=mysql &
# Next command is optional
shell> cp support-files/mysql.server /etc/init.d/mysql.server
shell> export PATH=$PATH:/usr/local/mysql/bin
环境
系统: centos 7
准备
# 停止防火墙
[root@localhost ~]# systemctl stop firewalld
[root@localhost ~]# systemctl disable firewalld
# 临时关闭selinux
[root@localhost ~]# setenforce 0
# 永久关闭
[root@localhost ~]# sed -i 's/=enforcing/=disabled/' /etc/selinux/config
# 卸载mariadb的libsbao
[root@localhost local]# rpm -qa | grep mariadb
mariadb-libs-5.5.64-1.el7.x86_64
[root@localhost local]# rpm -e --nodeps mariadb-libs
[root@localhost ~]# yum install -y libaio
# 修改打开文件描述符限制,
[root@localhost ~]# vim /etc/security/limits.conf
# 在末尾行添加
* soft nofile 655350
* hard nofile 655350
* soft nproc 655350
* hard nproc 650000
安装
本示例安装:
basedir: /usr/local/mysql
datadir:/data/mysqldata
[root@localhost ~]# ls
mysql-5.7.31-linux-glibc2.12-x86_64.tar.gz
[root@localhost ~]# groupadd mysql
[root@localhost ~]# useradd -r -g mysql -s /bin/false mysql
[root@localhost ~]# tar xf mysql-5.7.31-linux-glibc2.12-x86_64.tar.gz -C /usr/local/
[root@localhost ~]# cd /usr/local/
[root@localhost local]# ln -s mysql-5.7.31-linux-glibc2.12-x86_64 mysql
[root@localhost ~]# mkdir -pv /data/mysqldata
mkdir: created directory ‘/data’
mkdir: created directory ‘/data/mysqldata’
# 配置文件---- start
[root@localhost mysqldata]# cat /etc/my.cnf
[client]
port = 3306
socket = /data/mysqldata/mysql.sock
[mysqld]
bind-address = 0.0.0.0
socket=/data/mysqldata/mysql3306.sock
port = 3306
skip-name-resolve
server-id=1
log-error=/data/mysqldata/mysqld.log
pid-file=/data/mysqldata/mysqld.pid
user = mysql
basedir=/usr/local/mysql
datadir=/data/mysqldata
tmpdir=/tmp
max_allowed_packet=1024M
max_binlog_size=1024M
max_connections=5000
innodb_buffer_pool_size=1G
innodb_file_per_table=1
innodb_log_file_size=512M # 3G
innodb_data_file_path=ibdata1:2048M:autoextend
innodb_flush_log_at_trx_commit=0 #1
character-set-server = utf8
expire_logs_days=1
query_cache_type=0
query_cache_size=0
# skip-grant-tables=1
# innodb_monitor_enable="module_innodb"
# innodb_monitor_enable="module_server"
# innodb_monitor_enable="module_dml"
# innodb_monitor_enable="module_ddl"
# innodb_monitor_enable="module_trx"
# innodb_monitor_enable="module_os"
# innodb_monitor_enable="module_purge"
# innodb_monitor_enable="module_log"
# innodb_monitor_enable="module_lock"
# innodb_monitor_enable="module_buffer"
# innodb_monitor_enable="module_index"
# innodb_monitor_enable="module_ibuf_system"
# innodb_monitor_enable="module_buffer_page"
# innodb_monitor_enable="module_adaptive_hash"
# 配置文件---- end
# 初始化
[root@localhost mysql]# cd /usr/local/mysql
[root@localhost mysql]# bin/mysqld --defaults-file=/etc/my.cnf --initialize
# 修改basedir, datadir
[root@localhost mysql]# cp support-files/mysql.server /etc/init.d/mysql.server
# 修改数据目录属于mysql用户组
[root@localhost /home/mysqldata]# pwd
/home/mysqldata
[root@localhost /home/mysqldata]# chown mysql:mysql *
[root@localhost mysql]# systemctl daemon-reload
[root@localhost mysql]# systemctl start mysql
[root@localhost mysql]# systemctl status mysql
● mysql.server.service - LSB: start and stop MySQL
Loaded: loaded (/etc/rc.d/init.d/mysql.server; bad; vendor preset: disabled)
Active: active (running) since Tue 2020-11-17 04:18:44 EST; 15s ago
[root@localhost mysql]# vim /etc/profile.d/mysql.sh
export PATH=$PATH:/usr/local/mysql/bin
[root@localhost mysql]# source /etc/profile.d/mysql.sh
# 改密码
[root@localhost mysql]# grep "password is " /data/mysqldata/mysqld.log
2020-11-17T09:01:56.242500Z 1 [Note] A temporary password is generated for root@localhost: l?rnlo_ym6yK
[root@localhost mysql]# mysql -u root -p -S /data/mysqldata/mysql.sock
Enter password:
Welcome to the MySQL monitor. Commands end with ; or \g.
Your MySQL connection id is 2
Server version: 5.7.31
mysql> ALTER USER user() IDENTIFIED BY "Zrd7632@1";
Query OK, 0 rows affected (0.00 sec)
读取配置文件顺序
[root@localhost ~]# mysqld -v --help
...
# 从左到右依次读取
Default options are read from the following files in the given order:
/etc/my.cnf /etc/mysql/my.cnf /usr/local/mysql/etc/my.cnf ~/.my.cnf
...
同样的参数,最后配置文件生效
手动指定只读取指定的配置文件
--defaults-file=# Only read default options from the given file #.
最后加载的配置文件
--defaults-extra-file=# Read this file after the global files are read.
启动后查看加载的配置参数:
[root@localhost ~]#mysqld --print-defaults | xargs -n 1
mysqld would have been started with the following arguments:
--bind-address=0.0.0.0 --socket=/data/mysqldata/mysql.sock --port=3306 --skip-name-resolve --log-error=/data/mysqldata/mysqld.log --pid-file=/data/mysqldata/mysqld.pid --user=mysql --basedir=/usr/local/mysql --datadir=/data/mysqldata --tmpdir=/tmp --max_allowed_packet=1024M --max_binlog_size=1024M --max_connections=5000 --innodb_buffer_pool_size=1G --innodb_file_per_table=1 --innodb_log_file_size=512M --innodb_data_file_path=ibdata1:2048M:autoextend --innodb_flush_log_at_trx_commit=0 --character-set-server=utf8 --expire_logs_days=1 --query_cache_type=0 --query_cache_size=0
查看启动过程
strace -ttt /usr/local/mysql/bin/mysqld --defaults-file=/etc/my.cnf &>strace.log
用户管理
SHOW PRIVILEGES ;
压力测试
安装压测工具
RHEL/CentOS:
curl -s https://packagecloud.io/install/repositories/akopytov/sysbench/script.rpm.sh | sudo bash
sudo yum -y install sysbench
使用
# 查看支持所有参数
cat /usr/share/sysbench/oltp_common.lua
# 生成数据
sysbench /usr/share/sysbench/oltp_read_write.lua --mysql-socket=/data/mysqldata/mysql.sock --mysql-port=3306 --mysql-user=root --mysql-password=Zrd7632@1 --mysql-db=zrddb --tables=10 --table-size=100000 --mysql_storage_engine=innodb prepare
# 清空数据
sysbench /usr/share/sysbench/oltp_read_write.lua --mysql-socket=/data/mysqldata/mysql.sock --mysql-port=3306 --mysql-user=root --mysql-password=Zrd7632@1 --mysql-db=zrddb --tables=10 --table-size=100000 --mysql_storage_engine=innodb cleanup
sysbench /usr/share/sysbench/oltp_read_write.lua --mysql-socket=/data/mysqldata/mysql.sock --mysql-port=3306 --mysql-user=root --mysql-password=Zrd7632@1 --mysql-db=zrddb --tables=10 --table-size=100000 --mysql_storage_engine=innodb --threads=10 --time=3600 --report-interval=10 --rand-type=uniform run
使用报错
缺少库文件 sysbench: error while loading shared libraries: libmysqlclient.so.18: cannot open shared object file: No such file or directory
# 解决方法
[root@localhost ~]# wget http://mirrors.ustc.edu.cn/mysql-ftp/Downloads/MySQL-5.7/mysql-community-libs-compat-5.7.31-1.el7.x86_64.rpm
[root@localhost ~]# rpm -ivh --nodeps mysql-community-libs-compat-5.7.31-1.el7.x86_64.rpm


 2701
2701


 被折叠的 条评论
为什么被折叠?
被折叠的 条评论
为什么被折叠?
 到【灌水乐园】发言


