


在React开发中,组件通信是一个核心概念,它使得不同组件能够协同工作,实现更复杂的交互和数据传递。常见的组件通信方式:父传子和子传父
一、父传子通信方式
父组件向子组件传递数据是React中最常见的一种通信方式。这种方式适用于将数据从一个上层组件传递到其直接子组件。
实现方式:
通过在子组件上添加属性(props)来传递数据。
示例:
- 父组件
import React from 'react';
class ParentComponent extends React.Component {
  render() {
    const message = "Hello from parent!";
    return <ChildComponent message={message} />;
  }
}
- 子组件
import React from 'react';
class ChildComponent extends React.Component {
  render() {
    return <p>{this.props.message}</p>;
  }
}
在上述示例中,ParentComponent通过message属性向ChildComponent传递了数据,子组件可以通过this.props来访问这个数据并进行渲染。
二、子传父通信方式
子组件向父组件传递数据或触发事件是另一种常见的通信方式。这种方式适用于子组件需要将数据传递给其父组件的情况。
实现方式:
通过在子组件内部定义回调函数,然后将这个回调函数传递给子组件,子组件在合适的时机调用这个函数来传递数据。
示例:
- 父组件
import React from 'react';
class ParentComponent extends React.Component {
  handleDataFromChild(data) {
    console.log("Data from child:", data);
  };

  render() {
    return <ChildComponent onDataReady={data => this.handleDataFromChild(data)} />;
  }
}
- 子组件
import React from 'react';
class ChildComponent extends React.Component {
  sendDataToParent() {
    const data = "Data from child!";
    this.props.onDataReady(data);
  };

  render() {
    return <button onClick={() => this.sendDataToParent()}>Send Data</button>;
  }
}
在上述示例中,ChildComponent通过onDataReady属性传递一个回调函数给父组件。当子组件内部的按钮被点击时,会调用这个回调函数并将数据传递给父组件。
三、应用示例
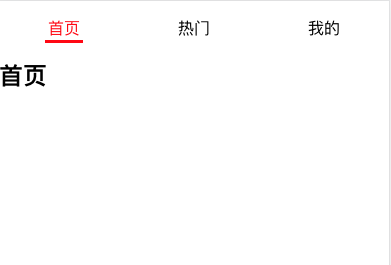
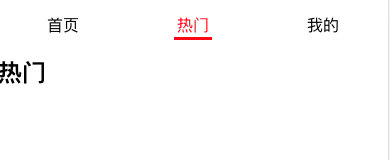
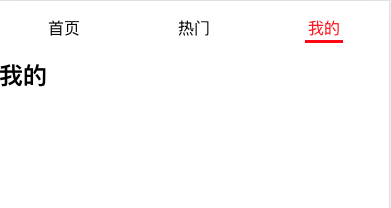
下面通过一个实际的应用示例,展示父传子和子传父通信方式的应用。
- 父组件
import React, { Component } from 'react'
class ParentComponent extends Component {
  constructor() {
    super()
    this.state = {
      tabs: ["首页", "热门", "我的"],
      curIndex: 0
    }
  }
  tabClick(ind) {
    this.setState({ curIndex: ind })
  }
  render() {
    const {tabs, curIndex} = this.state
    return (
      <div className="App">
        <ChildComponent tabs={tabs} tabClick={(ind) => this.tabClick(ind)} />
        <h2>{tabs[curIndex]}</h2>
      </div>
    );
  }
}
- 子组件
import React, { Component } from 'react'
class ChildComponent extends Component {
  constructor() {
    super()
    this.state = {
      currentIndex: 0
    }
  }
  changeTab(ind) {
    this.setState({ currentIndex: ind })
    this.props.tabClick(ind)
  }
  render() {
    const { tabs } = this.props
    const { currentIndex } = this.state
    return (
      <div>
        <ul className='tabUl'>
          {
            tabs.map((item, ind) => {
              return(
                <li
                  key={item}
                  className={`${currentIndex === ind ? "active" : ''}`}
                  onClick={e => this.changeTab(ind)}
                >
                  <span>{item}</span>
                </li>
              )
            })
          }
        </ul>
      </div>
    )
  }
}
在上述示例中,实现了一个tab切换的效果,父组件将信息传给子组件,子组件通过触发回调传递点击tab的下标实现切换效果。


 121
121


 被折叠的 条评论
为什么被折叠?
被折叠的 条评论
为什么被折叠?
 到【灌水乐园】发言


