🌸 欢迎来到Python办公自动化专栏—Python处理办公问题,解放您的双手 📕 此外还有python基础专栏:请点击——>Python基础学习专栏 求订阅 文章作者技术和水平有限,如果文中出现错误,希望大家能指正🙏 ❤️ 欢迎各位佬关注! ❤️
python-docx 是一个用于创建、更新Microsoft Word(.docx)文件的Python库。你可以使用这个库来操作Word文档,如添加文本、表格、图片、样式等。 pip install python- docx - i https: // pypi. tuna. tsinghua. edu. cn/ simple/
from docx import Document
from docx. shared import Inches
from docx. oxml. ns import qn
from docx. shared import Pt, RGBColor
from docx. enum. text import WD_ALIGN_PARAGRAPH
doc = Document( )
doc. save( "江雪.docx" )
normal = doc. styles[ "Normal" ]
normal. font. name = "Times New Roman"
normal. _element. rPr. rFonts. set ( qn( "w:eastAsia" ) , "楷体" )
normal. font. size = Pt( 15 )
heading = doc. add_heading( "" , level= 2 )
heading. alignment = WD_ALIGN_PARAGRAPH. CENTER
head_run = heading. add_run( "江雪" )
head_run. font. name = "Times New Roman"
head_run. _element. rPr. rFonts. set ( qn( "w:eastAsia" ) , "楷体" )
head_run. font. color. rgb = RGBColor( 255 , 0 , 0 )
head_run. font. bold = True
head_run. font. size = Pt( 28 )
p1 = doc. add_paragraph( )
p1_run = p1. add_run( "唐代:柳宗元" )
p1_run. bold = True
p1. alignment = WD_ALIGN_PARAGRAPH. CENTER
p2_run. font. color. rgb = RGBColor( 255 , 0 , 0 )
p2. alignment = WD_ALIGN_PARAGRAPH. CENTER
p2 = doc. add_paragraph( )
p2_run = p2. add_run( "千山鸟飞绝,万径人踪灭" )
p2_run. font. color. rgb = RGBColor( 255 , 0 , 0 )
p2. alignment = WD_ALIGN_PARAGRAPH. CENTER
p4_run1. add_picture( "图片路径" , width = Inches( 5 ) )
p4 = doc. add_paragraph( )
p4_run1 = p3. add_run( "" )
p4_run1. add_picture( "图片路径" , width = Inches( 5 ) )
p4. alignment = WD_ALIGN_PARAGRAPH. CENTER
p3 = doc. add_paragraph( )
p3_run1 = p3. add_run( "孤舟蓑笠翁," )
p3_run1. italic = True
'''
@Project :测试
@File :测试.py
@IDE :PyCharm
@Author :一晌小贪欢(278865463@qq.com)
@Date :2024/6/30 0:11
'''
from docx import Document
from docx. shared import Inches
from docx. oxml. ns import qn
from docx. shared import Pt, RGBColor
from docx. enum. text import WD_ALIGN_PARAGRAPH
import os
doc = Document( )
normal = doc. styles[ "Normal" ]
normal. font. name = "Times New Roman"
normal. _element. rPr. rFonts. set ( qn( "w:eastAsia" ) , "楷体" )
normal. font. size = Pt( 15 )
heading = doc. add_heading( "" , level= 2 )
heading. alignment = WD_ALIGN_PARAGRAPH. CENTER
head_run = heading. add_run( "江雪" )
head_run. font. name = "Times New Roman"
head_run. _element. rPr. rFonts. set ( qn( "w:eastAsia" ) , "楷体" )
head_run. font. color. rgb = RGBColor( 255 , 0 , 0 )
head_run. font. bold = True
head_run. font. size = Pt( 28 )
p1 = doc. add_paragraph( )
p1_run = p1. add_run( "唐代:柳宗元" )
p1_run. bold = True
p1. alignment = WD_ALIGN_PARAGRAPH. CENTER
p2 = doc. add_paragraph( )
p2_run = p2. add_run( "千山鸟飞绝,万径人踪灭" )
p2_run. font. color. rgb = RGBColor( 255 , 0 , 0 )
p2. alignment = WD_ALIGN_PARAGRAPH. CENTER
p3 = doc. add_paragraph( )
p3_run1 = p3. add_run( "孤舟蓑笠翁," )
p3_run1. italic = True
p3_run2 = p3. add_run( "孤舟蓑笠翁" )
p3_run2. underline = True
p3. alignment = WD_ALIGN_PARAGRAPH. CENTER
p4 = doc. add_paragraph( )
p4_run1 = p3. add_run( "" )
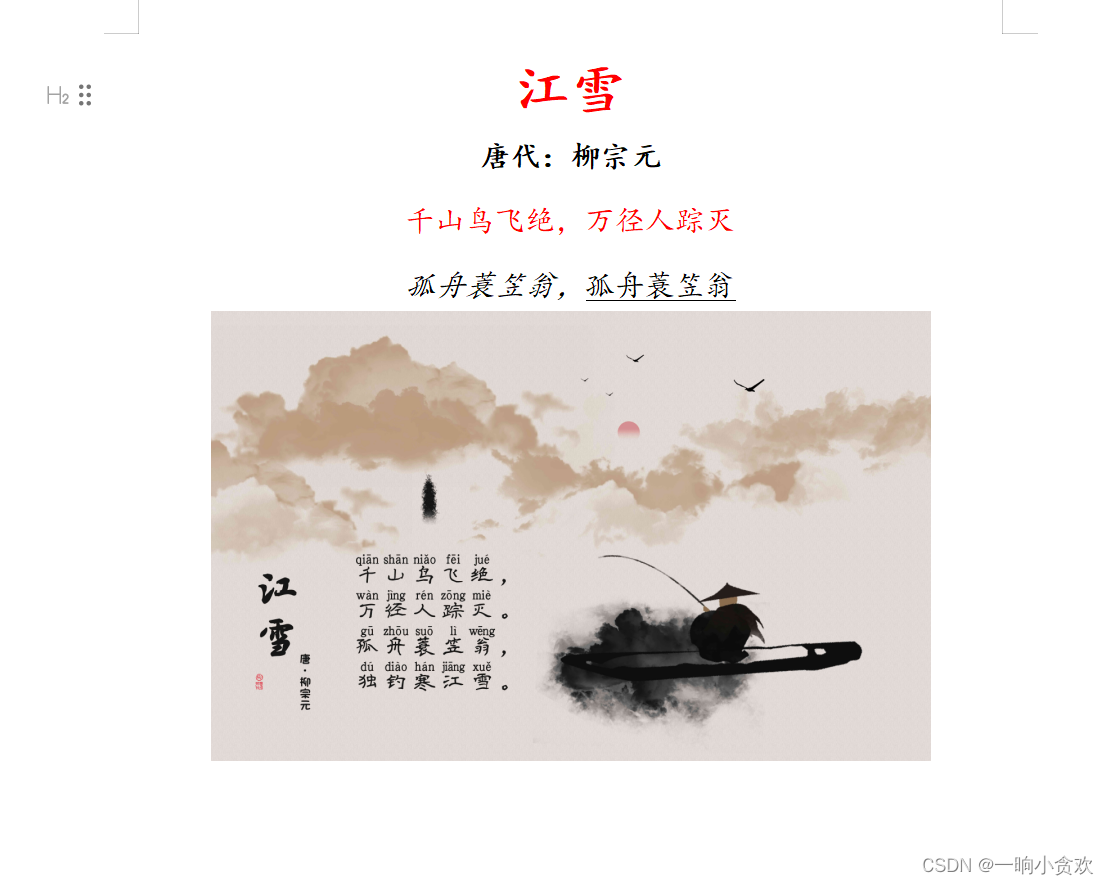
p4_run1. add_picture( "D:\python学习\测试\img.png" , width= Inches( 5 ) )
p4. alignment = WD_ALIGN_PARAGRAPH. CENTER
doc. save( "江雪.docx" )
希望对初学者有帮助 致力于办公自动化的小小程序员一枚 希望能得到大家的【一个免费关注】!感谢 求个 🤞 关注 🤞 求个 ❤️ 喜欢 ❤️ 求个 👍 收藏 👍


 被折叠的 条评论
为什么被折叠?
被折叠的 条评论
为什么被折叠?
 到【灌水乐园】发言


