RecyclerView的用法
RecyclerView相信大家已经非常熟悉了,使用过的人无不夸其功能强大、性能优秀,其主要归功于它底层优秀的设计以及复杂的缓存机制,原理再此我们先不做深入的研究,还是从基本使用介绍吧!
布局文件
用来确定RecyclerView的位置以及大小
<?xml version="1.0" encoding="utf-8"?>
<androidx.constraintlayout.widget.ConstraintLayout xmlns:android="http://schemas.android.com/apk/res/android"
    xmlns:tools="http://schemas.android.com/tools"
    android:layout_width="match_parent"
    android:layout_height="match_parent"
    tools:context=".RecyclerViewTestActivity">

    <androidx.recyclerview.widget.RecyclerView
        android:id="@+id/testRV"
        android:layout_width="match_parent"
        android:layout_height="match_parent" />

</androidx.constraintlayout.widget.ConstraintLayout>
Adapter
RecyclerView在使用过程中我们需要定义自己的Adapter来适配RecyclerView,从而管理数据并生成对应的ItemView
class MyAdapter(val context: Context, private val list: MutableList<NameBean>) :
    RecyclerView.Adapter<MyAdapter.MyViewHolder>() {

    override fun onCreateViewHolder(parent: ViewGroup, viewType: Int): MyViewHolder {
        //加载每个item的布局文件从而生成ViewHolder
        return MyViewHolder(LayoutInflater.from(context).inflate(R.layout.layout_rv_item, parent, false))
    }

    override fun onBindViewHolder(holder: MyViewHolder, position: Int) {
        holder.update(position)
    }

    override fun getItemCount(): Int {
        return if (list.isNullOrEmpty()) 0 else list.size
    }

    inner class MyViewHolder(itemView: View) : RecyclerView.ViewHolder(itemView) {
        //ViewHolder负责UI的刷新,并且点击事件也可以在这里处理
        private val textView = itemView.findViewById<TextView>(R.id.rv_item_tv)
        fun update(position: Int) {
            textView.text = list[position].name
        }
    }
}
Activity
零件造好了,接下来简单组装我们的列表就完全实现了
class RecyclerViewTestActivity : AppCompatActivity() {

    private lateinit var mRecyclerView: RecyclerView
    private lateinit var mDataList: MutableList<NameBean>
    private var groupIdStartIndex = 0

    override fun onCreate(savedInstanceState: Bundle?) {
        super.onCreate(savedInstanceState)
        setContentView(R.layout.activity_recycler_view_test)
        mRecyclerView = findViewById(R.id.testRV)
        genData()
        mRecyclerView.layoutManager = LinearLayoutManager(this)
        mRecyclerView.adapter = MyAdapter(this, mDataList)
    }

    /**
     * 生成一个数据列表
     */
    private fun genData() {
        val mutableList: MutableList<NameBean> = mutableListOf()
        for (i in 0 until 100) {
            when (i) {
                in 0 until 30 -> {
                    if (i == 0) {
                        groupIdStartIndex++
                    }
                    mutableList.add(NameBean("这是第${i}本武林秘籍", "初级 lag", groupIdStartIndex))
                }
                in 30 until 50 -> {
                    if (i == 30) {
                        groupIdStartIndex++
                    }
                    mutableList.add(NameBean("这是第${i}本武林秘籍", "中级 lag", groupIdStartIndex))
                }
                in 50 until 75 -> {
                    if (i == 50) {
                        groupIdStartIndex++
                    }
                    mutableList.add(NameBean("这是第${i}本武林秘籍", "高级 lag", groupIdStartIndex))
                }
                in 75 until 90 -> {
                    if (i == 75) {
                        groupIdStartIndex++
                    }
                    mutableList.add(NameBean("这是第${i}本武林秘籍", "顶级 lag", groupIdStartIndex))
                }
                in 90 until 100 -> {
                    if (i == 90) {
                        groupIdStartIndex++
                    }
                    mutableList.add(NameBean("这是第${i}本武林秘籍", "终级 lag", groupIdStartIndex))
                }
            }
        }
        mDataList = mutableList
    }
}
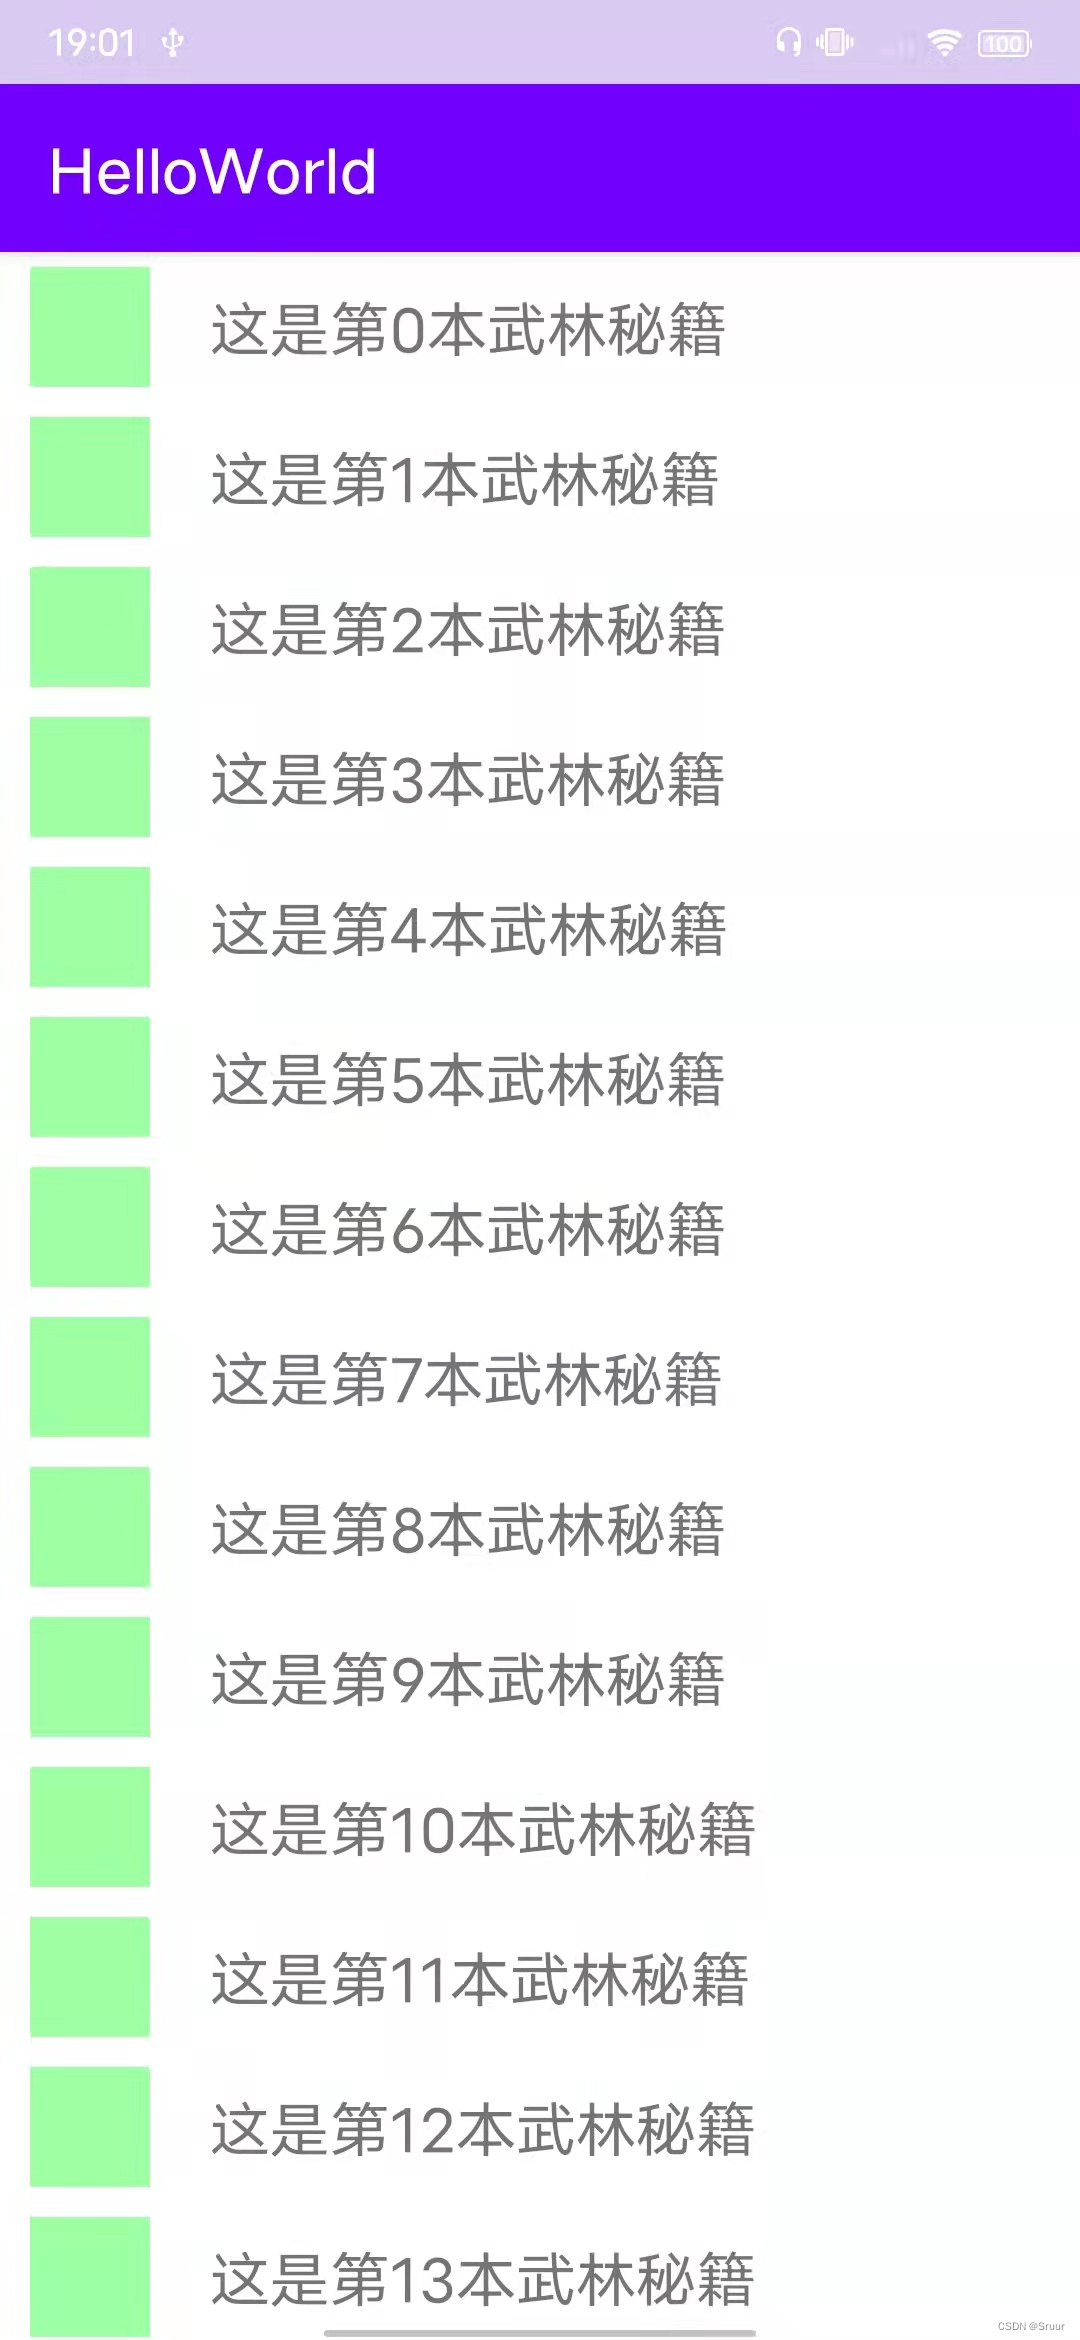
效果

分割线
以上实现了最简单的列表,其实RecyclerView还有很多的用法,比如设置不同的布局管理器,根据数据返回不同的ViewType创建不同的ViewHolder,剩下的功能自行探索,接下来就是我们的重点了,既然有了列表,那么列表再很多情况下是需要分割线的,分割线该怎么实现呢?
在RecyclerView中有这样一个方法,它可以为我们的每个item添加装饰,ItemDecoration 的类定义为抽象的,它的注释意思是我们可以给RecyclerView的item间绘制分隔线,高光,视觉分组边界等,既然定义为抽象的,就需要我们自己来实现,同时,官方也给我们实现了一个DividerItemDecoration,用来实现分割线效果。
public void addItemDecoration(@NonNull ItemDecoration decor) {
    addItemDecoration(decor, -1);
}
/**
 * An ItemDecoration allows the application to add a special drawing and layout offset
 * to specific item views from the adapter's data set. This can be useful for drawing dividers
 * between items, highlights, visual grouping boundaries and more.
 *
 * <p>All ItemDecorations are drawn in the order they were added, before the item
 * views (in {@link ItemDecoration#onDraw(Canvas, RecyclerView, RecyclerView.State) onDraw()}
 * and after the items (in {@link ItemDecoration#onDrawOver(Canvas, RecyclerView,
 * RecyclerView.State)}.</p>
 */
public abstract static class ItemDecoration {......}
使用DividerItemDecoration
使用默认的效果
mRecyclerView.addItemDecoration(DividerItemDecoration(this,LinearLayout.VERTICAL))
也可以自定义分割线的样式,DividerItemDecoration内部有一个Drawable名字为mDivider,它提供了一个Set方法,可以设置我们想要的样式
private Drawable mDivider;

public void setDrawable(@NonNull Drawable drawable) {
    if (drawable == null) {
        throw new IllegalArgumentException("Drawable cannot be null.");
    }
    mDivider = drawable;
}
既然它实现了分割线的效果,那么它是怎么实现的呢?其实看源码,它的原理还是比较易懂的,我们来看两个很关键的方法,是实现的RecyclerView.ItemDecoration的方法,getItemOffsets实现了每个Item需要在何处留出多少合适的空间,onDraw方法在合适的空间上绘制什么内容,因此就实现了分割线效果。
@Override
public void getItemOffsets(Rect outRect, View view, RecyclerView parent,
        RecyclerView.State state) {
    if (mDivider == null) {
        outRect.set(0, 0, 0, 0);
        return;
    }
    if (mOrientation == VERTICAL) {
    	// 如果是垂直的且分割线不为空,那么设置每个item的底部留出合适的高度
        outRect.set(0, 0, 0, mDivider.getIntrinsicHeight());
    } else {
    	// 如果是水平的且分割线不为空,那么设置每个item的右边留出合适的高度
        outRect.set(0, 0, mDivider.getIntrinsicWidth(), 0);
    }
}

@Override
public void onDraw(Canvas c, RecyclerView parent, RecyclerView.State state) {
    if (parent.getLayoutManager() == null || mDivider == null) {
        return;
    }
    if (mOrientation == VERTICAL) {
    	//画水垂直割线
        drawVertical(c, parent);
    } else {
    	//画水平分割线
        drawHorizontal(c, parent);
    }
}
自定义ItemDecoration
首先自定义类并继承 RecyclerView.ItemDecoration,我们可以看到它其实有两组方法,但是其中有一组已经废弃了,并且名字相同,因此我们实现其中现有的一组即可,先来看看每个方法中的参数都有什么含义吧!
class MyDividerItemDecoration(val context: Context) : RecyclerView.ItemDecoration() {

    /**
     * @param c:画布,我们可以将该画布从z轴方向上理解为ItemView下边的那一层画布,因此它绘制的内容如果在ItemView的范围之内是不会显示的
     * @param parent:我们的RecyclerView
     * @param state: 包含有关当前RecyclerView状态的有用信息,如目标滚动位置或视图焦点。
     */
    override fun onDraw(c: Canvas, parent: RecyclerView, state: RecyclerView.State) {
        super.onDraw(c, parent, state)
    }

    override fun onDrawOver(c: Canvas, parent: RecyclerView, state: RecyclerView.State) {
        super.onDrawOver(c, parent, state)
    }

    /**
     * @param outRect:可以理解为ItemView周围的区域,可以设置它的上下左右
     */
    override fun getItemOffsets(outRect: Rect, view: View, parent: RecyclerView, state: RecyclerView.State) {
        super.getItemOffsets(outRect, view, parent, state)
    }
}
根据以上提供的Api方法,我们可以直接自定义ItemDecoration,具体实现如下:
class PinnedSectionItemDecoration(val context: Context, private val callback: PinnedSectionCallBack) :
    RecyclerView.ItemDecoration() {

    private val mPaint by lazy {
        Paint().apply {
            color = Color.parseColor("#FFAAFF")
        }
    }

    private val mTextPaint by lazy {
        TextPaint().apply {
            isAntiAlias = true
            textAlign = Paint.Align.LEFT
            color = Color.parseColor("#BBBBBB")
            textSize = 20F
        }
    }

    /**
     * 分组section的高度
     */
    private val topGap = DensityUtil.dip2px(context, 18F)
    private val sectionLeftPadding = DensityUtil.dip2px(context, 12F)

    /**
     * 在RecyclerView的ViewHolder提供的View的上下左右开辟出区域以供onDraw进行绘制
     */
    override fun getItemOffsets(outRect: Rect, view: View, parent: RecyclerView, state: RecyclerView.State) {
        super.getItemOffsets(outRect, view, parent, state)
        val pos = parent.getChildAdapterPosition(view)
        val groupId = callback.getGroupId(pos)
        if (groupId < 0)
            return
        if (pos == 0 || isFirstInGroup(pos)) {
            outRect.top = topGap
        } else {
            outRect.top = 0
        }
    }

    /**
     * 绘制在RecyclerView之上,也可以绘制在内容的上面,覆盖内容
     */
    override fun onDrawOver(c: Canvas, parent: RecyclerView, state: RecyclerView.State) {
        super.onDrawOver(c, parent, state)
        val itemCount = state.itemCount
        val childCount = parent.childCount
        val left = parent.paddingLeft.toFloat()
        val right = parent.width - parent.paddingRight.toFloat()
        var preGroupId: Int
        var groupId = -1

        for (i in 0 until childCount) {
            val view = parent.getChildAt(i)
            val position = parent.getChildAdapterPosition(view)
            preGroupId = groupId
            groupId = callback.getGroupId(position)
            if (groupId < 0 || groupId == preGroupId) continue

            val groupTag = callback.getGroupTag(position)
            if (groupTag.isEmpty()) continue

            var textY = topGap.coerceAtLeast(view.top).toFloat()
            if (position + 1 < itemCount) {
                val nextGroupId = callback.getGroupId(position + 1)
                if (nextGroupId != groupId && view.bottom < textY) {
                    textY = view.bottom.toFloat()
                }
            }
            c.drawRect(left, textY - topGap, right, textY, mPaint)

            //画文字,需要处理偏移量与baseline才能正确绘制在section的垂直居中
            val textRect = Rect()
            mTextPaint.getTextBounds(groupTag, 0, groupTag.length, textRect)
            val dy =
                (mTextPaint.fontMetricsInt.bottom - mTextPaint.fontMetricsInt.top) /
                        2 - mTextPaint.fontMetricsInt.bottom
            val baseLine = topGap / 2 + dy.toFloat()
            c.drawText(groupTag, left + sectionLeftPadding, (textY - topGap) + baseLine, mTextPaint)
        }
    }

    override fun onDraw(c: Canvas, parent: RecyclerView, state: RecyclerView.State) {
        super.onDraw(c, parent, state)
        val left = parent.paddingLeft.toFloat()
        val right = parent.width - parent.paddingRight.toFloat()
        val childCount = parent.childCount
        for (i in 0 until childCount) {
            val view = parent.getChildAt(i)
            val position = parent.getChildAdapterPosition(view)
            val groupId = callback.getGroupId(position)
            if (groupId < 0) return
            val groupTag = callback.getGroupTag(position)
            if (position == 0 || isFirstInGroup(position)) {
                val top = view.top - topGap.toFloat()
                val bottom = view.top.toFloat()
                //画背景
                c.drawRect(left, top, right, bottom, mPaint)

                //画文字,需要处理偏移量与baseline才能正确绘制在section的垂直居中
                val textRect = Rect()
                mTextPaint.getTextBounds(groupTag, 0, groupTag.length, textRect)
                val dy =
                    (mTextPaint.fontMetricsInt.bottom - mTextPaint.fontMetricsInt.top) /
                            2 - mTextPaint.fontMetricsInt.bottom
                val baseLine = (top + bottom) / 2 + dy.toFloat()
                c.drawText(groupTag, left + sectionLeftPadding, baseLine, mTextPaint)
            }
        }
    }

    /**
     * 判断是否是同组第一个
     */
    private fun isFirstInGroup(pos: Int): Boolean {
        if (pos == 0) return true
        //如果上一个的item的groupId与当前的groupId不相同则为第一个
        return callback.getGroupId(pos - 1) != callback.getGroupId(pos)
    }

    interface PinnedSectionCallBack {

        fun getGroupId(position: Int): Int

        fun getGroupTag(position: Int): String
    }
}
我们在实例化PinnedSectionItemDecoration的时候,需要传入一个callback,我们实现PinnedSectionCallBack 即可,它提供了分组的id和分组的标签,只需要将数据进行分组处理即可。


 155
155


 被折叠的 条评论
为什么被折叠?


