


本篇博文目录:
1.简述
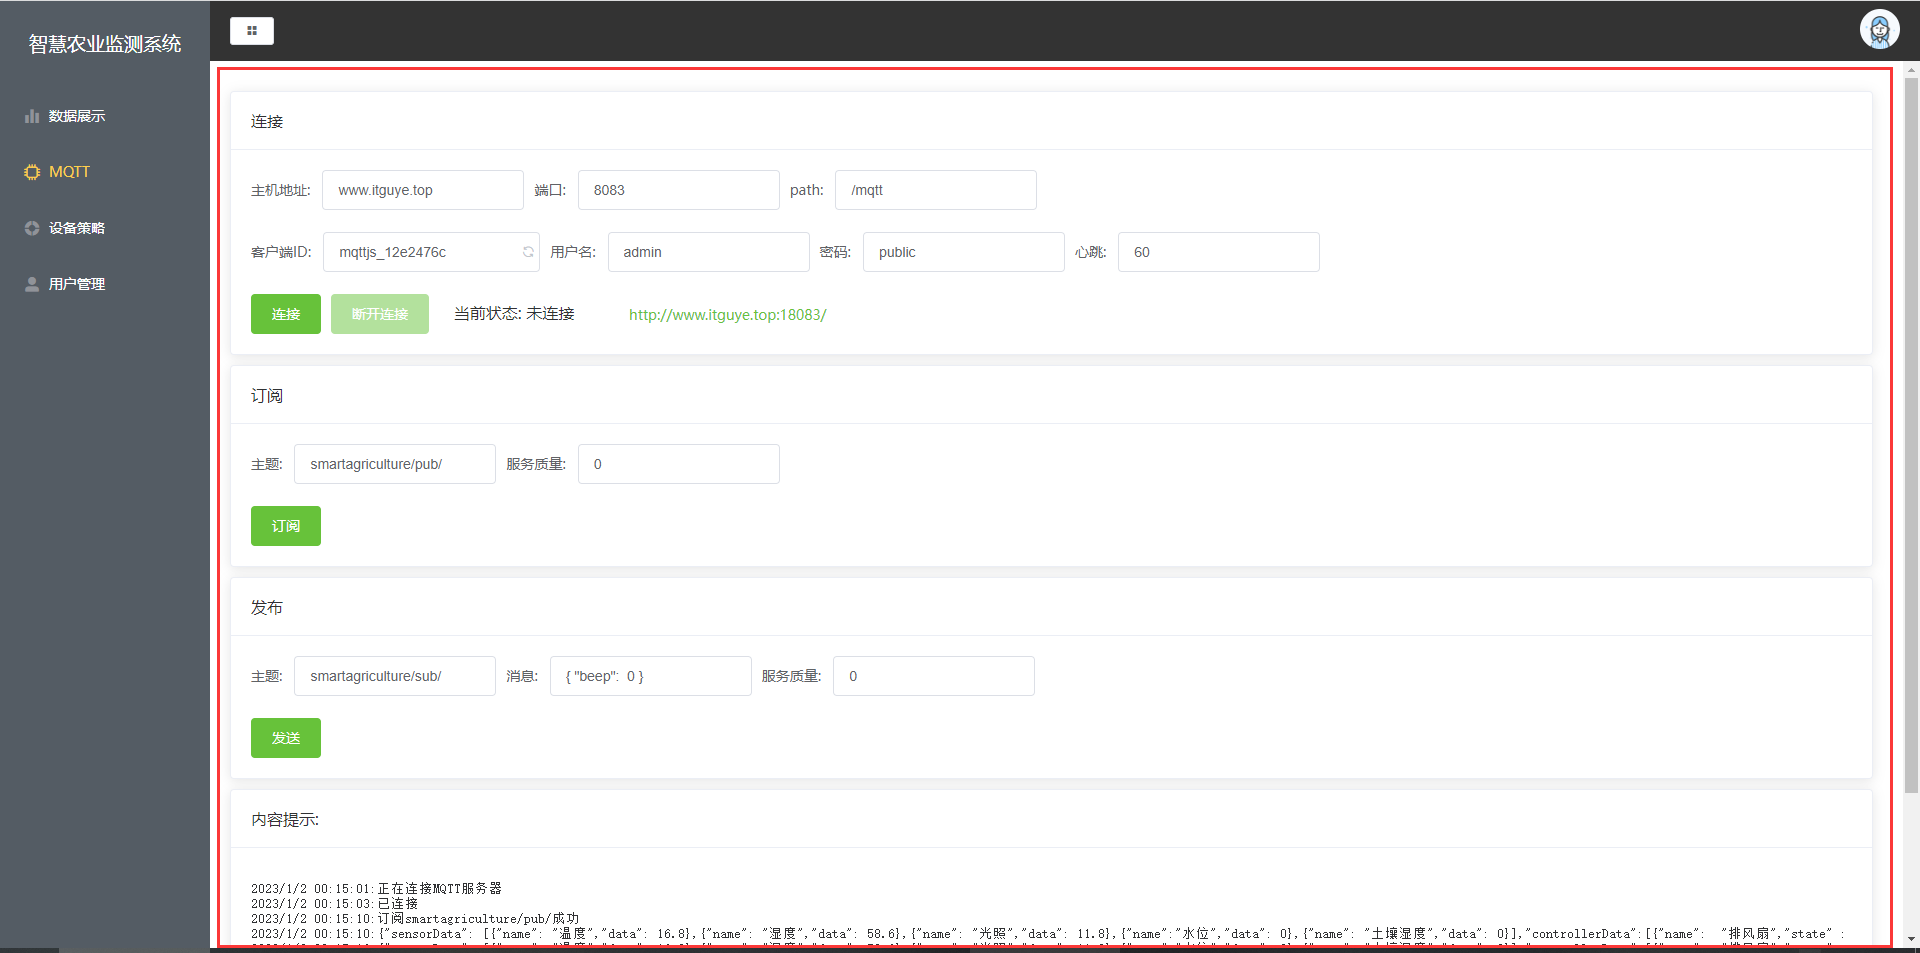
项目采用的前端框架为Vue,界面UI采用Element Ui ,MQTT协议采用mqtt.js,该demo为毕设项目中的一个小模块,可以实现MQTT的连接,关闭,订阅,发布功能,基本上完成了Mqtt.js的四个核心功能,关于Mqtt.js开发的相关说明,你可以参考这篇博文https://www.cnblogs.com/emqx/p/15224045.html进行学习,本文不在阐述,仅仅给出实例代码,demo截图如下图所示:
2.详细实例代码步骤
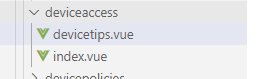
组件devicetips.vue代码如下:
<template>
  <div>
    <el-card class="box-card">
      <div slot="header" class="clearfix">
        <span>连接</span>
      </div>
      <div class="text item">
        <div class="grid-content bg-purple">
          <el-form :inline="true" class="demo-form-inline">
            <el-form-item label="主机地址:">
              <el-input
                v-model="path_info.host"
                :disabled="inputDisabled"
              ></el-input>
            </el-form-item>
            <el-form-item label="端口:">
              <el-input
                v-model="path_info.port"
                :disabled="inputDisabled"
              ></el-input>
            </el-form-item>
            <el-form-item label="path:">
              <el-input
                v-model="path_info.path"
                :disabled="inputDisabled"
              ></el-input>
            </el-form-item>
          </el-form>
        </div>

        <div class="grid-content bg-purple">
          <el-form :inline="true" class="demo-form-inline">
            <el-form-item label="客户端ID:">
              <el-input
                v-model="options.clientId"
                :disabled="inputDisabled"
                ><i slot="suffix" class="el-icon-refresh" @click="refresh"></i
              ></el-input>
            </el-form-item>
            <el-form-item label="用户名:">
              <el-input
                v-model="options.username"
                :disabled="inputDisabled"
              ></el-input>
            </el-form-item>
            <el-form-item label="密码:">
              <el-input
                v-model="options.password"
                :disabled="inputDisabled"
              ></el-input>
            </el-form-item>
            <el-form-item label="心跳:">
              <el-input
                v-model="options.keepalive"
                :disabled="inputDisabled"
              ></el-input>
            </el-form-item>
          </el-form>
        </div>

        <div class="grid-content bg-purple">
          <el-form :inline="true" class="demo-form-inline">
            <el-button
              type="success"
              :loading="connection_loading"
              :disabled="connection_disabled"
              @click="connection"
              >连接</el-button
            >
            <el-button type="success" :disabled="close_disabled" @click="close"
              >断开连接</el-button
            >
            当前状态: {{ connection_info }}
            <el-link type="success" href="http://www.itguye.top:18083/"
              >http://www.itguye.top:18083/</el-link
            >
          </el-form>
        </div>
      </div>
    </el-card>

    <el-card class="box-card">
      <div slot="header" class="clearfix">
        <span>订阅</span>
      </div>
      <div class="text item">
        <div class="grid-content bg-purple">
          <el-form :inline="true" class="demo-form-inline">
            <el-form-item label="主题:">
              <el-input
                v-model="sub.subscribeTxt"
              ></el-input>
            </el-form-item>
            <el-form-item label="服务质量:">
              <el-input
                v-model="sub.subQuality"
              ></el-input>
            </el-form-item>
          </el-form>
        </div>

        <div class="grid-content bg-purple">
          <el-form :inline="true" class="demo-form-inline">
            <el-button
              type="success"
              @click="subOnclick"
              >订阅</el-button
            >
          </el-form>
        </div>
      </div>
    </el-card>

    <el-card class="box-card">
      <div slot="header" class="clearfix">
        <span>发布</span>
      </div>
      <div class="text item">
        <div class="grid-content bg-purple">
          <el-form :inline="true" class="demo-form-inline">
            <el-form-item label="主题:">
              <el-input
                v-model="pub.publishTxt"
              ></el-input>
            </el-form-item>

            <el-form-item label="消息:">
              <el-input v-model="pub.msg" ></el-input>
            </el-form-item>

            <el-form-item label="服务质量:">
              <el-input
                v-model="pub.pubQuality"
              ></el-input>
            </el-form-item>
          </el-form>
        </div>

        <div class="grid-content bg-purple">
          <el-form :inline="true" class="demo-form-inline">
            <el-button
              type="success"
              @click="sendMsg"
              >发送</el-button
            >
          </el-form>
        </div>
      </div>
    </el-card>

    <el-card class="box-card">
      <div slot="header" class="clearfix">
        <span>内容提示:</span>
      </div>
      <div class="text item" style="overflow:auto; height: 200px;">
        <!-- <ul class="infinite-list" > </ul> -->
          <!-- <li  class="infinite-list-item">  </li> -->
          <div style="overflow:auto;height:200px;">
            <pre>{{ resultTxt === "" ? "无" : resultTxt }}</pre>
	      </div>


      </div>
    </el-card>
  </div>
</template>
<script>
const mqtt = require('mqtt')
import {decode} from '@/utils/encode.js'
let  client  = null;
var _this;
export default {
  data() {
    return {
      // 按钮的禁用
      connection_disabled: false,
      close_disabled: true,
      connection_loading: false,
      // 输入框禁用
      inputDisabled: false,
      connection_info: "未连接", // 连接情况
      sensorData: [],
      controllerData: [],
      timer: null,
      path_info: {
        host: "www.itguye.top",
        port: "8083",
        path: "/mqtt",
      },
      options: {
        clientId: "mqttjs_12e2476c",
        username: "admin",
        password: "public",
        keepalive: 60,
        connectTimeout: 4000,
      },
      sub: {
        subscribeTxt: "smartagriculture/pub/",
        subQuality: 0,
      },
      pub: {
        publishTxt: "smartagriculture/sub/",
        pubQuality: 0,
        msg: '{ "beep":  0 }',
      },
      resultTxt: "",
    };
  },
  methods: {
    connection() {
      // 通过WebSocket连接MQTT服务器
      const path =
        "ws://" +
        this.path_info.host +
        ":" +
        this.path_info.port +
        this.path_info.path;
      // 提交连接
      // this.$store.commit("openConnection", [path, this.options]);
      this.resultTxt += new Date().toLocaleString()+":正在连接MQTT服务器\n";
      this.connection_loading = false;
      this.connection_disabled = true;
      this.close_disabled = false;
      this.inputDisabled = true;
      this.connection_info = "已连接";
      client = mqtt.connect(path, this.options);
      if(client == null){
        this.resultTxt += new Date().toLocaleString()+":未连接\n";
      }else{
        this.resultTxt += new Date().toLocaleString()+":已连接\n";
      }
      console.log(client)

      // 开启定时器接收数据
      this.timer = window.setInterval(() => {

       // const client = this.$store.state.devices.client;
        if (client != null) {
          // Received
          client.on("message", (topic, message, packet) => {
            const rs =  JSON.parse(message)
            this.resultTxt +=  new Date().toLocaleString()+":"+decode(new Uint8Array(message),"gb2312")+"\n";
            // 数据展示
           // this.$store.commit("saveDataResult",rs)
          });
        } else {
          this.resultTxt += new Date().toLocaleString()+":未连接\n";
        }
      }, 5000);

    },
    subOnclick() {
      // 订阅主题
      if (this.connection_info === "已连接") {
        client.subscribe(
          this.sub.subscribeTxt,
          { qos: this.sub.subQuality },
          function (error, granted) {
            if (error) {
              _this.resultTxt += new Date().toLocaleString()+":出现异常:"+error+"\n";
            } else {
              _this.resultTxt += new Date().toLocaleString()+":订阅" + _this.sub.subscribeTxt + "成功\n";
            }
          }
        );
      }else{
        _this.$message({
          message: '订阅失败,请连接MQTT服务器!',
          type: 'warning'
        });
      }
    },
    sendMsg() {
      // 发布主题
      if (this.connection_info === "已连接") {
        client.publish(
          this.pub.publishTxt,
          this.pub.msg,
          { qos: this.pub.pubQuality, retain: false },
          function (error) {
            if (error) {
              _this.resultTxt += new Date().toLocaleString()+":出现异常:"+error+"\n";
            } else {
              _this.resultTxt += new Date().toLocaleString()+":" + _this.pub.msg + "\n";
            }
          }
        );
      }else{
        _this.$message({
          message: '发送失败,请连接MQTT服务器!',
          type: 'warning'
        });
      }
    },
    refresh() {
      this.options.clientId =
        "mqttjs_" + Math.random().toString(16).substr(2, 8);
      const array = ["clientId", this.options.clientId];
      this.$store.commit("updateOptions", array);
    },
    close() {
      // 用户点击断开

      this.resultTxt+=new Date().toLocaleString()+":关闭MQTT连接\n"
      this.connection_info = "未连接";
      this.connection_loading = false;
      this.close_disabled = true;
      this.connection_disabled = false;
      this.inputDisabled = false;
      // 是否关闭成功
      if (client != null) {
        window.clearInterval(this.timer);// 关闭定时器
        client.end(true, null, () => {
          client = null;
          this.resultTxt+=new Date().toLocaleString()+":关闭MQTT连接成功\n"
        });
      }
      // this.$store.commit("closeConnection");
    },

  },
  computed: {

  },created(){
    _this=this;    //保存this一开始指向的对象
  }
};
</script>

<style scoped>
.el-card.is-always-shadow,
.el-card.is-hover-shadow:focus,
.el-card.is-hover-shadow:hover,
.el-cascader__dropdown,
.el-color-picker__panel,
.el-message-box,
.el-notification {
  margin: 10px;
}

.el-button--success.is-disabled,
.el-button--success.is-disabled:active,
.el-button--success.is-disabled:focus,
.el-button--success.is-disabled:hover {
  margin-right: 20px;
}

.el-link.el-link--success {
  margin-left: 50px;
}
</style>
上面的组件引入了二个js文件:
const mqtt = require('mqtt')
import {decode} from '@/utils/encode.js'
- mqtt 采用npm 安装依赖:
npm install mqtt --save
- encode.js是为了解决乱码问题编写的js文件,在utils中创建encode.js,详细代码如下:
import {
    TextEncoder,
    TextDecoder
  } from 'text-encoding'

  /**
   * 编码
   * @param {*} str 需要编码的字符串
   * @param {*} encoding 编码类型(gb2312,utf-8)
   * @returns unit8Array类型的对象
   */
  export function encode(str, encoding) {
    let encode = new TextEncoder(encoding, {
      NONSTANDARD_allowLegacyEncoding: true
    })
    let uint8Array = encode.encode(str);
    return uint8Array;
  }


  /**
   * 解码
   * @param {*} uint8Array 需要解码的unit8Array类型的对象
   * @param {*} encoding 解码类型(gb2312,utf-8)
   * @returns 解码出来的字符串
   */
  export function decode(uint8Array, encoding) {
    let decode = new TextDecoder(encoding);
    return decode.decode(uint8Array)
  }
备注:text-encoding 需要导入,使用 npm install text-encoding --save 导入即可。
使用的时候导入该Vue组件即可:
<template>
  <div>
    <device_tips></device_tips>
  </div>
</template>

<script>
import device_tips from './devicetips.vue';
export default {
components:{
  device_tips
}
}
</script>

<style>

</style>


 310
310


 被折叠的 条评论
为什么被折叠?
被折叠的 条评论
为什么被折叠?
 到【灌水乐园】发言


