


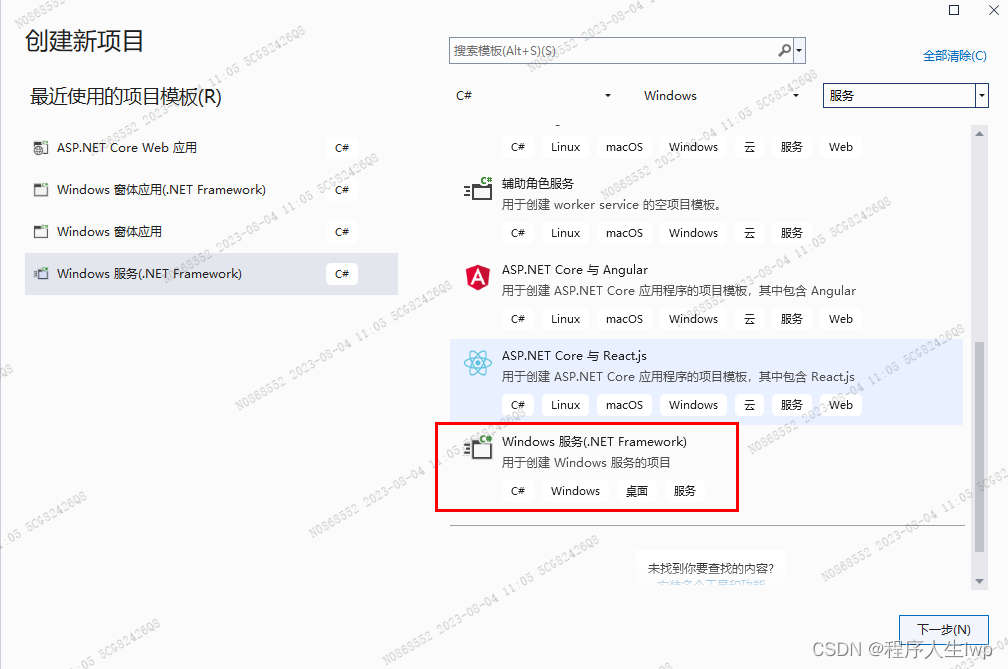
一、自定义WIndows服务
1.新建一个Windows服务(.NET Framework)项目
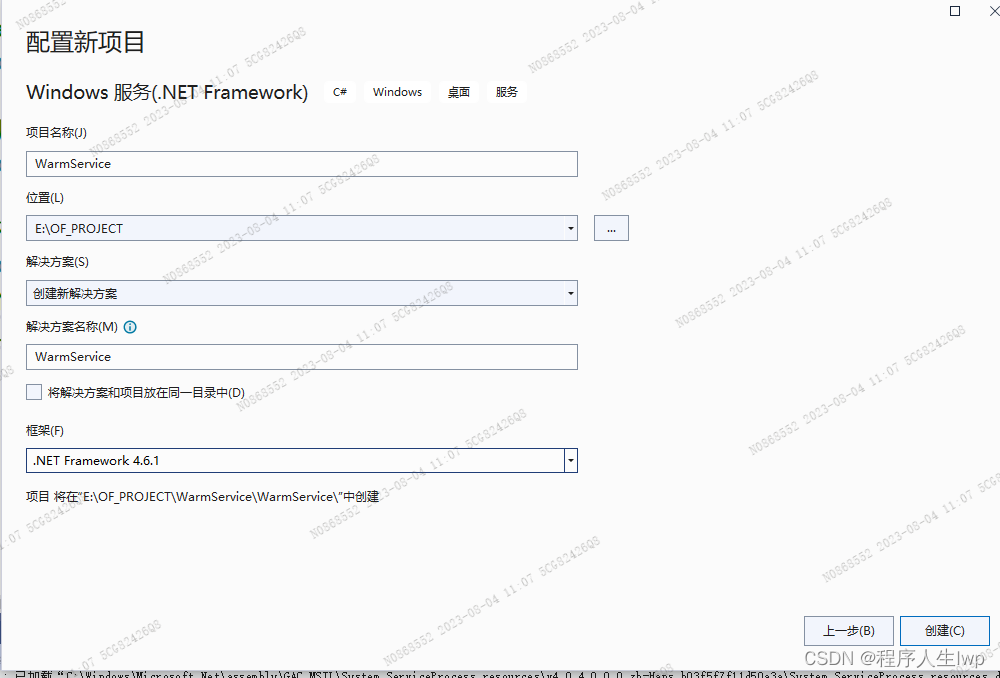
2.输入项目名称,选择安装位置,,选择安装框架版本;创建。
3.找到MyService.cs ,右击‘查看代码’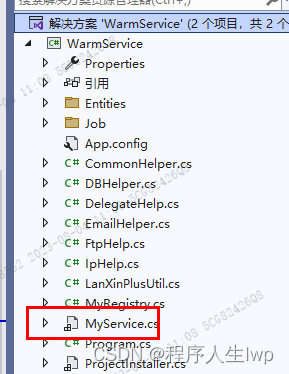
添加如下代码
public partial class MyService : ServiceBase
    {
        string path = "WarmService";
        public MyService()
        {
            InitializeComponent();
        }

        protected override void OnStart(string[] args)
        {
            CommonHelper.WriteLog("=============服务启动=============", path);
            JobManager.Initialize(new MyRegistry());//注册定时任务模块
            CommonHelper.WriteLog("=============服务注册成功=============", path);
        }

        protected override void OnStop()
        {
            CommonHelper.WriteLog("=============服务停止=============", path);
        }
    }
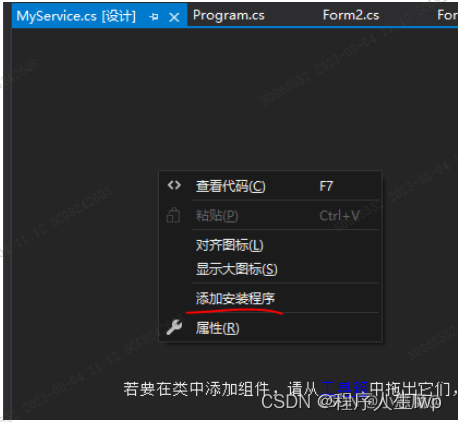
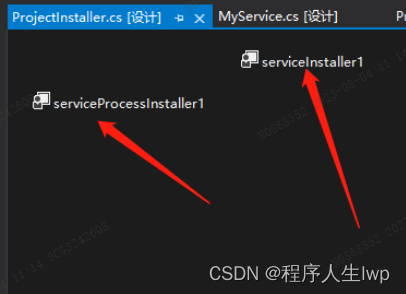
4.双击MyService.cs,在出现的界面中右击–>选择“添加安装程序”。
点击后,会自动生产连个控件,sericcelnstaller1 和sericeProcessInstaller1
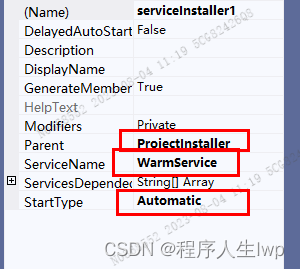
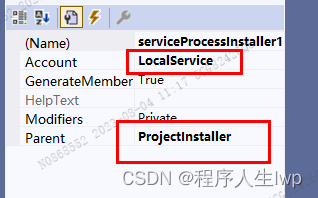
5.分别设置两个控件的属性
6.生成项目;
7.在同一个解决方案中,新增一个Windows From应用程序项目;
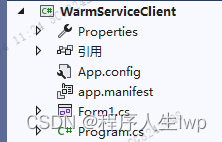
8.找到form1窗体
9.在Windows From应用程序项目里面引用Windows服务(.NET Framework)项目文件
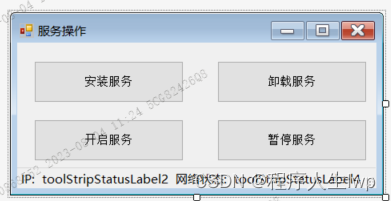
10.form1各按钮的实现代码如下
 string serviceFilePath = string.Format(@"{0}\\WarmService.exe", Application.StartupPath);
        string serviceName = "WarmService";
        public Form1()
        {
            InitializeComponent();
        }

        private void button3_Click(object sender, EventArgs e)
        {
            if (this.IsServiceExisted(serviceName)) this.ServiceStart(serviceName);
            MessageBox.Show("启动服务成功");
            button3.Enabled = false;
            button4.Enabled = true;
        }

        private void button1_Click(object sender, EventArgs e)
        {
            if (this.IsServiceExisted(serviceName)) this.UninstallService(serviceName);
            this.InstallService(serviceFilePath);
            MessageBox.Show("安装服务成功");
            button1.Enabled = false;
            button2.Enabled = true;
            button3.Enabled = true;
        }

        private void button2_Click(object sender, EventArgs e)
        {
            if (this.IsServiceExisted(serviceName))
            {
                this.ServiceStop(serviceName);
                this.UninstallService(serviceFilePath);
            }
            MessageBox.Show("卸载服务成功");
            button2.Enabled = false;
            button1.Enabled = true;
        }

        private void button4_Click(object sender, EventArgs e)
        {
            if (this.IsServiceExisted(serviceName)) this.ServiceStop(serviceName);
            MessageBox.Show("停止服务成功");
            button4.Enabled = false;
            button3.Enabled = true;
        }
        //判断服务是否存在
        private bool IsServiceExisted(string serviceName)
        {
            ServiceController[] services = ServiceController.GetServices();
            foreach (ServiceController sc in services)
            {
                if (sc.ServiceName.ToLower() == serviceName.ToLower())
                {
                    return true;
                }
            }
            return false;
        }
        //安装服务
        private void InstallService(string serviceFilePath)
        {
            //CommonHelper.LanXinInfo("N0811051", "测试信息");
            //return;
            using (AssemblyInstaller installer = new AssemblyInstaller())
            {
                installer.UseNewContext = true;
                installer.Path = serviceFilePath;
                IDictionary savedState = new Hashtable();
                installer.Install(savedState);
                installer.Commit(savedState);
            }
        }
        //卸载服务
        private void UninstallService(string serviceFilePath)
        {
            using (AssemblyInstaller installer = new AssemblyInstaller())
            {
                installer.UseNewContext = true;
                installer.Path = serviceFilePath;
                installer.Uninstall(null);
            }
        }
        //启动服务
        private void ServiceStart(string serviceName)
        {
            using (ServiceController control = new ServiceController(serviceName))
            {
                if (control.Status == ServiceControllerStatus.Stopped)
                {
                    control.Start();
                }
            }
        }
        //停止服务
        private void ServiceStop(string serviceName)
        {
            using (ServiceController control = new ServiceController(serviceName))
            {
                if (control.Status == ServiceControllerStatus.Running)
                {
                    control.Stop();
                }
            }
        }
        }
以上自定义WIndows服务完成
二、自定义定时任务,并把定时任务挂到自定义的windows服务里面执行
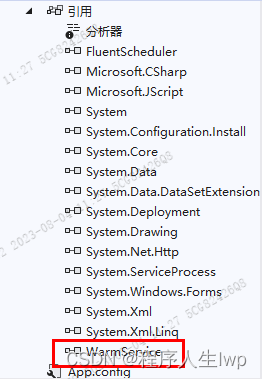
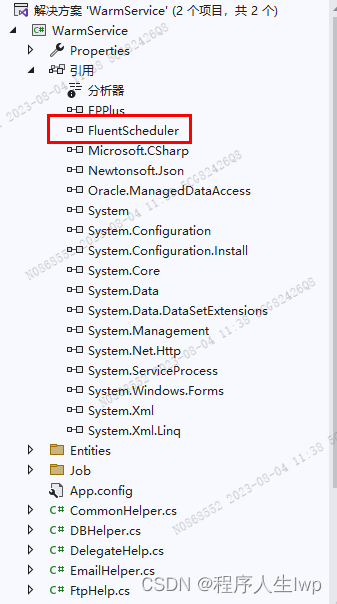
- 在windows服务项目中添加FluentScheduler引用,FluentScheduler 中 对象: IJob(工作)、Registry(注册)、Schedule(计划)
2.在在windows服务项目中定义定时任务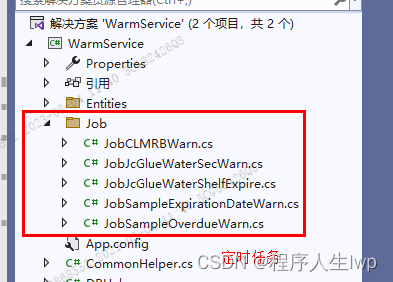
定时任务基本架构如下
public class JobJcGlueWaterShelfExpire : IJob
    {
        void IJob.Execute()
        {
            this.JsShelfExpireWarn("CONN_JM_TEST");
        }
        public void JsShelfExpireWarn(string conStr)
        {
           //定时任务实现的业务逻辑
        }
    }
3.编写一个注册表。继承Registry类,用于调用定时任务
 public class MyRegistry : Registry
    {
        public MyRegistry()
        {
            #region 定时任务注册;
            //明天上午9点,自动执行定时任务A
            Schedule<定时任务A>().NonReentrant().ToRunNow().AndEvery(1).Days().At(9, 00);

            // 每5秒执行一次(指定一个时间间隔运行,根据自己需求,可以是秒、分、时、天、月、年等。)
            Schedule<定时任务A>().ToRunNow().AndEvery(5).Seconds();
            // 每两秒执行一次
             Schedule<定时任务A>().ToRunNow().AndEvery(2).Seconds();Hours();

            //每天10点先执行定时任务A,再执行定时任务B;
            Schedule<定时任务A>().AndThen<定时任务B>().NonReentrant().ToRunNow().AndEvery(1).Days().At(10, 00);
            #endregion
        }
    }


 1255
1255


 被折叠的 条评论
为什么被折叠?
被折叠的 条评论
为什么被折叠?
 到【灌水乐园】发言


