一、安装Istio
1、服务器要能访问以下地址
raw.githubusercontent.com/443
github.com/443
quay.io/443
quay.io/80
hub.docker.com/443
hub.docker.com/80
docker.com/443
docker.io/443
docker.io/80
rancher.com/443
registry-1.docker.io/443

2、下载istio包
https://github.com/istio/istio/releases
部署包:istio-1.13.4-linux-amd64.tar.gz

mkdir -p /data/
tar -xvf istio-1.13.4-linux-amd64.tar.gz -C /data
ln -sv /data/istio-1.13.4 /data/istio
ln -sv /data/istio/bin/istioctl /usr/bin/
[root@vm-0010680 data]
total 36
drwxr-xr-x 4 root root 42 Apr 26 17:05 deploy
drwxr-xr-x 4 root bgyadmin 42 Jan 7 11:17 image
lrwxrwxrwx 1 root bgyadmin 18 Oct 21 2021 istio -> /data/istio-1.13.4
drwxr-x--- 6 root root 146 Nov 12 2021 istio-1.13.4
drwxrwxrwx 6 root bgyadmin 4096 Jan 12 08:56 k8s
drwxrwxrwx 6 root bgyadmin 114 Nov 1 2021 nfs_share
drwxr-xr-x 15 root root 4096 Apr 26 15:45 scrips
drwxr-xr-x 4 root root 66 Nov 4 2021 soft
drwxr-xr-x 6 root bgyadmin 242 Nov 25 17:46 tools
drwxr-xr-x 6 root bgyadmin 4096 Apr 26 17:05 yaml
[root@vm-0010680 data]
/usr/bin/istioctl
3、验证istioctl版本
[root@vm-0010680 data]
client version: 1.13.4
control plane version: 1.13.4
data plane version: 1.13.4 (28 proxies)
4、安装istio
istioctl manifest apply --set profile=demo
✔ Istio core installed
✔ Istiod installed
✔ Egress gateways installed
✔ Ingress gateways installed
✔ Installation complete
[root@vm-0010680 ~]
NAME READY STATUS RESTARTS AGE
grafana-8b56d6db7-mpfvw 1/1 Running 0 163d
istio-egressgateway-65fd876897-kftdf 1/1 Running 0 163d
istio-ingressgateway-74dc774b77-pxfdv 1/1 Running 0 67d
istio-ingressgateway-74dc774b77-v45lf 1/1 Running 0 71d
istio-tracing-c7b59f68f-dwshn 1/1 Running 0 163d
istio-tracing-c7b59f68f-hhd72 1/1 Running 0 163d
istio-tracing-c7b59f68f-n7cx4 1/1 Running 0 161d
istiod-84ff69cb77-2vr87 1/1 Running 0 168d
istiod-84ff69cb77-7kzgg 1/1 Running 0 58d
istiod-84ff69cb77-b478j 1/1 Running 0 163d
kiali-7ff568c949-j7tnh 1/1 Running 1 168d
prometheus-f5c9cbdcb-n7kvf 2/2 Running 0 163d
kubectl label namespace bu00512-prod istio-injection=enabled
说明:istio版本是1.6以下要手动注入
istioctl profile list
istioctl profile dump demo > demo.yaml
vim demo.yaml
二、卸载Istio
istioctl manifest generate --set profile=demo | kubectl delete -f -
istioctl manifest generate --set profile=demo | kubectl delete --ignore-not-found=true -f -
kubectl delete namespace istio-system
kubectl label namespace bu00512-prod istio-injection-
三、手动注入
一、请准备应用deployment文件
istioctl kube-inject -f cs-auth.yaml | kubectl -n bu00512-prod apply -f -
kubectl -n bu000512-prod apply -f <(istioctl kube-inject -f cs-auth.yaml)
说明:请用以上任意一条命令执行即可
1、请将命名空间:bu000512-prod更改成对应命名空间
2、cs-auth.yaml换成要部署应用文件
[root@vm-0010680 ~]
cs-auth-77b7b984f4-2dxbc 2/2 Running 0 51d
说明:
1、因为pod显示2/2,应用cs-auth应用手动注入istio成功。
二、删除应用cs-auth服务
kubectl delete -f cs-auth.yaml
kubectl delete deploy cs-auth
kubectl delete svc cs-auth
说明:整个istio部署完成,如果要深入研究,请查阅官方文档
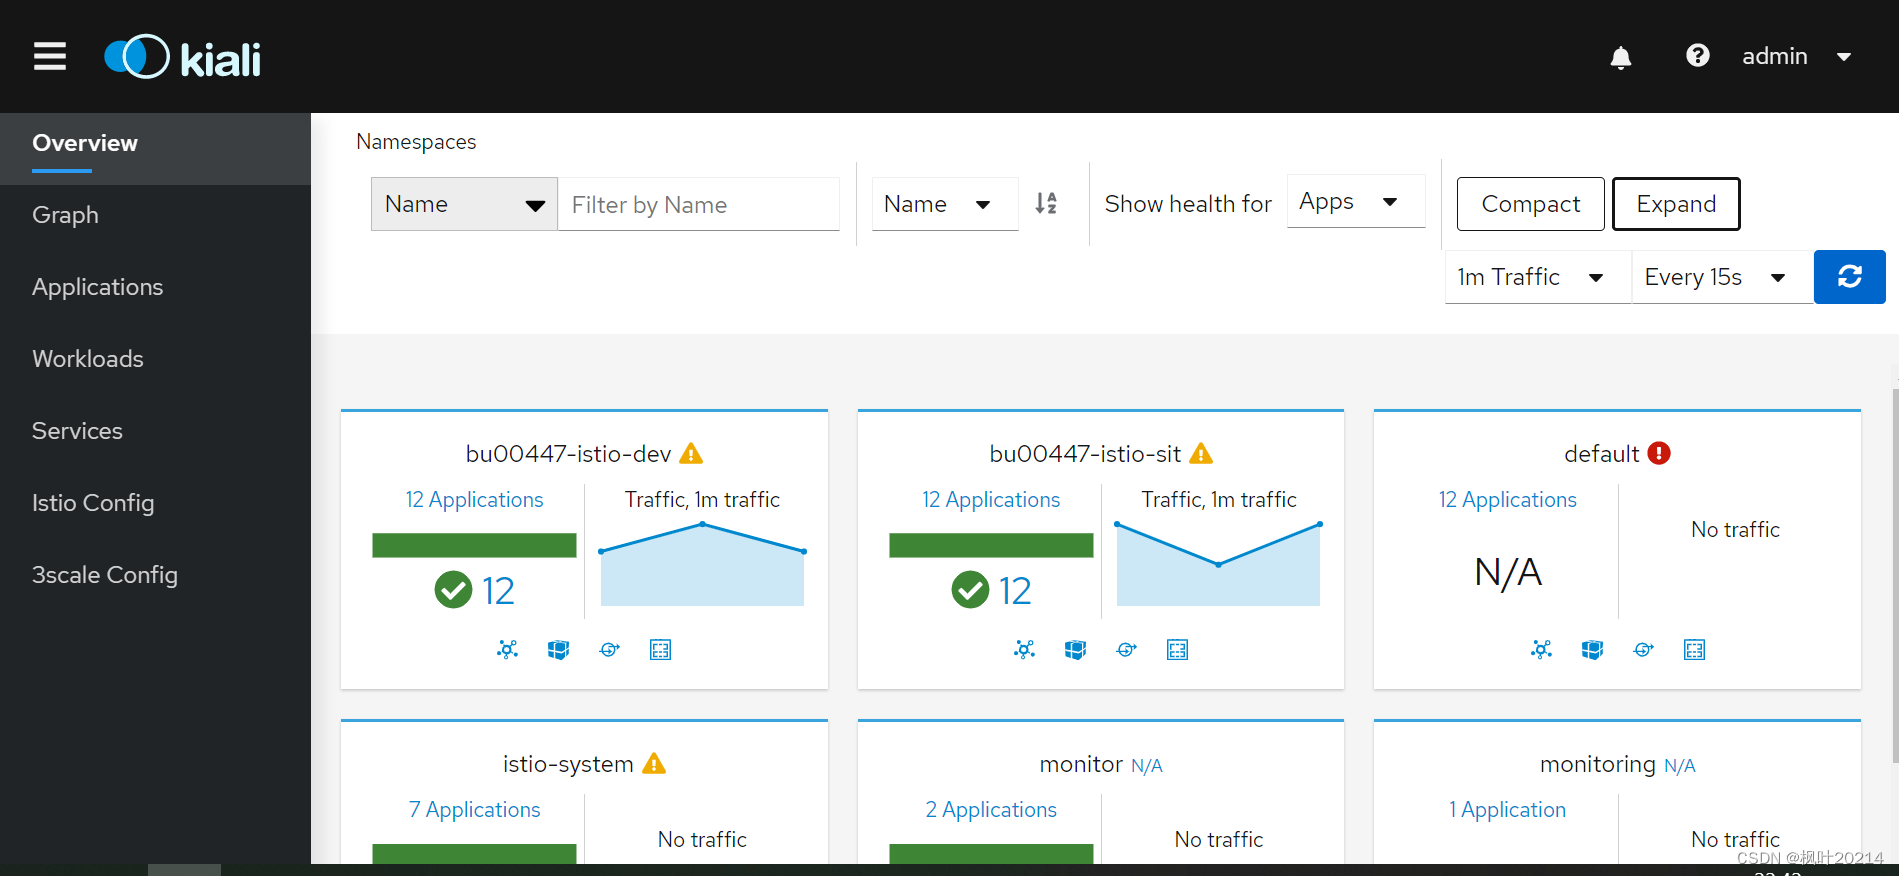
三、访问kiali更改配置
https://aip-sit-kiali.xxxx.com.cn/
账号:admin
密码:xxxxx


 1506
1506


 被折叠的 条评论
为什么被折叠?
被折叠的 条评论
为什么被折叠?
 到【灌水乐园】发言


