


尚硅谷P122 - P129
一、基本结构搭建
1、新建文件夹,在终端打开
2、express -e accounts
3、npm i 安装依赖
4、修改 package.json中的scripts/start/node 改为 nodemon
5、npm start 启动项目
6、路由规则的搭建


二、响应静态网页
1、准备好静态页面
2、将静态页面放到我们的服务器下面 3000端口
3、修改index.js文件,并在view文件夹中创建静态资源对应的.ejs文件
【注意:】这里会出现的问题是,如果在静态页面页面中使用了 样式的引入,则需要将css文件、js文件存入 public文件夹下,并且将.ejs文件中的link引入地址改为绝对路径,否则会造成样式失效。《改成绝对路径的原因是:绝对路径可以直接拼接请求地址URL,跟路径无关。》


三、获取表单数据
1、将form表单name属性添加完毕,其中form的action属性设置为action="/account",method="post"
2、添加路由信息,获得请求数据
var express = require('express');
var router = express.Router();

// 记账本的列表
router.get('/account', function(req, res, next) {
  // res.send('账本列表');
  res.render('list')
});

// 添加记录
router.get('/account/create', function(req, res, next){
  res.render('create')
})

// 新增记录
router.post('/account',(req, res) =>{
  // 获取请求体数据
  // 在app.js中,已经使用了中间件,所以这里不需要再使用中间件,可以直接用req.body来获取请求数据
  console.log(req.body)
  res.send('添加记录')
})
module.exports = router;

四、lowdb的介绍与展示<了解,一般不会使用>
1、lowdb是什么? 为什么要学习它?
lowdb是一个包,我们想要将表单form提交的数据进行持久化,就必须使用lowdb来完成!
官方文档:lowdb - npm
下载1.0.0版本:npm i lowdb@1.0.0
使用lowdb对数据进行增删改查
// 导入 lowdb
const low = require('lowdb')
const FileSync = require('lowdb/adapters/FileSync')
const adapter = new FileSync('db.json')
// 获取 db 对象
const db = low(adapter)

// 初始化数据
// db.defaults({post:[], user:{}}).write()

// 写入数据
// db.get('post').push({id:1, title:'今天天气还不错~~'}).write()
// db.get('post').unshift({id:2, title:'今天天气还不错'}).write()
// 获取单条数据
let res = db.get('post').find({id:1}).value()
console.log(res)

// 获取数据
// console.log(db.get('post').value())

// 删除数据
// db.get('post').remove({id:1}).write()
// let res = db.get('post').remove({id:2}).write()
// console.log(res) //返回值为:删除的对象 [ { id: 2, title: '今天天气还不错' } ]

// 更新数据
db.get('post').find({id:1}).assign({title:'今天下雨了'}).write()
{ "post": [ { "id": 1, "title": "今天天气还不错~~" }, { "id": 1, "title": "今天天气还不错~~" } ], "user": {} }
五、保存账单信息
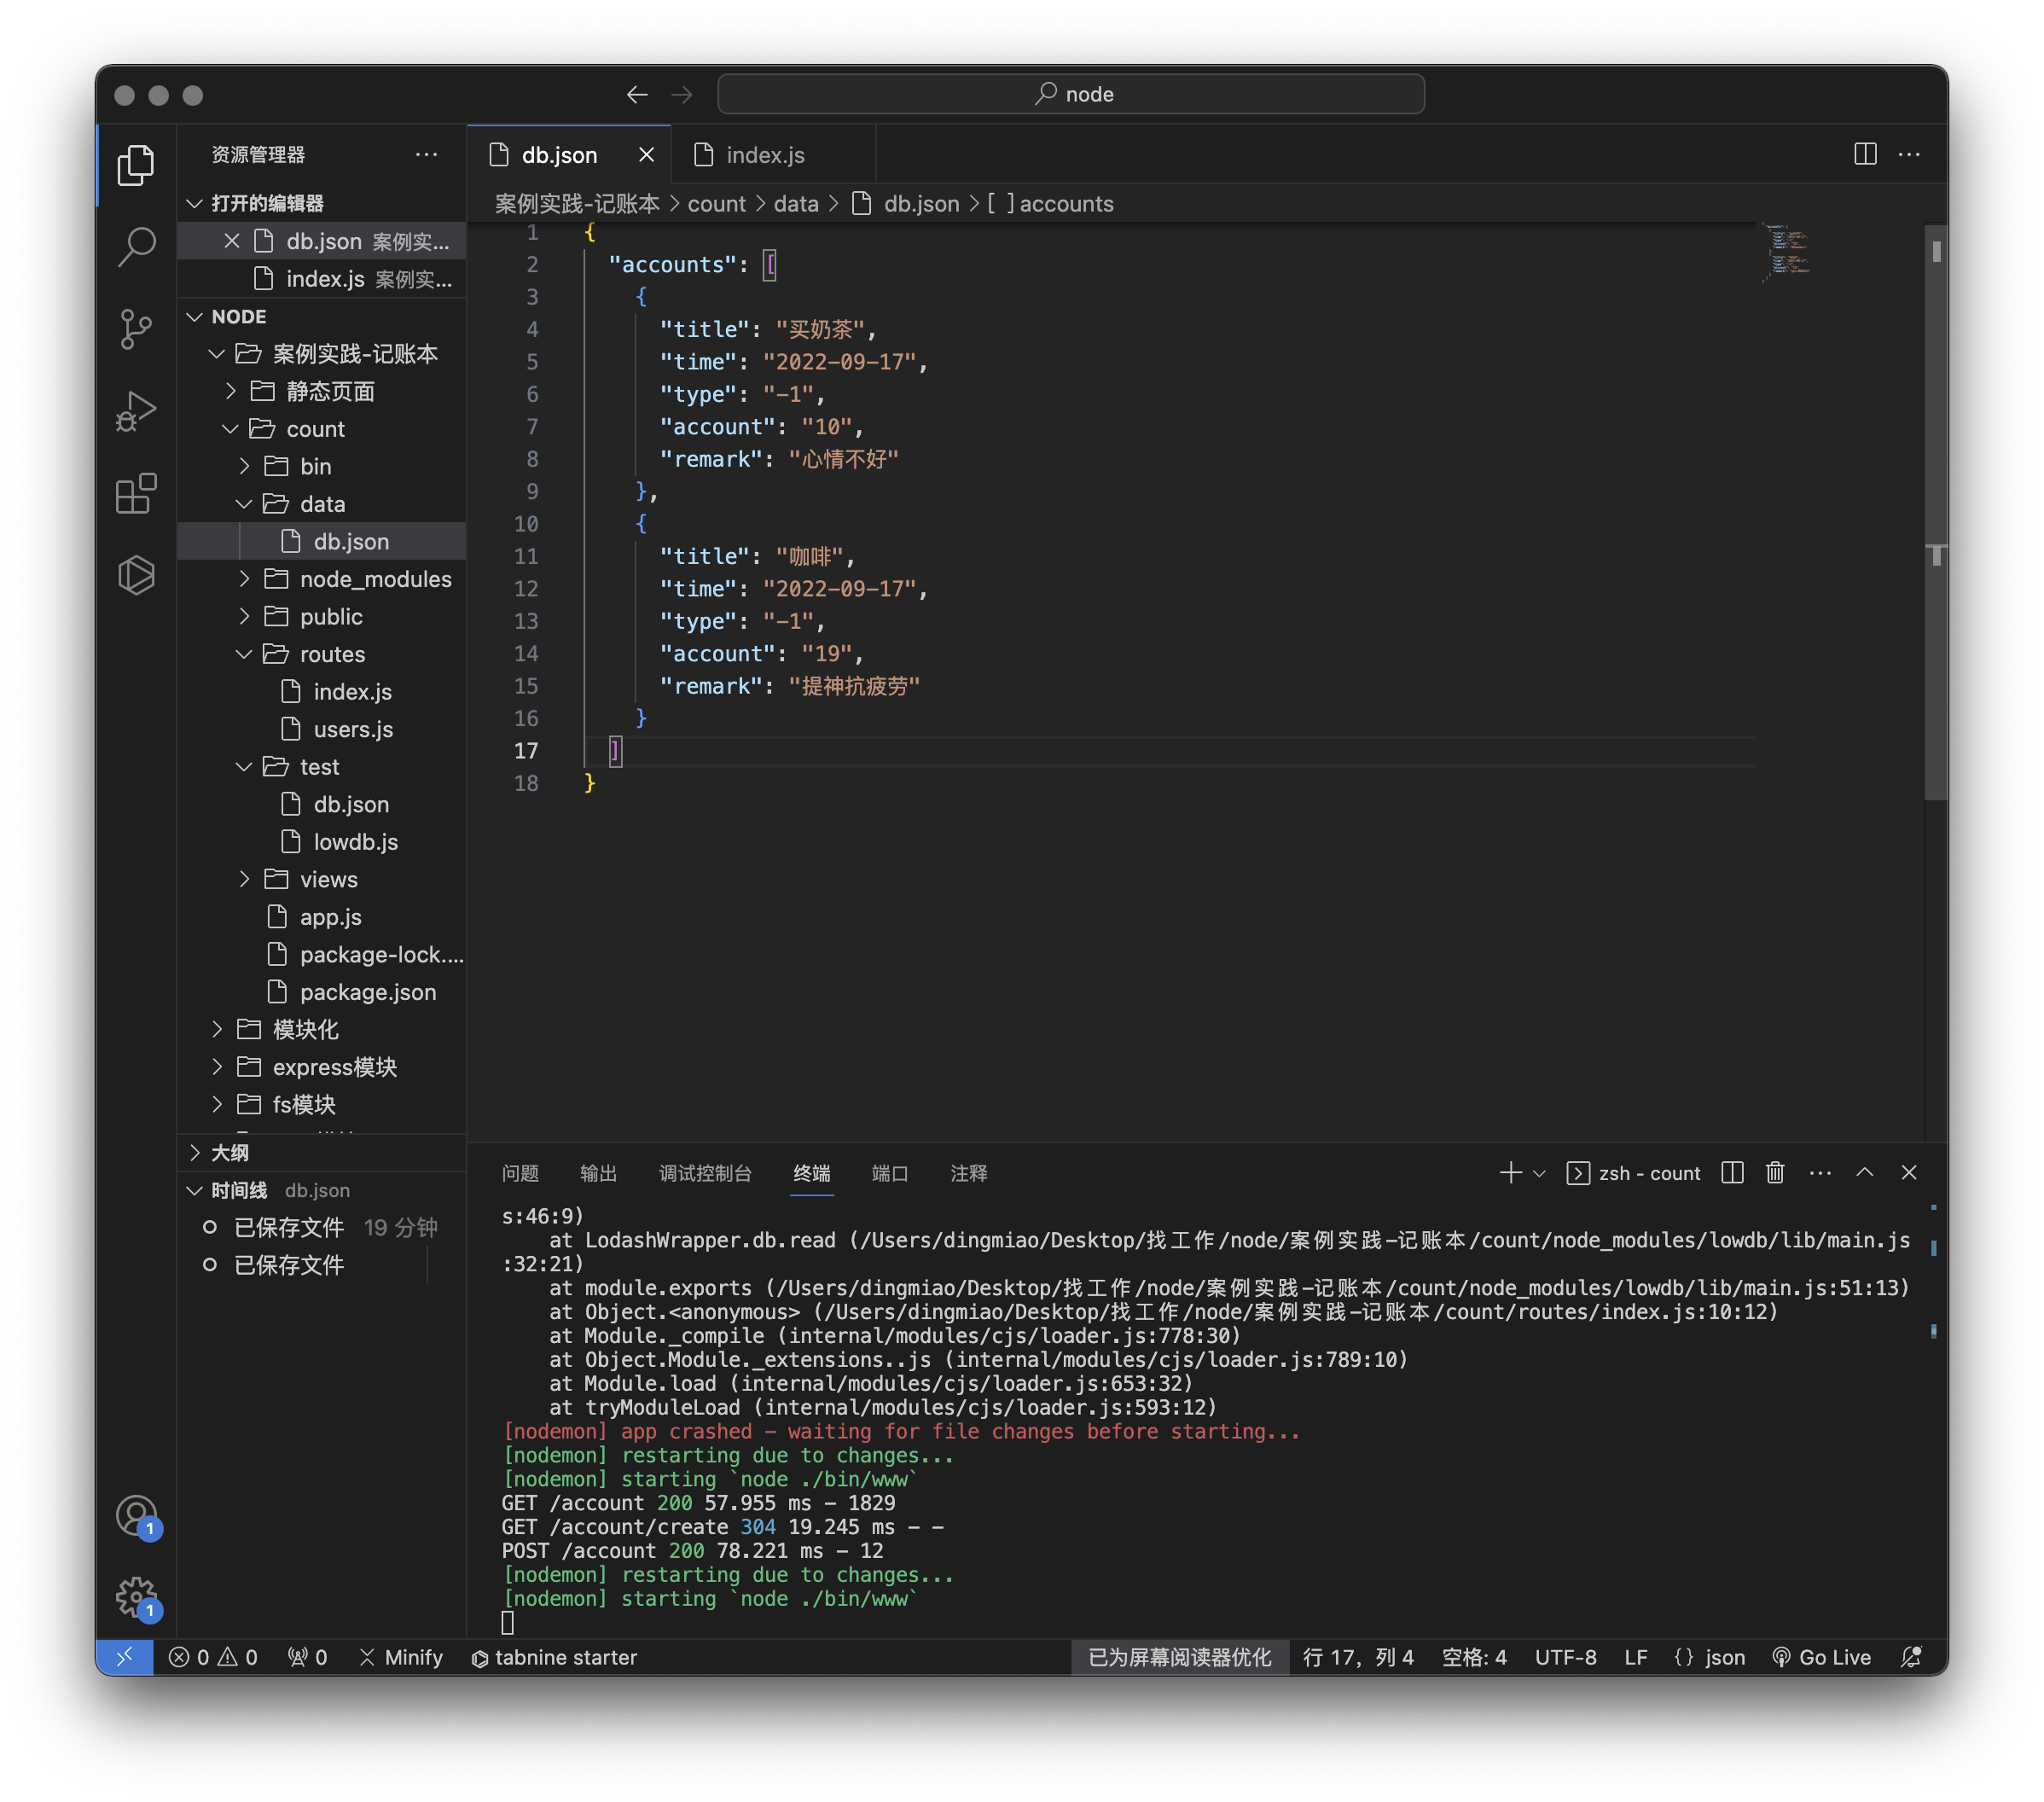
1、新建一个data文件夹,文件夹下新建 db.json文件
2、将 lowdb包引入routes/index.js中,注意修改db.json的文件路径
// 导入 lowdb
const low = require('lowdb')
const FileSync = require('lowdb/adapters/FileSync')
// 创建一个json文件,来存放数据
const adapter = new FileSync(__dirname + '/../data/db.json')
// 获取 db 对象
const db = low(adapter)
3、使用db的api向json的文件写入数据
router.post('/account',(req, res) =>{ // 获取请求体数据 // 在app.js中,已经使用了中间件,所以这里不需要再使用中间件,可以直接用req.body来获取请求数据 // console.log(req.body) // 将请求数据写入文件 db.get('accounts').push(req.body).write() res.send('添加记录') })注意:这里手动初始化了db.json文件,目的是,减少初始化次数;
var express = require('express');
var router = express.Router();

// 导入 lowdb
const low = require('lowdb')
const FileSync = require('lowdb/adapters/FileSync')
// 创建一个json文件,来存放数据
const adapter = new FileSync(__dirname + '/../data/db.json')
// 获取 db 对象
const db = low(adapter)

// 记账本的列表
router.get('/account', function(req, res, next) {
  // res.send('账本列表');
  res.render('list')
});

// 添加记录
router.get('/account/create', function(req, res, next){
  res.render('create')
})

// 新增记录
router.post('/account',(req, res) =>{
  // 获取请求体数据
  // 在app.js中,已经使用了中间件,所以这里不需要再使用中间件,可以直接用req.body来获取请求数据
  // console.log(req.body)
  // 将请求数据写入文件
  db.get('accounts').push(req.body).write()
  res.send('添加记录')
})
module.exports = router;
4、完善程序:
由于添加的数据没有唯一的标识,不利于后续对数据的处理《增删改查》,所以需要给数据添加id,借助包:shortid
1)安装包 npm i shortid
2) 导入shortid const shortid = require('shortid')
3)生成id let id = shortid.generate()
4)写入文件,这里将push改为unshift,原因是,方便查看最新数据
db.get('accounts').unshift({id:id, ...req.body}).write()
var express = require('express');
var router = express.Router();

// 导入 lowdb
const low = require('lowdb')
const FileSync = require('lowdb/adapters/FileSync')
// 创建一个json文件,来存放数据
const adapter = new FileSync(__dirname + '/../data/db.json')
// 获取 db 对象
const db = low(adapter)

// 导入 shortid
const shortid = require('shortid')

// 记账本的列表
router.get('/account', function(req, res, next) {
  // res.send('账本列表');
  res.render('list')
});

// 添加记录
router.get('/account/create', function(req, res, next){
  res.render('create')
})

// 新增记录
router.post('/account',(req, res) =>{
  // 获取请求体数据
  // 在app.js中,已经使用了中间件,所以这里不需要再使用中间件,可以直接用req.body来获取请求数据
  // console.log(req.body)

  // 生成id
  let id = shortid.generate()
  // 将请求数据写入文件
  db.get('accounts').unshift({id:id, ...req.body}).write()
  res.send('添加记录')
})
module.exports = router;

六、完善成功提醒
添加成功后的页面过于单调,所以完善一下;
1、在view文件夹下,添加一个success.ejs文件,该文件为添加按钮后的跳转页面;
2、将 routes文件下的响应页面更改为如下代码,其中属性url就是链接地址。
// res.send('添加记录')
  res.render('success',{msg:'添加成功哦~~~',url:'/account'})
///success.ejs
<!DOCTYPE html>
<html lang="en">

<head>
    <meta charset="UTF-8">
    <meta name="viewport" content="width=device-width, initial-scale=1.0">
    <title>Document</title>
    <style>
        html,body {
            height:100%;
            width:100%;
            margin: 0px;
            padding: 0px;
        }
        .container {
            display:flex;
            margin-top: 30px;
            font-size:medium;
            color: rgb(205, 237, 205);
        }
        .con{
            margin:auto;
            width:80%;
            background-color: rgb(186, 208, 186);
            border:2px solid rgb(235, 212, 183);
        }
    </style>
</head>

<body>
    <div class="container">
        <div class="con">
            <div>
                <h1>:)<%= msg %> </h1>
                <p><a href="<%= url %>">点击跳转</a></p>
            </div>
        </div>
    </div>
</body>

</html>


七、账单列表
将添加后的数据,动态显示到index.ejs中。
1、获取所有的账单信息,即从db.json中读取数据,并使用res.render()的第二个参数进行渲染;
2、通过插值语法,将list.ejs进行动态的渲染,以及样式根据“支出” 和 “收入”动态切换
<!DOCTYPE html>
<html lang="en">

<head>
    <meta charset="UTF-8">
    <meta name="viewport" content="width=device-width, initial-scale=1.0">
    <title>Document</title>
    <style>
        .container {
            width: 50%;
            height: 50%;
            margin: auto;
        }

        .listContainer {
            margin-top: 50px;
        }

        .listItem {
            margin-top: 50px;
            border: 2px solid;
            border-color: grey;
            border-radius: 5px;
        }
        .date {
            display: block;
            padding: 10px;
        }
        .date-warning{
            background-color: rgb(248, 224, 228);
        }
        .date-success{
            background-color: rgb(192, 223, 223);
        }
        .about {
            display: flex;
            /* justify-content: space-between; */
            padding: 20px;
        }
        .neirong{
            display:inline-block;
            width:60%;
        }
        .label{
            border:1px solid;
            width:10%;
            text-align: center;
            margin-right:20%;
        }
        .label-warning{
            background-color: rgb(243, 225, 193);
        }
        .label-success{
            background-color: rgb(206, 229, 206);
        }
        .money{
            display:block;
            width:10%;
            text-align: center;
        }


    </style>
</head>

<body>
    <div class="container">
        <h1>记账本</h1>
        <hr>
        <div class="listContainer">
            <!-- 列表渲染,db.json中有几条数据,就渲染几个列表 -->
            <% accounts.forEach(item =>{ %>
            <div class="listItem">
                <span class="date <%= item.type=== '-1' ? 'date-warning' : 'date-success'%>""><%= item.time %></span>
                <div class="about">
                    <span class="neirong"> <%= item.title%></span>
                    <div class="label <%= item.type=== '-1' ? 'label-warning' : 'label-success'%>"> <%= item.type=== '-1' ? '支出' : '收入'%> </div>
                    <span class="money"><%= item.account%>元</span>
                </div>
            </div>
            <% })%>
        </div>
    </div>
</body>

</html>

八、删除账单
1、添加“删除路由”
2、list.ejs文件中添加“删除”按钮;
3、删除按钮外,添加 a标签,当点击删除的时候,携带id
list.ejs
<!DOCTYPE html>
<html lang="en">

<head>
    <meta charset="UTF-8">
    <meta name="viewport" content="width=device-width, initial-scale=1.0">
    <title>Document</title>
    <style>
        .container {
            width: 50%;
            height: 50%;
            margin: auto;
        }

        .listContainer {
            margin-top: 50px;
        }

        .listItem {
            margin-top: 50px;
            border: 2px solid;
            border-color: grey;
            border-radius: 5px;
        }

        .date {
            display: block;
            padding: 10px;
        }

        .date-warning {
            background-color: rgb(248, 224, 228);
        }

        .date-success {
            background-color: rgb(192, 223, 223);
        }

        .about {
            display: flex;
            /* justify-content: space-between; */
            padding: 20px;
        }

        .neirong {
            display: inline-block;
            width: 50%;
        }

        .label {
            border: 1px solid;
            width: 10%;
            text-align: center;
            margin-right: 10%;
        }

        .label-warning {
            background-color: rgb(243, 225, 193);
        }

        .label-success {
            background-color: rgb(206, 229, 206);
        }

        .money {
            display: block;
            width: 15%;
            text-align: center;
        }
        a{
            display: block;
            margin-left:30px ;
        }
        .delete {
            opacity:0;
            font-weight: bolder;
        }
        button:hover{
            opacity:1;
        }
    </style>
</head>

<body>
    <div class="container">
        <h1>记账本</h1>
        <hr>
        <div class="listContainer">
            <!-- 列表渲染,db.json中有几条数据,就渲染几个列表 -->
            <% accounts.forEach(item=>{ %>
                <div class="listItem">
                    <span class="date <%= item.type=== '-1' ? 'date-warning' : 'date-success'%>""><%= item.time %></span>
                <div class=" about">
                        <span class="neirong">
                            <%= item.title%>
                        </span>
                        <div class="label <%= item.type=== '-1' ? 'label-warning' : 'label-success'%>">
                            <%= item.type==='-1' ? '支出' : '收入' %>
                        </div>
                        <span class="money">
                            <%= item.account%>元
                        </span>
                        <a href="/account/<%= item.id %>"><button class="delete">X</button></a>
                </div>
        </div>
        <% })%>
    </div>
    </div>
    <script>

    </script>
</body>

</html>


 2767
2767


 被折叠的 条评论
为什么被折叠?
被折叠的 条评论
为什么被折叠?
 到【灌水乐园】发言


