


第一次构建springboot项目
一、推荐使用Spring Initializr快速构建springboot
第一步:新建项目,jdk最好1.8以上,下一步

第二步:
Group : 组名(不用多说了吧!不行就默认)
Artifact:项目名称
其他默认就行

第三步:选择web,如下配置

构建完成
文件目录如下

Boot1Application就是启动类
再看一下pom
<?xml version="1.0" encoding="UTF-8"?>
<project xmlns="http://maven.apache.org/POM/4.0.0" xmlns:xsi="http://www.w3.org/2001/XMLSchema-instance"
         xsi:schemaLocation="http://maven.apache.org/POM/4.0.0 https://maven.apache.org/xsd/maven-4.0.0.xsd">
    <modelVersion>4.0.0</modelVersion>
    <parent>
        <groupId>org.springframework.boot</groupId>
        <artifactId>spring-boot-starter-parent</artifactId>
        <version>2.2.4.RELEASE</version>
        <relativePath/> <!-- lookup parent from repository -->
    </parent>
    <groupId>com.zzs</groupId>
    <artifactId>boot1</artifactId>
    <version>0.0.1-SNAPSHOT</version>
    <name>boot1</name>
    <description>Demo project for Spring Boot</description>

    <properties>
        <java.version>1.8</java.version>
    </properties>

    <dependencies>
        <dependency>
            <groupId>org.springframework.boot</groupId>
            <artifactId>spring-boot-starter-web</artifactId>
        </dependency>

        <dependency>
            <groupId>org.springframework.boot</groupId>
            <artifactId>spring-boot-starter-test</artifactId>
            <scope>test</scope>
            <exclusions>
                <exclusion>
                    <groupId>org.junit.vintage</groupId>
                    <artifactId>junit-vintage-engine</artifactId>
                </exclusion>
            </exclusions>
        </dependency>
    </dependencies>

    <build>
    <plugins>
        <plugin>
            <groupId>org.springframework.boot</groupId>
            <artifactId>spring-boot-maven-plugin</artifactId>
        </plugin>
    </plugins>
</build>

</project>
初次构建springboot需要下载依赖库,可能等很长一段时间,如果等得时间长了,你可能需要以下配置
参考连接:阿里云镜像
到启动类那边启动!看到spring 的logo 和8080端口就OK了

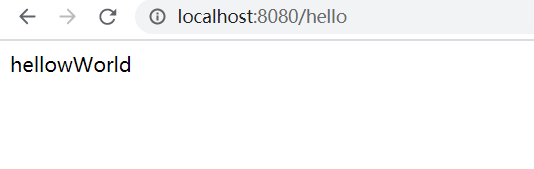
想要直接访问会出现error,因为我们还没有做输出
自己写一个Controller类
@Controller

public class hellowordController {

    @RequestMapping("/hello")
    @ResponseBody
    public  String hello(){
        return "hellowWorld";
    }
}


 1038
1038


 被折叠的 条评论
为什么被折叠?
被折叠的 条评论
为什么被折叠?
 到【灌水乐园】发言


