


一、集成jsp模板
1.集成jsp模板
1.1引入jsp的集成jar包
<dependency>
    <groupId>jstl</groupId>
    <artifactId>jstl</artifactId>
    <version>1.2</version>
</dependency>

<dependency>
    <groupId>org.apache.tomcat.embed</groupId>
    <artifactId>tomcat-embed-jasper</artifactId>
</dependency>
1.2引入jsp运行插件
<build>
    <finalName>springboot_day1</finalName>
    <!--引入jsp运行插件-->
    <plugins>
        <plugin>
            <groupId>org.springframework.boot</groupId>
            <artifactId>spring-boot-maven-plugin</artifactId>
        </plugin>
    </plugins>
</build>
1.3 配置视图解析器
#在配置文件中引入视图解析器
spring:
  mvc:
    view:
      prefix: /   	# /代表访问项目中webapp中页面
      suffix: .jsp
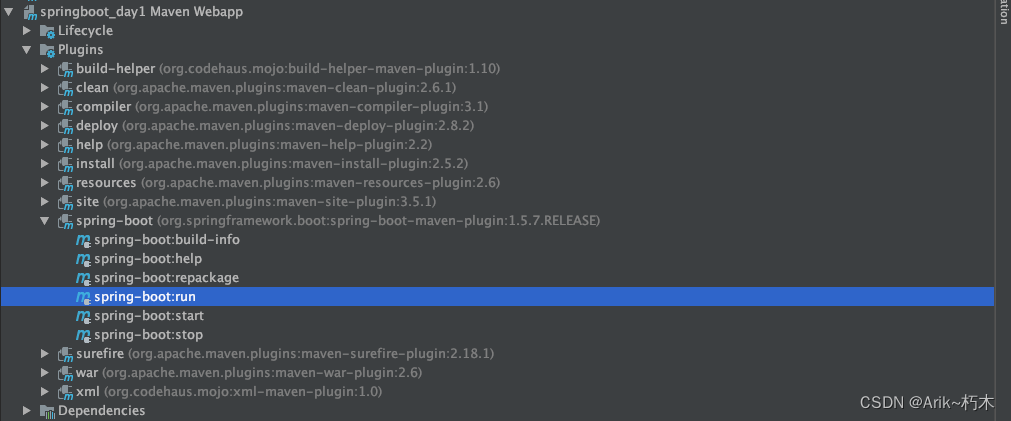
1.4 第一种方式使用插件启动
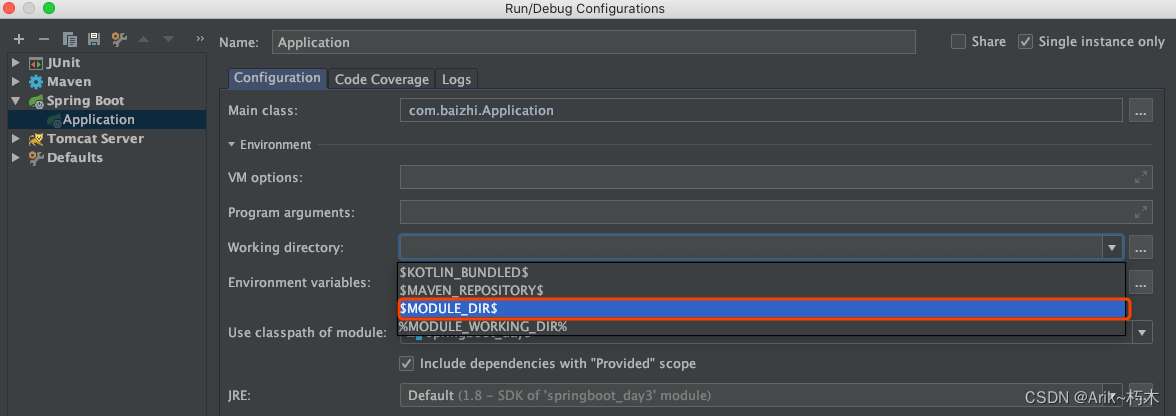
1.5 第二种方式使用idea中指定工作目录启动 [推荐]
1.6 启动访问jsp页面
http://localhost:8989/cmfz/index.jsp
1.7 修改jsp无须重启应用
server.servlet.jsp.init-parameters.development=true
2.集成thymelaf模板
2.1 引入依赖
 <!--使用thymelaf-->
    <dependency>
      <groupId>org.springframework.boot</groupId>
      <artifactId>spring-boot-starter-thymeleaf</artifactId>
    </dependency>
2.2 编写配置
spring.thymeleaf.prefix=classpath:/templates/      #使用模板目录
spring.thymeleaf.suffix=.html                      #使用模板后缀
spring.thymeleaf.encoding=UTF-8                    #使用模板编码
spring.thymeleaf.enabled=true                      #开始thymelaf模板
spring.thymeleaf.servlet.content-type=text/html    #使用模板响应类型
2.3 编写控制器测试
@Controller    //一定要是@Controller 不能再使用@RestController注解
@RequestMapping("hello")
public class HelloController {
    @GetMapping("hello")
    public String hello(){
        System.out.println("测试与 thymeleaf 的集成");
        return "index";
    }
}
2.4 在templates目录中定义模板

2.5 测试访问
http://localhost:8989/springboot_day3/hello/hello
2.6 查看结果

2.7 开启直接访问html页面
spring.resources.static-locations=classpath:/templates/,classpath:/static/
2.8 测试结果
http://localhost:8989/springboot_day3/index.html

3.thymelaf基本使用
使用时必须在页面中加入thymeleaf如下命名空间:`
<html lang="en" xmlns:th="http://www.thymeleaf.org">
3.1 展示单个数据
a. 设置数据
model.addAttribute("name","张三"); 或 request.setAttribute("name","小黑");
b. 获取数据
<span th:text="${name}"/> --->获取数据
注意:在springboot2.x版本中必须加入国际化配置文件才能正常展示:`


c. 获取并解析含有html标签数据
model.addAttribute("name","<a href=''>张三</a>");
model.addAttribute("username","小陈");
- 直接获取原样输出
<span th:text="${name}"/>

- 获取并解析
<span th:utext="${name}"/>

- 将数据赋值给表单元素
<input type="text" th:value="${username}"/>

# 总结
	1.使用 th:text="${属性名}"  获取对应数据,获取数据时会将对应标签中数据清空,因此最好是空标签
	2.使用 th:utext="${属性名}" 获取对应的数据,可以将数据中html先解析在渲染到页面
	3.使用 th:value="${属性名}" 获取数据直接作为表单元素value属性
3.2 展示对象数据
model.addAttribute("user",new User("21","xiaochen",23,new Date()));
id:<span th:text="${user.id}"></span>
name:<span th:text="${user.name}"></span>
age:<span th:text="${user.age}"></span>
bir: <span th:text="${user.bir}"></span>  ====  <span th:text="${#dates.format(user.bir, 'yyyy-MM-dd HH:mm')}"></span> 日期格式化
3.3 条件展示数据
model.addAttribute("user",new User("21","xiaochen",23,new Date()));
<span th:if="${user.age} eq 23">
  青年
</span>
# 运算符
    gt:great than(大于)>
    ge:great equal(大于等于)>=
    eq:equal(等于)==
    lt:less than(小于)<
    le:less equal(小于等于)<=
    ne:not equal(不等于)!=
3.4 展示多条数据
- 直接遍历集合
 <ul th:each="user:${users}">
   <li th:text="${user.id}"></li>
   <li th:text="${user.name}"></li>
   <li th:text="${user.age}"></li>
   <li th:text="${#dates.format(user.bir,'yyyy-MM-dd')}"></li>
</ul>
- 遍历时获取遍历状态
 <ul th:each="user,userStat:${users}">
   <li><span th:text="${userStat.count}"/>-<span th:text="${user.id}"/></li>   获取遍历次数  count 从1开始 index 从0开始
   <li><span th:text="${userStat.odd}"/>-<span th:text="${user.name}"/></li>   获取当前遍历是否是奇数行
   <li><span th:text="${userStat.even}"/>-<span th:text="${user.age}"/></li>   获取当前遍历是否是偶数行
   <li><span th:text="${userStat.size}"/>-<span th:text="${user.bir}"/></li>   获取当前集合的总条数
</ul>
3.5 引入静态资源
使用thymeleaf模板项目中静态资源默认放在resources路径小static目录中
- 项目中放入对应静态资源

- 页面中引入
 <link rel="stylesheet" th:href="@{/css/index.css}">
 <script th:src="@{/js/jquery-min.js}"></script>


 1512
1512


 被折叠的 条评论
为什么被折叠?
被折叠的 条评论
为什么被折叠?
 到【灌水乐园】发言


