- 在如下目录结构中创建一个测试类
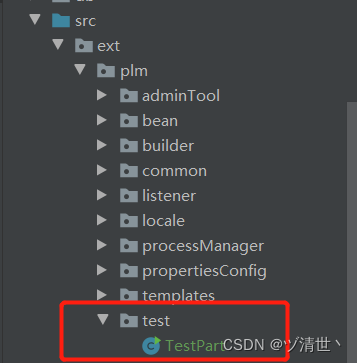
- 测试类代码如下
public class TestPart implements Serializable, RemoteAccess {
private static final long serialVersionUID = -3357315878052833848L;
public static void main(String[] args) throws Exception {
if (!RemoteMethodServer.ServerFlag) {
Class[] cls = {String[].class};
Object[] obj = {args};
try {
RemoteMethodServer.getDefault().invoke("main",
TestPart.class.getName(), null, cls, obj);
} catch (RemoteException | InvocationTargetException e) {
e.printStackTrace();
}
return;
}
WTPart part = CtPartUtil.getPartByNumber(args[0]);
System.out.println(">>>>>>>" + part.getNumber());
System.out.println(">>>>>>>" + part.getName());
System.out.println(">>>>>>>" + part.getViewName());
System.out.println(">>>>>>>" + part.getView());
System.out.println(">>>>>>>" + part.getIdentity());
System.out.println(">>>>>>>" + part.getAuthoringLanguage());
System.out.println(">>>>>>>" + part.getFlexTypeIdPath());
System.out.println(">>>>>>>" + part.getOrganizationUniqueIdentifier());
System.out.println(">>>>>>>" + part.getFolderPath());
System.out.println(">>>>>>>" + part.getCabinetName());
}
}
- 编译该测试类,编译后的文件会自动映射到 Windchill 系统中的 codebase 目录(codebase 目录相当于 idea 项目中的 src 目录)下,不行就手动将代码粘贴到 Windchill 系统中的 codebase目录下,路径为:D:\ptc\Windchill_11.0\Windchill\codebase
- 重启 Windchill 系统
- 在 Windchill Shell 中输入指令 – windchill ext.plm.test.TestPart 部件ID
就能执行该测试类的main方法,并将部件ID作为参数传进去,将结果输出到 Windchill Shell 的窗口中


 3979
3979


 被折叠的 条评论
为什么被折叠?
被折叠的 条评论
为什么被折叠?
 到【灌水乐园】发言


