


一、vue+elementui+springboot实现弹框播放视频
1.演示效果:
点击play按钮,实现视频播放。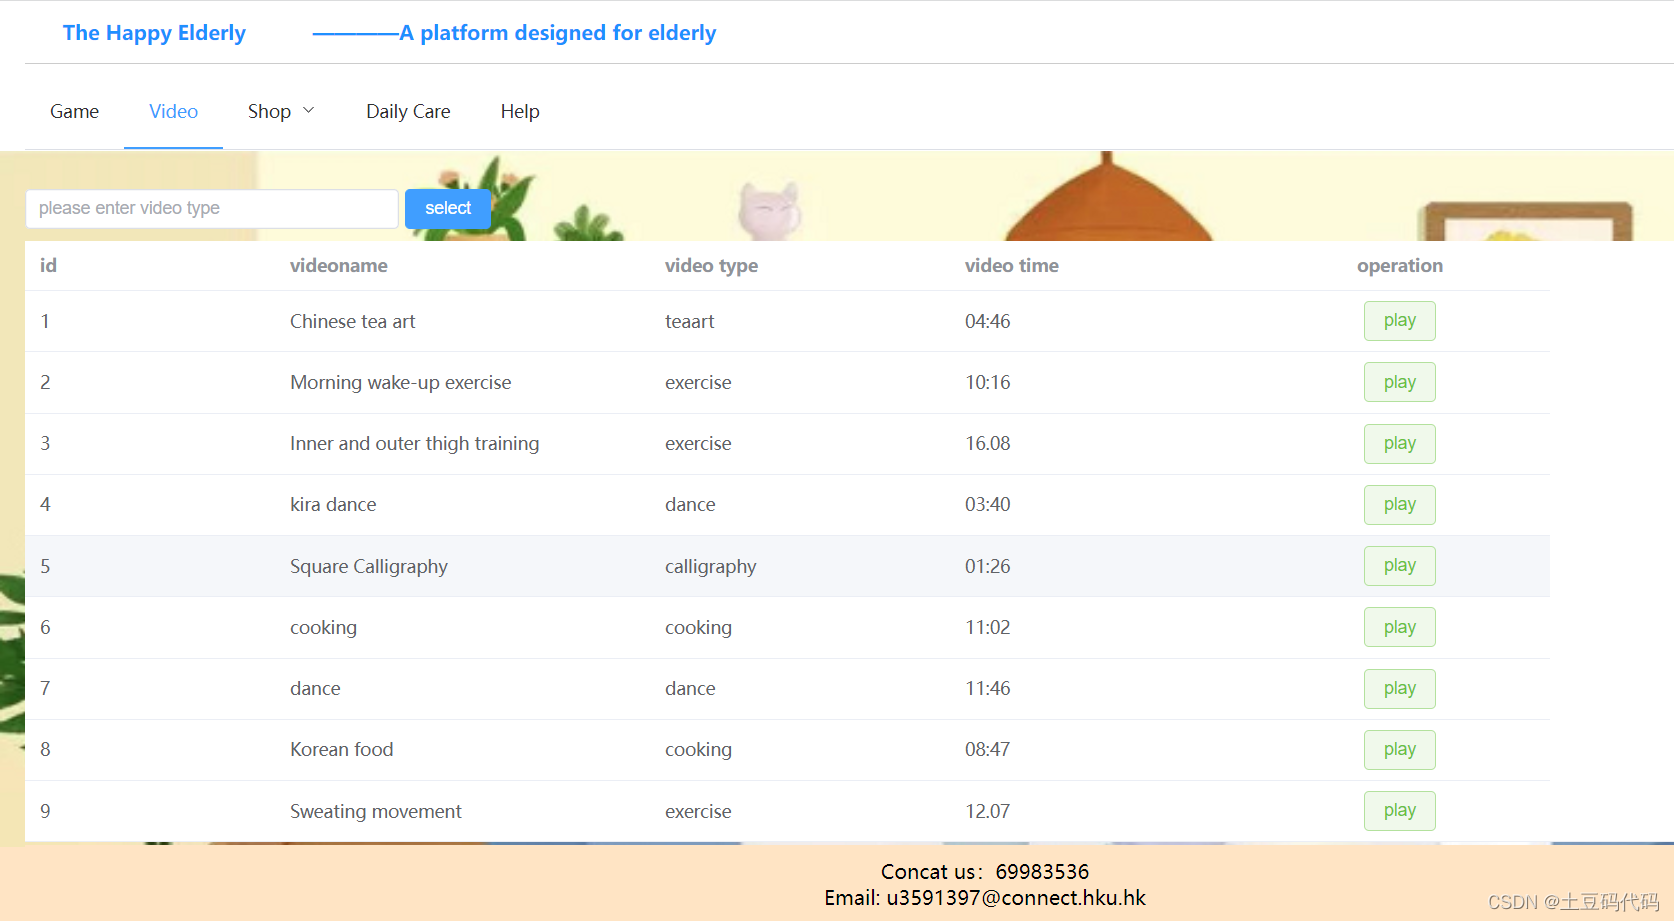

二、前端代码
代码如下:
<template>
  <div >
  <div style="margin: 10px 0">
      <el-input v-model="type" placeholder="please enter video type" style="width: 20%" clearable></el-input>
      <el-button type="primary" style="margin-left: 5px" @click="getbytype">select</el-button>
  </div>
   <el-table v-loading="loading" :data="tableData" style="width: 100%">
    <el-table-column prop="id" label="id" width="200"> </el-table-column>
    <el-table-column prop="videoname" label="videoname" width="300"> </el-table-column>
    <el-table-column prop="type" label="video type" width="240"> </el-table-column>
    <el-table-column prop="time" label="video time" width="240"> </el-table-column>
    <el-table-column prop="videoURL" label="operation" align="center"  width="240">
	    <template #default="scope">
	            <div v-if="scope.row.videoURL">
	              <el-button type="success" plain @click="playVideo(scope.row.videoURL)"  ref="btn" size="mini" > play</el-button>
	            </div>
	    </template>
    </el-table-column>

  </el-table>
     <el-dialog
      title="视频预览"
      :visible.sync="dialogPlay"
      v-model="dialogPlay"
      width="30%"
      @close="closeDialog"
    >

     <video
        :src= "videoUrl"
        controls
        autoplay
        class="video"
        ref="dialogVideo"
        width="352"
        height="264"
      ><source type='video/mp4; codecs="avc1.42E01E, mp4a.40.2"'></video>
    </el-dialog>
  </div>
</template>
<script>
import request from "@/utils/request";

export default {
  name: "Video",
  data() {
    return {
      tableData: [],
      loading: true,
      dialogPlay: false,
      videoUrl: "",
      type: '',
    }
  },
    created () {
    this.loading = true
       request.get("/video/videolist")
        .then(res => {
            this.tableData = res
            this.loading = false
          },
          res => {
            console.log("error");
            alert("请求失败");
          }
        );
  },
  methods: {
     // 视频
    playVideo(url) {
      this.dialogPlay = true;
      this.videoUrl = require('../assets/'+url);
    },
    closeDialog() {
      this.videoUrl = ""; //清空数据 关闭视频播放
    },
    getbytype() {
        request.get("/video/getbytype", {
        params: {
          type: this.type
        }
      }).then(res => {
        this.tableData = res.data
      })
    }

  }
}
</script>
三、后端代码
package com.example.platform.controller;

import com.example.platform.common.Result;
import com.example.platform.mapper.VideoMapper;
import org.springframework.beans.factory.annotation.Autowired;
import org.springframework.jdbc.core.JdbcTemplate;
import org.springframework.web.bind.annotation.*;

import javax.annotation.Resource;
import java.util.List;
import java.util.Map;

@RestController
@RequestMapping("/video")
public class VideoController {
    @Autowired
    JdbcTemplate jct;

    @Resource
    VideoMapper videoMapper;

    @GetMapping("/videolist")
    public List<Map<String, Object>> videoList(){
        String sql = "select * from video";
        List<Map<String, Object>> map = jct.queryForList(sql);
        return map;
    }
    @RequestMapping("/getbytype")
    public Result<?> getBytype(@RequestParam(value="type") String type) {
        System.out.println(type);
        return Result.success(videoMapper.selectbytype(type));
    }
}
总结
简单记录一下代码。


 1万+
1万+


 被折叠的 条评论
为什么被折叠?
被折叠的 条评论
为什么被折叠?
 到【灌水乐园】发言


