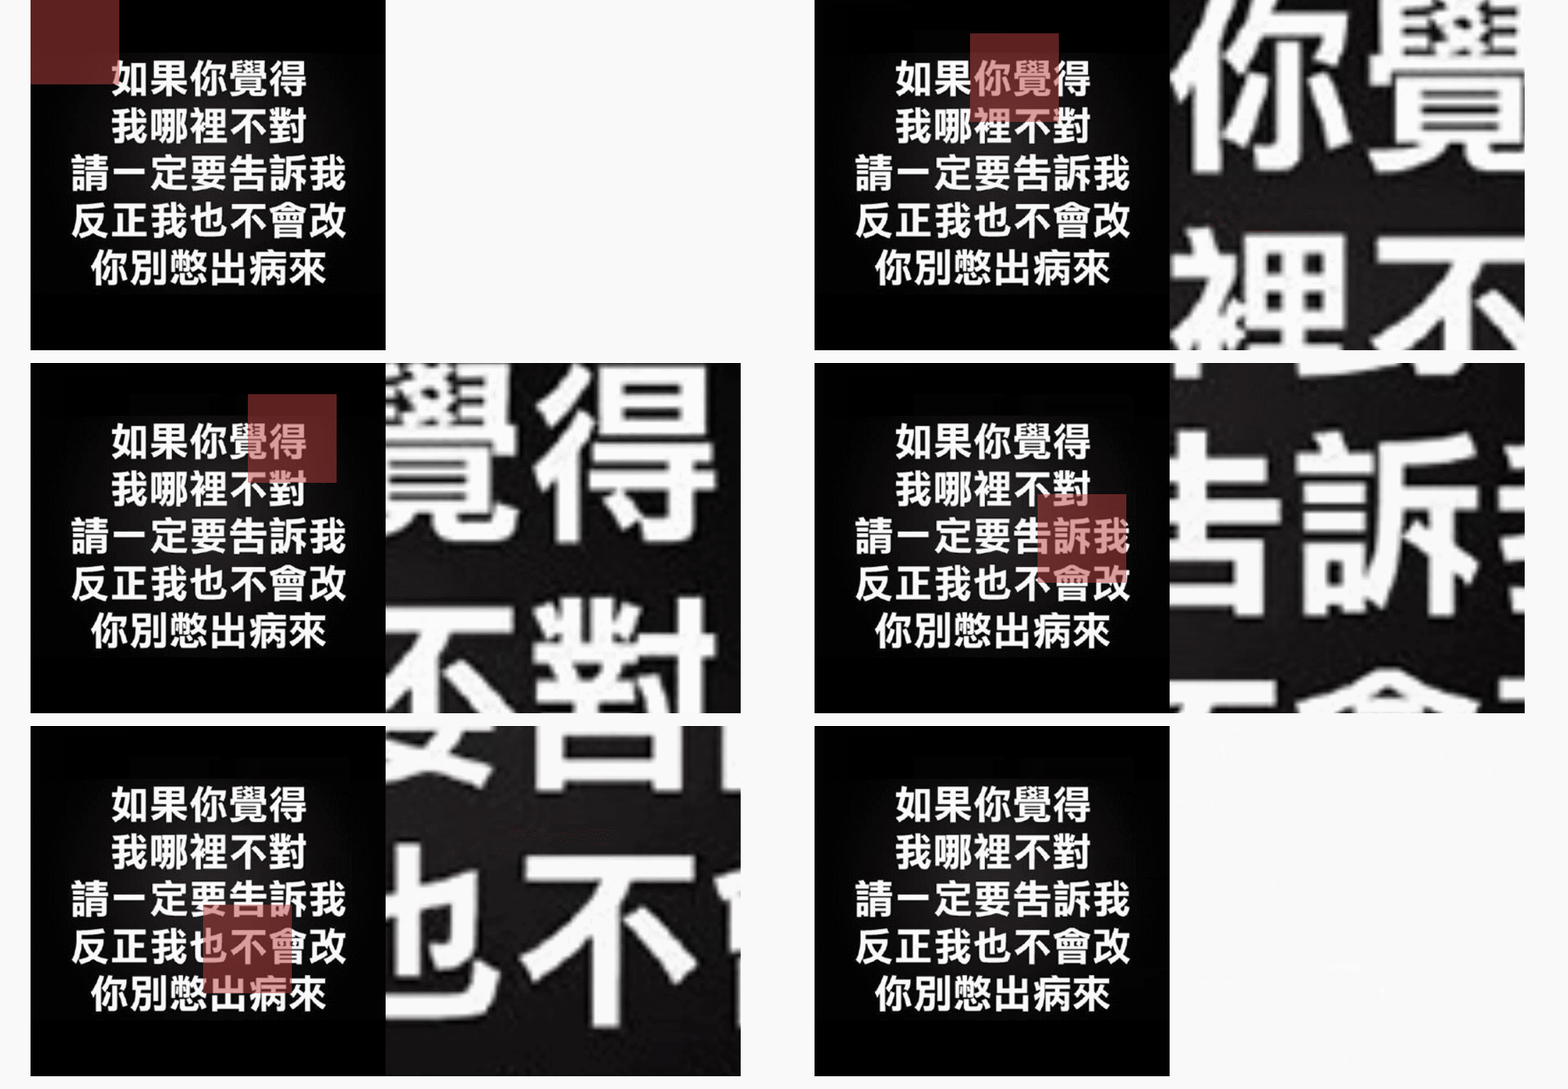
原理:
- 该案例主要利用的就是鼠标事件来实现的,主要用到onmousemove和onmouseleave,如果对于这两个事件不明白的可以看看我总结的相关方法:事件处理(二)
- 其次需要注意的是一是边界值问题,二是要明白鼠标移动的方向与所要放大的区域所移动的方向是相反的
最后代码如下:
	<div class="small">
        <div class="fangdajing"></div>
    </div>
    <div class="big">
        <img src="img/img.png" width="2000px" height="2000px" alt="" />
    </div>
<style>
        * {
            margin: 0;
            padding: 0;
        }

        .small {
            float: left;
            background-image: url('img/img.png');
            width: 400px;
            height: 400px;
            position: relative;
        }

        .small .fangdajing {
            width: 100px;
            height: 100px;
            background-color: rgba(185, 65, 64, 0.5);
            position: absolute;
        }

        .big {
            float: left;
            width: 400px;
            height: 400px;
            /* 溢出部分隐藏 */
            overflow: hidden;
            position: relative;
        }

        img {
            position: absolute;
        }
</style>
<script>
	//得到元素
	var smallDiv = document.querySeletor('.small');
	var fangdajing= document.querySeletor('.fangdajing');
	var bigDiv = document.querySeletor('.big');
	var img= document.querySeletor('img');

	//鼠标移动事件
	smallDiv.onmousemove = function(eve){
		var e = eve || windown.eve;

		//获得鼠标的坐标
		var shubiaoLeft = e.clientX;
		var shubiaoTop = e.clientY;

		//设置边界值
		if(shubiaoLeft < 50){
			shubiaoLeft = 50;
			}
		if(shubiaoLeft > 350){
			shubiaoLeft = 350;
			}
		if(shubiaoTop < 50){
			shubiaoTop = 50;
			}
		if(shubiaoTop > 350){
			shubiaoTop = 350;
			}

		//赋值给放大镜
		fangdajing.style.left = shubiaoLeft - 50 + 'px';
		fangdajing.style.top= shubiaoTop - 50 + 'px';

		/**
     * 让图片跟随放大镜移动
     * 注意:
     *      此时也应该注意,放大镜若向右走时,那么图片应该向左走;反之图片向右走
     *      big与img是1:5的关系
     */
		img.style.left = (-5) * shubiaoLeft + 'px';
		img.style.top= (-5) * shubiaoTop + 'px';

		//设置相关属性
		fangdajing.style.display = 'block';
		bigDiv.style.display = 'block';
	}

		//鼠标离开事件
		smallDiv.onmouseleave = function(){
			fangdajing.style.display = 'none';
			bigDiv.style.display = 'none';
		}

<script>
效果图如下:


 1280
1280


 被折叠的 条评论
为什么被折叠?


