


今天小编来给大家分享一下如何通过Python进行数据的读写,但是本篇文章我们主要集中在如何将数据写入到各种不同类型的文件当中去,主要涵盖的类型有
txt文件
Word文档
csv文件
tsv文件
Excel文件
json文件
txt文件类型
那么首先是txt的文件类型,我们所要输入的文本内容如下所示
lines = [
    'Alice in Wonderland (2010 film)',
    'Alice in Wonderland is a 2010 American dark fantasy period film directed by Tim Burton from a screenplay written by Linda Woolverton.',
    'The film stars Mia Wasikowska in the title role, with Johnny Depp, Anne Hathaway, Helena Bonham Carter, Crispin Glover, and Matt Lucas, and features the voices of Alan Rickman, Stephen Fry, Michael Sheen, and Timothy Spall.',
    'Alice in Wonderland was produced by Walt Disney Pictures and shot in the United Kingdom and the United States. ',
    'The film premiered in London at the Odeon Leicester Square on February 25, 2010.'
]看得出来,这个是“爱丽丝探险记”当中的部分内容,我们将其输出至一个txt文件,代码如下
with open('alice-in-wonderland.txt', 'w') as f:
    for line in lines:
        f.write(line)
        f.write('\n')
我们来看一下最后出来的结果,如下图所示

Word文档
要是我们希望将文本内容写入至Word文档当中去,就需要用到python-docx模块,那我们先通过pip命令将其下载下来
pip install python-docx接下来我们将文本内容写入至Word文档当中去,代码如下
from docx import Document
document = Document()
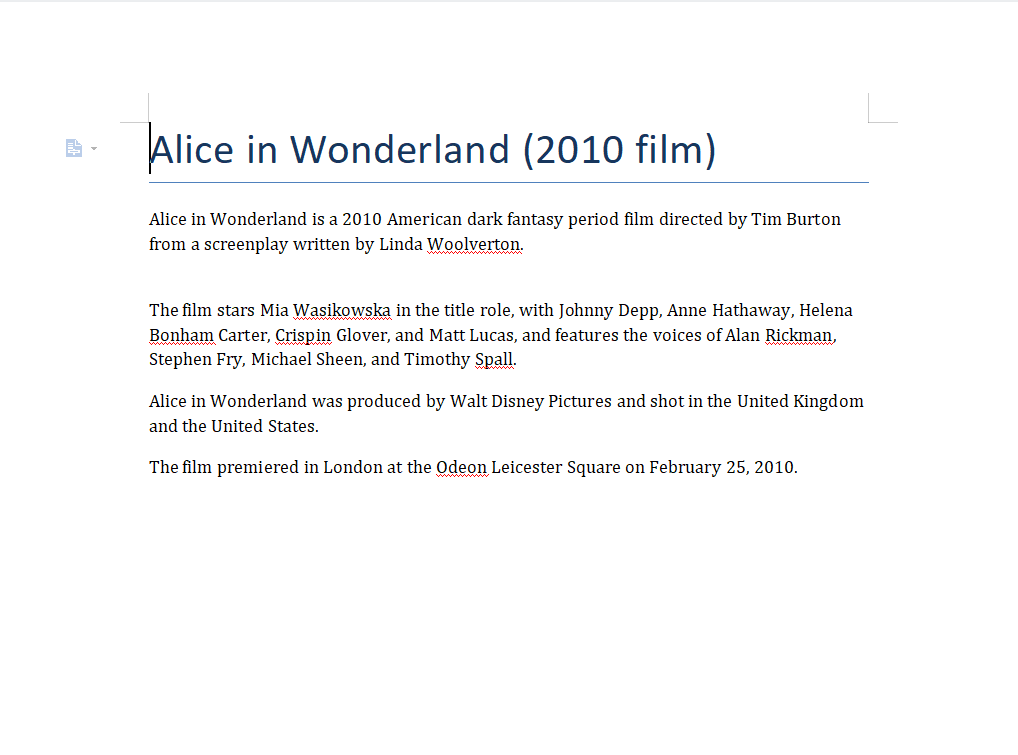
document.add_heading('Alice in Wonderland (2010 film)', 0)
document.add_paragraph('Alice in Wonderland is a 2010 American dark fantasy period film directed by Tim Burton from a screenplay written by Linda Woolverton. \n')
document.add_paragraph('The film stars Mia Wasikowska in the title role, with Johnny Depp, Anne Hathaway, Helena Bonham Carter, Crispin Glover, and Matt Lucas, and features the voices of Alan Rickman, Stephen Fry, Michael Sheen, and Timothy Spall.')
document.add_paragraph('Alice in Wonderland was produced by Walt Disney Pictures and shot in the United Kingdom and the United States. ')
document.add_paragraph('The film premiered in London at the Odeon Leicester Square on February 25, 2010.')
document.save('alice-in-wonderland.docx')我们来看一下最后输出结果是长什么样子的,如下图所示
csv文件
接下来我们来看一下如何将文本内容输出至csv文件当中去,代码如下
import csv

csv_header_name = ['id', 'firstname', 'lastname', 'age']
each_row = [
    ['1', 'James', 'Moore', '10'],
    ['2', 'Robert', 'Donald', '15'],
    ['3', 'John', 'Jennifer', '12'],
    ['4', 'Michael', 'Patricia', '18'],
    ['5', 'Mary', 'Donald', '14']
]我们指定好csv文件的文件名,代码如下
csvFileName = 'person.csv'输出至csv文件的代码如下所示
with open(csvFileName, 'w', newline='') as csvfile:
# 写入文件中
csv_writer = csv.writer(csvfile)
# 将表头写入至文件中
csv_writer.writerow(csv_header_name)
# 将具体内容写入至文件中
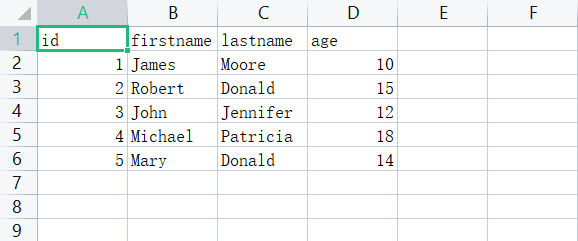
csv_writer.writerows(each_row)
# 关闭
csvfile.close()我们来看一下最后输出结果是长什么样子的,如下图所示
tsv文件
将文本内容写入至tsv文件当中,过程以及相应的代码都和上面输出至csv文件高度的相似,无非就是上面的代码,我们将输出的文件名改为后缀是tsv结尾即可,这里我们就不做详细的赘述了
Excel文件
这里我们就需要用到Python当中的xlsxwriter模块了,该模块可以支撑以下这几种功能,分别是
单元格的合并
各种图表的绘制
单元格的自动填充
数据的插入
插入各种类型的图片、照片等等
我们通过pip命令来将该模块安装一下,
pip install XlsxWriter具体的文件内容如下所示
import xlsxwriter

persons = [
    {'id': 1, 'firstname': "James", 'lastname': 'Moore', 'age': 10},
    {'id': 2, 'firstname': "Robert", 'lastname': 'Donald', 'age': 15},
    {'id': 3, 'firstname': "John", 'lastname': 'Jennifer', 'age': 12},
    {'id': 4, 'firstname': "Michael", 'lastname': 'Patricia', 'age': 18},
    {'id': 5, 'firstname': "Mary", 'lastname': 'Donald', 'age': 14}
]我们将上述的文件写入至Excel文件当中去,代码如下
workbook = xlsxwriter.Workbook('person.xlsx')
worksheet = workbook.add_worksheet()
# 表头
worksheet.write('A1', 'id')
worksheet.write('B1', 'firstname')
worksheet.write('C1', 'lastname')
worksheet.write('D1', 'age')
# 插入数据的起始数据
row = 1
col = 0
# 插入数据
for person in persons:
worksheet.write(row, col, person['id'])
worksheet.write(row, col + 1, person['firstname'])
worksheet.write(row, col + 2, person['lastname'])
worksheet.write(row, col + 3, person['age'])
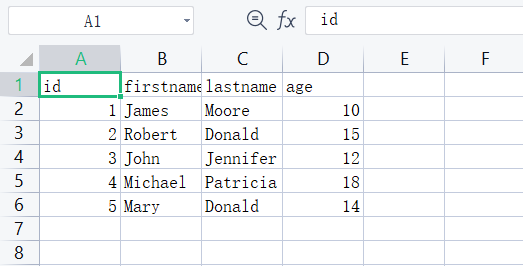
row += 1
workbook.close()最后的结果如下图所示
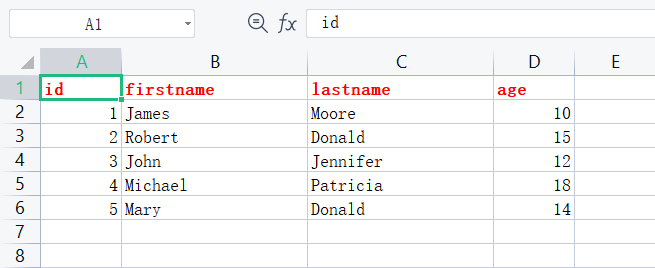
当然也会有人觉得输出的结果会有点普通了,想将其美化一下,调用的是workbook.add_format()方法,例如文字是否需要被加粗、文字的颜色、字体的形态等等,代码如下
workbook = xlsxwriter.Workbook('person.xlsx')
worksheet = workbook.add_worksheet()
# Widen the firstname and lastname column to make the text clearer.
worksheet.set_column('B:C', 20)

# Add a bold format to use to highlight cells.
header_cell_format = workbook.add_format({'bold': True, 'font_color': 'red'})
#write headers
worksheet.write('A1', 'id', header_cell_format)
worksheet.write('B1', 'firstname', header_cell_format)
worksheet.write('C1', 'lastname', header_cell_format)
worksheet.write('D1', 'age', header_cell_format)
# Start from the first cell below the headers.
row = 1
col = 0
#insert person data
for person in persons:
    worksheet.write(row, col,     person['id'])
    worksheet.write(row, col + 1, person['firstname'])
    worksheet.write(row, col + 2, person['lastname'])
    worksheet.write(row, col + 3, person['age'])
    row += 1

workbook.close()
最后的结果如下图所示
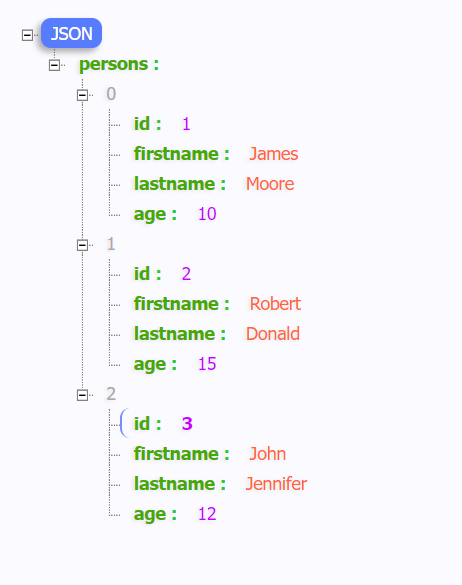
json文件
最后我们来看一下如何将文本内容输出至json文件当中去,用到的是json.dump()方法,代码如下
import json

data = {
    'persons' : [
        {
            'id' : 1,
            'firstname' : 'James',
            'lastname' : 'Moore',
            'age': 10
        },
        {
            'id' : 2,
            'firstname' : 'Robert',
            'lastname' : 'Donald',
            'age': 15
        },
        {
            'id' : 3,
            'firstname' : 'John',
            'lastname' : 'Jennifer',
            'age': 12
        },
    ]
}我们将其输出到json格式的文件当中去,代码如下
with open('person.json', 'w') as jsonfile:
    json.dump(data, jsonfile)
    pass
最后输出的结果如下图所示
NO.1
往期推荐
Historical articles
惊呆同事的自动化小工具来了!一键实现批量将 PDF 文档转 Word
用Python制作可视化GUI界面,一键实现证件照背景颜色的替换
用Python制作可视化GUI界面,一键实现多种风格的照片处理
分享、收藏、点赞、在看安排一下?


 767
767


 被折叠的 条评论
为什么被折叠?
被折叠的 条评论
为什么被折叠?
 到【灌水乐园】发言


