key:空格value
name : hello
person :
name : hello
age : 24
student : { name: hello2 , age : 24 }
Fruits :
- Apple
- Banana
- Orange
Animal : [ dog, cat, duck, chicken]
package com. entity ;
import org. springframework. stereotype. Component ;
@Component
public class Pet {
private String petName;
private int petAge;
@Override
public String toString ( ) {
return "Pet{" +
"petName='" + petName + '\'' +
", petAge=" + petAge +
'}' ;
}
public String getPetName ( ) {
return petName;
}
public void setPetName ( String petName) {
this . petName = petName;
}
public int getPetAge ( ) {
return petAge;
}
public void setPetAge ( int petAge) {
this . petAge = petAge;
}
}
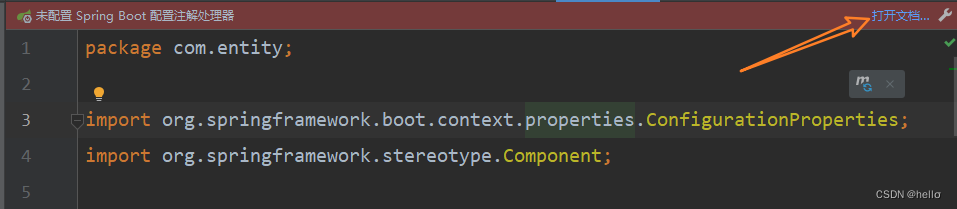
package com. entity ;
import org. springframework. boot. context. properties. ConfigurationProperties ;
import org. springframework. stereotype. Component ;
import java. util. Date ;
import java. util. List ;
@Component
@ConfigurationProperties ( prefix = "user" )
public class User {
private String userName;
private int userAge;
private Date birth;
private List < String > ;
private Pet pet;
@Override
public String toString ( ) {
return "User{" +
"userName='" + userName + '\'' +
", userAge=" + userAge +
", birth=" + birth +
", hobby=" + hobby +
", pet=" + pet +
'}' ;
}
public String getUserName ( ) {
return userName;
}
public void setUserName ( String userName) {
this . userName = userName;
}
public int getUserAge ( ) {
return userAge;
}
public void setUserAge ( int userAge) {
this . userAge = userAge;
}
public Date getBirth ( ) {
return birth;
}
public void setBirth ( Date birth) {
this . birth = birth;
}
public List < String > getHobby ( ) {
return hobby;
}
public void setHobby ( List < String > ) {
this . hobby = hobby;
}
public Pet getPet ( ) {
return pet;
}
public void setPet ( Pet pet) {
this . pet = pet;
}
}
< dependency> < groupId> </ groupId> < artifactId> </ artifactId> < optional> </ optional> </ dependency> user :
userName : hello
userAge : 24
birth : 2000/09/09
hobby : [ runnning, swiming]
pet :
petName : chatgpt
petAge : 1
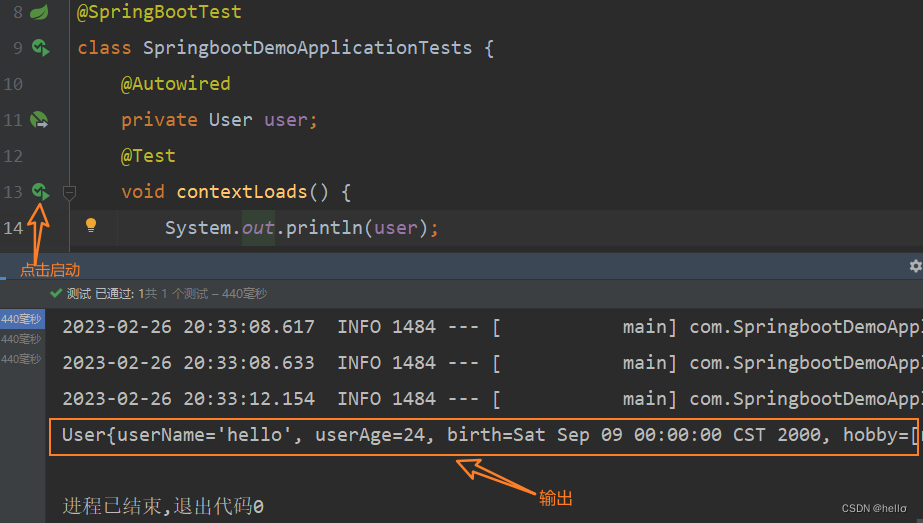
package com ;
import com. entity. User ;
import org. junit. jupiter. api. Test ;
import org. springframework. beans. factory. annotation. Autowired ;
import org. springframework. boot. test. context. SpringBootTest ;
@SpringBootTest
class SpringbootDemoApplicationTests {
@Autowired
private User user;
@Test
void contextLoads ( ) {
System . out. println ( user) ;
}
}
通过- - -将yaml文件划分为三个文档,每个文档对应一个端口,如开发用的dev,测试用的test,在第一个active后面设置激活对应的环境,如test环境的端口8080已被激活 server :
port : 8080
spring :
profiles :
active : test
---
server :
port : 8081
spring :
config :
activate :
on-profile : dev
---
server :
port : 8082
spring :
config :
activate :
on-profile : test


 3425
3425


 被折叠的 条评论
为什么被折叠?
被折叠的 条评论
为什么被折叠?
 到【灌水乐园】发言


