


问题:Stencil拖拽一个自定义的Vue3组件,如何使groups下的节点能够自适应高
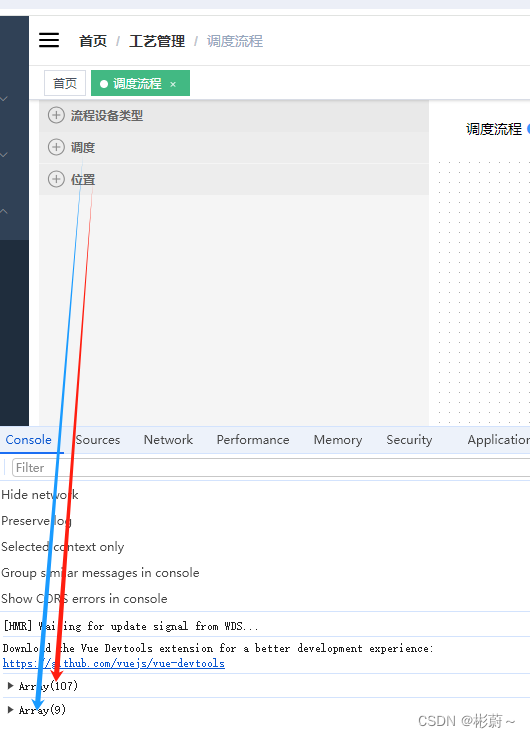
后台接口返回节点数分别为调度:9,位置为:107

现象:但实际位置节点仅显示了24个就结束了
后经过多种方案查询,最后解决
原 :stencilGraphHeight值固定了400,应该将此处设置成“0”!
// 初始化Stencil
const stencil = new Stencil({
title: "流程设备类型",
target: graph,
stencilGraphWidth: 380,
stencilGraphHeight: 400,
collapsable: true,
nodeMovable: true,
groups: this.groups.map(group => ({
...group,
layoutOptions: {
columns: 4,
columnWidth: 90,
rowHeight: 65,
},
})),
scrollable: true,
scrollableOptions: {
horizontal: false,
vertical: true,
},
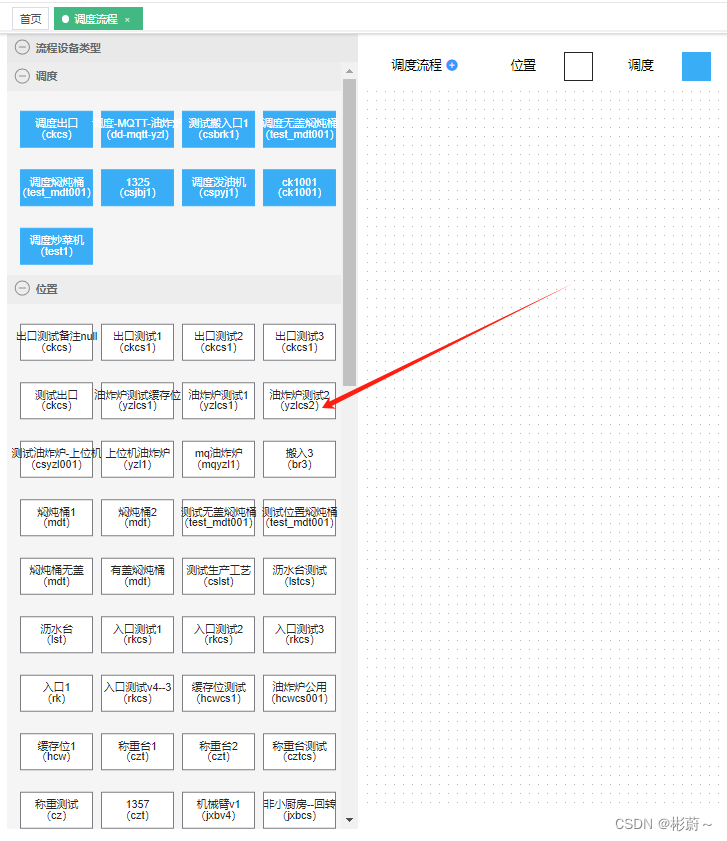
});stencilGraphHeight: 0 解决后结果如图:


 735
735


 被折叠的 条评论
为什么被折叠?
被折叠的 条评论
为什么被折叠?
 到【灌水乐园】发言


