


文章目录
ref的使用场景
React核心就在于虚拟DOM,也就是在React中不总是直接操作页面真实的DOM元素,并且结合Diffing算法,可以做到最小化页面重绘。
但有些时候不可避免的我们需要一种方法可以操作我们定义的元素标签,并作出对应的修改。在React中提供了一种访问DOM节点的方式,也就是这里的refs。
refs 的使用场景:
- 管理焦点,文本选择或媒体播放。
- 触发强制动画。
- 集成第三方 DOM 库。
例子
import React from 'react';

export default function App() {
  return (
    <div>
      <RefsExample />
    </div>
  );
}

class RefsExample extends React.Component {
  constructor() {
    super();
    this.usernameRef = React.createRef();
    this.passwordRef = React.createRef();
  }

  handleSubmit = (e) => {
    let username = this.usernameRef.current.value;
    let password = this.passwordRef.current.value;
    if (!(username === '123' && password === '1')) {
      e.preventDefault();
      alert('信息不正确!');
    }
  };

  render() {
    return (
      <form action="" onSubmit={this.handleSubmit}>
        用户名:
        <input ref={this.usernameRef} type="text" />
        <br />
        密 码:
        <input ref={this.passwordRef} type="password" />
        <br />
        <button>提交</button>
      </form>
    );
  }
}
注意到,上面的代码中我们使用了React.createRef()来创建一个ref引用,继而可以直接使用这个引用来获取到用户输入的值。
操作原始DOM
class组件
1. React.createRef(推荐)
import React, { Component } from 'react';
export default function App() {
return (
<div>
<RefsDemo1 />
</div>
);
}
class RefsDemo1 extends Component {
constructor(props) {
super(props);
this.state = {};
this.inputRef = React.createRef();
}
componentWillMount() {
console.log('componentWillMount->inputRef:', this.inputRef);
}
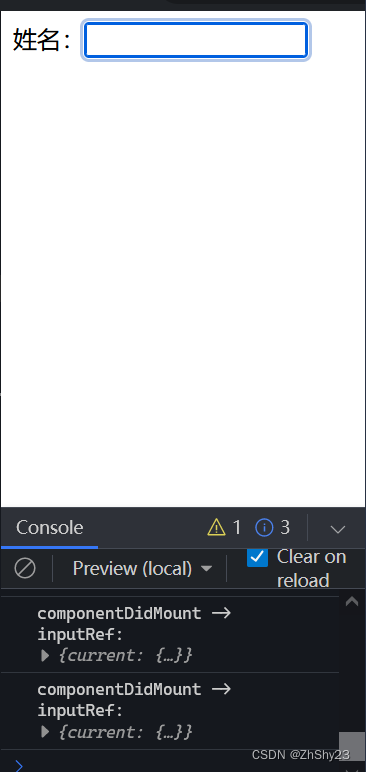
componentDidMount() {
console.log('componentDidMount->inputRef:', this.inputRef);
this.inputRef.current.focus();
}
render() {
return (
<div>
姓名: <input ref={this.inputRef} />
</div>
);
}
}
2. 回调函数方式
class RefsDemo2 extends Component {
  constructor(props) {
    super(props);
    this.state = {};
    this.inputRef = null;
  }

  componentWillMount() {}
  componentDidMount() {
    this.inputRef.focus();
  }
  render() {
    return (
      <div>
        姓名:
        <input
          ref={(ref) => {
            this.inputRef = ref;
          }}
        />
      </div>
    );
  }
}
3. string 方式(不推荐)
class RefsDemo3 extends Component {
  constructor(props) {
    super(props);
    this.state = {};
  }

  componentWillMount() {
    console.log('componentWillMount->inputRef:', this.refs.inputRef);
  }
  componentDidMount() {
    console.log('componentDidMount->inputRef:', this.refs.inputRef);
    this.refs.inputRef.focus();
  }

  render() {
    return (
      <div>
        姓名:
        <input ref="inputRef" />
      </div>
    );
  }
}
function组件
因为 function 组件不存在 this,所以需要用到 React Hook
import React, { useRef, useEffect } from 'react';

export default function App() {
  return (
    <div>
      <RefsDemo4 />
    </div>
  );
}

function RefsDemo4() {
  const inputRef = useRef();

  useEffect(() => {
    inputRef.current.focus();
  }, []);

  return (
    <div>
      Function-Ref:
      <input ref={inputRef} />
    </div>
  );
}
操作 React 组件
class组件
父组件可以获取子组件实例并调用子组件中定义的方法。
import React, { Component, useRef, useEffect } from 'react';

export default function App() {
  return (
    <div>
      <ClassDemo />
    </div>
  );
}

class ClassDemo extends Component {
  onCheck = (type) => {
    alert('type: ' + type);
  };

  render() {
    return <div onClick={this.onCheck.bind(this, 'child')}>Class</div>;
  }
}

class RefDemo extends Component {
  constructor(props) {
    super(props);
    this.state = {};
    this.classRef = React.classRef();
  }

  componentWillMount() {
    console.log('componentWillMount: ', this.classRef);
  }

  componentDidMount() {
    console.log('componentDidMount: ', this.classRef);
  }

  render() {
    return <ClassDemo ref={this.classRef} />;
  }
}
function 组件
函数组件不能使用ref属性,需要时可以使用React.forwardRef
import React, {
  Component,
  useImperativeHandle,
  useRef,
  useEffect,
} from 'react';

export default function App() {
  return (
    <div>
      <RefDemo />
    </div>
  );
}

const FunctionComponent = React.forwardRef(function Function(props, ref) {
  const onCheck = (type) => {
    alert('type: ' + type);
  };

  useImperativeHandle(ref, () => ({
    onCheck: onCheck.bind(null, 'father'),
  }));

  return <div onClick={onCheck.bind(null, 'child')}>Function</div>;
});

class RefDemo extends Component {
  constructor(props) {
    super(props);
    this.state = {};
    this.functionRef = React.createRef();
  }

  componentWillMount() {
    console.log('componentWillMount: ', this.functionRef);
  }

  componentDidMount() {
    console.log('componentDidMount: ', this.functionRef);
  }

  render() {
    return (
      <div>
        <FunctionComponent ref={this.functionRef} />
        <button
          onClick={() => {
            this.functionRef.current.onCheck();
          }}
        >
          调用子组件方法
        </button>
      </div>
    );
  }
}


 1361
1361


 被折叠的 条评论
为什么被折叠?
被折叠的 条评论
为什么被折叠?
 到【灌水乐园】发言


