


文章目录
SpringBoot、SpringCloud、SpringCloudAlibaba版本对应关系
| Spring Cloud Alibaba Version | Spring Cloud Version | Spring Boot Version |
|---|---|---|
| 2021.0.1 | 2021.0.1 | 2.6.x, 2.7.x |
| 2021.1 | 2020.0.x | 2.4.x, 2.5.x |
| 2.2.8.RELEASE | Spring Cloud Hoxton.SR12 | 2.3.12.RELEASE |
| 2.2.7.RELEASE | Spring Cloud Hoxton.SR12 | 2.3.12.RELEASE |
| 2.2.6.RELEASE | Spring Cloud Hoxton.SR9 | 2.3.2.RELEASE |
| 2.1.4.RELEASE | Spring Cloud Greenwich.SR6 | 2.1.13.RELEASE |
| 2.2.1.RELEASE | Spring Cloud Hoxton.SR3 | 2.2.5.RELEASE |
| 2.2.0.RELEASE | Spring Cloud Hoxton.RELEASE | 2.2.X |
| 2.1.13.RELEASE | Greenwich | 2.1.x |
| 2.0.4.RELEASE(停止维护,建议升级) | Finchley | 2.0.x |
| 1.5.1.RELEASE(停止维护,建议升级) | Edgware | 1.5.x |
SpringBoot与SpringCloud版本对应关系参考地址:Spring Cloud
SpringBoot、SpringCloud、SpringCloudAlibaba版本对应关系参考地址:Spring Cloud Alibaba
第一步、创建父工程

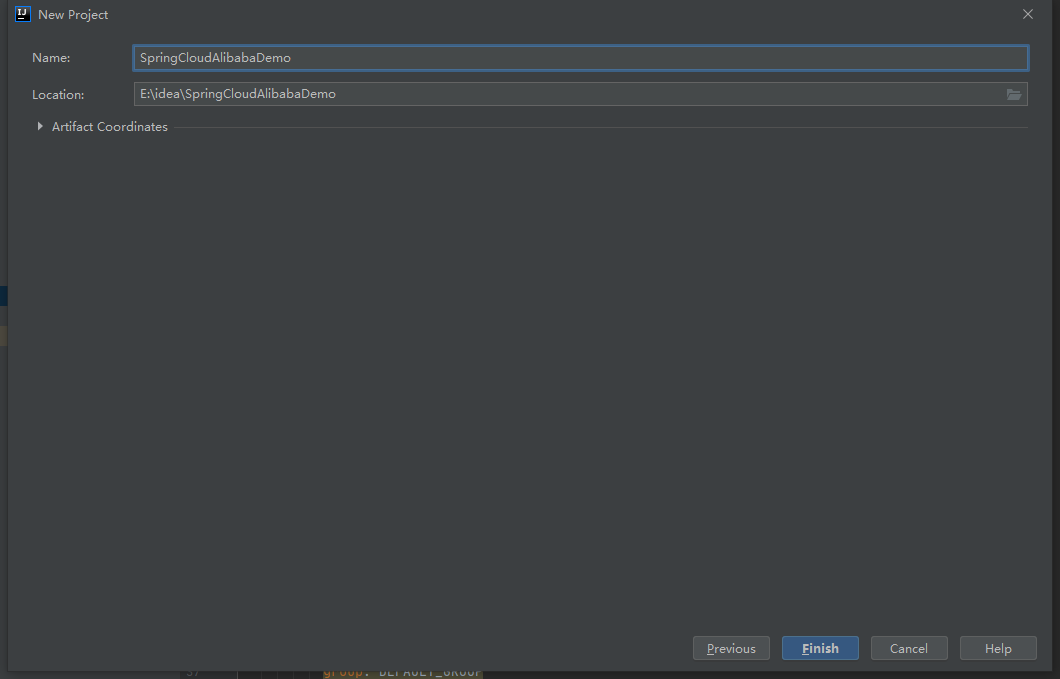
第二步、配置父工程Maven依赖
<?xml version="1.0" encoding="UTF-8"?>
<project xmlns="http://maven.apache.org/POM/4.0.0"
         xmlns:xsi="http://www.w3.org/2001/XMLSchema-instance"
         xsi:schemaLocation="http://maven.apache.org/POM/4.0.0 http://maven.apache.org/xsd/maven-4.0.0.xsd">
    <modelVersion>4.0.0</modelVersion>

    <groupId>org.example</groupId>
    <artifactId>SpringCloudAlibabaDemo</artifactId>
    <version>1.0-SNAPSHOT</version>

    <properties>
        <java.version>1.8</java.version>
        <!-- SpringBoot版本 -->
        <spring.boot.version>2.6.3</spring.boot.version>
        <!-- Spring Cloud Alibaba 版本 -->
        <spring.cloud.alibaba>2021.0.1.0</spring.cloud.alibaba>
        <!-- Spring Cloud 版本 -->
        <spring.cloud>2021.0.1</spring.cloud>
        <!-- 编码格式 -->
        <project.build.sourceEncoding>UTF-8</project.build.sourceEncoding>
        <project.reporting.outputEncoding>UTF-8</project.reporting.outputEncoding>
        <maven.compiler.source>1.8</maven.compiler.source>
        <maven.compiler.target>1.8</maven.compiler.target>
    </properties>

    <dependencies>
        <dependency>
            <groupId>org.springframework.boot</groupId>
            <artifactId>spring-boot-starter</artifactId>
        </dependency>

        <dependency>
            <groupId>org.springframework.boot</groupId>
            <artifactId>spring-boot-starter-test</artifactId>
            <scope>test</scope>
        </dependency>

        <!-- SpringWeb 启动依赖 -->
        <dependency>
            <groupId>org.springframework.boot</groupId>
            <artifactId>spring-boot-starter-web</artifactId>
        </dependency>

        <!--SpringBoot2.4.x之后默认不加载bootstrap.yml文件,需要在pom里加上依赖-->
        <dependency>
            <groupId>org.springframework.cloud</groupId>
            <artifactId>spring-cloud-starter-bootstrap</artifactId>
        </dependency>

        <dependency>
            <groupId>org.projectlombok</groupId>
            <artifactId>lombok</artifactId>
            <optional>true</optional>
        </dependency>
    </dependencies>

    <!-- 版本依赖管理 -->
    <!-- 在父项目中管理SpringBoot、Spring Cloud、Spring Cloud Alibaba版本,后续引入Nacos、Gateway等微服务生态内框架就不需要担心版本问题 -->
    <dependencyManagement>
        <dependencies>
            <!-- SpringBoot 版本管理 -->
            <dependency>
                <groupId>org.springframework.boot</groupId>
                <artifactId>spring-boot-starter-parent</artifactId>
                <version>${spring.boot.version}</version>
                <type>pom</type>
                <scope>import</scope>
            </dependency>

            <!-- Spring Cloud Alibaba 版本管理 -->
            <dependency>
                <groupId>com.alibaba.cloud</groupId>
                <artifactId>spring-cloud-alibaba-dependencies</artifactId>
                <version>${spring.cloud.alibaba}</version>
                <type>pom</type>
                <scope>import</scope>
            </dependency>

            <!-- Spring Cloud 版本管理 -->
            <dependency>
                <groupId>org.springframework.cloud</groupId>
                <artifactId>spring-cloud-dependencies</artifactId>
                <version>${spring.cloud}</version>
                <type>pom</type>
                <scope>import</scope>
            </dependency>
        </dependencies>
    </dependencyManagement>

    <build>
        <plugins>
            <plugin>
                <groupId>org.springframework.boot</groupId>
                <artifactId>spring-boot-maven-plugin</artifactId>
            </plugin>
        </plugins>
    </build>

    <repositories>
        <repository>
            <id>central</id>
            <name>aliyun maven</name>
            <url>http://maven.aliyun.com/nexus/content/groups/public/</url>
            <layout>default</layout>
            <!-- 是否开启发布版构件下载 -->
            <releases>
                <enabled>true</enabled>
            </releases>
            <!-- 是否开启快照版构件下载 -->
            <snapshots>
                <enabled>false</enabled>
            </snapshots>
        </repository>
    </repositories>
</project>
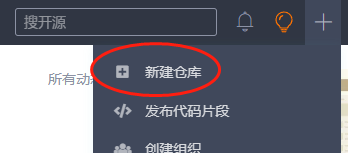
第三步、本地项目上传Git仓库【这一步可不做】
1、登录自己的Git
2、进入个人主页,主页右上方处新建项目
3、填写仓库名称等一些基本信息

4、复制HTTPS地址(SSH地址)

5、到开发工具中使用命令将本地项目与Git上创建的远程仓库进行绑定
步骤如下:
git init
git add .
git commit -m 'init'
git remote add origin 刚刚复制的HTTPS地址(SSH地址)
git pull --rebase origin master
git push -u origin master


 293
293


 被折叠的 条评论
为什么被折叠?
被折叠的 条评论
为什么被折叠?
 到【灌水乐园】发言


