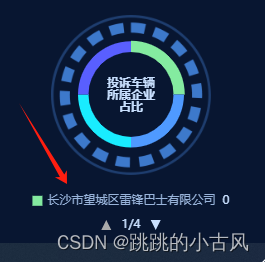
echarts legend头部有遮挡、上半部分显示不全,像被截取了一块
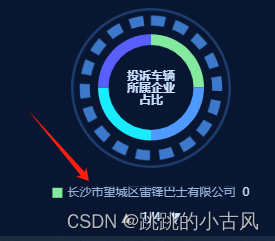
legend-textStyle中加入lineHeight即可
- 效果
echarts多条折现配置双Y轴
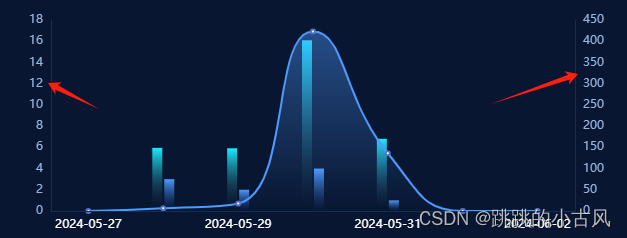
yAxis: [
{
type: 'value',
axisLabel: {
formatter: '{value}'
},
},
{
type: 'value',
axisLabel: {
formatter: '{value}'
},
}
]
series: [
{
name: "1",
data: [],
type: "line",
lineStyle: {
color: "#4F9AFF",
},
yAxisIndex: 1,
},
{
data: [],
name: "2",
type: "bar",
barWidth: "10px",
},
{
data: [],
name: "3",
type: "bar",
barWidth: "10px",
},
],
柱状图/折线图实现自动滚动、鼠标悬停时停止滚动并获取数据、鼠标离开时继续滚动
let currentIndex = 0;
const len = res.data.length;
this.overViewChart.on("mouseover", function (params) {
that.clearTime();
that.overViewChart.dispatchAction({
type: "downplay",
seriesIndex: currentIndex,
});
that.overViewChart.dispatchAction({
type: "highlight",
seriesIndex: 0,
dataIndex: params.dataIndex,
});
that.overViewChart.dispatchAction({
type: "showTip",
seriesIndex: 0,
dataIndex: params.dataIndex,
});
currentIndex = params.dataIndex;
that.initTwoBarChart(params.data.key);
});
this.overViewChart.on("mouseout", function () {
that.clearTime();
that.timer = setInterval(() => {
that.overViewChart.dispatchAction({
type: "downplay",
seriesIndex: len,
dataIndex: currentIndex,
});
if (currentIndex >= len - 1) {
currentIndex = 0;
} else {
currentIndex++;
}
that.overViewChart.dispatchAction({
type: "highlight",
seriesIndex: 0,
dataIndex: currentIndex,
});
that.overViewChart.dispatchAction({
type: "showTip",
seriesIndex: 0,
dataIndex: currentIndex,
});
that.initTwoBarChart(resOnline.data[currentIndex].dateString);
}, 3000);
that.timerList.push(that.timer);
});
clearTime() {
if (this.timerList.length > 0) {
this.timerList.forEach((item, index) => {
clearInterval(item);
});
this.timerList = [];
}
},
echarts tooltip过长出现滚动条及不超出屏幕显示
tooltip: {
trigger: "axis",
backgroundColor: "#54AEEC",
color: "#fff",
height: "50px",
padding: [15, 15],
enterable: true,
extraCssText: "max-width:60%;max-height:83%; overflow: auto; ",
textStyle: {
color: "white",
padding: 10,
fontSize: 14
},
position: function(point, params, dom, rect, size) {
var x = 0;
var y = 0;
var pointX = point[0];
var pointY = point[1];
var boxWidth = size.contentSize[0];
var boxHeight = size.contentSize[1];
if (boxWidth > pointX) {
x = 5;
} else {
x = pointX - boxWidth;
}
if (boxHeight > pointY) {
y = 5;
} else {
y = pointY - boxHeight;
}
return [x, y];
}
},


 1954
1954

 被折叠的 条评论
为什么被折叠?
被折叠的 条评论
为什么被折叠?
 到【灌水乐园】发言


