


1.1 搭建环境
1.2 安装Wordcloud及其依赖库
由于自动创建的虚拟环境默认Python包安装地址为官网, 速度比较慢, 建议使用国内库, 类似清华源 豆瓣源和中科大源网上都有介绍
- 豆瓣源: http://pypi.douban.com/simple/
- 中科大源: https://pypi.mirrors.ustc.edu.cn/simple/
- 清华源: https://pypi.tuna.tsinghua.edu.cn/simple
这里我使用豆瓣的源
pip3 install wordcloud -i https://pypi.douban.com/simple/
速度提升很多
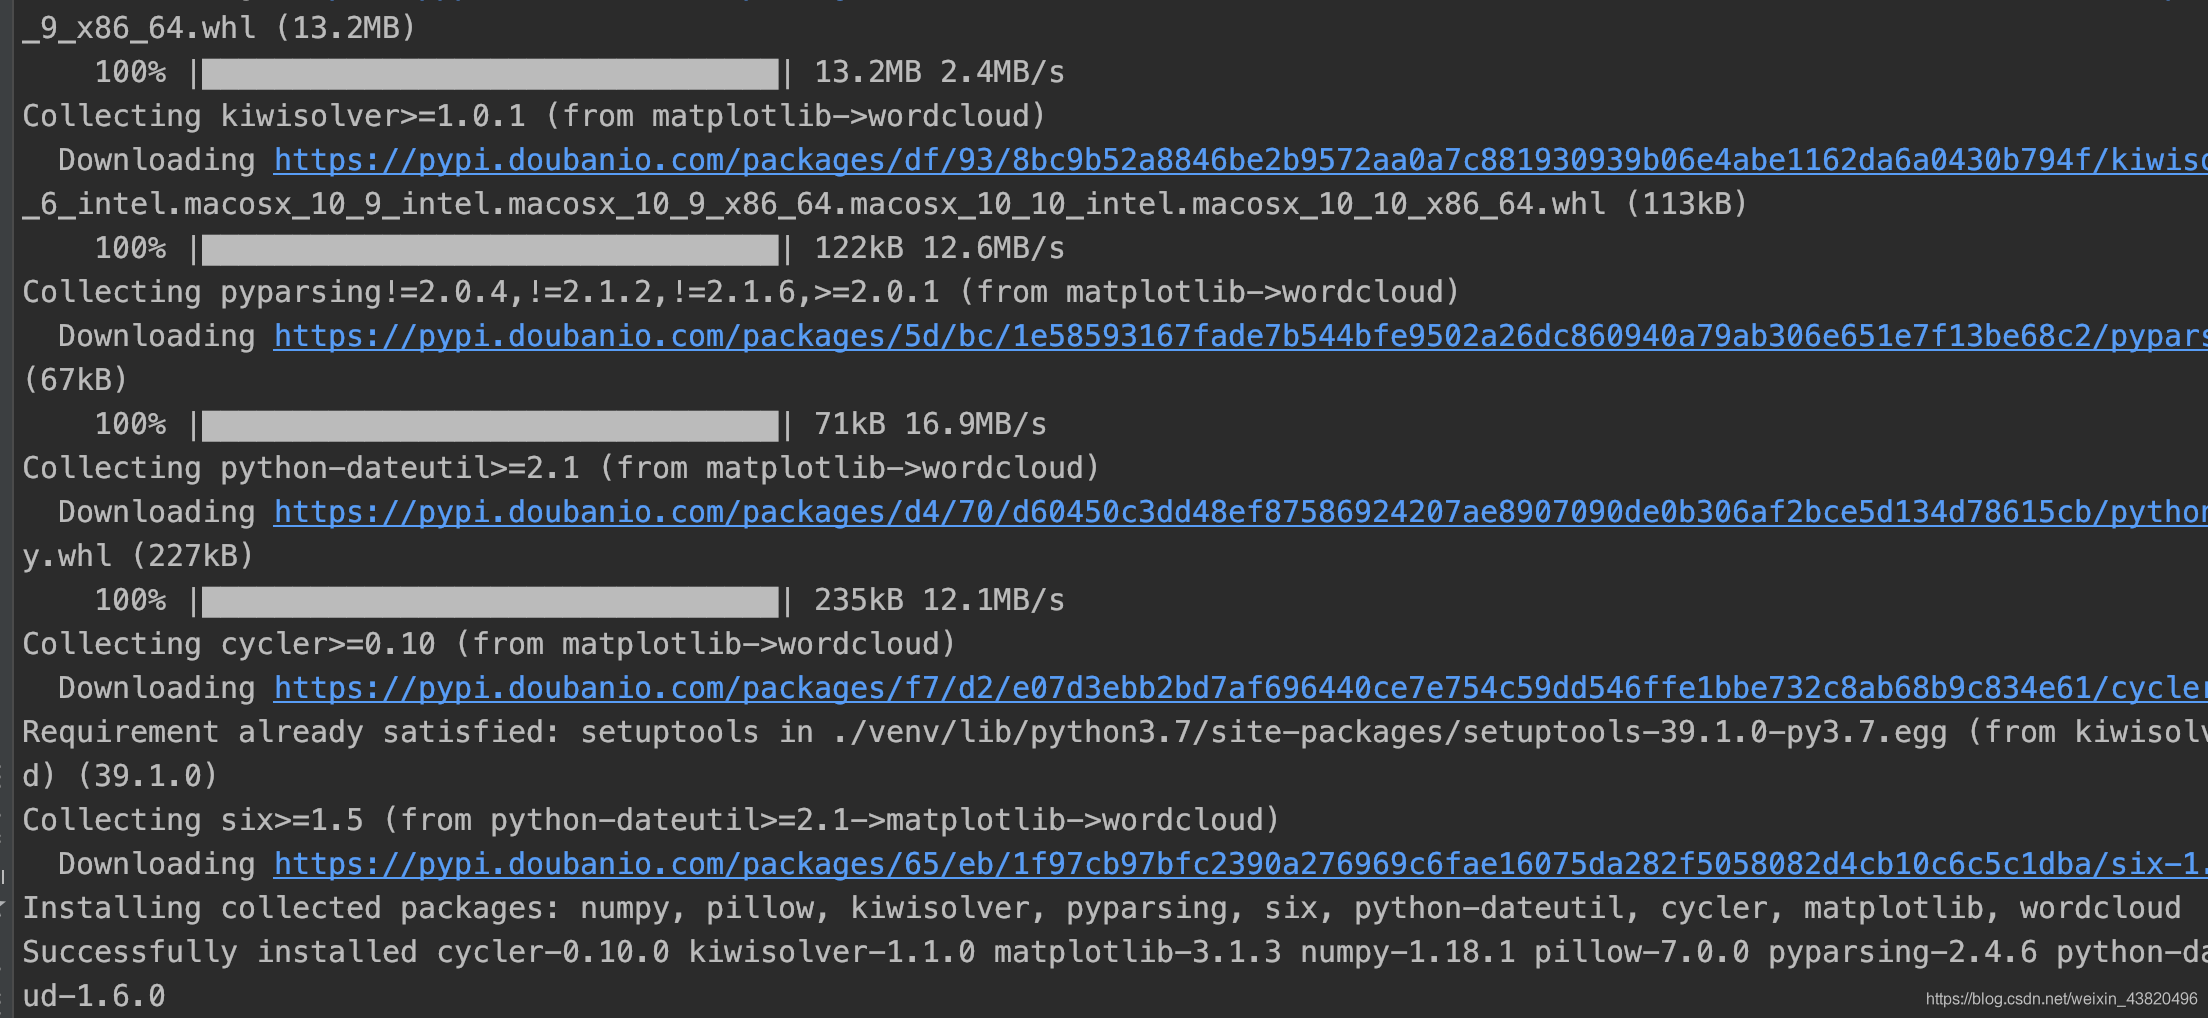
安装成功
1.3 学习wordcloud参数
官方文档
class wordcloud.WordCloud(
  	font_path=None, 						# 字体路径, 默认为系统字体
  	width=400, 								# 生成词云图的宽度
  	height=200, 							# 生成词云图的高度
    margin=2, 								# 边框大小
    ranks_only=None,
    prefer_horizontal=0.9,					# 文字排版偏好设置, 默认横排概率为90%
    mask=None, 								# 画布, 要求背景必须为纯白, 词云将会在非纯白位置绘制词云
    scale=1, 								# 规模, 图片是否放大, 默认为设置的宽高
    color_func=None, 						# 生成文字的颜色
    max_words=200, 							# 最大单词数
    min_font_size=4, 						# 最小字体大小
    stopwords=None, 						# 不予显示的文字, 默认为STOPWORDS.txt中的内容
    random_state=None,
    background_color='black',				# 背景颜色
    max_font_size=None, 					# 最大字体大小
    font_step=1, 							# 字体步长, 大于1会产生语法错误
  	mode='RGB', 							# 图片色彩模式
    relative_scaling='auto', 				# 相对大小
    regexp=None, 							# 正则表达式
    collocations=True, 						#
    colormap=None, 							#
    normalize_plurals=True, 				#
    contour_width=0, 						# 画布轮廓的宽度
    contour_color='black', 					# 画布轮廓颜色
    repeat=False, 							# 是否重复
    include_numbers=False, 					# 是否包含数字
    min_word_length=0						# 最短单词长度
)
- 默认
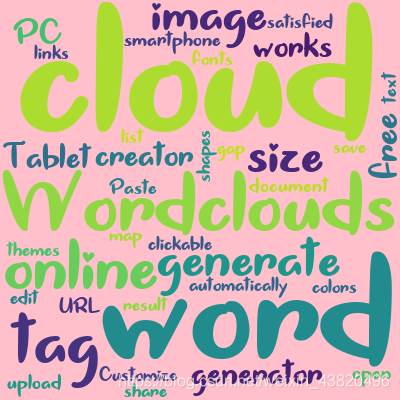
wordcloud仅支持英文词云, 为了测试我们先创建一个英文的文本文档, 此处的英文文档我就随便从网上导入一些. - 文档内容
Wordclouds.com is a free online word cloud generator and tag cloud creator. Wordclouds.com works on your PC, Tablet or smartphone. Paste text, upload a document or open an URL to automatically generate a word- or tag cloud. Customize your cloud with shapes, themes, colors and fonts. You can also edit the word list, cloud size and gap size. Wordclouds.com can also generate clickable word clouds with links (image map). When you are satisfied with the result, save the image and share it online.
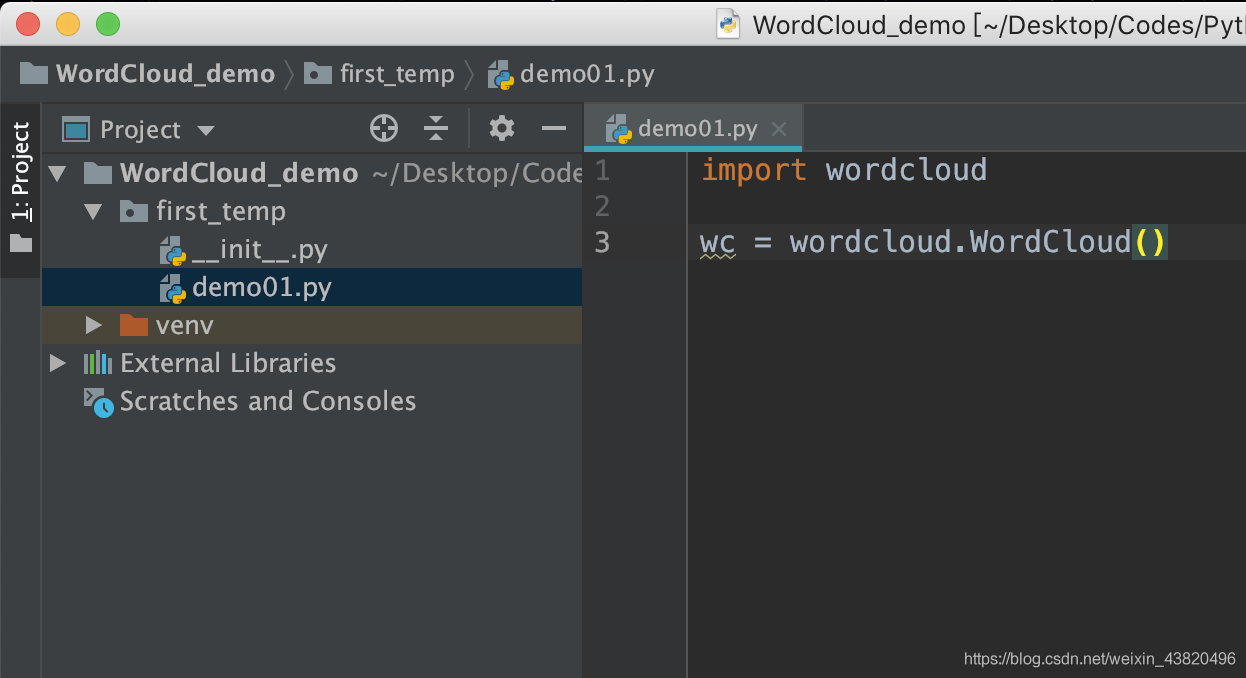
代码
import wordcloud
# 实体类传参
wc = wordcloud.WordCloud(
	# 本地的字体文件
    font_path="/Users/wondering/Desktop/Files/CommonFonts/wordcloud.ttf",
    # 设置图片宽高都为400像素
    width=400,
    height=400,
    # 设置图片背景为粉色
    background_color='pink'
)

# 读取文本
text = open('/Users/wondering/Desktop/wordcloud_test.txt').read()

# 传入参数, 从text中生成词云图
wc.generate(text)

# 保存为图片
wc.to_file('wc_test.png')
- 生成效果
1.4 wordcloud 方法
fit_words(self, frequencies) | Create a word_cloud from words and frequencies. 根据单词和出现频率来绘制词云图 |
|---|---|
generate(self, text) | 最常用, 导入text文件 |
generate_from_frequencies(self, frequencies) | Create a word_cloud from words and frequencies. |
generate_from_text(self, text) | Generate wordcloud from text. |
process_text(self, text) | Splits a long text into words, eliminates the stopwords. 将长句子截成单词并去除STOPWORDS |
recolor(self[, random_state, color_func, …]) | Recolor existing layout. |
to_array(self) | Convert to numpy array. |
to_file(self, filename) | 保存为…文件 |
to_svg(self[, embed_font, …]) | Export to SVG. |
1.5使用中文分词jieba显示中文
有关中文分词的介绍可看我其他博客
1.5.1安装jieba
pip3 install jieba -i https://pypi.douban.com/simple/
1.5.2安装依赖库pillow
pip3 install pillow -i https://pypi.douban.com/simple/
Demo模块
import jieba
import wordcloud
from PIL import Image
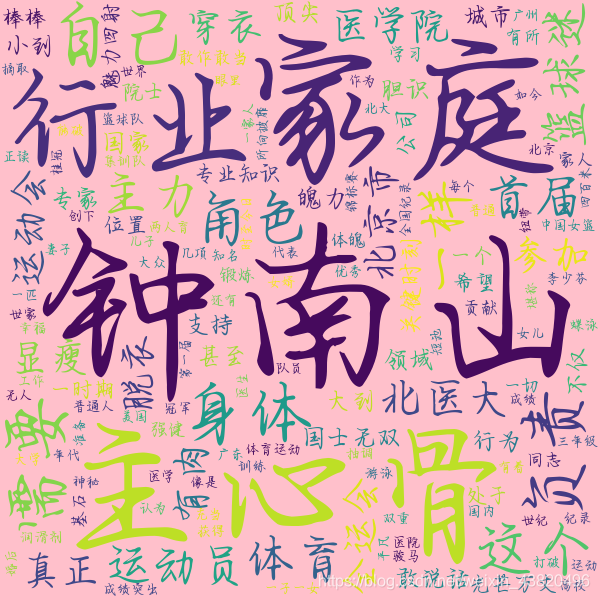
text = ' '.join(jieba.cut(open('/Users/wondering/Desktop/zns.txt').read()))
wc = wordcloud.WordCloud(
# 可以显示中文的字体
font_path='/Users/wondering/Desktop/Files/CommonFonts/cute.ttf',
# 设置宽高
width=600,
height=600,
background_color='pink'
)
wc.generate(text)
# 保存图片
wc.to_file('chinese_wordcloud_test.png')
- 效果图


 6817
6817


 被折叠的 条评论
为什么被折叠?
被折叠的 条评论
为什么被折叠?
 到【灌水乐园】发言


