SpringBoot项目中创建一个简单的定时任务调度Job

前言:

本篇博客主要说明在SpringBoot项目中如何创建一个简单的定时器job。

1.首先创建一个定时器任务调度类CalendarScheduleJob

package com.hdyanfa.interact.job;
import org.slf4j.Logger;
import org.slf4j.LoggerFactory;
import org.springframework.scheduling.annotation.Scheduled;
import org.springframework.stereotype.Component;
import java.text.SimpleDateFormat;
import java.time.LocalDateTime;
import java.util.Date;


/**
 * 日历活动定时任务
 **/
@Component
public class CalendarScheduleJob {

    private static final Logger logger = LoggerFactory.getLogger(CalendarScheduleJob.class);

    private static final SimpleDateFormat dateFormat = new SimpleDateFormat("yyyy-MM-dd HH:mm:ss");

    /**
     * 每分钟计时开始
     */
    @Scheduled(cron = "0 * * * * ?")
    public void minuteTime(){
        System.out.println("开始计时,现在是"+dateFormat.format(new Date()));
        System.out.println("开始计时,现在是"+LocalDateTime.now());
        System.out.println("-----------------------");
    }
}

实现原理是使用@Scheduled注解标注为定时任务,其中使用cron正则表达式来控制触发的时间。
(在线Cron表达式生成器网址:https://qqe2.com/cron

再使用@Component注解注入到spring容器中,使得服务能够发现调用该任务调度类。

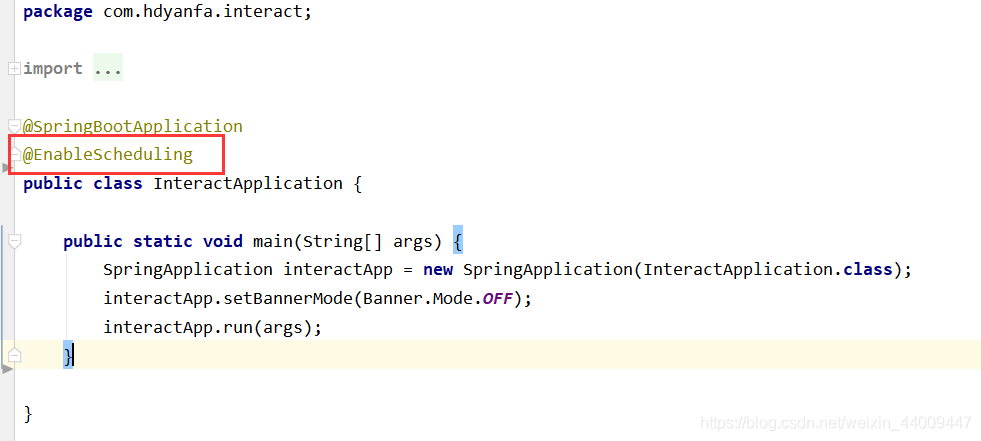
2.在springboot项目启动类中加上@EnableScheduling注解,开启定时任务调度功能:

在这里插入图片描述
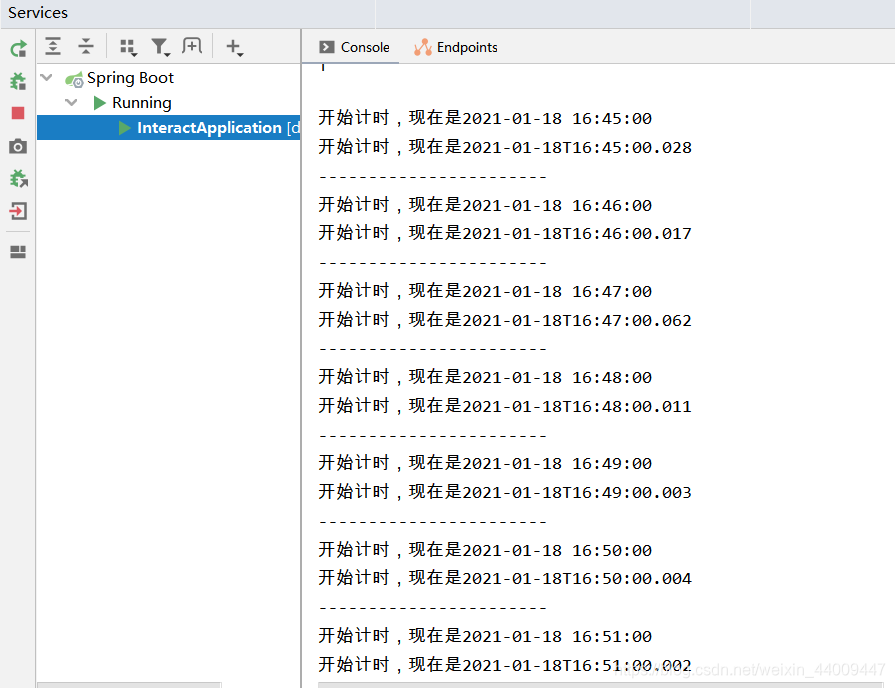
3.启动项目,一分钟打印一次当前系统时间,等待一段时间后控制台显示如下:

在这里插入图片描述

  • 1
    点赞
  • 4
    收藏
    觉得还不错? 一键收藏
  • 打赏
    打赏
  • 1
    评论
Spring Boot实现一个定时任务的方法如下: 1. 首先,在你的项目添加spring-boot-starter-quartz依赖。 2. 创建一个Job类并实现org.quartz.Job接口,该接口只有一个方法execute(JobExecutionContext context) ,在该方法定时任务要执行的逻辑代码。 3. 创建一个Trigger类,指定定时任务的触发规则,如定时周期等。 4. 创建一个SchedulerFactoryBean类,并将Job和Trigger对象注入到该类。 5. 在SchedulerFactoryBean类配置Quartz的相关属性,如线程池大小、任务调度器等。 6. 最后,在Spring Boot应用程序,通过注解或在类添加@Bean注解来启动SchedulerFactoryBean。 参考代码: 1. 添加依赖 ``` <dependency> <groupId>org.springframework.boot</groupId> <artifactId>spring-boot-starter-quartz</artifactId> </dependency> ``` 2. 编写Job类 ``` public class MyJob implements Job { @Override public void execute(JobExecutionContext context) throws JobExecutionException { // 执行定时任务的逻辑代码 } } ``` 3. 编写Trigger类 ``` @Bean public Trigger myTrigger() { SimpleScheduleBuilder scheduleBuilder = SimpleScheduleBuilder.simpleSchedule() .withIntervalInSeconds(60) // 每隔60秒执行一次 .repeatForever(); return TriggerBuilder.newTrigger() .forJob(myJobDetail()) .withSchedule(scheduleBuilder) .build(); } ``` 4. 配置SchedulerFactoryBean ``` @Bean public SchedulerFactoryBean schedulerFactoryBean() { SchedulerFactoryBean factoryBean = new SchedulerFactoryBean(); factoryBean.setJobDetails(myJobDetail()); factoryBean.setTriggers(myTrigger()); factoryBean.setAutoStartup(true); factoryBean.setOverwriteExistingJobs(true); return factoryBean; } ``` 5. 在Spring Boot应用程序启动SchedulerFactoryBean ``` @SpringBootApplication public class MyApplication { public static void main(String[] args) { SpringApplication.run(MyApplication.class, args); } @Autowired private SchedulerFactoryBean schedulerFactoryBean; @PostConstruct public void init() { schedulerFactoryBean.start(); } } ```

“相关推荐”对你有帮助么?

  • 非常没帮助
  • 没帮助
  • 一般
  • 有帮助
  • 非常有帮助
提交
评论 1
添加红包

请填写红包祝福语或标题

红包个数最小为10个

红包金额最低5元

当前余额3.43前往充值 >
需支付:10.00
成就一亿技术人!
领取后你会自动成为博主和红包主的粉丝 规则
hope_wisdom
发出的红包

打赏作者

Keson Z

你的鼓励将是我创作的最大动力

¥1 ¥2 ¥4 ¥6 ¥10 ¥20
扫码支付:¥1
获取中
扫码支付

您的余额不足,请更换扫码支付或充值

打赏作者

实付
使用余额支付
点击重新获取
扫码支付
钱包余额 0

抵扣说明:

1.余额是钱包充值的虚拟货币,按照1:1的比例进行支付金额的抵扣。
2.余额无法直接购买下载,可以购买VIP、付费专栏及课程。

余额充值