


使用Knife4j简介
Knife4j是一个集Swagger2 和 OpenAPI3为一体的增强解决方案
官网地址
1.整合Knife4j
        <dependency>
            <groupId>com.github.xiaoymin</groupId>
            <artifactId>knife4j-openapi2-spring-boot-starter</artifactId>
            <version>4.0.0</version>
        </dependency>
2.配置文件配置Knife4j
application.yml
spring:
  profiles:
    active: dev
application-dev.yml dev环境配置文件 配置8007端口
server:
  port: 8007
knife4j:
  # 开启增强
  enable: true
  openapi:
    title: knife4j文档
    description: knife4j文档描述
    version: 1.0.0
    concat:
      - ajin
    license: Apache 2.0
    licenseUrl: http://www.apache.org/licenses/LICENSE-2.0
    email: 123456@qq.com
    # 将API进行分组 按包名划分
    group:
      admin:
        group-name: 管理员
        api-rule: package
        api-rule-resources:
          - net.ajinclass.rbac_shiro.controller
  # 设置访问knife4j的账号密码
  basic:
    enable: true
    username: admin
    password: 666666
application-prod.yml prod环境配置文件 配置8006端口
server:
  port: 8006
knife4j:
  # 开启增强
  enable: true
  #  生产环境不能访问knife4j
  production: true
  #  这个配置不配会报错  报错 Factory method 'productionSecurityFilter' threw exception; nested exception is java.lang.NullPointerException
  setting:
    language: zh_cn
3.代码相关配置
在类上加 @ApiOperation注解 ,在请求方法上加 @ApiOperation 注解 在实体类上加 @ApiModel注解和@ApiModelProperty注解
@RestController
@RequestMapping("admin")
@Api(tags = "后台管理接口")
public class AdminController {

    @Resource
    private WeatherUtils weatherUtils;

    @GetMapping("/findMyVideo")
    @ApiOperation(value = "查找我的视频", notes = "查找我的全部视频")
    public JsonData findMyVideo(@RequestHeader("Authorization") String authorization) {

        Map<String, String> recordMap = new HashMap<>();

        recordMap.put("SpringBoot入门到高级实战", "300元");
        recordMap.put("Cloud微服务入门到高级实战", "877元");
        recordMap.put("分布式缓存Redis", "990元");
        System.out.println("authorization = " + authorization);
        return JsonData.buildSuccess(recordMap);

    }

    @GetMapping("/testKnife4j")
    @ApiOperation(value = "测试接口", notes = "测试接口测试knife4j")
    public Weather testKnife4j(@RequestHeader("Authorization") String authorization) {
        Weather weather = new Weather();
        weather.setDay("30");
        weather.setTem("21");
        weather.setWea("晴天");
        System.out.println("authorization = " + authorization);
        return weather;

    }


    @GetMapping("/weather")
    @ApiOperation(value = "获取天气", notes = "爬虫获取天气发送短信")
    public JsonData weatherTest() {
        weatherUtils.getWeatherAndSentMessage();
        return JsonData.buildSuccess();

    }

}
@ApiModel(value = "天气实体对象")
public class Weather {

    /**
     * 日
     */
    @ApiModelProperty(value = "日")
    private String day;
    /**
     * 温度
     */
    @ApiModelProperty(value = "温度")
    private String tem;

    /**
     * 天气
     */
    @ApiModelProperty(value = "天气")
    private String wea;


    public String getDay() {
        return day;
    }

    public void setDay(String day) {
        this.day = day;
    }

    public String getTem() {
        return tem;
    }

    public void setTem(String tem) {
        this.tem = tem;
    }

    public String getWea() {
        return wea;
    }

    public void setWea(String wea) {
        this.wea = wea;
    }
}
4.访问Knife4j接口文档
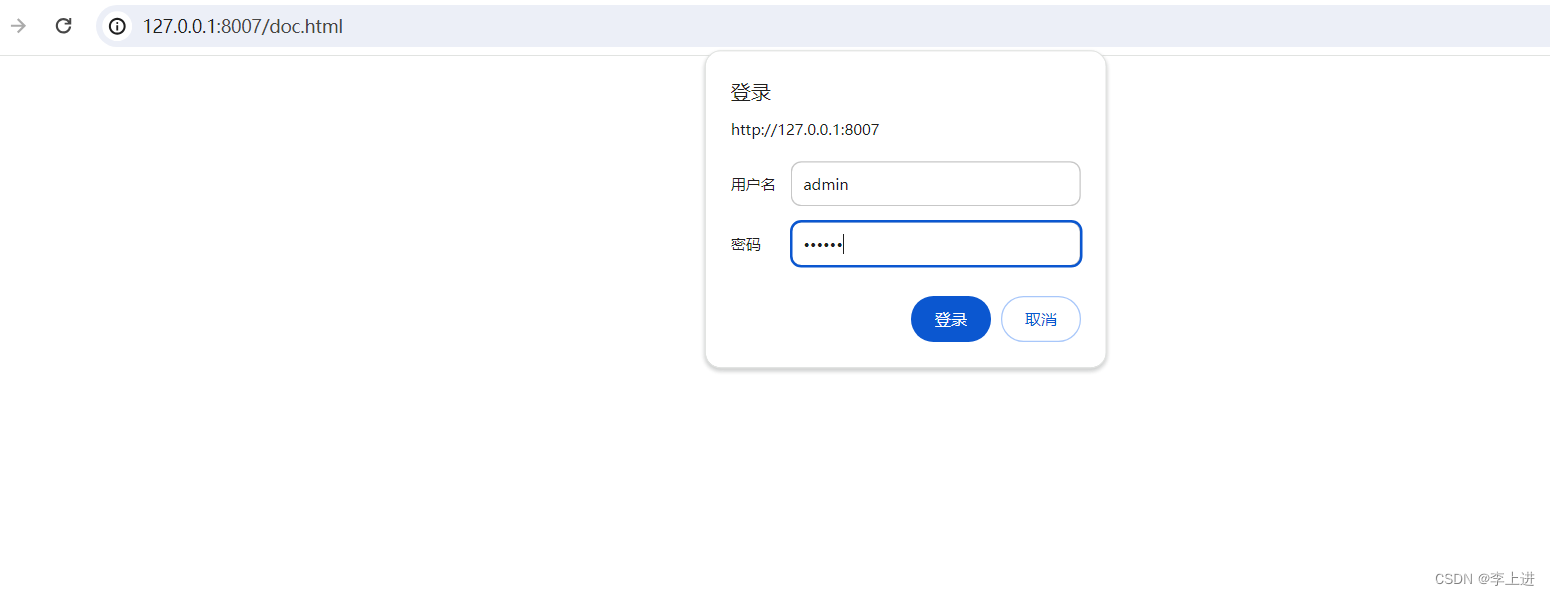
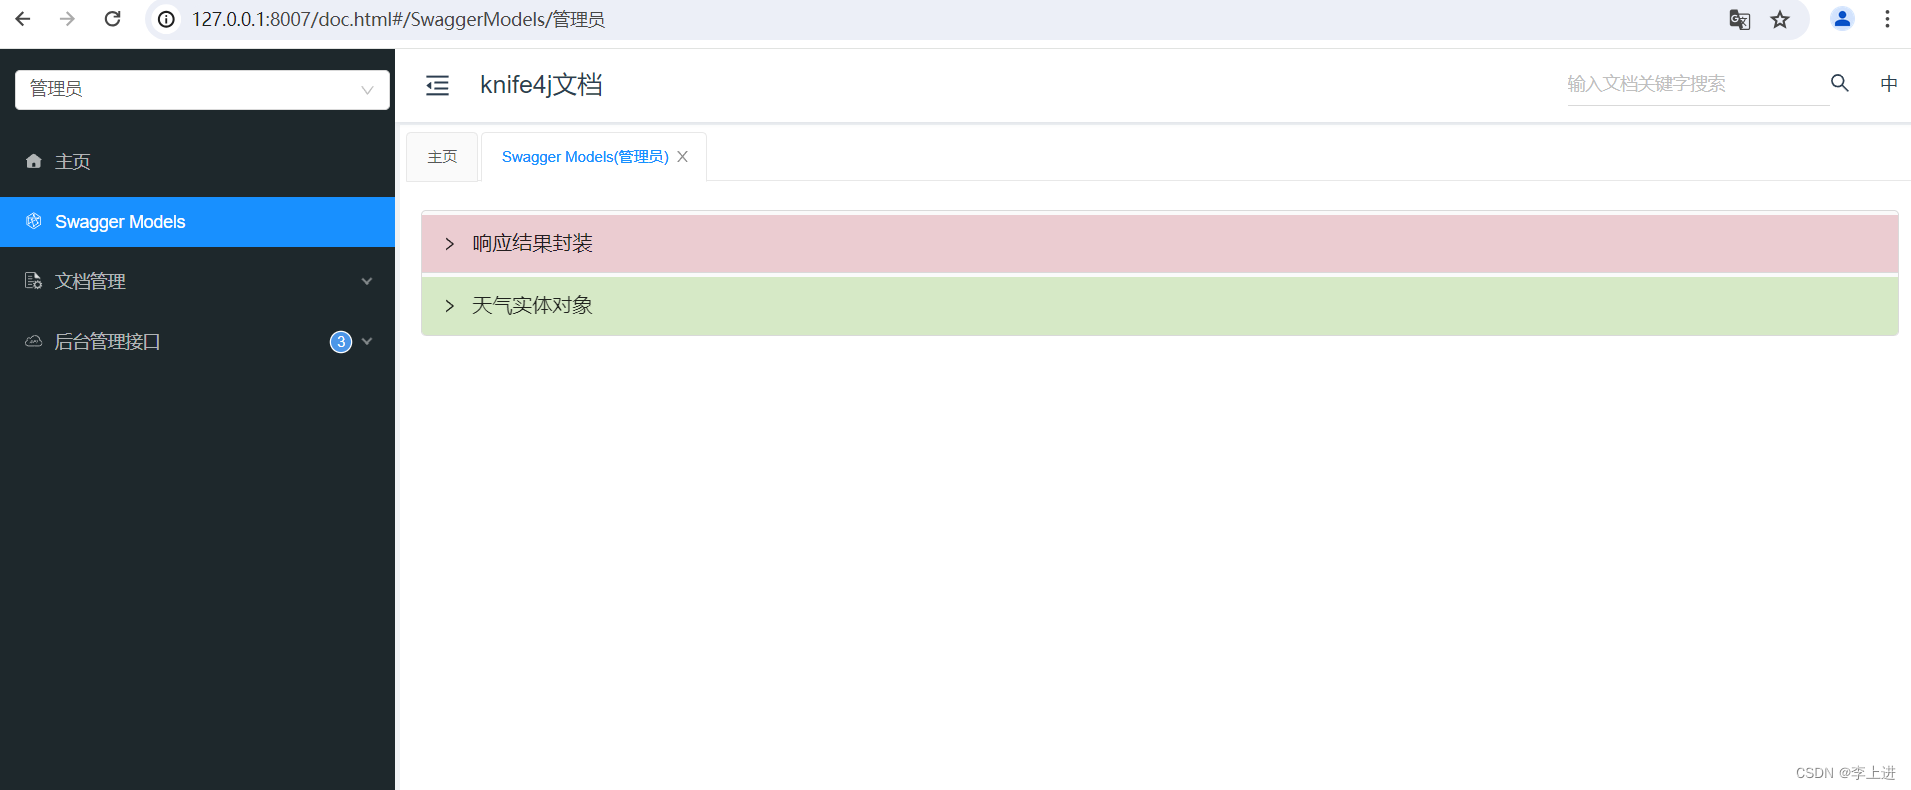
以dev环境启动 访问 http://127.0.0.1:8007/doc.html 输入我们在 application-dev.yml 中配置的knife4j的账号密码 就可以看到API列表了
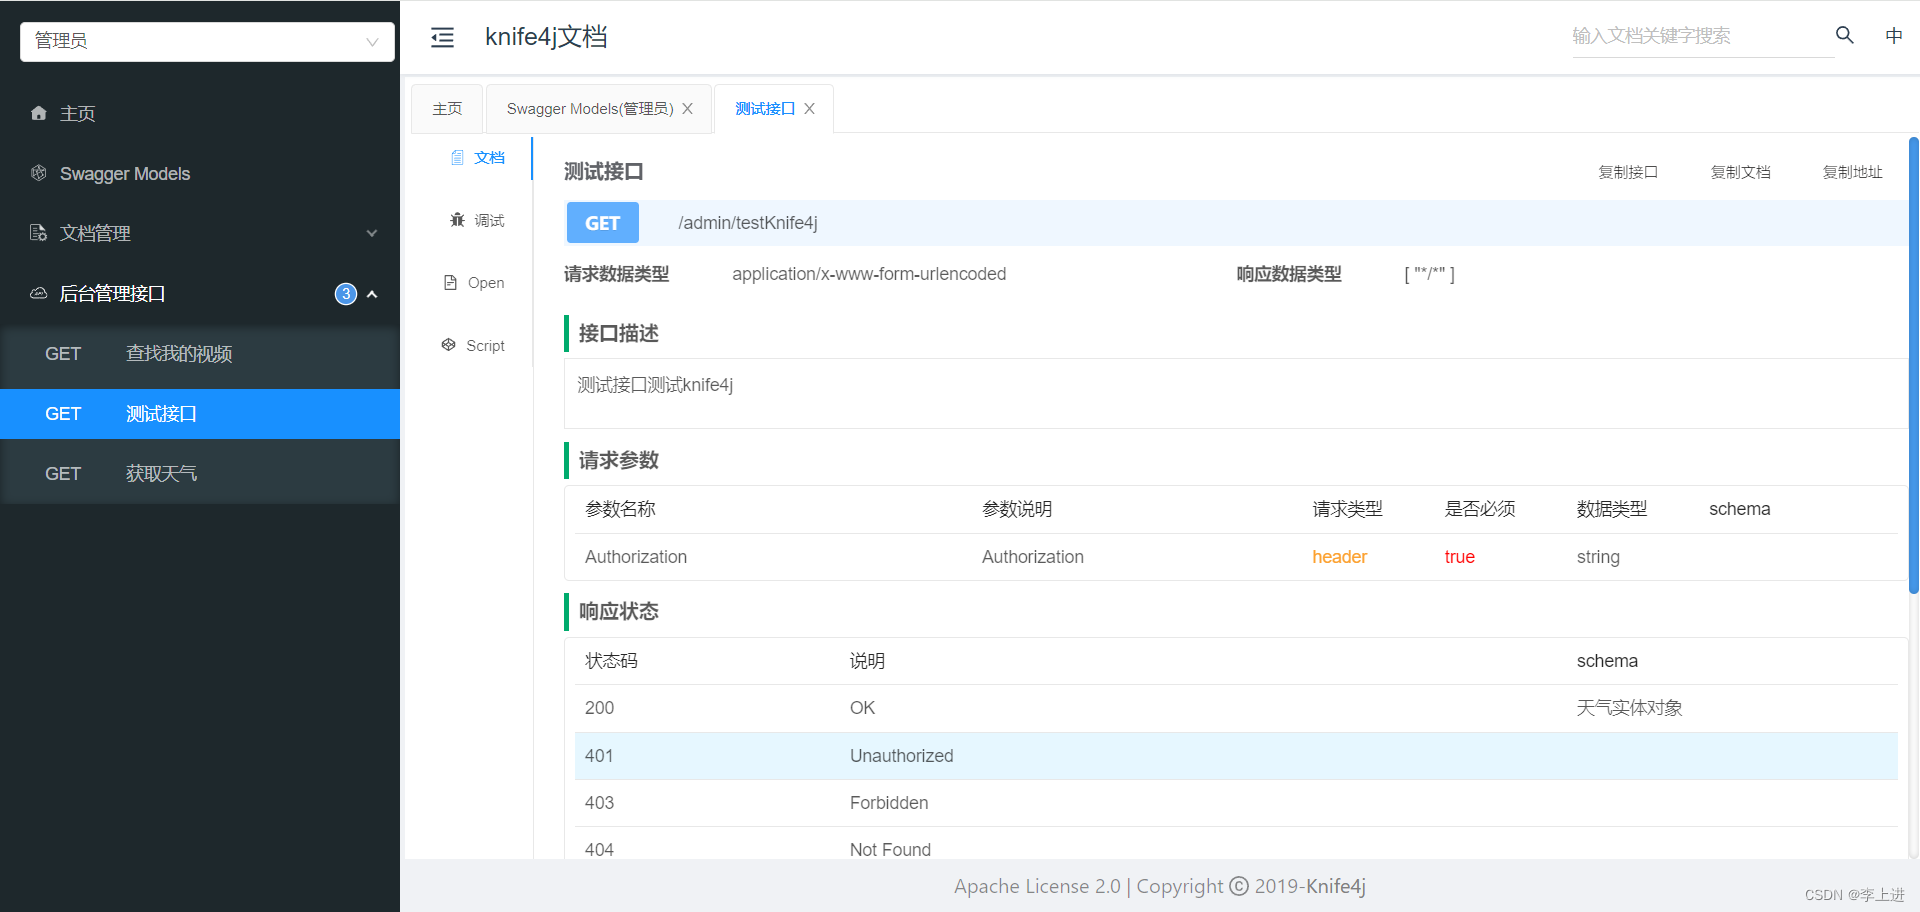
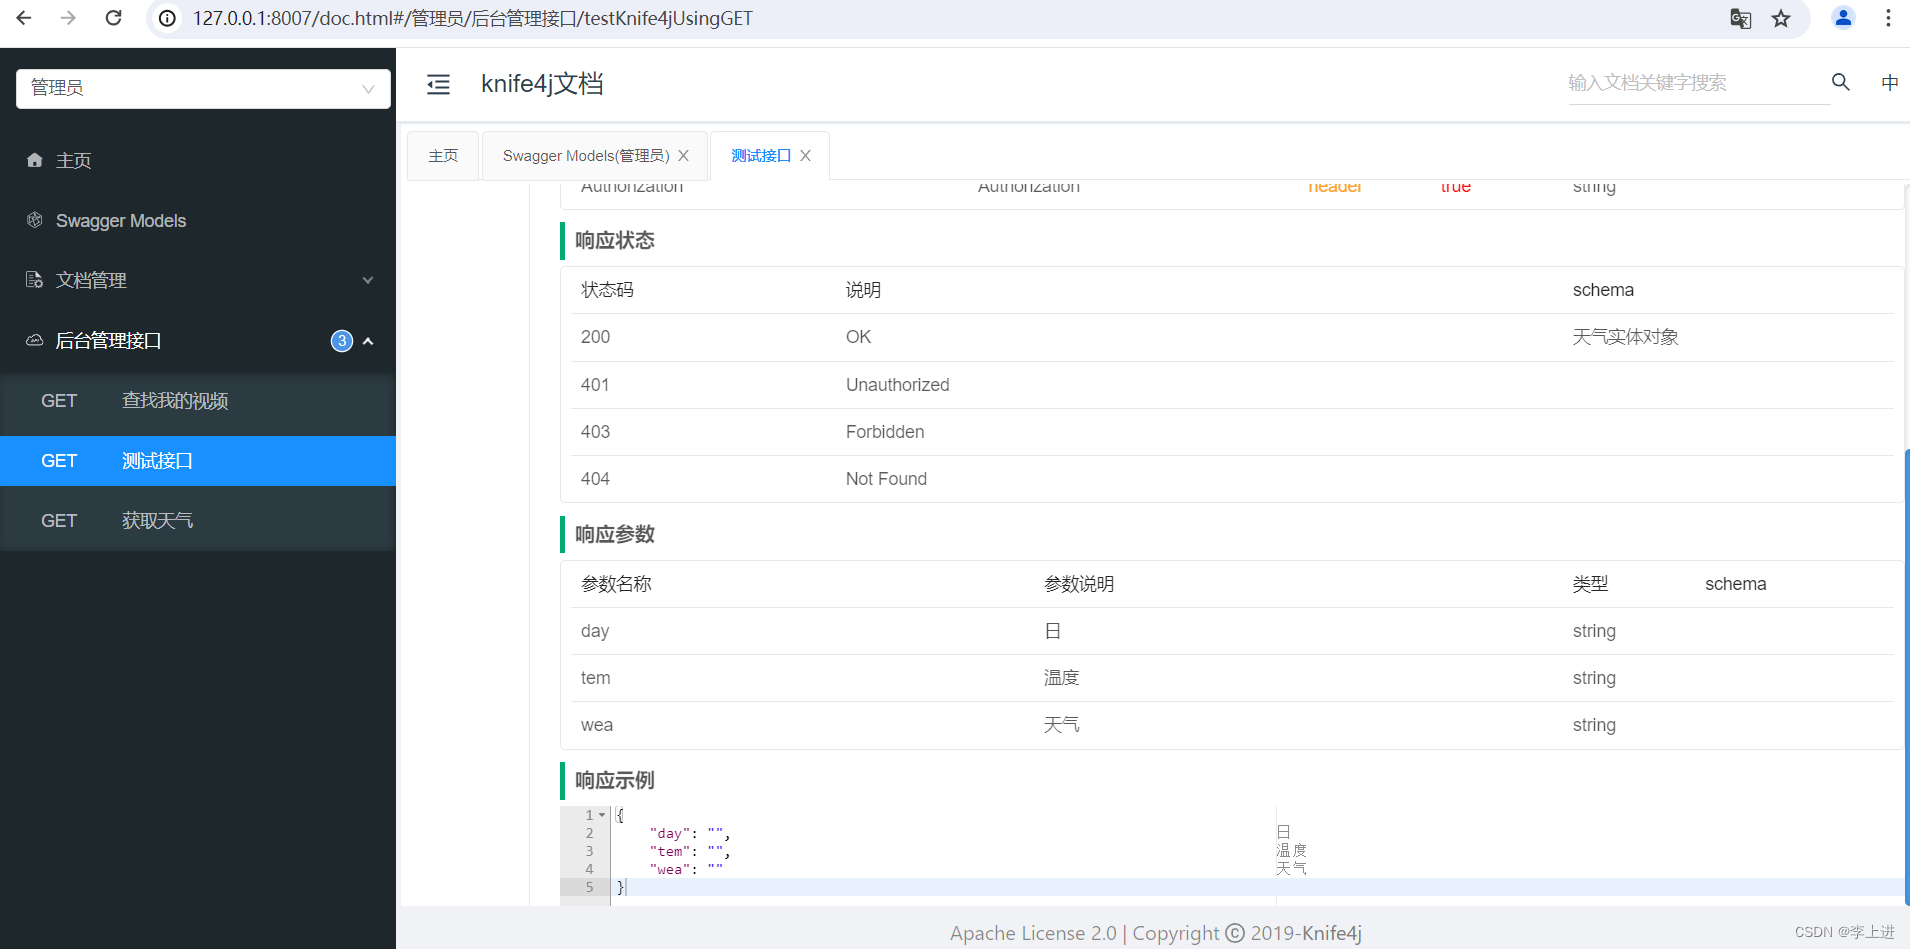
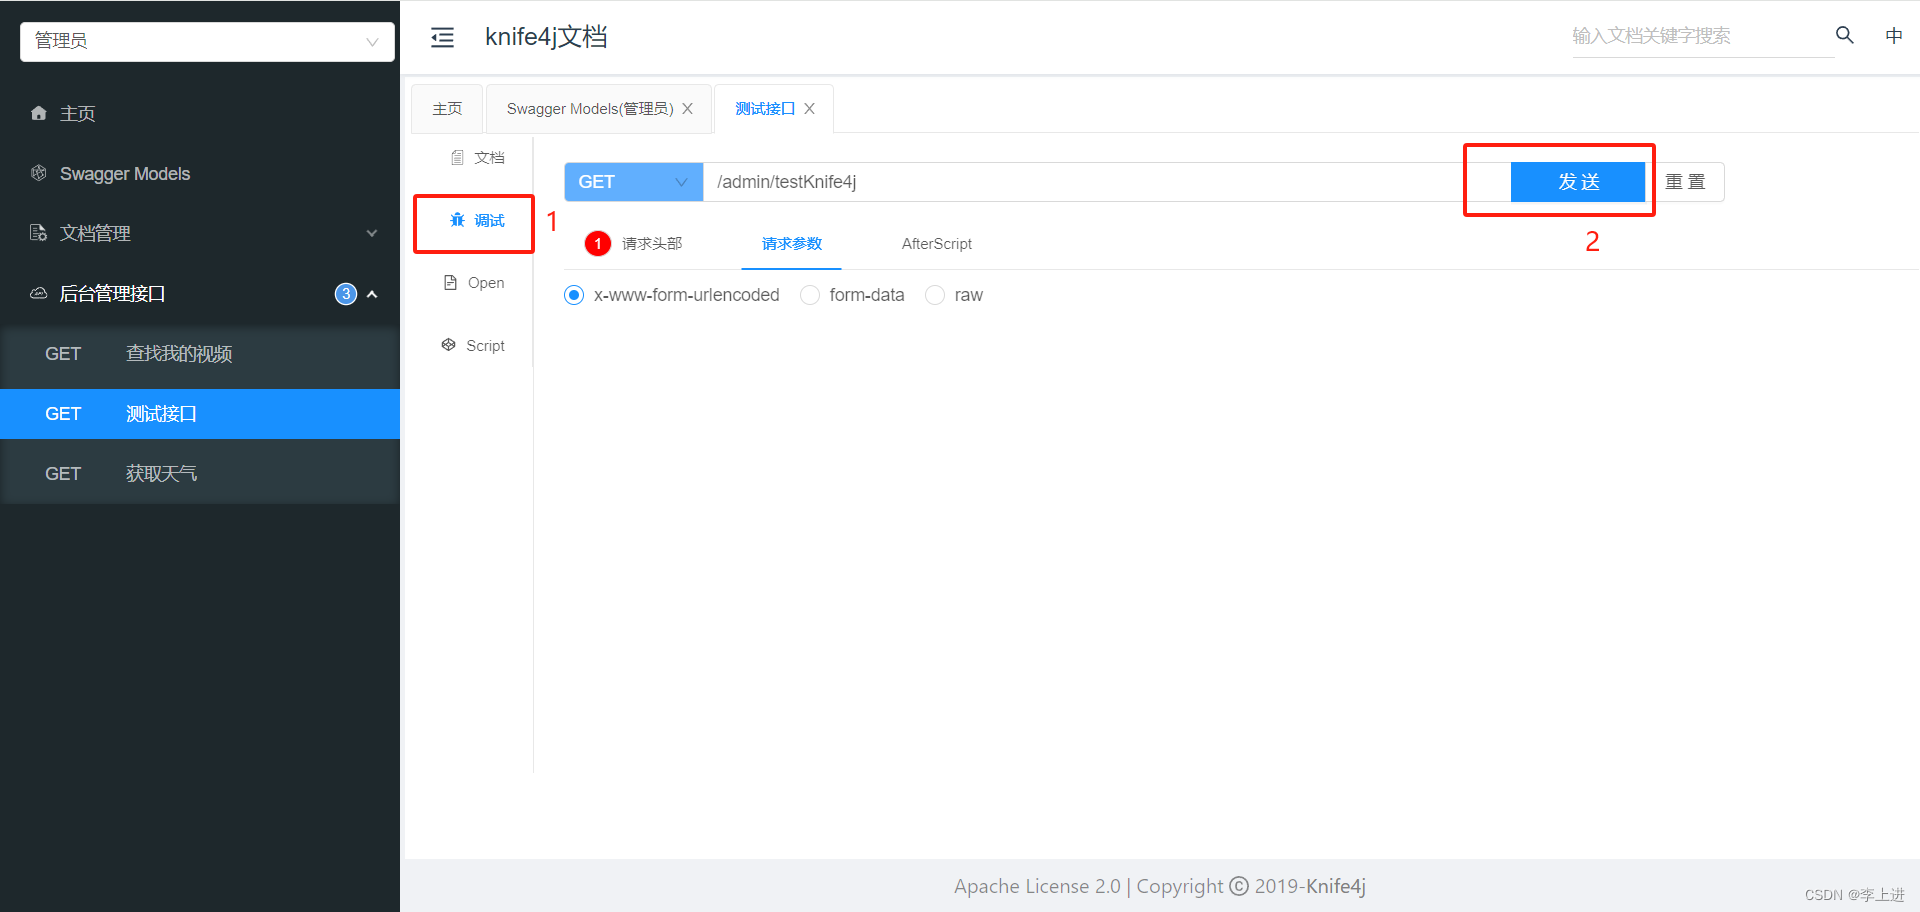
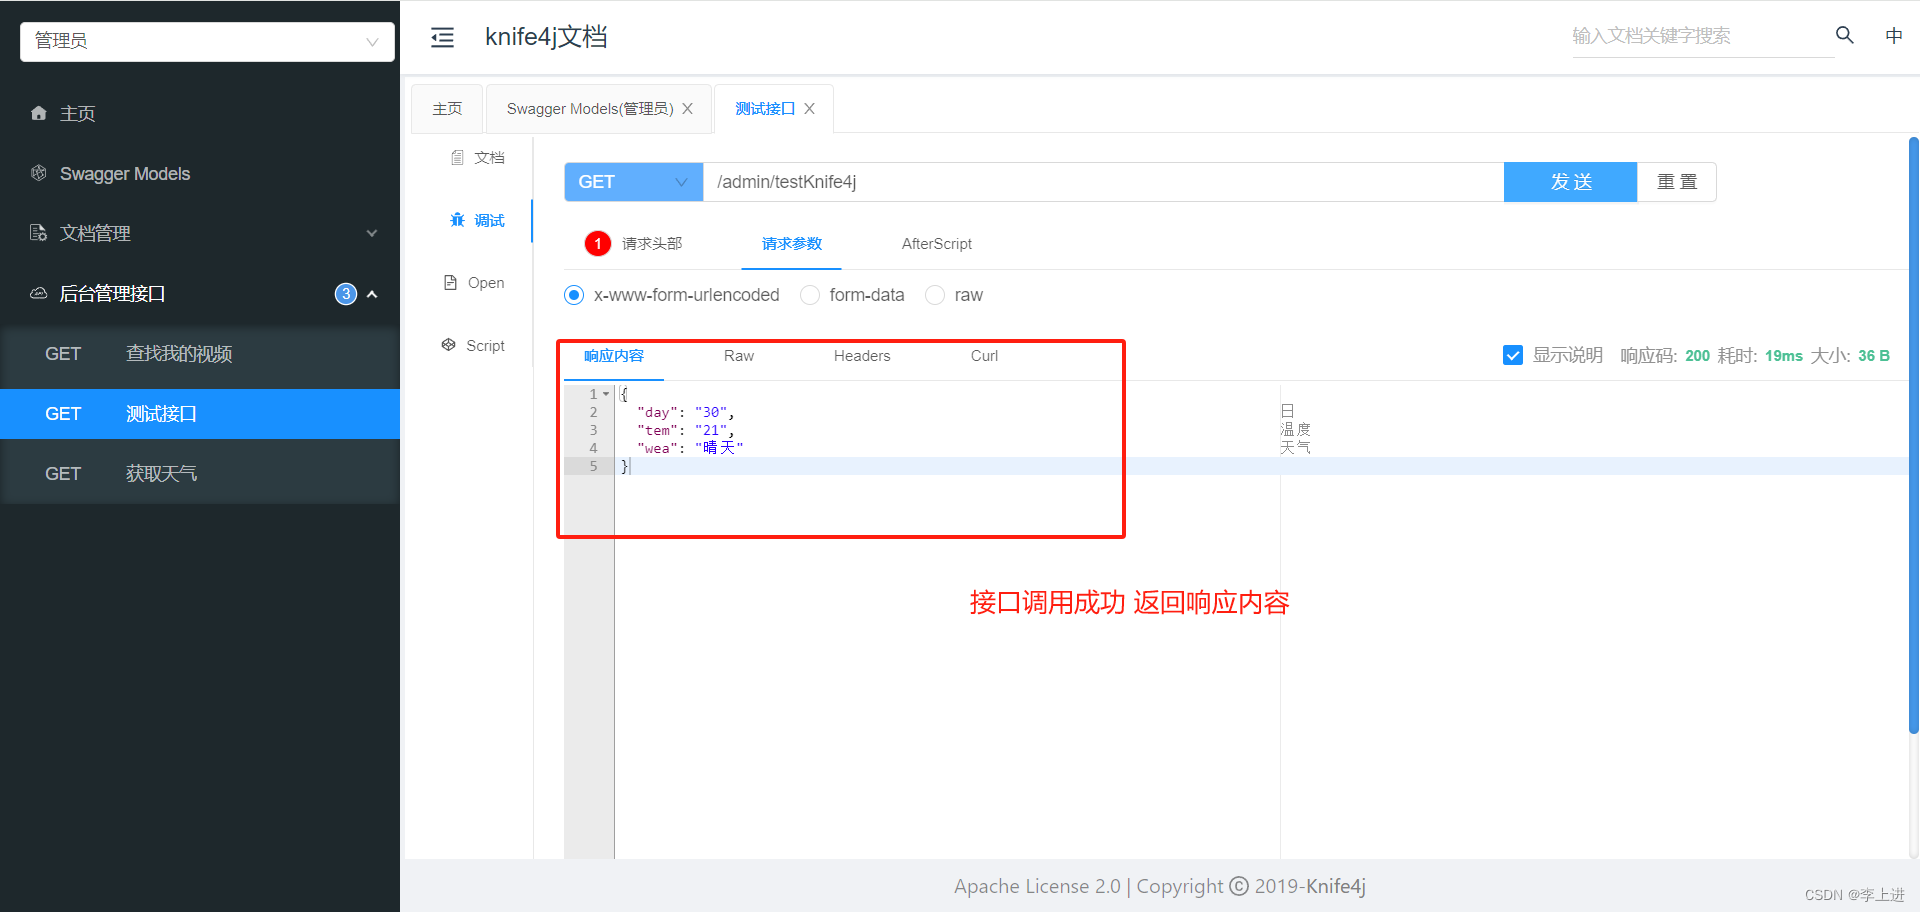
5.执行接口调用测试
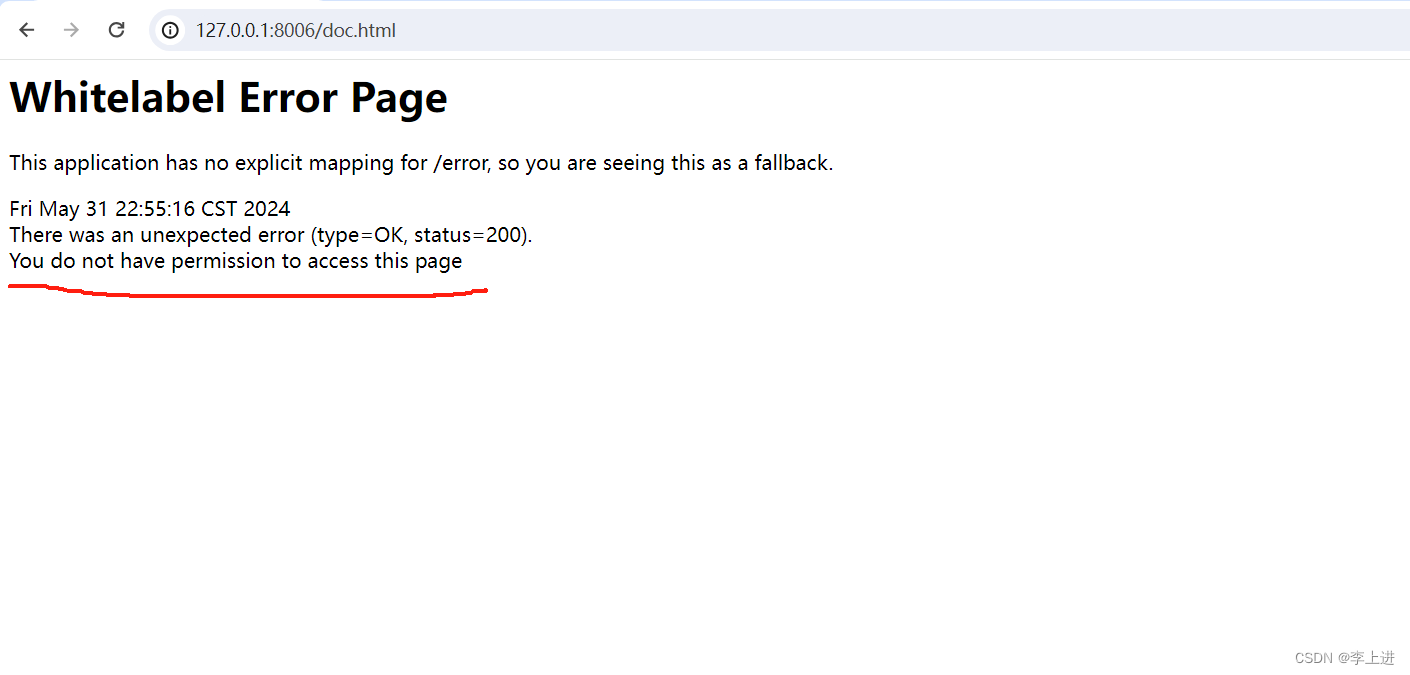
6.以prod环境 启动项目 访问Knife4j接口文档
访问 http://127.0.0.1:8006/doc.html 提示没有权限 做到了生产环境屏蔽Knife4j接口文档
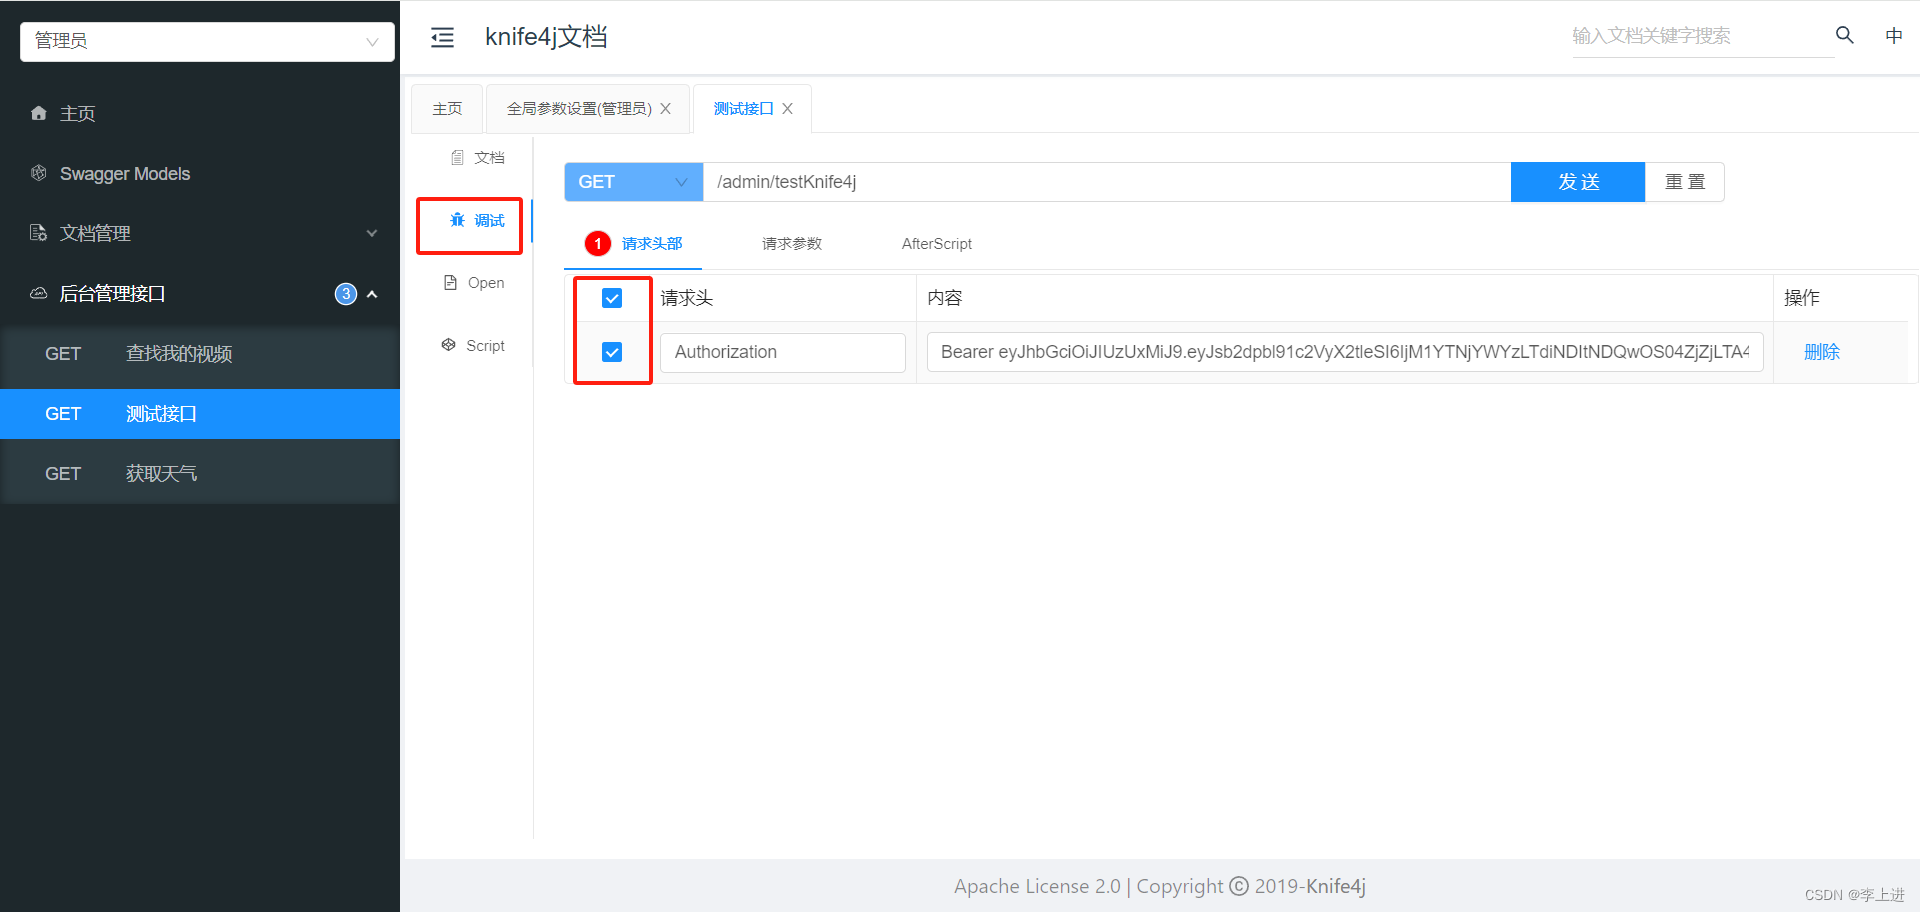
7.Knife4j传token示例
在全局参数里面添加参数即可
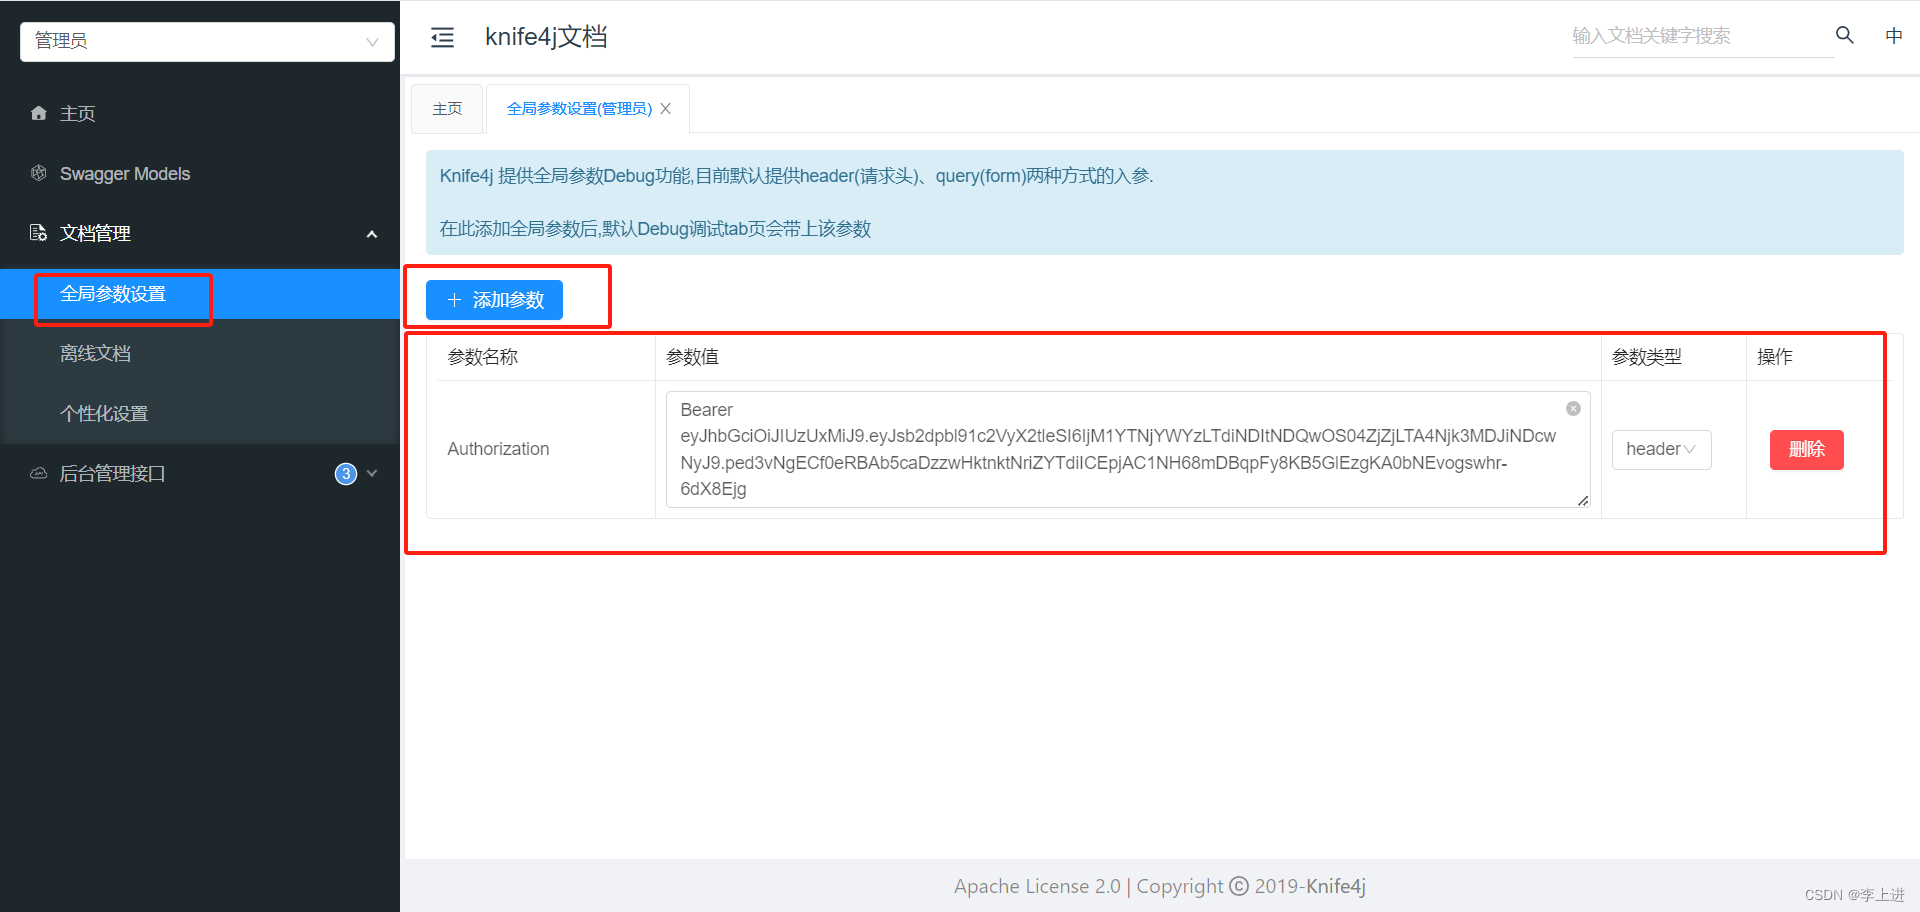
在需要传递token的接口进行配置 勾选上我们要传递的参数即可


 4178
4178

 被折叠的 条评论
为什么被折叠?
被折叠的 条评论
为什么被折叠?
 到【灌水乐园】发言


