


登录地址是智慧华中大 | 统一身份认证系统。
程序的Github在GitHub - 1kuzus/HustCASLogin: 华中科技大学统一身份认证登录接口。

分析
我们大概知道登录接口一定是带了参数的POST请求,核心是要构造出请求的参数。首先随便输入账号和密码,F12打开调试窗口网络面板,查看请求:

显然我们要找的是login,点开详情:
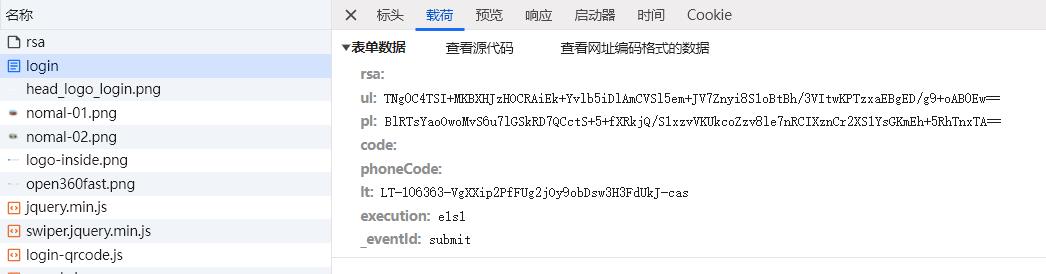
下面是参数的含义,如果你不想看详细的分析过程,可以阅读后直接跳到下一节:
|
| 弃置 |
|
| 根据 |
|
| 根据 |
|
| 验证码 |
|
| 留空即可 |
|
| 固定参数 |
|
| 固定参数 |
|
| 固定参数 |
此处有一个历史缘故。在2023年1月的时候,
ul和pl是明文的用户名和密码的字符串长度,这也符合参数名username length(ul),rsa是前端加密参数。后来华科登录接口似乎经历了一次改版,弃置了rsa参数,ul和pl变成了现在的意义。
言归正传,在没有预先知道参数含义的情况下,先从看起来是明文形式的后两个参数入手,直接搜索_eventId,找到了html中写表单的隐藏域(也就是input type="hidden")的位置:
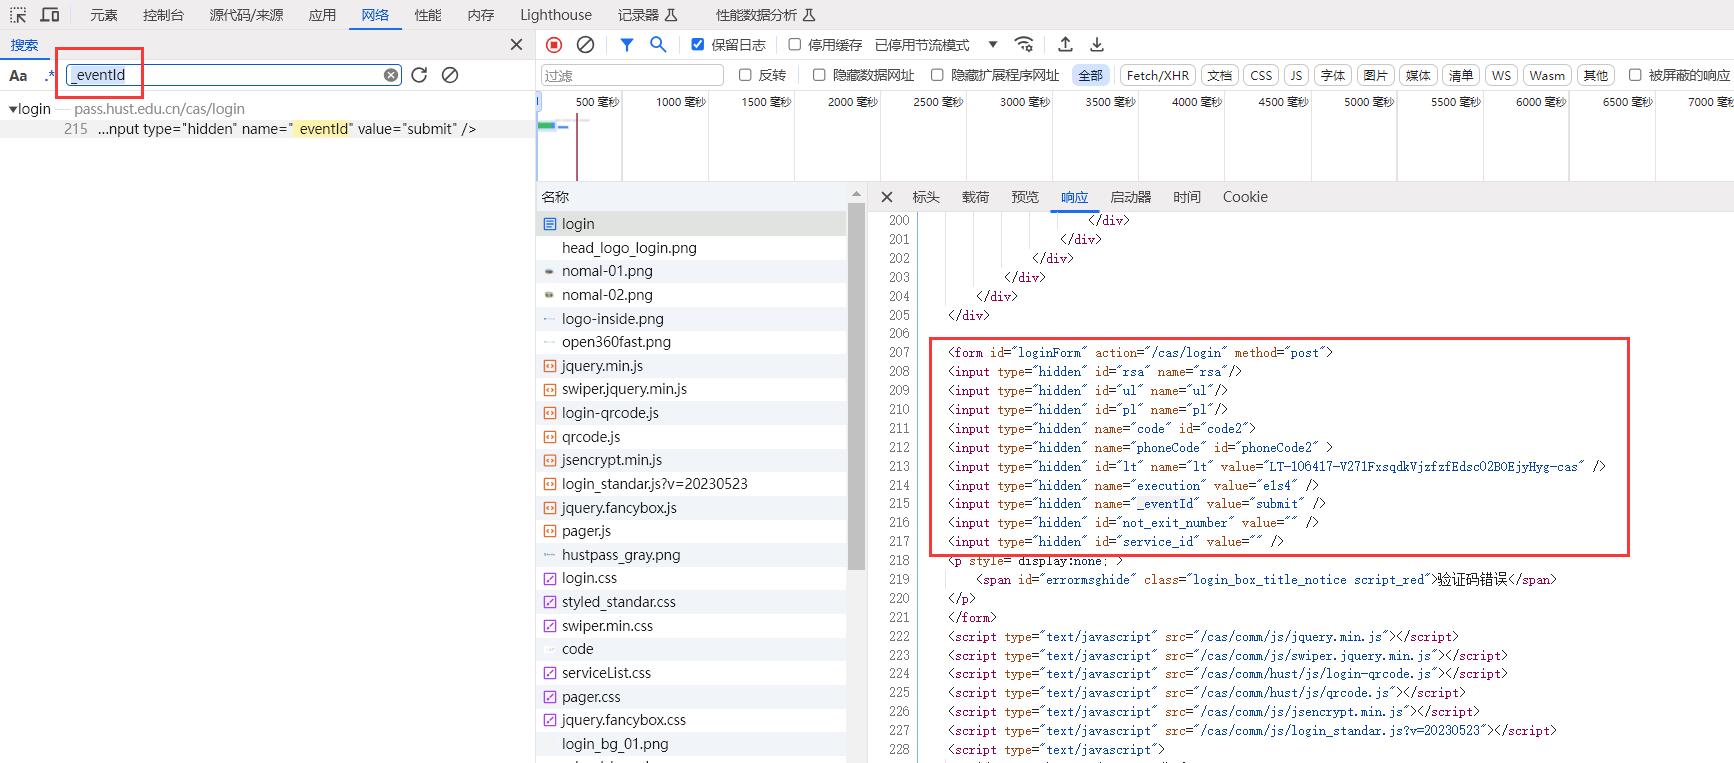
我们发现最后三个参数value值非空,是可以直接从html文档中读取的固定参数,尽管每次请求时他们可能不同。
到这里,我们只剩ul,pl,code参数需要构造,分别需要进行逆向和OCR。
逆向
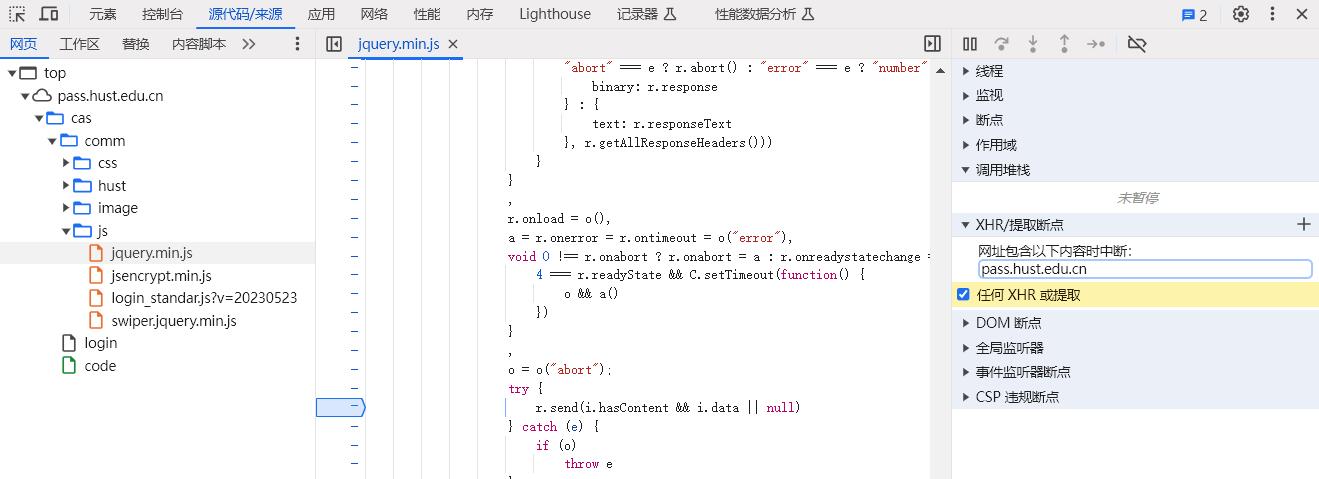
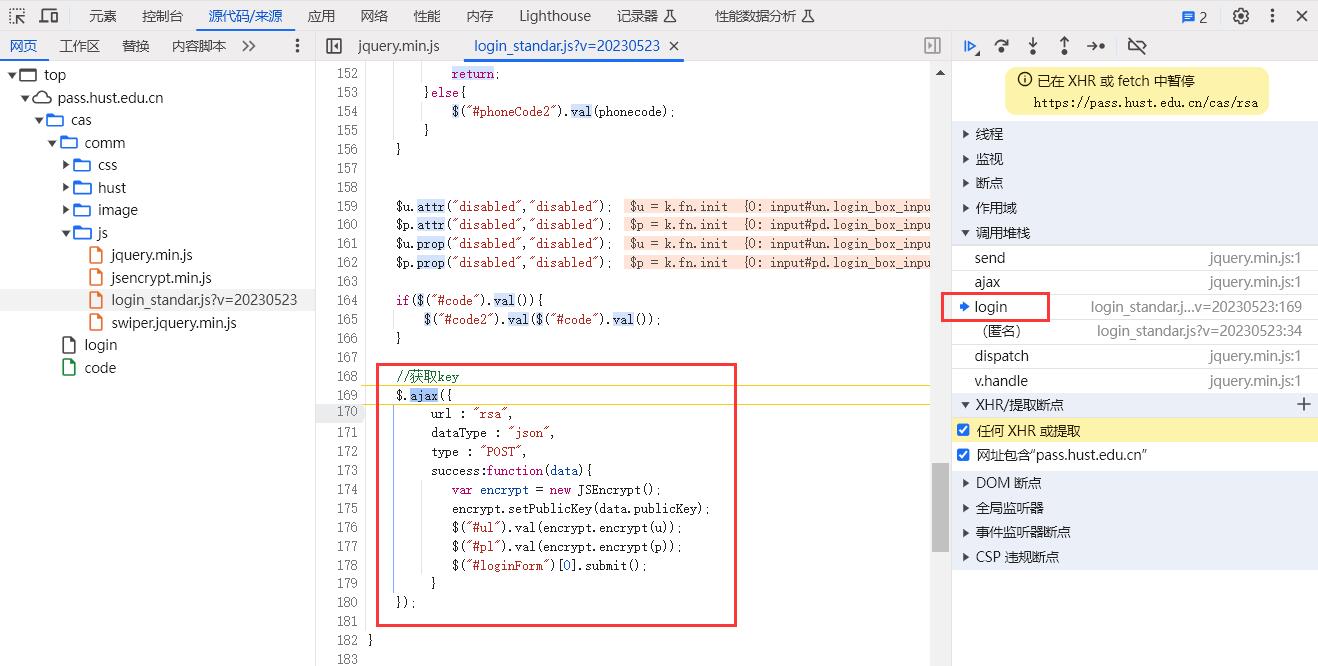
切换到源代码面板,新建一个XHR/提取断点,在“网址包含”填入主机pass.hust.edu.cn,这样在POST登录接口时一定会暂停:
这样做的目的是找到登录请求的调用链:
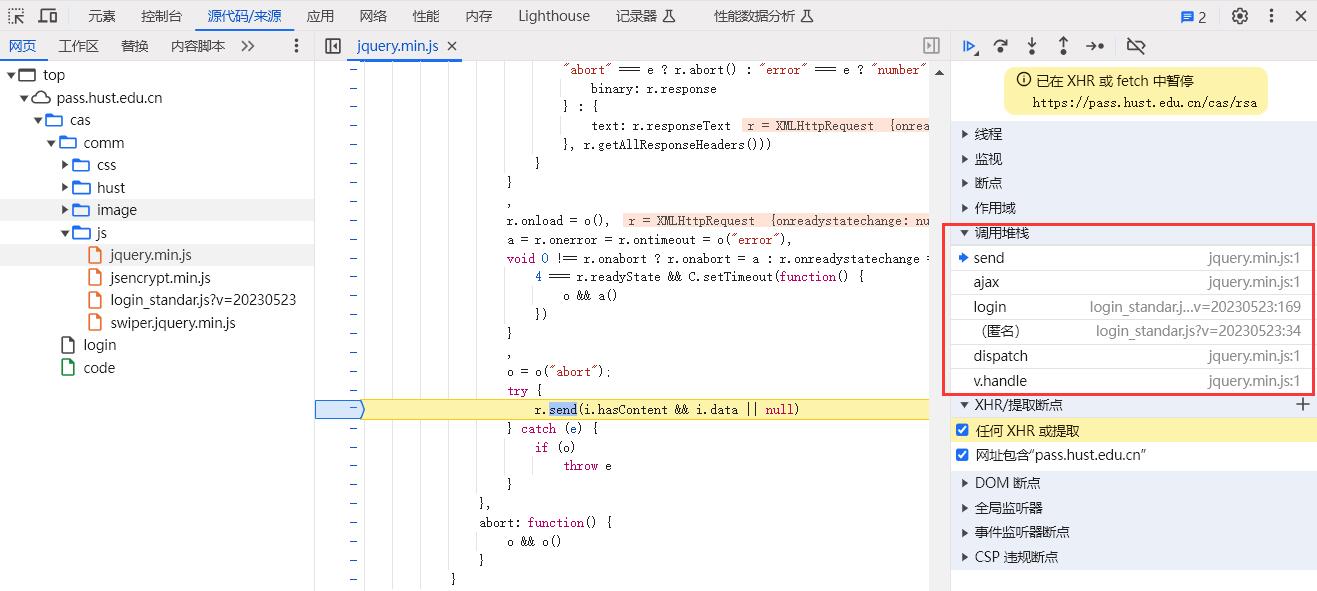
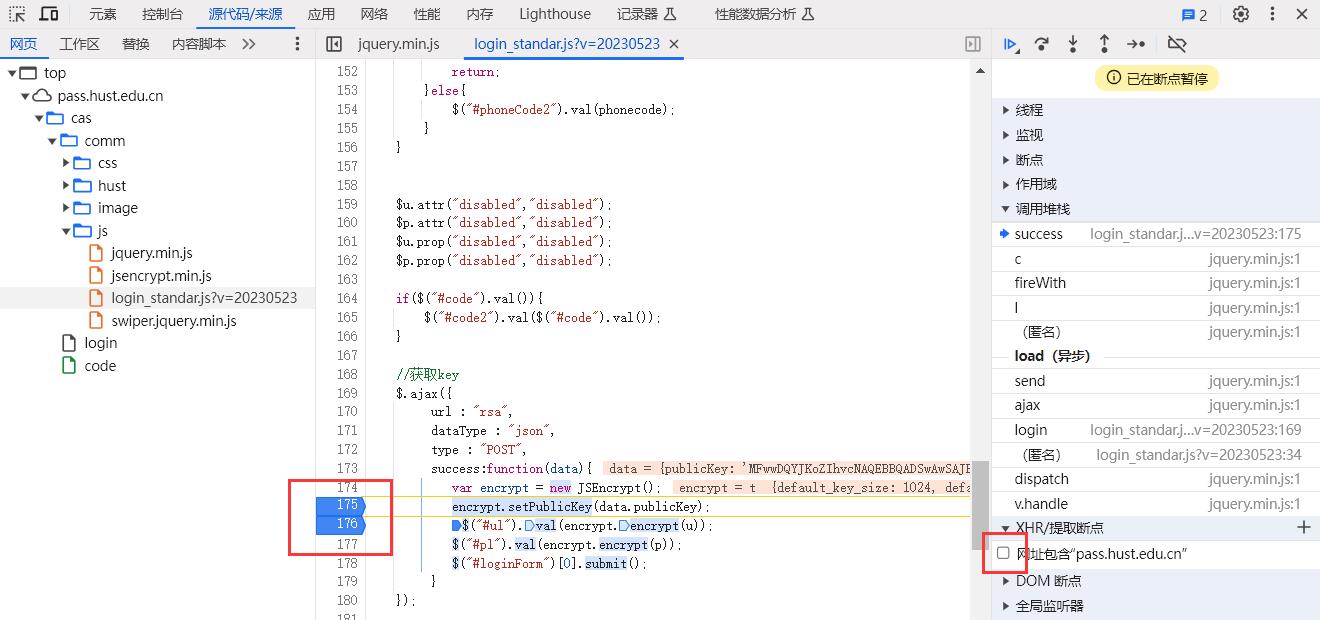
这样一步一步向下找,在login中看到了前端加密对应的代码:
我们把原来的断点取消,在setPublicKey和对ul加密的地方加入新的断点。
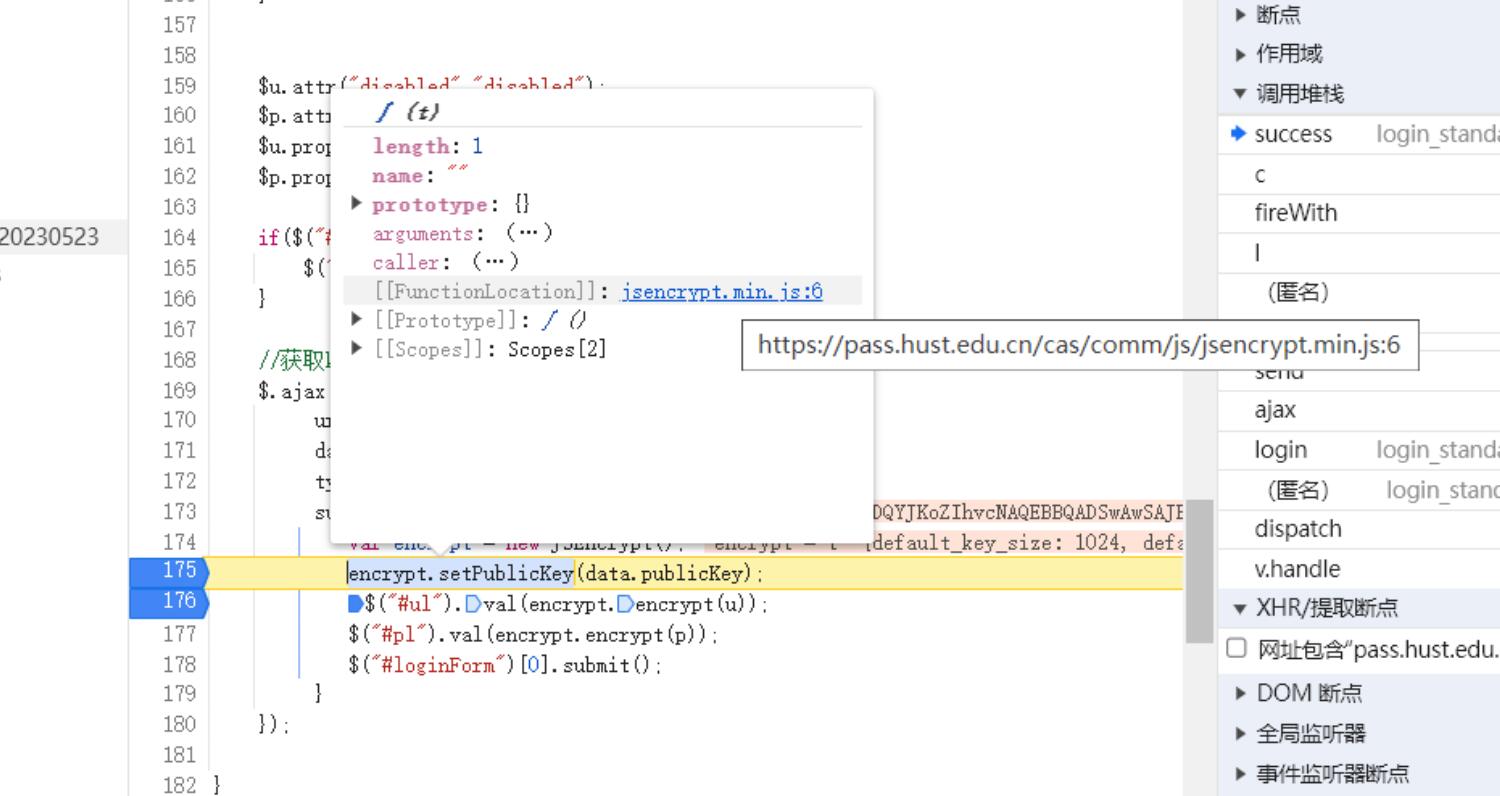
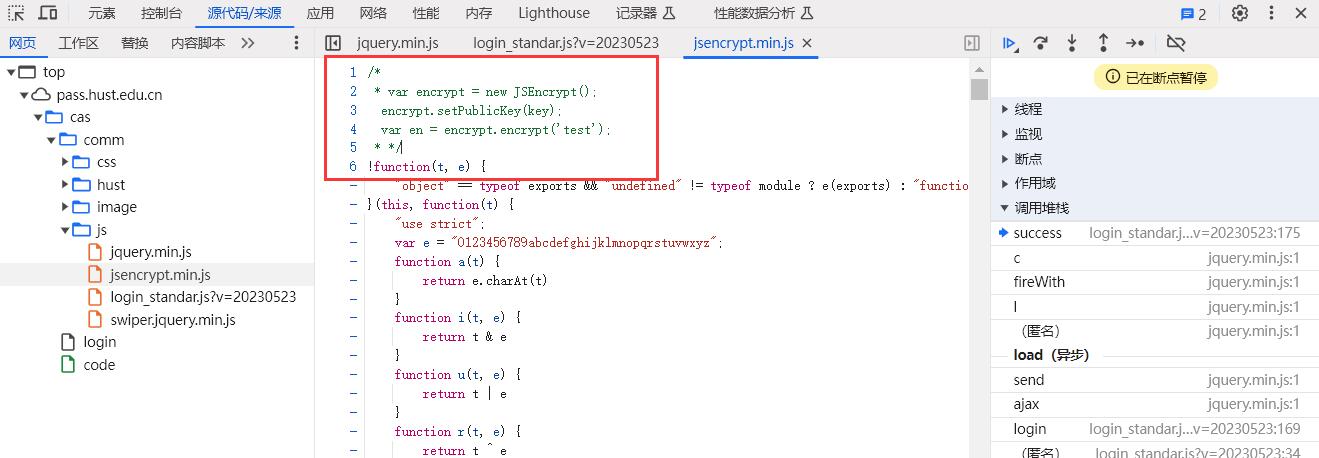
找到加密函数的位置了,我们跳转到jsencrypt.min.js(注释里给出了正常用法):
现在把整个代码复制到本地进行修改。在本地初次运行,首先是会因为本地是node环境遇到下面的报错:
"Microsoft Internet Explorer" == navigator.appName ? (O.prototype.am = function (t, e, i, r, n, s) {
                                 ^

ReferenceError: navigator is not defined
if (window.crypto && window.crypto.getRandomValues) {
    ^

ReferenceError: window is not defined
所以根据源代码内容,在文件最前面写这两行,只需要消掉报错即可:
navigator = {appName: undefined};
window = {crypto: undefined};
接下来分析代码结构,因为源代码很长,所以中间的功能函数省略了:
navigator = {appName: undefined};
window = {crypto: undefined};
/*
* var encrypt = new JSEncrypt();
encrypt.setPublicKey(key);
var en = encrypt.encrypt('test');
* */
!function(t, e) {
    "object" == typeof exports && "undefined" != typeof module ? e(exports) : "function" == typeof define && define.amd ? define(["exports"], e) : e(t.JSEncrypt = {})
}(this, function(t) {
    "use strict";
    var e = "0123456789abcdefghijklmnopqrstuvwxyz";
    function a(t) {
        return e.charAt(t)
    }
    function i(t, e) {
        return t & e
    }

    ...

    window.JSEncrypt = rt,
    t.JSEncrypt = rt,
    t.default = rt,
    Object.defineProperty(t, "__esModule", {
        value: !0
    })
});
最外层是一个立即执行函数,参数列表this传给了t,后面一整个function(t)传给了e。分析一下第二个参数也就是函数function(t)的功能,在最后看到了window.JSEncrypt=rt和t.JSEncrypt=rt,再看注释中提示的用法:
var encrypt = new JSEncrypt();不难看出在浏览器环境中rt直接赋值给了window.JSEncrypt,同时我们的node环境如果想利用rt,就要从t中取出。
回到代码最前面,立即执行函数体可以删掉,改成如下内容:
var encrypt;
!function (t, e) {
    //"object" == typeof exports && "undefined" != typeof module ? e(exports) : "function" == typeof define && define.amd ? define(["exports"], e) : e(t.JSEncrypt = {})
    x={};
    e(x);
    encrypt = new x.JSEncrypt();
}(this, function (t) {
    "use strict";
    ...
然后我们在代码最后定义一个加密函数:
encrypt.setPublicKey('MFwwDQYJKoZIhvcNAQEBBQADSwAwSAJBAJ7aKWURpJx4m8i4pB9P2pzNriT3UyhK6H20meKv8gFJmERA482JSi/DvZ4SkxP9INL5h8lGGvu5W3eTrpJaN3MCAwEAAQ==');

function strEnc(text) {
    return encrypt.encrypt(text)
}

console.log(strEnc('test')) //I2ieJi6q7pnlVGytaeHMGr6ejhfyBSi7bjEYDSdf4OkgweOkO6cwNdsQawPdun3AQCYApG5XhT8+/KRq1GS30w==
可以得到加密的字符串。这里的publicKey是调试时复制来的值。我们不清楚这是不是一个固定的参数,因此同样分析一下这个参数的来源:
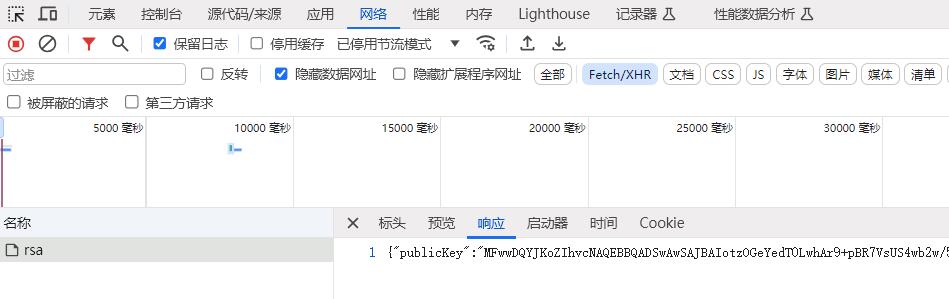
前面抓包时注意到有一个XHR请求,实际上这就是publicKey。
至此我们已经可以在本地node环境跑通加密js,我们把它命名为encrypt.js并创建一个稍后服务于爬虫程序的模块encrypt.py:
# encrypt.py
import execjs
import re
import os

def encrypt(username, password, public_key):
    root_dir = os.path.dirname(__file__)
    with open(os.path.join(root_dir, "encrypt.js"), "r") as js_file:
        jscode = js_file.read()
    jscode = re.sub(r"setPublicKey\('(.*?)'\)", f"setPublicKey('{public_key}')", jscode)
    encrypt_js = execjs.compile(jscode)
    ul = encrypt_js.call("strEnc", username)
    pl = encrypt_js.call("strEnc", password)
    return ul, pl
这个模块根据传入的public_key替换js源代码中的部分,再编译,最后在Python环境中调用js代码得到加密结果。
到目前位置,public_key参数一直都是同一个值(MFwwDQYJKo...)。
OCR
华科的验证码是一个四位数字,干扰比较小,属于非常简单的验证码。验证码请求的地址是https://pass.hust.edu.cn/cas/code。
核心的识别逻辑使用ddddocr库就可以了,不需要借助付费的打码平台。
验证码是gif格式,考虑将所有帧叠加,再做二值化:
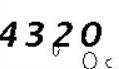
发现图像中会有干扰的细边,再做一次中值滤波:
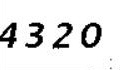
处理过后的图像调库检测即可,OCR的源代码如下:
# ocr.py
from PIL import Image
import ddddocr
import numpy
import cv2
import io

def ocr(code_gif_bin):
    gif = Image.open(io.BytesIO(code_gif_bin))
    frames = []
    for i in range(4):
        gif.seek(i)
        frames.append(numpy.asarray(gif))

    frames = [frame if len(frame.shape) == 2 else frame[:, :, 0] for frame in frames]  # 只用灰度图(RGB帧只拿一个通道)
    frames = [255.0 - frame for frame in frames]  # 转换黑白(有字的地方将变成大值)
    add = (255 - sum(frames))  # 将所有帧叠加,并再次转换黑白
    add = numpy.where(add < 0, 0, add).astype("uint8")  # 叠加部分可能超过255,因此负值置零
    add = numpy.where(add < 70, 0, 255)  # 二值化

    # 过滤图像中的细边
    flt = numpy.array([[1, 1, 1], [1, 0, 1], [1, 1, 1]])
    for h in range(1, add.shape[0] - 1):
        for w in range(1, add.shape[1] - 1):
            if add[h][w] == 255:
                continue
            x = add[h - 1:h + 2, w - 1:w + 2] * flt
            if x.sum() > 5 * 255:
                add[h][w] = 255

    # 预测
    success, img_byte = cv2.imencode(".png", add)
    dddd = ddddocr.DdddOcr(show_ad=False)
    res = dddd.classification(bytes(img_byte))

    # 增强
    res = res.replace("o", "0")
    res = res.replace("O", "0")
    res = res.replace("i", "1")
    res = res.replace("l", "1")
    res = res.replace("g", "9")
    return res
登录
最后就是登录部分,源代码如下:
from lxml import etree
from .ocr import ocr
from .encrypt import encrypt
import requests

def login(url_cas, username, password, headers=None, proxies=None):
    url_captcha = "https://pass.hust.edu.cn/cas/code"
    url_public_key = "https://pass.hust.edu.cn/cas/rsa"
    with requests.Session() as session:
        if proxies is not None:
            session.proxies.update(proxies)

        # get请求统一身份认证页,获取表单隐藏域的值
        resp_get_url_cas = session.get(url=url_cas, headers=headers)
        tree = etree.HTML(resp_get_url_cas.text)
        lt = tree.xpath("//input[@name='lt']/@value")[0]
        execution = tree.xpath("//input[@name='execution']/@value")[0]
        eventId = tree.xpath("//input[@name='_eventId']/@value")[0]

        # 请求验证码
        code_gif_bin = session.get(url=url_captcha, headers=headers).content
        code = ocr(code_gif_bin=code_gif_bin)

        public_key = session.post(url=url_public_key, headers=headers).json()['publicKey']
        ul, pl = encrypt(username=username, password=password, public_key=public_key)
        data = {
            "rsa": "",
            "ul": ul,
            "pl": pl,
            "code": code,
            "phoneCode": "",
            "lt": lt,
            "execution": execution,
            "_eventId": eventId,
        }

        return session.post(url=url_cas, headers=headers, data=data), session


 4576
4576


 被折叠的 条评论
为什么被折叠?
被折叠的 条评论
为什么被折叠?
 到【灌水乐园】发言


