


写在前面
参考:微信公众号定时提醒女友今日天气以及距离发薪日还有多久
以上答主已经写的非常详细了,不过关于接口配置信息那一块我还想说两句, 另外我也根据我编写 node 代码的习惯改了下一项目目录,最后的效果如下
如果你不想看了 源码奉上
顺便可以给我的博客刷一下pvuv[旺柴]https://blog.liufashi.top
前提
- 首先自己要有一个云服务器
- 如果你是像上面的同学一样给女朋友用的那么你还需要一个女朋友
准备工作
申请测试号
为什么是测试号呢? 申请地址 因为发送模板消息目前微信只对认证的服务号开放

安装 express
全局安装 npm i express-generator -g, 创建项目express -e office-account
进入项目目录安装依赖npm i
验证微信 token
在/routes文件夹新建 wechat.js,用于授权验
安装 jsshanpm i jssha -S
const express = require("express");
const router = express.Router();
const jsSHA = require("jssha");
/**
 * 授权验证
 */
router.get("/", function (req, res, next) {
  // 这里写你刚刚在上面随机生成的字符串
  const token = "";
  //1.获取微信服务器Get请求的参数 signature、timestamp、nonce、echostr
  let signature = req.query.signature, //微信加密签名
    timestamp = req.query.timestamp, //时间戳
    nonce = req.query.nonce, //随机数
    echostr = req.query.echostr; //随机字符串

  //2.将token、timestamp、nonce三个参数进行字典序排序
  let array = [token, timestamp, nonce];
  array.sort();

  //3.将三个参数字符串拼接成一个字符串进行sha1加密
  let tempStr = array.join("");
  let shaObj = new jsSHA("SHA-1", "TEXT");
  shaObj.update(tempStr);
  let scyptoString = shaObj.getHash("HEX");

  //4.开发者获得加密后的字符串可与signature对比,标识该请求来源于微信
  if (signature === scyptoString) {
    console.log("验证成功");
    res.send(echostr);
  } else {
    console.log("验证失败");
    res.send("验证失败");
  }
});

module.exports = router;
上面代码中的 token 需与此处一致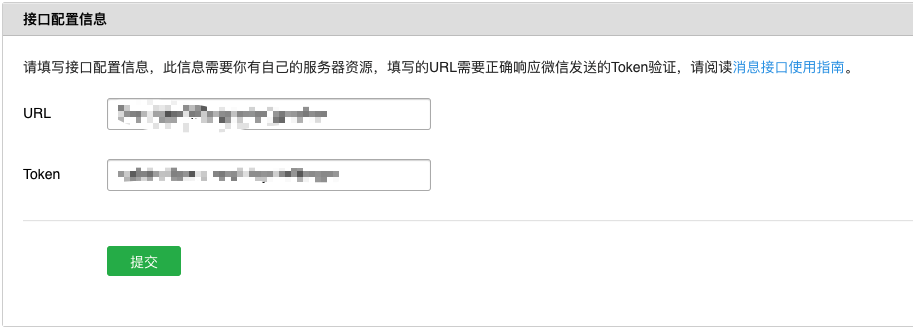 可以随机生成也可以自随便写个符合条件的
这些完成后需要将项目部署至服务器测试是否验证成功。如果你的服务器上安装了 git 那么直接将代码上传至 git,然后在服务器 clone 下来即可,进入目录使用 pm2 运行pm2 start bin/www --name wechat 添加别名更好区分。
接口配置的 url 可以设置为 http://[你的 ip]:[项目运行的端口 默认 3000]/wechat,这样就可以访问到你刚刚写的 routes/wechat.js,前提是你的服务器需要配置对应端口(3000)安全组规则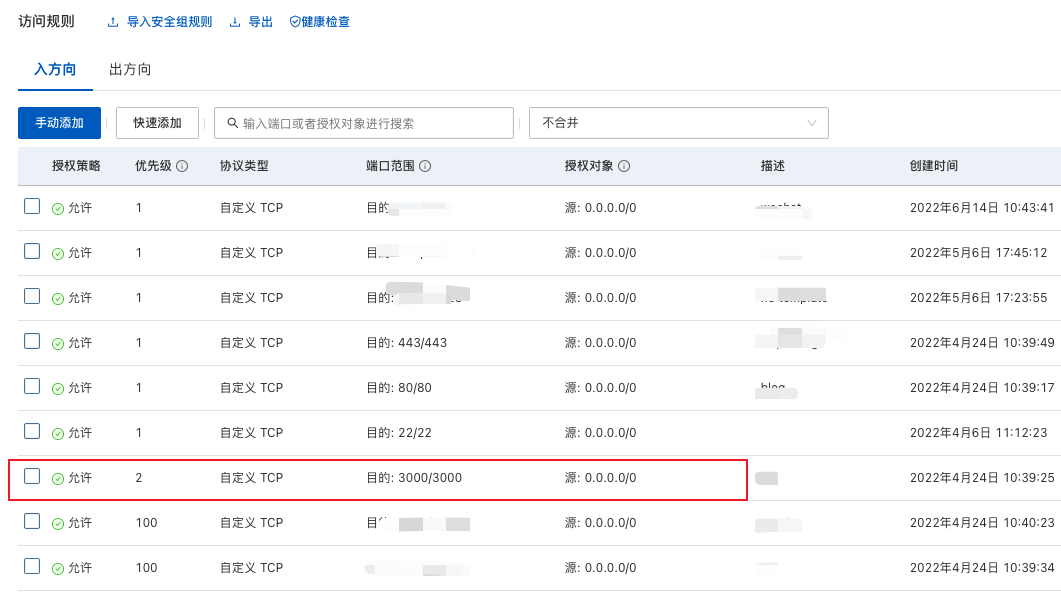
如果你不想通过 ip 访问可以购买一个域名,配置域名解析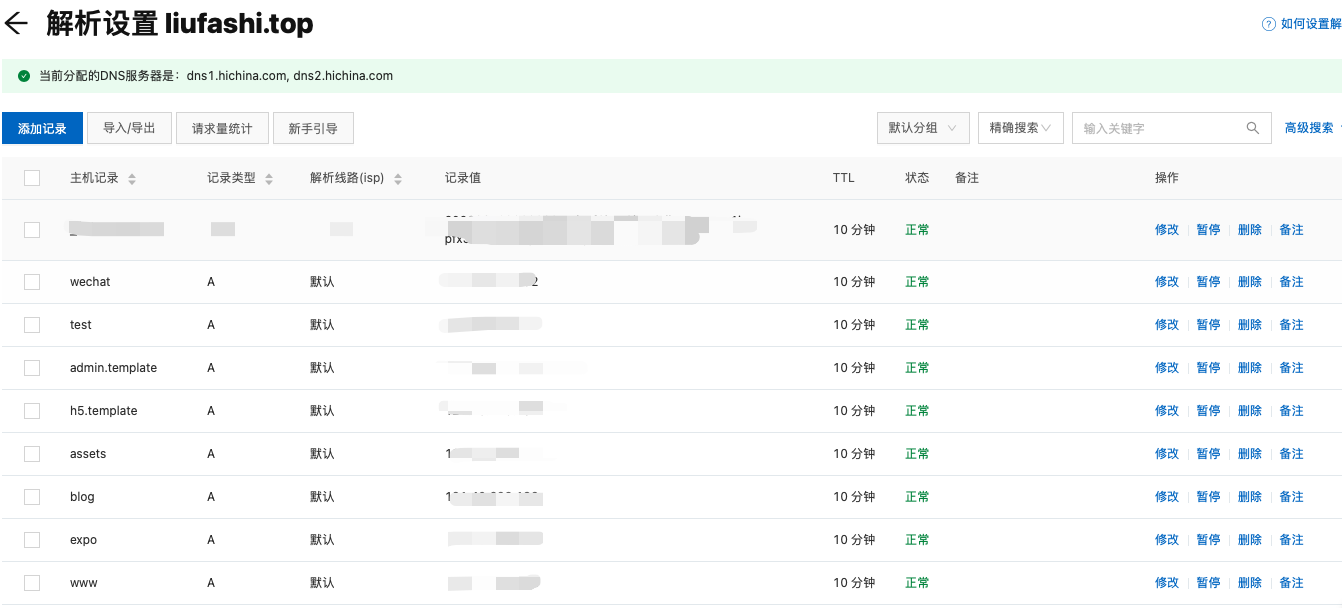
在 nginx 配置代理,将域名代理到对应端口 如下:
上面是 https 的配置,下面是 监听 80 端口重定向到 https
server {
    listen 443;
	ssl   on;
    #配置HTTPS的默认访问端口为443。
    #如果未在此处配置HTTPS的默认访问端口,可能会造成Nginx无法启动。
    #如果您使用Nginx 1.15.0及以上版本,请使用listen 443 ssl代替listen 443和ssl on。
    server_name wechat.liufashi.top; #需要将yourdomain替换成证书绑定的域名。

    ssl_certificate ssl/wechat/wechat.liufashi.top.pem;  #需要将cert-file-name.pem替换成已上传的证书文件的名称。
    ssl_certificate_key  ssl/wechat/wechat.liufashi.top.key; #需要将cert-file-name.key替换成已上传的证书私钥文件的名称。
    ssl_session_timeout 5m;
    ssl_ciphers ECDHE-RSA-AES128-GCM-SHA256:ECDHE:ECDH:AES:HIGH:!NULL:!aNULL:!MD5:!ADH:!RC4;
    #表示使用的加密套件的类型。
    ssl_protocols TLSv1.1 TLSv1.2 TLSv1.3; #表示使用的TLS协议的类型。
    ssl_prefer_server_ciphers on;
    location / {
        proxy_pass http://localhost:3000;
    }
}
server {
    listen 80;
    server_name wechat.liufashi.top; #需要将yourdomain替换成证书绑定的域名。
    rewrite ^(.*)$ https://$host$1;
}
如果暂时不使用 https,只需要简单的几行即可
server {
    listen 80;
    server_name wechat.liufashi.top;
    location / {
        proxy_pass http://localhost:3000;
    }
}
验证通过后将自己的域名添加为 JS 接口安全域名
开始动手
为了方便维护和后面添加新的,我将用到的获取 token 和发送消息两个方法拿了出来,新建 getToken.js 和 postMessage.js。然后将一些可能会变动的信息拿了出来,新建 info.js。下面用到的依赖没有装的话记得装一下,贴一份开发依赖
"dependencies": {
    "axios": "^0.27.2",
    "cookie-parser": "~1.4.4",
    "debug": "~2.6.9",
    "ejs": "~2.6.1",
    "express": "~4.16.1",
    "http-errors": "~1.6.3",
    "jssha": "^3.2.0",
    "moment": "^2.29.3",
    "morgan": "~1.9.1",
    "nodemon": "^2.0.16"
  }
getToken.js
const fs = require("fs");
const path = require("path");
const axios = require("axios");
const moment = require("moment");
const info = require("./info");
function getToken() {
  return new Promise((resolve, reject) => {
    const tokenFile = path.join(__dirname, "token.json");
    fs.readFile(tokenFile, "utf-8", function (err, data) {
      if (err) {
        reject(err);
      } else {
        if (data) {
          const token = JSON.parse(data);
          if (token.expires_in > moment().unix()) {
            resolve(token.access_token);
            return;
          }
        }
        axios
          .get(
            `https://api.weixin.qq.com/cgi-bin/token?grant_type=client_credential&appid=${info.appId}&secret=${info.appSecret}`
          )
          .then((res) => {
            resolve(res.data.access_token);
            const t = res.data;
            t.expires_in = t.expires_in + moment().unix() - 1200;
            fs.writeFile(
              tokenFile,
              JSON.stringify(t, "", "\t"),
              function (err) {
                if (err) {
                  reject(err);
                }
              }
            );
          })
          .catch((err) => reject(err));
      }
    });
  });
}
module.exports = getToken;
postMessage.js
const axios = require("axios");

function postMessage(token, templateId, openId, data) {
  axios
    .post(
      "https://api.weixin.qq.com/cgi-bin/message/template/send?access_token=" +
        token,
      {
        touser: openId,
        template_id: templateId, // 模板信息id
        topcolor: "#FF0000",
        data: data,
      }
    )
    .then((res) => {
      console.log(res.data);
    })
    .catch((err) => {
      console.log(err);
    });
}

module.exports = postMessage;
info.js
module.exports = {
  appId: "", //appID
  appSecret: "", //appsecret
  gouldKey: "", //搞得天气的key
  //使用encodeURL,不然在node中中文编码可能会出问题
  address: encodeURI(""), //需要获取天气的地址,使用地址获取abccode,防止abccode改动
  city: encodeURI(""), //需要获取天气的城市 可不要
  openId: "", //加密后的微信号,关注公众号之后可以看到
  myOpenId: "", //自己的,用看看有没有发送成功
};
新建一个 posts 文件夹,里面新建提醒,比如我新建了一个下班提醒 afterWork.js
然后再公众号中新建模板,如:
下班时间到啦! 不要忘记打卡哦! 明天天气是{{Weather.DATA}} 气温{{Temperature.DATA}} {{Reminder.DATA}}
Weather.DATA 会匹配到Weather: { value: tomorrowWeather.dayweather, color: "#ff9900", }中的内容,并且会添加文字颜色
生成模板后会有个 templateId

const info = require("../info");
const getToken = require("../getToken");
const postMessage = require("../postMessage");
const axios = require("axios");
const moment = require("moment");
// 模板id
const templateId = "";

const postAfterWork = async () => {
  const city = await axios
    .get(
      `https://restapi.amap.com/v3/geocode/geo?key=${info.gouldKey}&address=${info.address}&city=${info.city}`
    )
    .catch((err) => console.log(err));
  const { data: weatherInfo } = await axios
    .get(
      `https://restapi.amap.com/v3/weather/weatherInfo?key=${info.gouldKey}&city=${city.data.geocodes[0].adcode}&extensions=all&output=JSON`
    )
    .catch((err) => console.log(err));
  if (weatherInfo.status === "1") {
    const todayWeather = weatherInfo.forecasts[0].casts[0];
    const tomorrowWeather = weatherInfo.forecasts[0].casts[1];

    const getReminder = () => {
      const day = 5 - moment().weekday();
      switch (day) {
        case 0:
          return "恭喜你又熬到了周末,要好好休息享受周末啦";
        case 1:
          return "今天星期四,明天星期五,周末就要来啦";
        case 2:
          return "还有两天就周末了,开心起来!!!";
        case 3:
          return "叮~ 第二天工作结束,继续加油鸭!";
        case 4:
          return "本周第一天工作结束啦! 是不是很难熬~ 还有四天哦 O(∩_∩)O哈哈~";
      }
    };
    const data = {
      Weather: {
        value: tomorrowWeather.dayweather,
        color: "#ff9900",
      },
      Temperature: {
        value: `${tomorrowWeather.daytemp}℃ ~ ${tomorrowWeather.nighttemp}℃`,
        color: "#2d8cf0",
      },
      Reminder: {
        value: getReminder(),
        color: "#ffc0cb",
      },
    };
    getToken()
      .then((token) => {
        // 接受信息的人的openid
        postMessage(token, templateId, info.myOpenId, data);
        postMessage(token, templateId, info.openId, data);
      })
      .catch((err) => {
        console.log(err);
      });
  }
};
module.exports = postAfterWork;
最后将 postAfterWork 引入到 app.js,添加执行条件可以使用定时任务的插件来执行。但是我这里就简单的一分钟执行一次了。在 app.js 中加入
const postAfterWork = require("./posts/afterWork");
// 轮询时间,发送对应的post
const cycle = setInterval(async function () {
  const h = moment().hour();
  const m = moment().minute();
  const week = moment().weekday();
  // 不同时间执行不行的post
  try {
    //周一到周五 下午五点五十九
    if (h === 5 && m === 59 && week && week < 6) {
      postAfterWork();
    }
  } catch (error) {
    console.log(error);
    clearInterval(cycle);
  }
}, 1000 * 60);
到此就全部完成了。如果需要添加新的提醒只需要: 在 posts 文件夹中新增逻辑–>在公众号中添加模板–>在 app.js 中引入添加执行条件,然后还是不太了解的可以到这里看看源码的使用方法


 被折叠的 条评论
为什么被折叠?
被折叠的 条评论
为什么被折叠?
 到【灌水乐园】发言


