


 本文档详细介绍了如何在新建的Java项目中集成JavaFX,并通过Maven进行配置。首先,通过AddFrameworkSupport添加Maven支持,然后在pom.xml中引入相关依赖。在遇到运行时找不到sample.fxml文件的问题后,将该文件放入resources目录,并修正加载路径,最终成功运行JavaFX应用,展示HelloWorld窗口。
-
安装jdk1.8
-
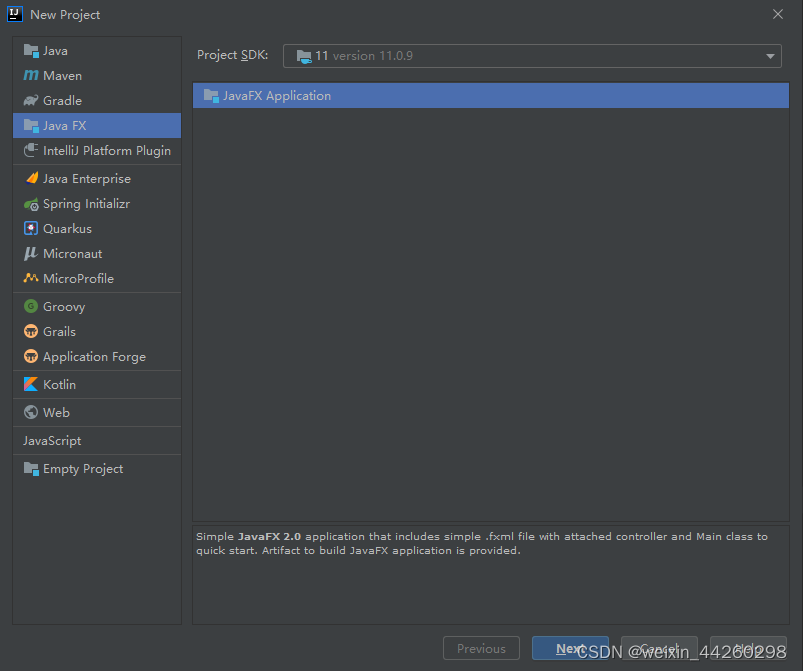
新建新项目,选择Java FX,然后点击Next按钮
-
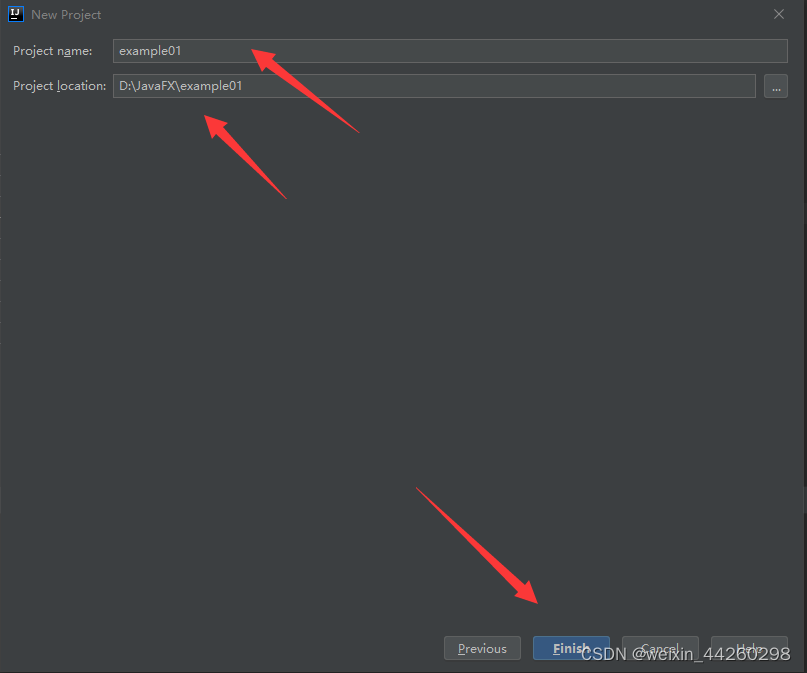
填写项目名和项目路径,点击下一步
-
此时目录如下:
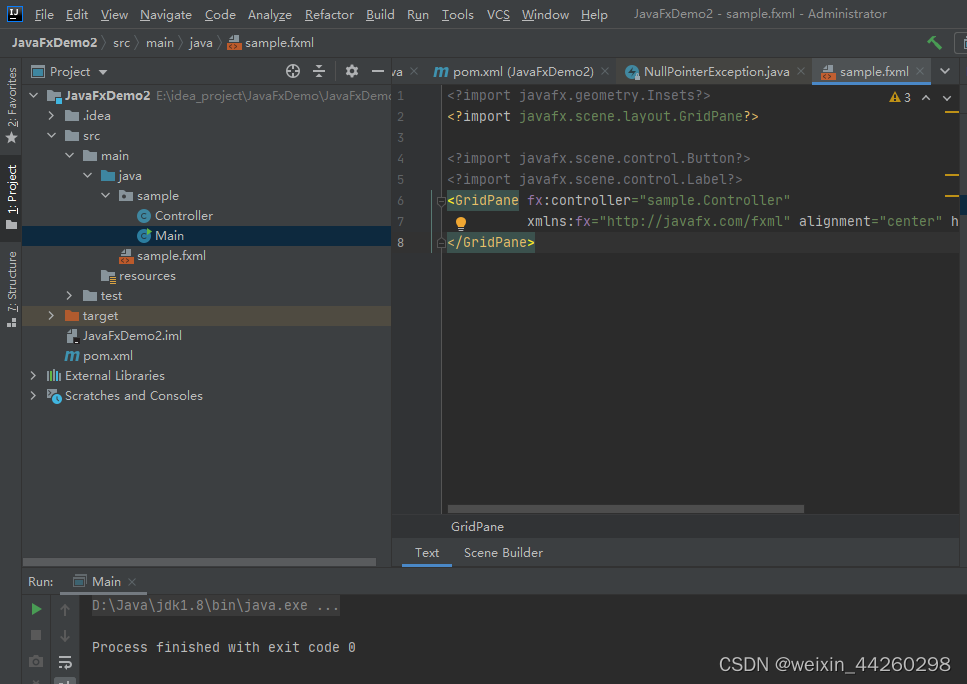
由于没有导入JavaFX相关库,此时运行会报错。 -
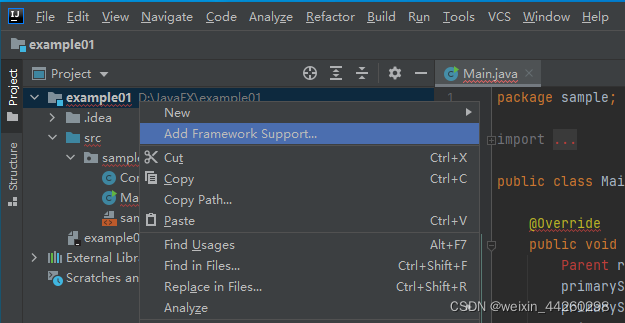
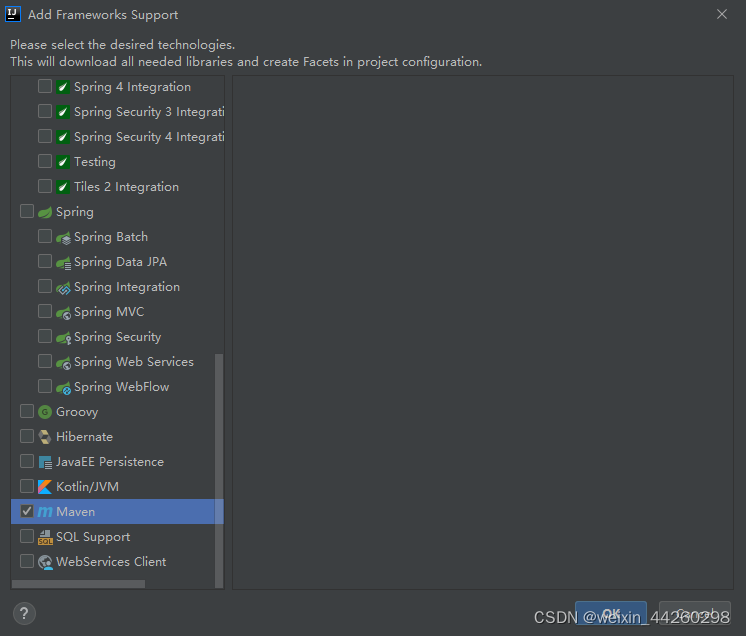
右键项目名,选择 Add Framework Support,我们找到 maven 选项,点击OK
-
此时仍不能运行哦,还需引入相关依赖
<?xml version="1.0" encoding="UTF-8"?>
<project xmlns="http://maven.apache.org/POM/4.0.0"
         xmlns:xsi="http://www.w3.org/2001/XMLSchema-instance"
         xsi:schemaLocation="http://maven.apache.org/POM/4.0.0 http://maven.apache.org/xsd/maven-4.0.0.xsd">
    <modelVersion>4.0.0</modelVersion>

    <groupId>groupId</groupId>
    <artifactId>JavaFxDemo2</artifactId>
    <version>1.0-SNAPSHOT</version>
    <properties>
        <project.build.sourceEncoding>UTF-8</project.build.sourceEncoding>
        <maven.compiler.source>1.8</maven.compiler.source>
        <maven.compiler.target>1.8</maven.compiler.target>
    </properties>
    <build>
        <plugins>
            <plugin>
                <groupId>org.apache.maven.plugins</groupId>
                <artifactId>maven-compiler-plugin</artifactId>
                <version>3.8.0</version>
                <configuration>
                    <excludes>
                        <exclude>module-info.java</exclude>
                    </excludes>
                </configuration>
            </plugin>
            <plugin>
                <groupId>org.openjfx</groupId>
                <artifactId>javafx-maven-plugin</artifactId>
                <version>0.0.4</version>
                <configuration>
                    <mainClass>org.example.App</mainClass>
                </configuration>
            </plugin>
        </plugins>
    </build>
    <profiles>
        <profile>
            <id>openjfx</id>
            <activation>
                <jdk>[11,)</jdk>
            </activation>
            <dependencies>
                <dependency>
                    <groupId>org.openjfx</groupId>
                    <artifactId>javafx-controls</artifactId>
                    <version>11</version>
                </dependency>
                <dependency>
                    <groupId>org.openjfx</groupId>
                    <artifactId>javafx-fxml</artifactId>
                    <version>11</version>
                </dependency>
            </dependencies>
        </profile>
    </profiles>

</project>
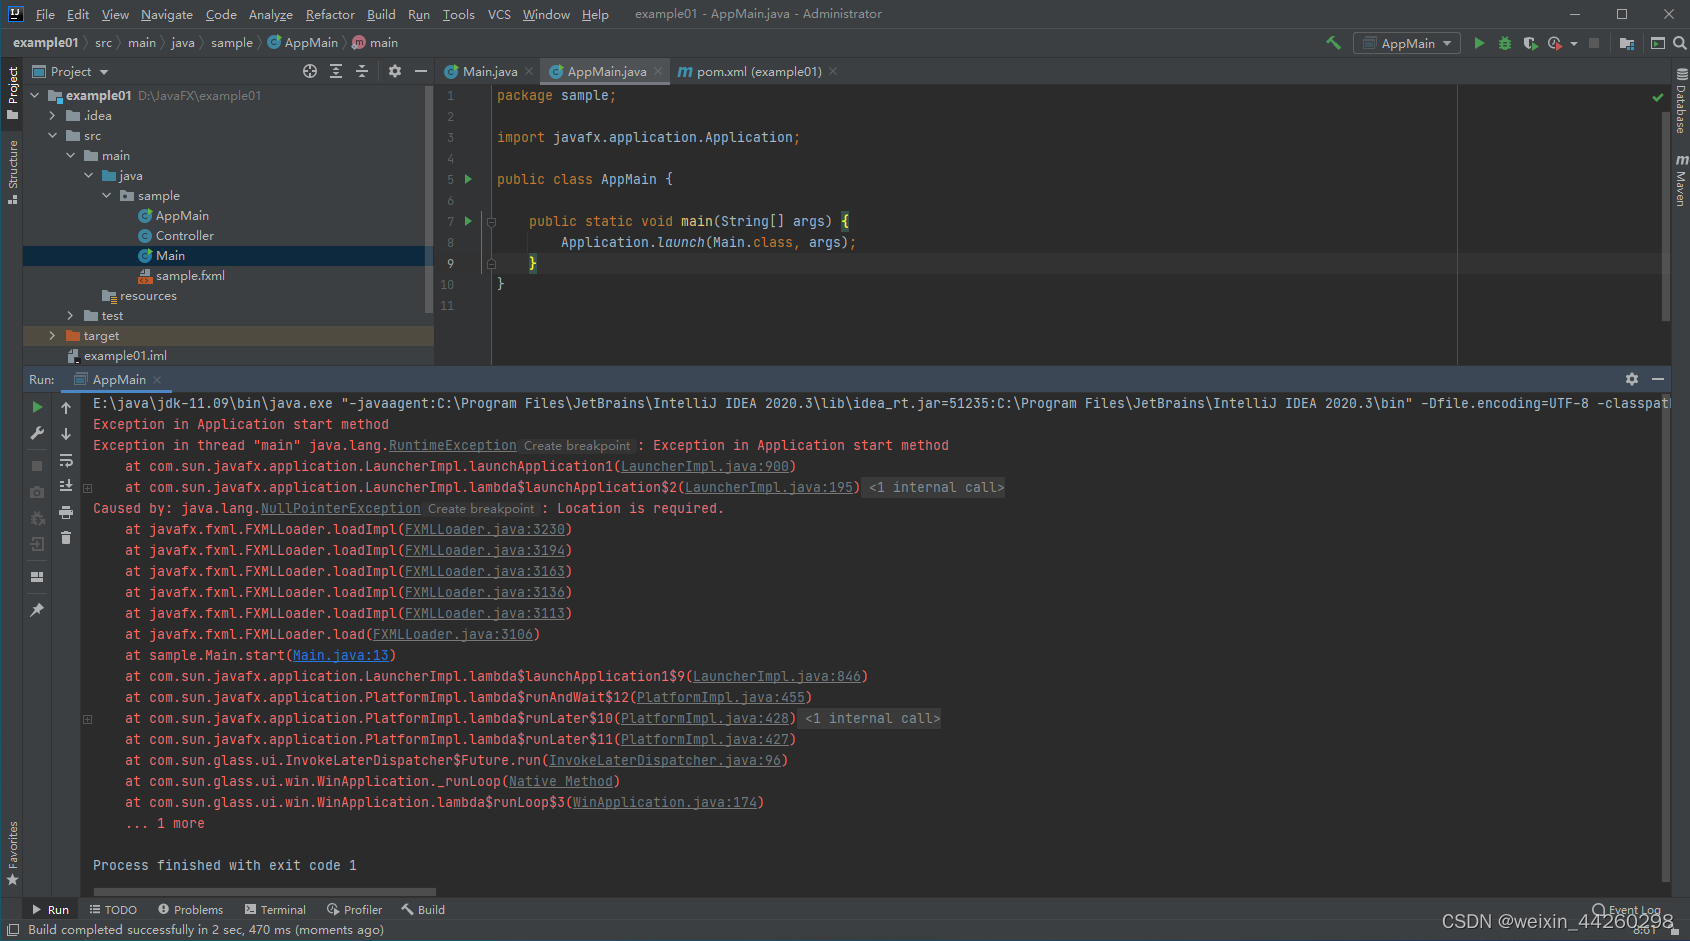
- 运行AppMain类的main方法,此时会提示以下图片错误。发生错误的原因是在启动时 maven 没有将 sample.fxml 文件打包,导致在 Main 类中想要加载此文件时报错。
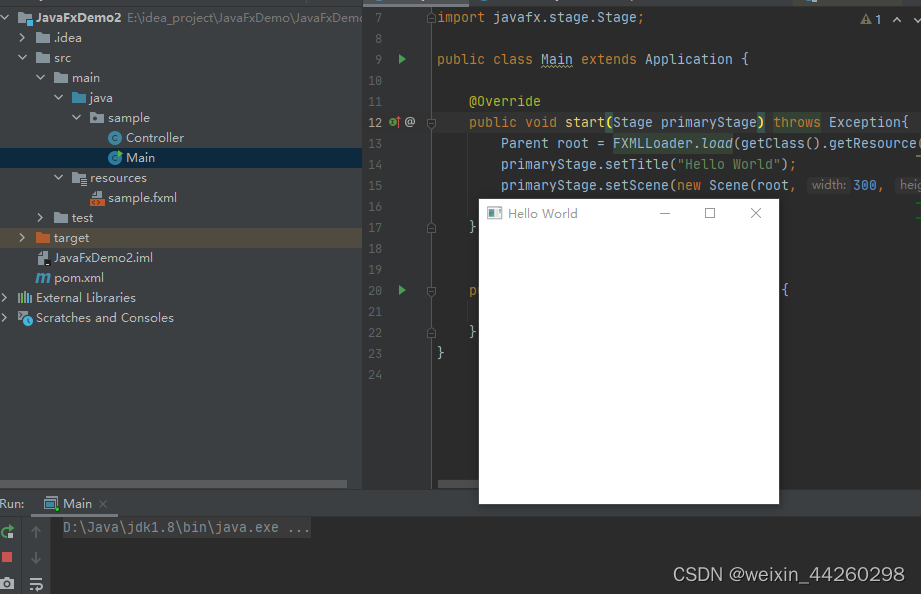
将 sample.fxml 文件放入我们的 resources 文件夹中,同时修改Main 类中的 Start 方法,将文件加载路径定义为由"sample.fxml"修改为"/sample.fxml":
package sample;

import javafx.application.Application;
import javafx.fxml.FXMLLoader;
import javafx.scene.Parent;
import javafx.scene.Scene;
import javafx.stage.Stage;

public class Main extends Application {

    @Override
    public void start(Stage primaryStage) throws Exception{
        Parent root = FXMLLoader.load(getClass().getResource("/sample.fxml"));
        primaryStage.setTitle("Hello World");
        primaryStage.setScene(new Scene(root, 300, 275));
        primaryStage.show();
    }


    public static void main(String[] args) {
        launch(args);
    }
}
- 运行AppMain类的main方法,不出意外的就可以看到Hello World窗口


 被折叠的 条评论
为什么被折叠?
被折叠的 条评论
为什么被折叠?
 到【灌水乐园】发言


