


环境
server1:172.25.75.1 Nginx服务器
客户端: 172.25.75.250
一、添加动态模块
这三个模块都需要重新编译nginx,我们直接将三个模块所需要的依赖包,及重新编译所加的模块一同编译,避免多次编译
[root@server1 ~]# yum install openssl-devel gd-devel-2.0.35-26.el7.x86_64.rpm -y
openssl-devel为ssl加密所需的依赖包,而gd为图片压缩所需的依赖包
重新编译:
[root@server1 ~]# cd nginx-1.15.8
[root@server1 nginx-1.15.8]# ./configure --prefix=/usr/local/nginx  --with-http_realip_module --with-http_image_filter_module=dynamic --with-http_ssl_module
安装:
[root@server1 nginx-1.15.8]# make && make install
查看模块是否已经加载成功:
[root@server1 objs]# vim /root/nginx-1.15.8/objs/ngx_modules.c


1、Nginx开启gzip压缩
1)、更改Nginx配置文件
vim /usr/local/nginx/conf/nginx.conf

 33     gzip  on;					#打开gzip压缩
 34     gzip_min_length 1;   		#不压缩临界值,大于1K的才压缩
 35     gzip_comp_level 2;			#压缩级别,1-10,数字越大压缩的越好,时间也越长
 36     gzip_types text/plain application/x-javascript text/css application/xml         text/javascript application/x-httpd/php image/jpeg image/gif image/png;			#进行压缩的文件类型
2)、我们制作一个测试的文件
[root@server1 sbin]# cp /etc/passwd ../html/
[root@server1 sbin]# cd ../html/
[root@server1 html]# ls
50x.html  index.html  passwd
[root@server1 html]# rm -rf index.html
[root@server1 html]# mv passwd index.html
[root@server1 html]# vim index.html
[root@server1 html]# du -sh index.html
28K	index.html
[root@server1 html]# vim index.html
[root@server1 html]# vim index.html
[root@server1 html]# du -sh index.html
420K	index.html
现在我们Nginx的默认发布文件已经有420k了,大于压缩的临界值!!!
3)、启动Nginx或者重新加载nginx配置文件(已经启动的情况下)
[root@server1 sbin]# ./nginx -t
nginx: the configuration file /usr/local/nginx/conf/nginx.conf syntax is ok
nginx: configuration file /usr/local/nginx/conf/nginx.conf test is successful
[root@server1 sbin]# ./nginx
[root@server1 sbin]# netstat -tnlp
Active Internet connections (only servers)
Proto Recv-Q Send-Q Local Address           Foreign Address         State       PID/Program name
tcp        0      0 0.0.0.0:80              0.0.0.0:*               LISTEN      2151/nginx: master
tcp        0      0 0.0.0.0:22              0.0.0.0:*               LISTEN      981/sshd
tcp        0      0 127.0.0.1:25            0.0.0.0:*               LISTEN      1949/master
tcp6       0      0 :::3306                 :::*                    LISTEN      1236/mysqld
tcp6       0      0 :::22                   :::*                    LISTEN      981/sshd
tcp6       0      0 ::1:25                  :::*                    LISTEN      1949/master
4)、测试
我们在客户端浏览器访问:
172.25.75.1
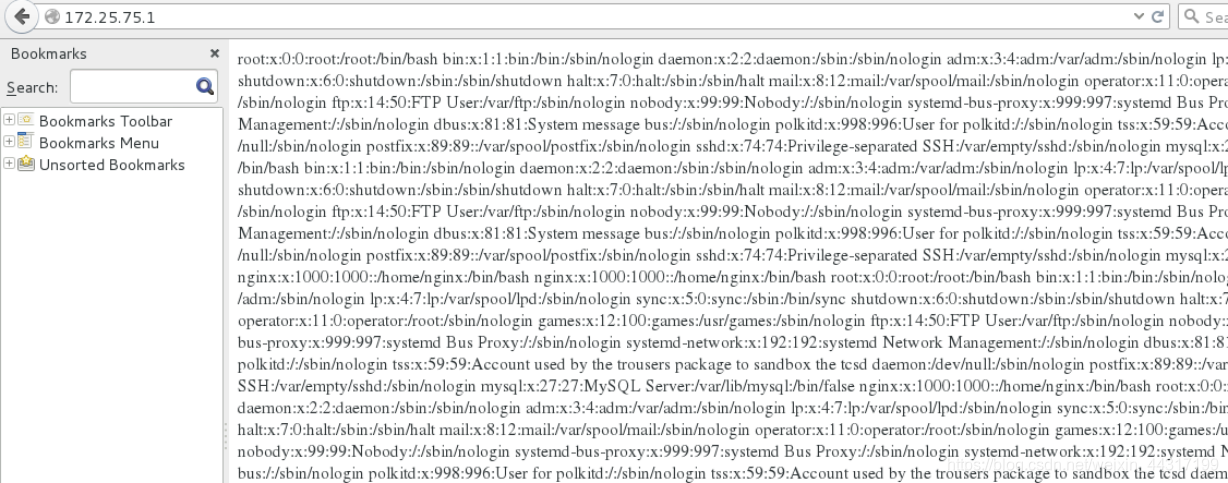
F12 -->Network -->reload
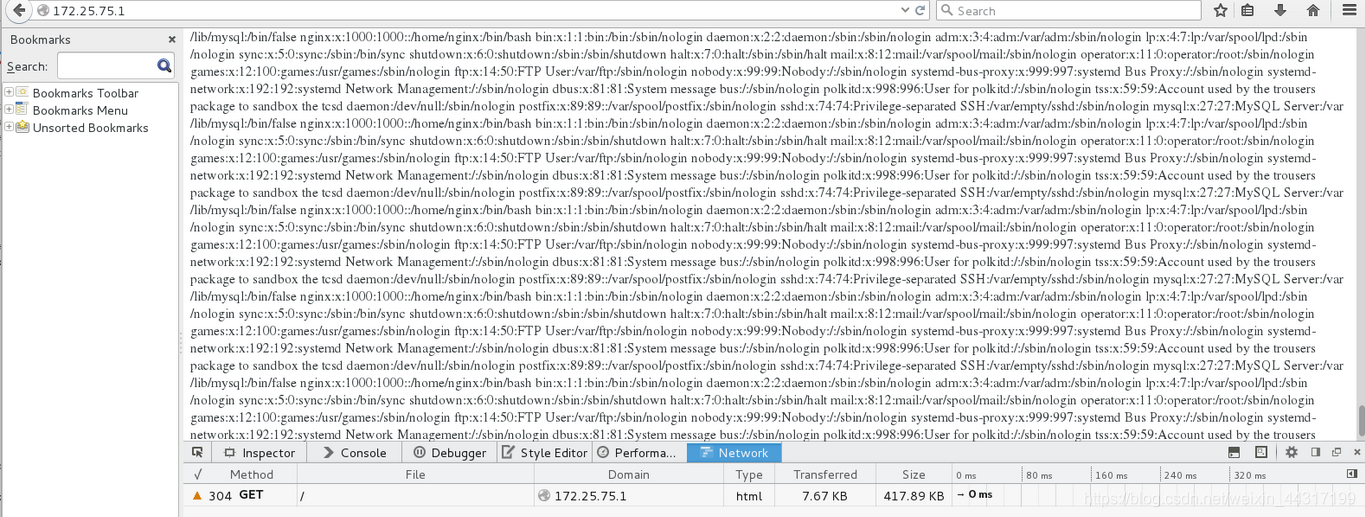
可以看到文件总大小417.89k,而调动7.67kb。
3、图片压缩
1)、编译时加入图片过滤模块的路径以及下载相关的依赖包
这一步我们已经在刚开始编译的时候加入参数,已经下载了gd-devel-2.0.35-26.el7.x86_64.rpm
2)、修改配置文件,创建search目录
vim /usr/local/nginx/conf/nginx.conf

  1 load_module modules/ngx_http_image_filter_module.so;
 38     limit_req_zone $binary_remote_addr zone=one:10m rate=1r/s;  #区域名称为one(自定义),占用空间大小为10m,平均处理的请求频率不能超过每秒一次
 53         location /search/ {
 54             limit_req zone=one burst=5;
 55             image_filter resize 100 150;		#根据给定的长宽生成缩略图
 56         }


[root@server1 sbin]# cd ../html/search/
[root@server1 search]# ls
girl.jpg
[root@server1 search]# du -sh girl.jpg 			#原图大小为204k
204K	girl.jpg
3)、启动Nginx或者重新加载nginx配置文件(已经启动的情况下)
[root@server1 sbin]# ./nginx -t
nginx: the configuration file /usr/local/nginx/conf/nginx.conf syntax is ok
nginx: configuration file /usr/local/nginx/conf/nginx.conf test is successful
[root@server1 sbin]# ./nginx -s reload
4)、测试
浏览器输入172.25.26.1/download/girl.jpg(F12操作下进入Network标签下F5刷新会发现图片大小显示2.21kb)
4、访问限速
1)、编辑配置文件
[root@server1 sbin]# pwd
/usr/local/nginx/sbin
[root@server1 sbin]# vim ../conf/nginx.conf
 38     limit_req_zone $binary_remote_addr zone=one:10m rate=1r/s;		 #区域名称为one(自定义),占用空间大小为10m,平均处理的请求频率不能超过每秒一次。
 53         location /search/ {
 54             limit_req zone=one burst=5;
 55         }
2)、重新加载nginx配置文件
[roo 最低0.47元/天 解锁文章


 6051
6051


 被折叠的 条评论
为什么被折叠?
被折叠的 条评论
为什么被折叠?
 到【灌水乐园】发言


