


buf cli grpc proto 文件管理
一、前置条件
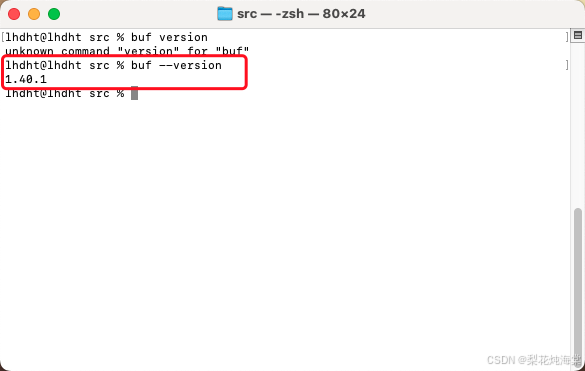
- 已安装buf cli 安装地址及文档
- 已注册buf cli账户 如未注册请先注册账号
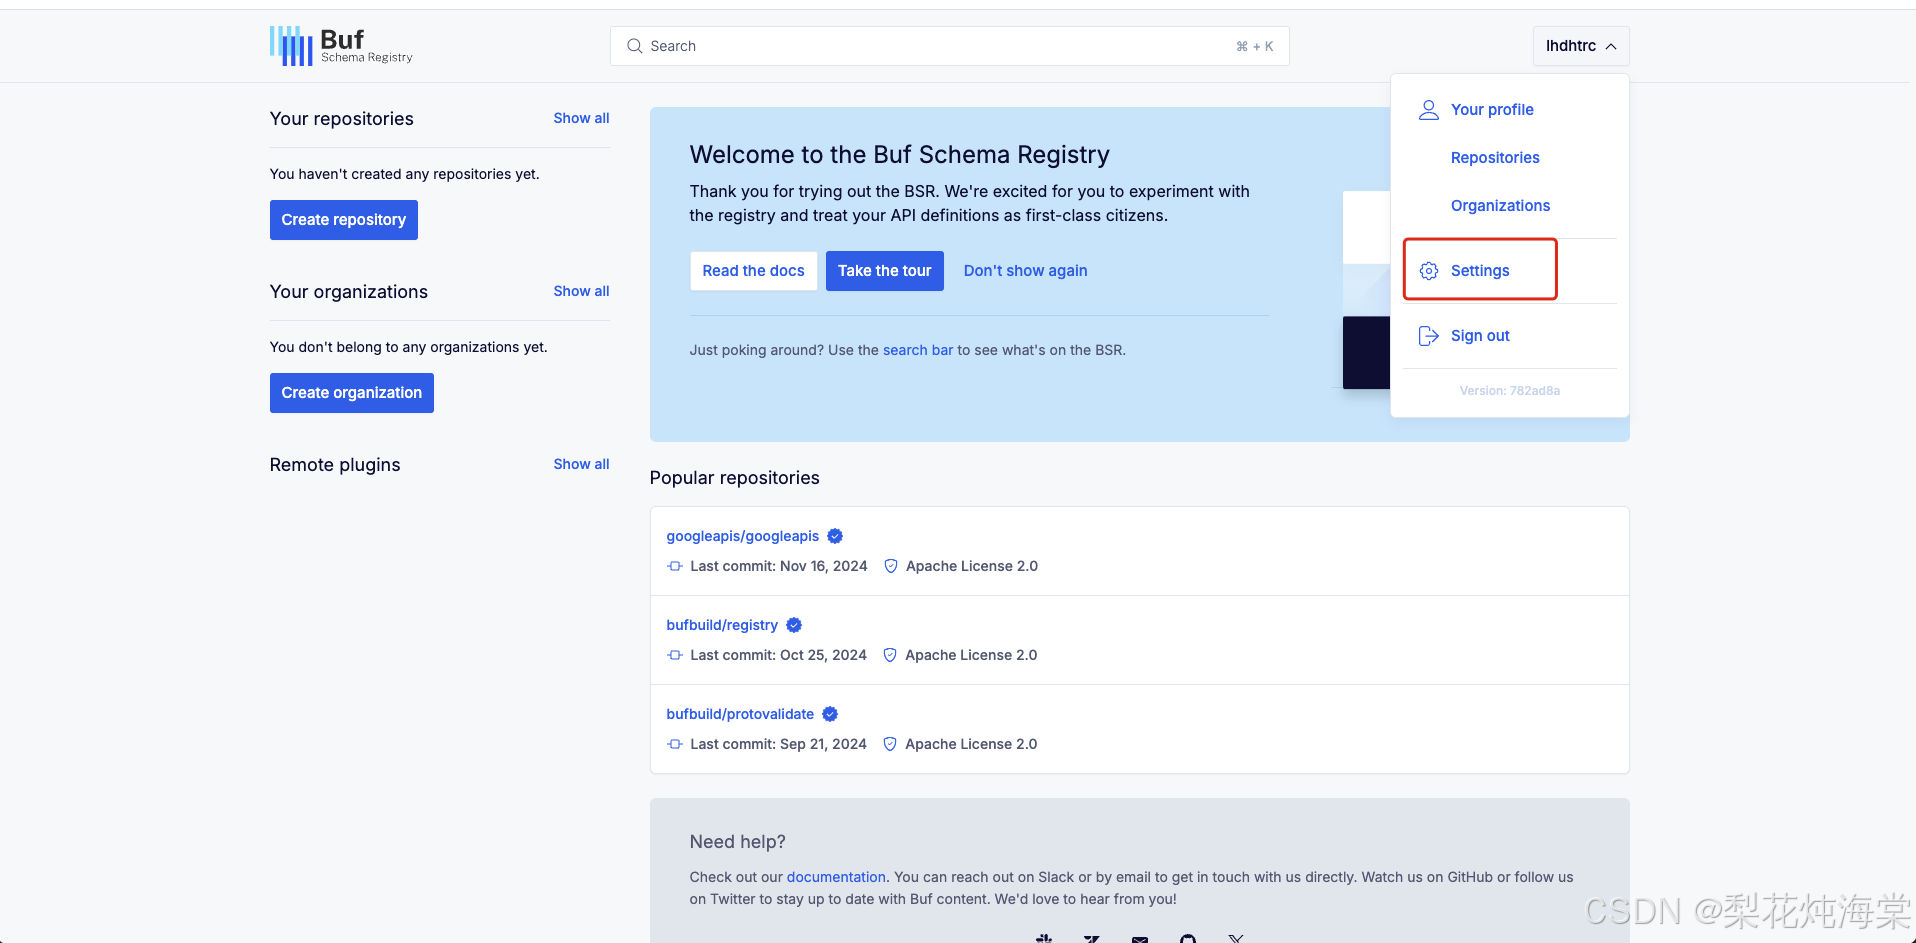
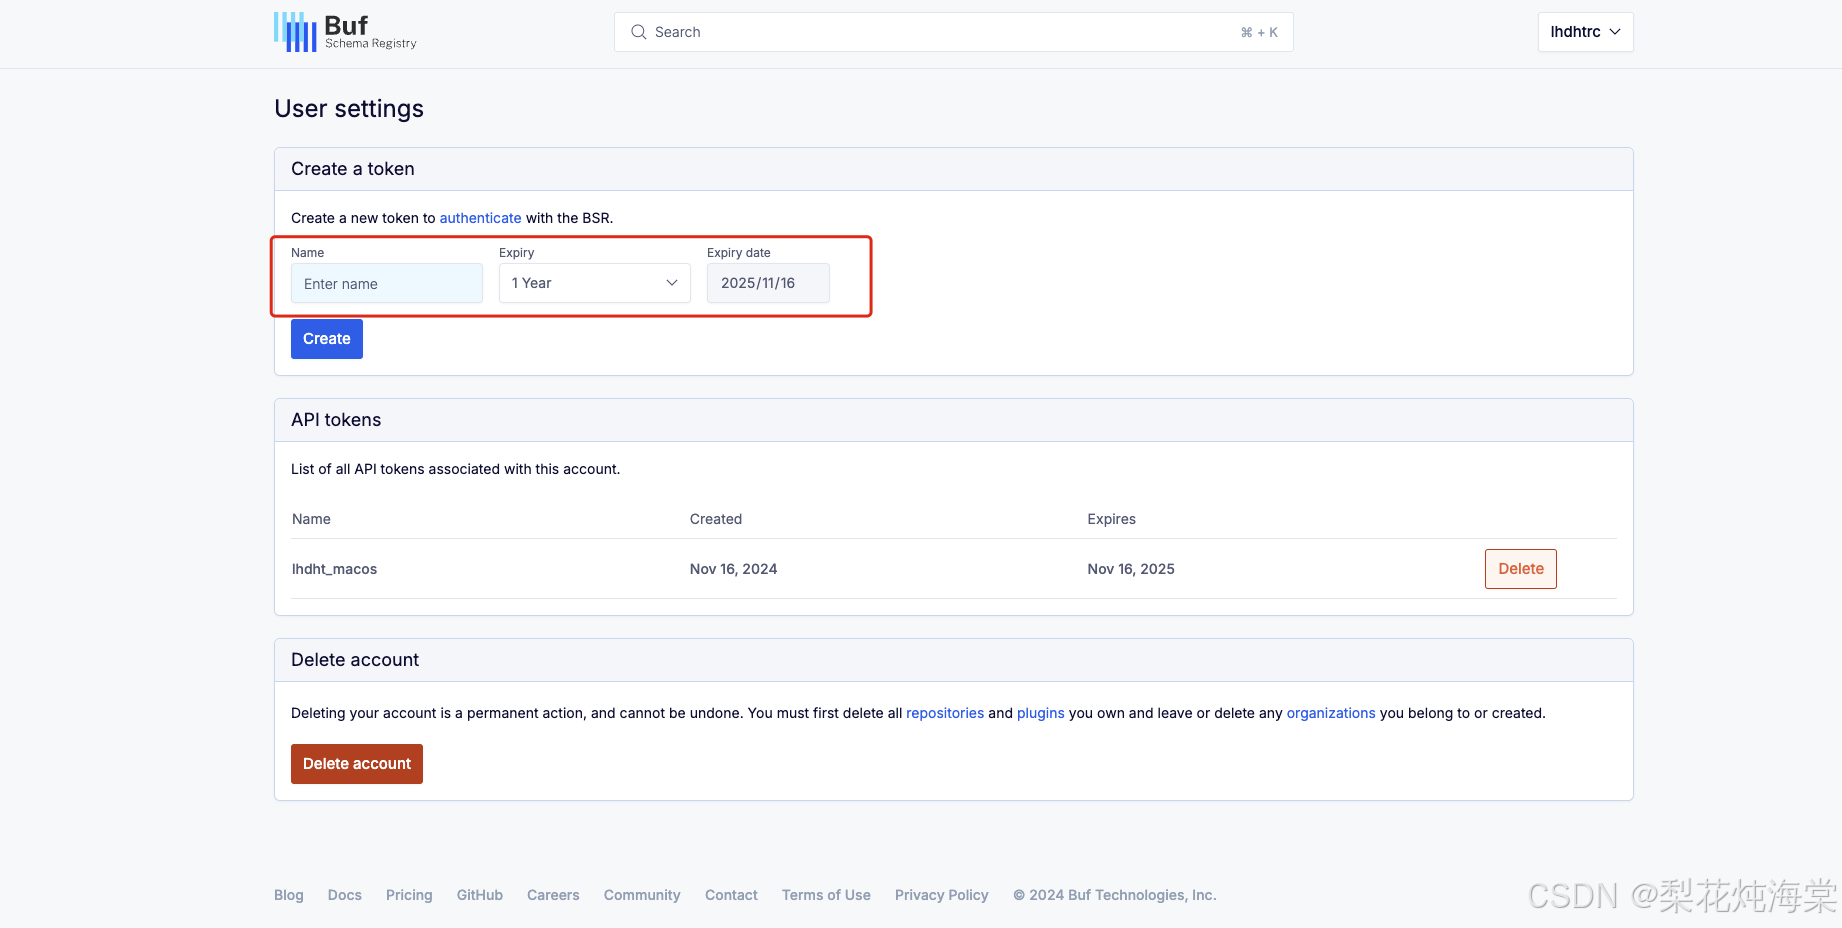
二、创建不同环境下的Token
按需创建,也可以使用同一个Token,笔者这里是不同时期创建的密钥(因为从来都不存.jpg),以下是我创建的密钥示例
- 创建
lhdht_macosToken(开发) - 创建
lhdht_winToken(开发) - 创建
lhdht_test_ubuntuToken(测试) - 创建
lhdht_prod_centosToken(生产)
流程.jpg
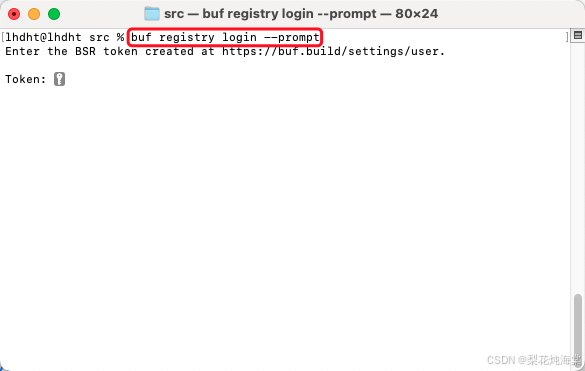
创建完以后在本地的需要在命令行使用Token进行登陆;
# 执行下面命令将创建好的token复制进去即可
buf registry login --prompt
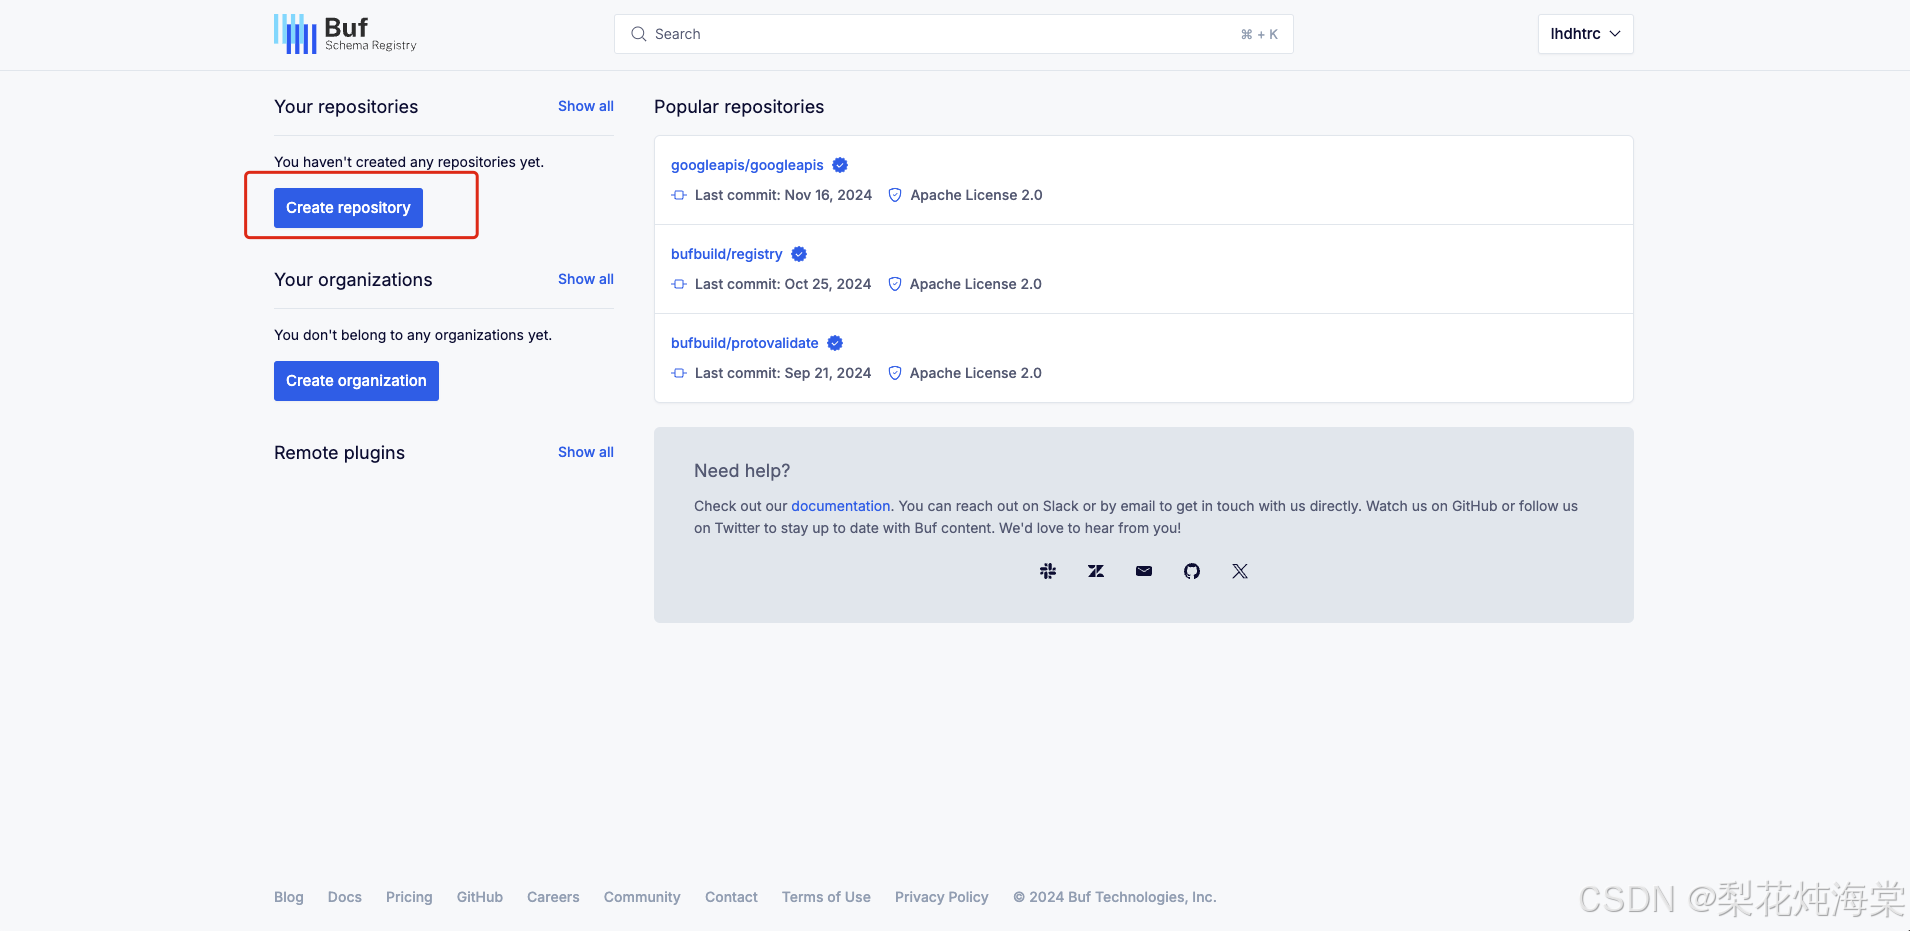
三、创建BSR
buf cli 私有仓库最多可拥有 100 种类型, 不太在意私密性的话还是用公共仓库,在意的话就考虑用gitee/github去管理了
同时在本地创建一个git仓库
mkdir kratos
cd kratos
git init
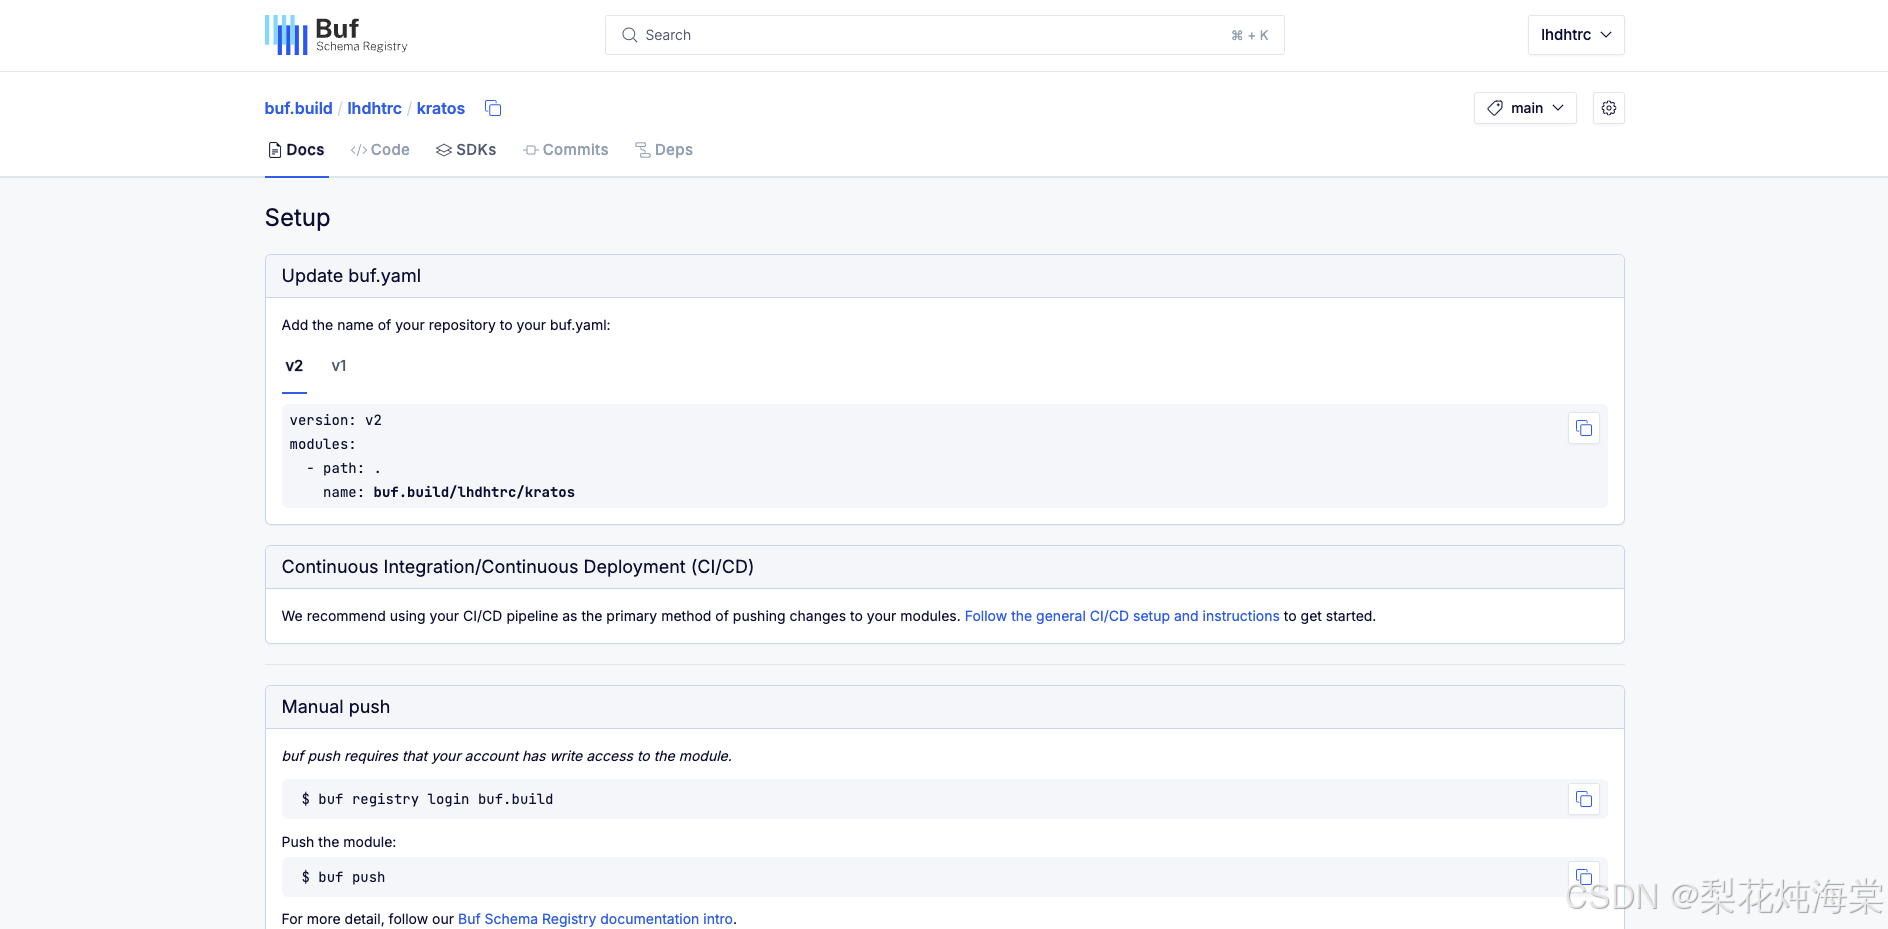
创建buf.yaml
version: v2
name: buf.build/lhdhtrc/kratos # 刚才创建的BSR
lint:
  use:
    - STANDARD
  except:
    - FIELD_NOT_REQUIRED
    - PACKAGE_NO_IMPORT_CYCLE
  disallow_comment_ignores: true
deps: # 依赖的proto库
  - buf.build/googleapis/googleapis
  - buf.build/bufbuild/protovalidate
breaking:
  use:
    - FILE
  except:
    - EXTENSION_NO_DELETE
    - FIELD_SAME_DEFAULT
四、创建示例
这里笔者将引用上面的两个buf依赖库,如不需要则按需修改
kratos/acme/demo/v1/demo.proto 创建一个示例文件
syntax = "proto3";

package acme.demo.v1;

import "buf/validate/validate.proto";
import "google/api/annotations.proto";

service DemoService {
  rpc Create(CreateRequest) returns (CreateResponse) {
    option (google.api.http) = {
      post: "/v1/demo",
      body: "*",
    };
  };
  rpc Get(GetRequest) returns (GetResponse) {
    option (google.api.http) = {
      get: "/v1/demo/{id}",
    };
  };
  rpc GetList(GetListRequest) returns (GetListResponse) {
    option (google.api.http) = {
      get: "/v1/demo/list",
    };
  };
  rpc Update(UpdateRequest) returns (UpdateResponse) {
    option (google.api.http) = {
      put: "/v1/demo",
      body: "*",
    };
  };
  rpc Delete(DeleteRequest) returns (DeleteResponse) {
    option (google.api.http) = {
      delete: "/v1/demo/{id}",
    };
  };
}

message Author {
  string id = 1;
  string name = 2;
}

message Demo {
  string id = 1;
  string created_at = 2;
  string updated_at = 3;

  string title = 4;
  string description = 5;
  uint32 status = 6;
  uint32 sort = 7;

  Author author = 8;
}

message CreateRequest {
  string title = 1 [(buf.validate.field).required = true];
  string description = 2;
  uint32 status = 3;
  uint32 sort = 4;
}
message CreateResponse {
  uint32 code = 1;
  string message = 2;
}

message GetRequest {
  string id = 1 [(buf.validate.field).string.uuid = true];
}
message GetResponse {
  uint32 code = 1;
  string message = 2;
  Demo data = 3;
}

message GetList {
  int64 total = 1;
  repeated Demo list = 2;
}
message GetListRequest {
  uint64 page = 1;
  uint64 page_size = 2;
  string search_key = 3;
}
message GetListResponse {
  string message = 1;
  uint32 code = 2;
  GetList data = 3;
}

message UpdateRequest {
  string id = 1 [(buf.validate.field).string.uuid = true];
  string title = 2 [(buf.validate.field).required = true];
  string description = 3;
  uint32 status = 4;
  uint32 sort = 5;
}
message UpdateResponse {
  string message = 1;
  uint32 code = 2;
}

message DeleteRequest {
  string id = 1 [(buf.validate.field).string.uuid = true];
}
message DeleteResponse {
  string message = 1;
  uint32 code = 2;
}
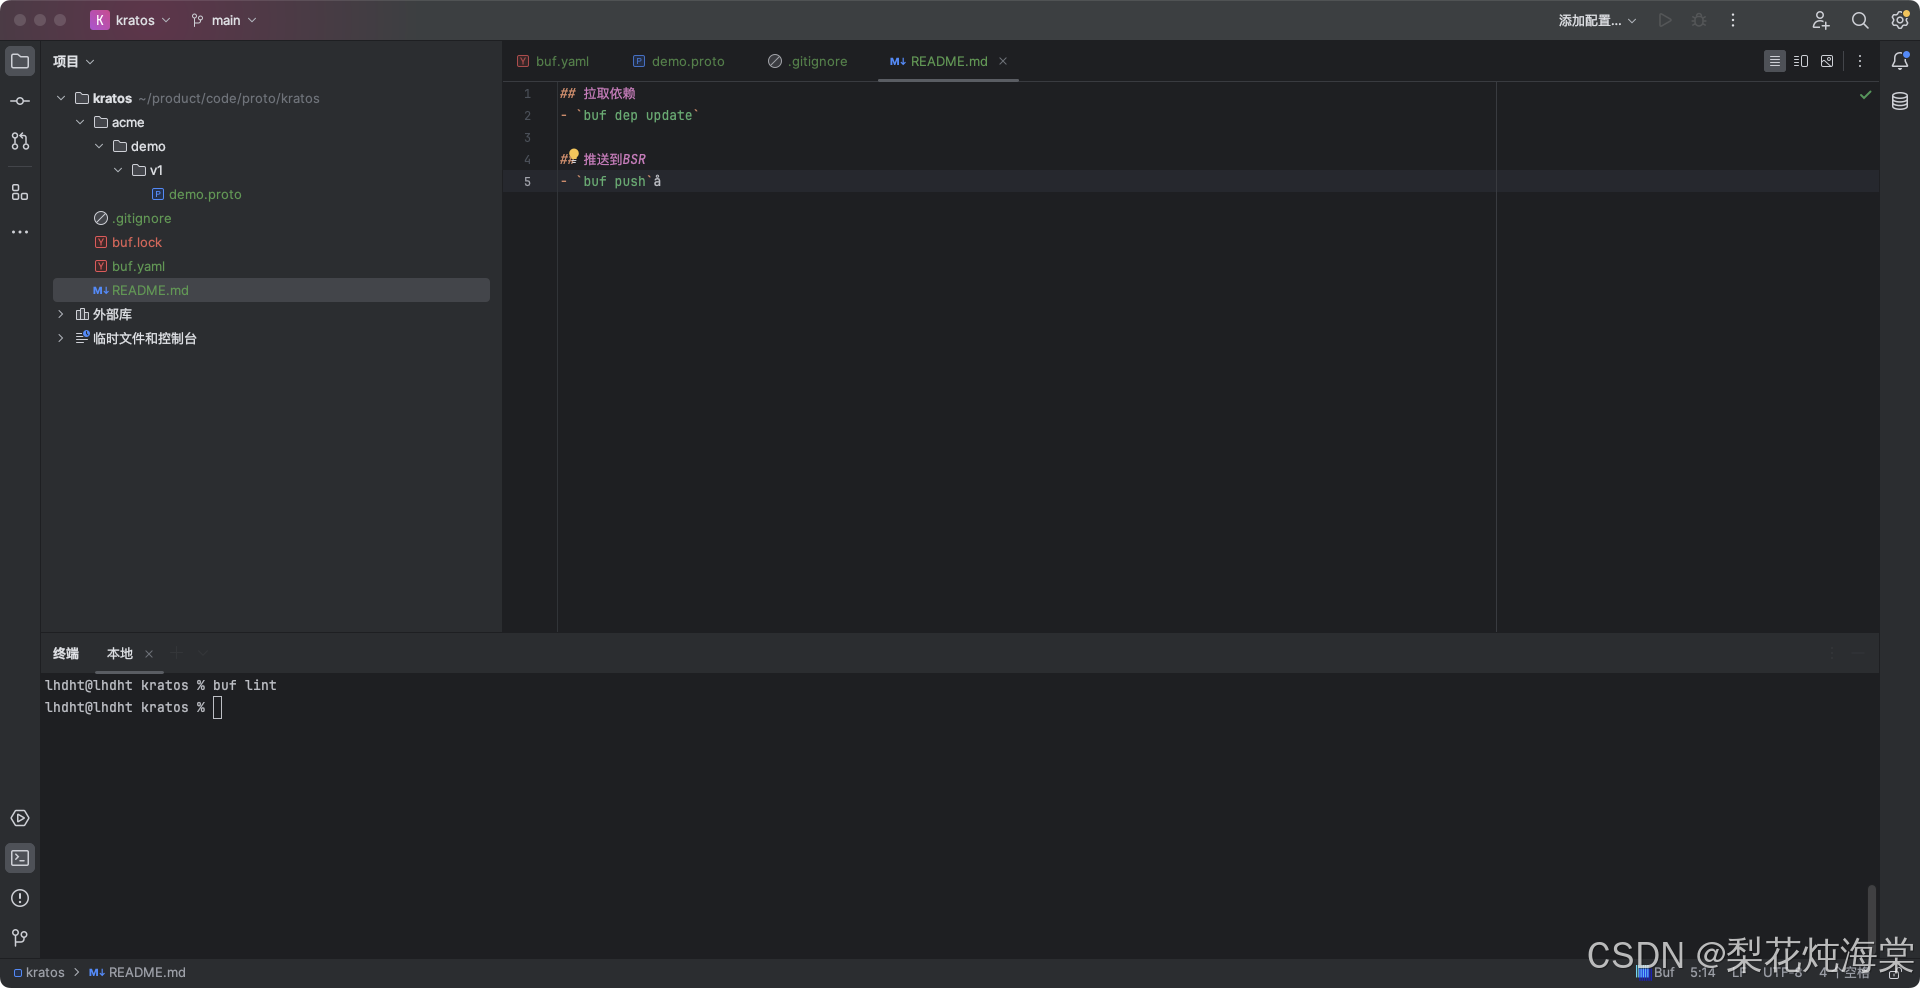
# 拉取依赖
buf dep update
git add .
git commit -m "feature: 演示"
git push origin main
buf push
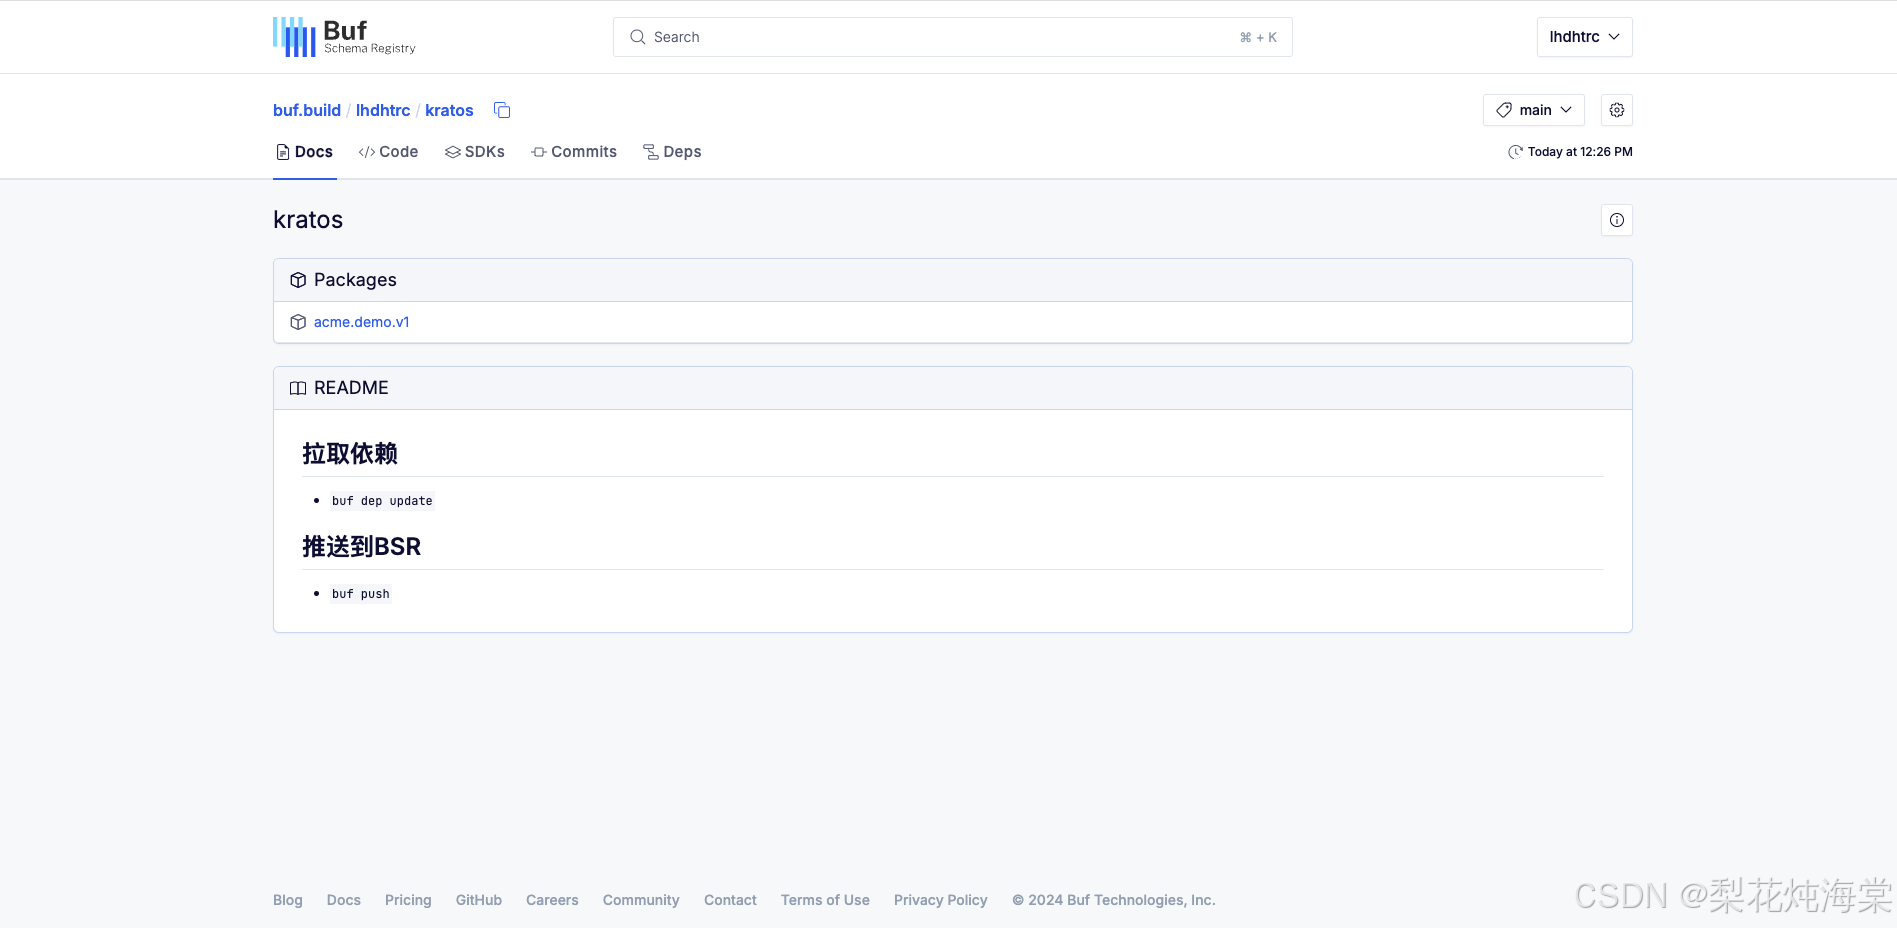
到此基本的流程就算完了


 3064
3064

 被折叠的 条评论
为什么被折叠?
被折叠的 条评论
为什么被折叠?
 到【灌水乐园】发言


