


GoWeb(下)之模板引擎、会话控制、客户端
一、模板引擎
- Go 为我们提供了
text/template库和html/template库这两个模板引擎,模板引擎通过将数据和模板组合在一起生成最终的 HTML,而处理器负责调用模板引擎并将引擎生成的 HTMl 返回给客户端。 - Go 的模板都是文本文档(其中 Web 应用的模板通常都是 HTML),它们都嵌入了一些称为动作的指令。从模板引擎的角度来说,模板就是嵌入了动作的文本(这些文本通常包含在模板文件里面),而模板引擎则通过分析并执行这些文本来生成出另外一些文本。
text/template库用于解析任意类型的文本格式模板,以及html/template库用于解析并处理 HTML 格式模板。
1.1 HelloWord
使用 Go 模板引擎通常包括以下两个步骤:
- 解析文本模板源,可以是表单字符串、或者模板文件,用于创建解析后的模板结构体。
- 执行解析后的模板,将 ResponseWriter 和模板所需的动态数据传递给模板引擎,被调用的模板引擎会把经过语法分析的模板和传入的数据结合起来,生成出最终的 HTML,并将这些 HTML 传递给 ResponseWriter。
下面就让我们写一个简单的 HelloWorld:
-
创建模板文件 hello.html:
<html> <head> <meta charset="UTF-8"/> </head> <body> 后台传过来的数据是:{{.}} </body> </html> -
在处理器中触发模板引擎:
func handler(w http.ResponseWriter, r *http.Request) { //解析模板文件,返回Template t, _ := template.ParseFiles("hello.html") //执行模板,并将其传递个 w t.Execute(w, "Hello World!") } func main() { http.HandleFunc("/hello", handler) http.ListenAndServe(":8080", nil) } -
浏览器的结果:HTML 模板解析渲染成功,对应的
{{ . }}也别替换成Hello World!。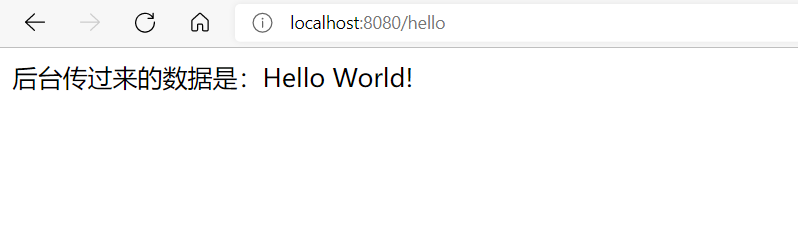
1.2 解析模板
-
ParseFiles()方法
func (t *Template) ParseFiles(filenames ...string) (*Template, error)ParseFiles()方法解析filenames指定的文件里的模板定义并将解析结果与t关联。如果发生错误,会停止解析并返回nil,否则返回(t, nil)。至少要提供一个文件。
当我们调用 ParseFiles 函数解析模板文件时,Go 会创建一个新的模板,并将给定的模板文件的名字作为新模板的名字,如果该函数中传入了多个文件名,那么也只会返回一个模板,而且以第一个文件的文件名作为模板的名字,至于其他文件对应的模板则会被放到一个 map 中。
-
ParseGlob()方法
func (t *Template) ParseGlob(pattern string) (*Template, error)方法传入的参数是模式匹配串,而不是文件名称
t, _ := template.ParseFiles("tmpl.html") t, _ := template.ParseGlob("*.html") -
Must()方法
func Must(t *Template, err error) *Template我们在解析模板时都没有对错误进行处理,Go 提供了一个 Must 函数专门用来处理这个错误。Must 函数可以包裹起一个函数,被包裹的函数会返回一个指向模板的指针和一个错误,如果错误不是 nil,那么 Must 函数将产生一个 panic
t := template.Must(template.ParseFiles("tmpl.html")) //如果解析模板过程中出现问题,则抛出 panic
1.3 执行模板
-
Execute()方法

如果只有一个模板文件,调用这个方法总是可行的;但是如果有多个模板文件,调用这个方法只能得到第一个模板,如果要指定其它模板作为入口模板(或者称之为布局模板),需要调用
ExecuteTemplate方法并将模板名作为第二个参数传递进去 -
ExecuteTemplate()方法

例如:
t, _ := template.ParseFiles("hello.html", "hello2.html")
变量 t 就是一个包含了两个模板的模板集合,第一个模板的名字是hello.html,第二个模板的名字是 hello2.html,如果直接调用 Execute 方法,则只有模板 hello.html 会被执行,如何想要执行模板 hello2.html,则需要调用 ExecuteTemplate 方法
t.ExecuteTemplate(w, "hello2.html", "我要在 hello2.html 中显示")
1.4 引入静态资源
对于 HTML 页面中的 css 以及 js 等静态文件,需要使用使用 net/http 包下的以下方法来处理
-
StripPrefix()函数

-
FileServer()函数

-
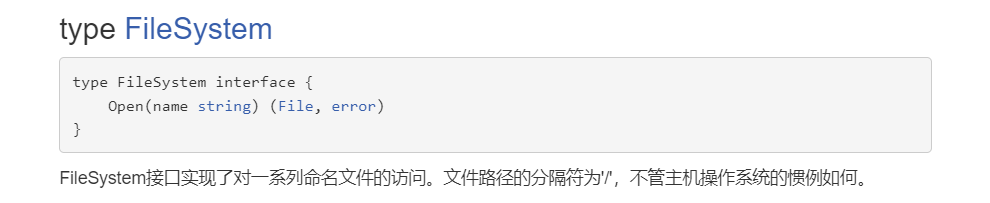
type FileSystem
-
type Dir该类型实现了FileSystem接口的方法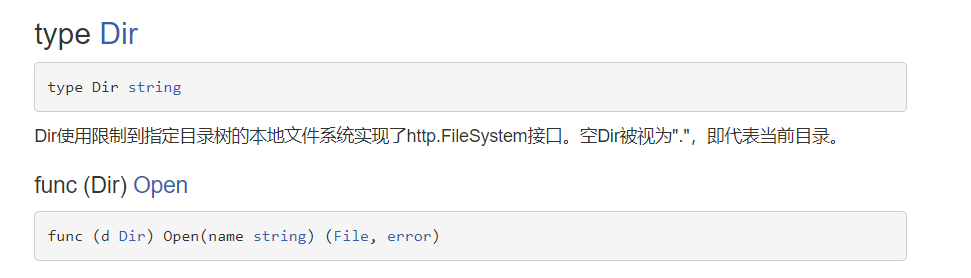
-
http.StripPrefix()处理静态资源示例:
-
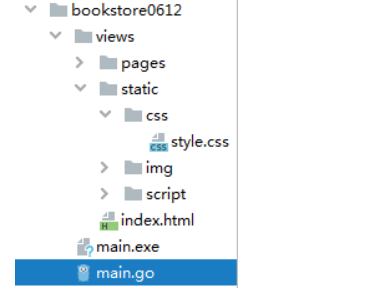
项目的静态文件的目录结构
-
index.html模板文件中引入的css样式的地址
<link type="text/css" rel="stylesheet" href="static/css/style.css" > -
对静态文件的处理
http.Handle("/static/", http.StripPrefix("/static/", http.FileServer(http.Dir("views/static/"))))说明:/static/会匹配以 /static/开头的路径,当浏览器请求index.html页面中的style.css文件时,static前缀会被替换为views/static,然后去 views/static/css目录下查找style.css文件
package main

import (
	"html/template"
	"net/http"
)

// IndexHandler  去首页
func IndexHandler(w http.ResponseWriter, r *http.Request)  {
	//解析模板
	t := template.Must(template.ParseFiles("views/index.html"))
	//执行
	t.Execute(w, "")
}
func main() {
	//设置处理静态资源
	http.Handle("/static/", http.StripPrefix("/static/", http.FileServer(http.Dir("views/static/"))))
	http.Handle("/pages/", http.StripPrefix("/pages/", http.FileServer(http.Dir("views/pages/"))))
	http.HandleFunc("/", IndexHandler)
	http.ListenAndServe(":8080", nil)
}
http.FileServer()处理静态资源示例:
http.FileServer()接受一个http.FileSystem接口类型的变量
传入http.Dir类型变量,注意http.Dir是一个类型,其底层类型为string,并不是方法。因而http.Dir("")只是一个类型转换,而非方法调用
http.Handle("/static/", http.StripPrefix("/static", http.FileServer(http.Dir("./public"))))
这时,请求localhost:8080/static/hello.html将会返回./public/hello.html文件。路径/static/index.html经过处理器http.StripPrefix去掉了前缀/static得到/index.html,然后又加上了http.Dir的起始目录./public得到文件最终路径./public/hello.html。
1.5 动作
Go 模板的动作就是一些嵌入到模板里面的命令,这些命令在模板中需要放到两个大括号里{{ 动作 }},之前我们已经用过一个很重要的动作:点(.),它代表了传递给模板的数据。
1.5.1 {{.}}
模板语法都包含在{{和}}中间,其中{{.}}中的点表示当前对象。
当我们传入一个结构体对象时,我们可以根据.来访问结构体的对应字段。例如:
package main

import (
	"html/template"
	"log"
	"net/http"
)
type Address struct {
	Province string
	City     string
}
type User struct {
	Name string
	Age  int
	Addr Address
}

func index(w http.ResponseWriter, r *http.Request) {
	//解析指定文件生成模板对象
	tmpl, err := template.ParseFiles("./public/index.html")
	if err != nil {
		log.Fatal(err)
	}
	user := User{
		Name: "彭于晏",
		Age:  28,
		Addr: Address{Province: "台湾省", City: "澎湖县"},
	}
	//利用给定数据渲染模板,并将结果写入
	err = tmpl.Execute(w, user)
	if err != nil {
		log.Fatal(err)
	}
}

func main() {

	//1.注册给定模式的处理器函数到DefaultServeMux
	http.HandleFunc("/index", index)

	//2.设置监听的TCP地址并启动服务
	//参数1:TCP地址(IP+Port)
	//参数2:当设置为nil时表示使用DefaultServeMux
	err := http.ListenAndServe("127.0.0.1:8080", nil)
	log.Fatal(err)
}
模板文件index.html内容如下:
<!DOCTYPE html>
<html lang="en">
<head>
    <meta charset="UTF-8">
    <title>index页面</title>
</head>
<body>
    <p>姓名:{{.Name}}</p>
    <p>年龄:{{.Age}}</p>
    <p>地址:{{.Addr.Province}}-{{.Addr.City}}</p>
    <p>你好呀{{/* 这是注释 */}},彭于晏</p>
</body>
</html>
显示效果如下图所示:

移除空格:
template引擎在进行替换的时候,是完全按照文本格式进行替换的。除了需要评估和替换的地方,所有的行分隔符、空格等等空白都原样保留。所以,对于要解析的内容,不要随意缩进、随意换行。
有时候我们在使用模板语法的时候会不可避免的引入一下空格或者换行符,这样模板最终渲染出来的内容可能就和我们想的不一样,这个时候可以使用{{-语法去除模板内容左侧的所有空白符号, 使用-}}去除模板内容右侧的所有空白符号。
注意:-要紧挨{{和}},同时与模板值之间需要使用空格分隔。
<!DOCTYPE html>
<html lang="en">
<head>
    <meta charset="UTF-8">
    <title>index页面</title>
</head>
<body>
    <div align="center">
        <p>姓名:{{- .Name -}} -king</p> <!-- 彭于晏-king -->
        <p>姓名:{{ .Name }} -king</p> <!-- 彭于晏 -king -->
        <img src="./img/pyy.jpeg" style="width: 10%" alt="彭于晏">
    </div>
</body>
</html>
变量:
我们还可以在模板中声明变量,用来保存传入模板的数据或其他语句生成的结果。具体语法如下:
$obj := {{.}}
其中$obj是变量的名字,在后续的代码中就可以使用该变量了。
示例:
<!DOCTYPE html>
<html lang="en">
<head>
    <meta charset="UTF-8">
    <title>index页面</title>
</head>
<body>
    <div align="center">
        {{$obj := .Name}}
        <p>姓名:{{ $obj }}</p>
    </div>
</body>
</html>
1.5.2 条件动作
Go模板语法中的条件判断有以下几种:
{{if pipeline}} T1 {{end}}

{{if pipeline}} T1 {{else}} T0 {{end}}

{{if pipeline}} T1 {{else if pipeline}} T0 {{end}}
注意:pipeline为false的情况是各种数据对象的0值:数值0,指针或接口是nil,数组、slice、map或string则是len为0。
示例:
<!-- 由于.Name不是空字符串,所以可以渲染出彭于晏 -->
<p>
    姓名:{{if .Name}}
    	彭于晏
    {{eles}}
    	没有加载到数据!!!
    {{end}}
</p>
1.5.3 迭代动作
Go的模板语法中使用range关键字进行遍历,有以下两种写法,其中pipeline的值必须是数组、切片、map或者channel。
{{range pipeline}}
T1
{{end}}
<!-- 如果pipeline的值其长度为0,不会有任何输出 -->

{{range pipeline}}
T1
{{else}}
T0
{{end}}
<!-- 如果pipeline的值其长度为0,则会执行T0。 -->
-
注意:range的参数部分是pipeline,所以在迭代的过程中是可以进行赋值的。但有两种赋值情况:
{{range $value := .}}
{{range $key,$value := .}}
如果range中只赋值给一个变量,则这个变量是当前正在迭代元素的值。如果赋值给两个变量,则第一个变量是索引值(数组/切片是数值,map是key),第二个变量是当前正在迭代元素的值。
-
如果迭代之后是一个个的结构体,获取结构体中的字段值使用
.字段名方式获取{{range . }} 获取结构体的 Name 字段名 {{ .Name }} {{ end }} <!-- 也可以这样写,结构体不能为nil --> {{range .Name }} 获取结构体的 Name 字段名 {{ .}} {{ end }}注意:range 后面的点代表被遍历的元素;要显示的内容里面的点代表遍历到的元素
示例:
-
模板文件
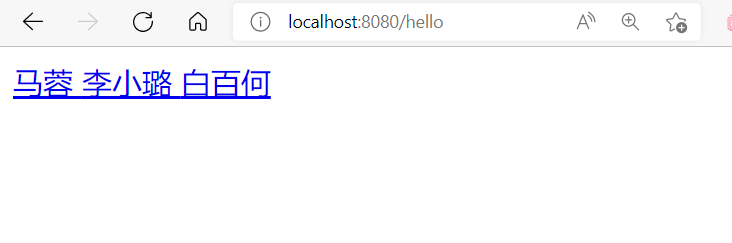
<html> <head> <title>模板文件</title> <meta charset="utf-8" /> </head> <body> <!-- 嵌入动作,range 后面的点代表被遍历的元素;要显示的内容里面的点代表遍历到的元素 --> {{range .}} <a href="#"> {{.}} </a> {{else}} 没有遍历到任何内容 {{end}} </body> </html> -
处理器端代码:
func handler(w http.ResponseWriter, r *http.Request) { //解析模板文件 t := template.Must(template.ParseFiles("hello.html")) //声明一个字符串切片 stars := []string{"马蓉", "李小璐", "白百何"} //执行模板 t.Execute(w, stars) } -
浏览器中的结果:
1.5.4 设置动作
通过with指令设置动作允许在指定的范围内对点(.)设置值
格式一:在 {{ with arg }} 和 {{ end }} 之间的 . 会被设置为 arg。
{{ with arg }}
为传过来的数据设置的新值是{{ . }}
{{ end }}
格式二:
{{ with arg }}
为传过来的数据设置的新值是{{ . }}
{{ else }}
传过来的数据仍然是{{ . }}
{{ end }}
代码示例:
-
模板文件:
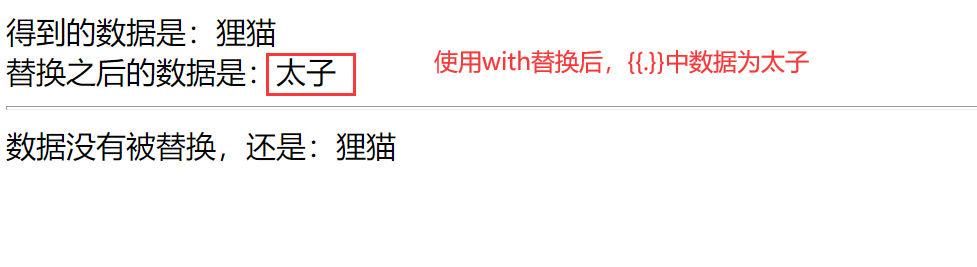
<html> <head> <title>模板文件</title> <meta charset="utf-8" /> </head> <body> <!-- 嵌入动作 --> <div>得到的数据是:{{.}}</div> {{with "太子"}} <div>替换之后的数据是:{{.}}</div> {{end}} <hr /> {{with ""}} <div>看一下现在的数据是:{{.}}</div> {{else}} <div>数据没有被替换,还是:{{.}}</div> {{end}} </body> </html> -
处理器端代码:
func handler(w http.ResponseWriter, r *http.Request) { //解析模板文件 t := template.Must(template.ParseFiles("hello.html")) //执行模板 t.Execute(w, "狸猫") } -
浏览器中的结果:
1.5.5 定义、嵌套模板
我们可以在template中嵌套其他的template。这个template可以是单独的文件,也可以是通过define定义的template。
嵌套模板:
-
格式一:
{{ template “name” }}name 为被包含的模板的名字
-
格式二:
{{ template “name” arg }}arg 是用户想要传递给被嵌套模板的数据
定义模板:
-
对于一些网页中相同的部分,比如导航栏、版权信息、联系方式等。这些相同的布局我们可以通过定义动作在模板文件中定义模板来实现。定义模板的格式是:
{{ define “layout” }}
	模板文件的一些内容
{{ end }}
代码示例:
-
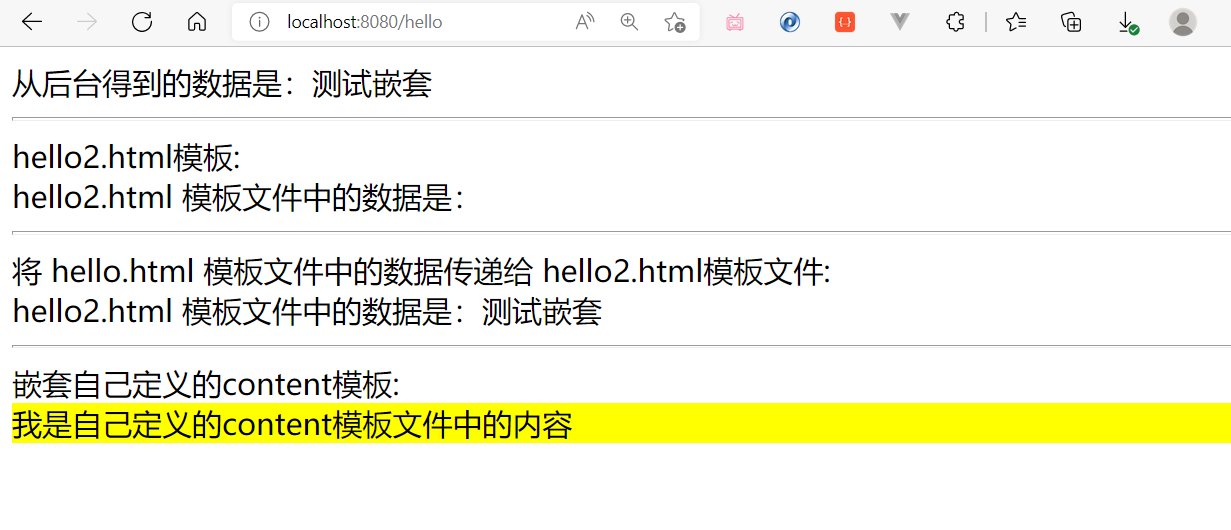
hello.html模板文件:
<html> <head> <title>模板文件</title> <meta charset="utf-8" /> </head> <body> <!-- 嵌入动作 --> <div>从后台得到的数据是:{{.}}</div> <hr /> <!-- 包含 hello2.html 模板 --> <div>hello2.html模板:</div> {{ template "hello2.html"}} <hr /> <div>将 hello.html 模板文件中的数据传递给 hello2.html模板文件:</div> {{ template "hello2.html" . }} <hr /> <div>嵌套自己定义的content模板:</div> {{ template "content"}} </body> </html> {{ define "content"}} <div style="background-color: yellow;">我是自己定义的content模板文件中的内容</div> {{ end }} -
hello2.html模板文件
<html> <head> <title>hello2 模板文件</title> <meta charset="utf-8" /> </head> <body> <!-- 嵌入动作 --> <div>hello2.html 模板文件中的数据是:{{.}}</div> </body> </html> -
处理器端代码:
func handler(w http.ResponseWriter, r *http.Request) { //解析模板文件 t := template.Must(template.ParseFiles("hello.html", "hello2.html")) //执行模板 t.Execute(w, "测试嵌套") } -
浏览器中的结果:
1.5.6 块动作
根据官方文档的解释:block等价于define定义一个名为name的模板,并在"有需要"的地方执行这个模板,执行时将"."设置为pipeline的值。
{{block "name" pipeline}} T1 {{end}}
但应该注意,block的第一个动作是执行名为name的模板,如果不存在,则在此处自动定义这个模板,并执行这个临时定义的模板。换句话说,block可以认为是设置一个默认模板。
例如:
{{block "T1" .}} one {{end}}
它首先表示{{template "T1" .}},也就是说先找到T1模板,如果T1存在,则执行找到的T1,如果没找到T1,则临时定义一个{{define "T1"}} one {{end}},并执行它。
代码示例:
-
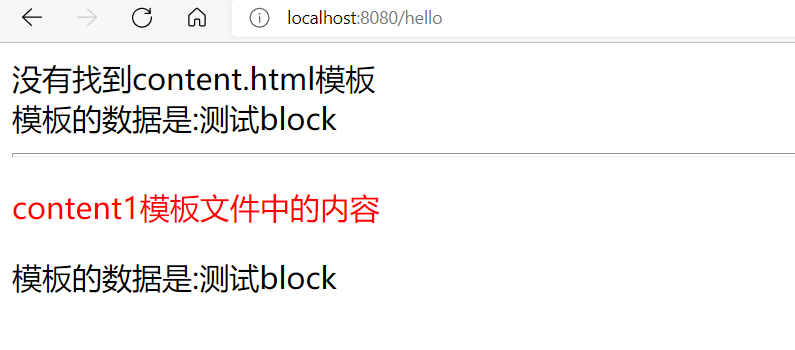
hello.html模板文件:
<html> <head> <title>模板文件</title> <meta charset="utf-8" /> </head> <body> {{ block "content.html" .}} 没有找到content.html模板<br/> 模板的数据是:{{.}} {{ end }} <hr/> {{ block "content1.html" .}} 没有找到content1.html模板 {{ end }} </body> </html> -
content1.html模板文件
<html> <head> <title>content1 模板文件</title> <meta charset="utf-8" /> </head> <body> <!-- 嵌入动作 --> <p style="color: red;">content1模板文件中的内容</p> 模板的数据是:{{.}} </body> </html> -
处理器端代码:
func handler(w http.ResponseWriter, r *http.Request) { //解析模板文件 t := template.Must(template.ParseFiles("hello.html", "content1.html")) //执行模板 t.Execute(w, "测试block") } -
浏览器中的结果:
1.6 修改默认的标识符
Go标准库的模板引擎使用的花括号{{和}}作为标识,而许多前端框架(如Vue和 AngularJS)也使用{{和}}作为标识符,所以当我们同时使用Go语言模板引擎和以上前端框架时就会出现冲突,这个时候我们需要修改标识符,修改前端的或者修改Go语言的。
修改Go语言模板引擎默认的标识符语法:
template.New("test").Delims("{[", "]}").ParseFiles("./t.tmpl")
代码示例:
-
main.go
func index(w http.ResponseWriter, r *http.Request) { t, err := template.New("index.tmpl").Delims("{[", "]}").ParseFiles("index.tmpl") if err != nil { fmt.Printf("parse template failed,err:%v\n", err) return } t.Execute(w, "测试block") } -
index.tmpl此时使用
{[.]}仍然可以解析出来<!DOCTYPE html> <html lang="en"> <head> <meta charset="UTF-8"> <title>修改模板引擎的标识符</title> </head> <body> <div>Hello {[.]}</div> </body> </html>
二、会话控制
2.1 Cookie
Cookie 实际上就是服务器保存在浏览器上的一段信息。浏览器有了 Cookie 之后,每次向服务器发送请求时都会同时将该信息发送给服务器,服务器收到请求后,就可以根据该信息处理请求。
-
type Cookie
type Cookie struct {
    Name       string
    Value      string
    Path       string
    Domain     string
    Expires    time.Time	//基本都是用MaxAge
    RawExpires string
    // MaxAge=0表示未设置Max-Age属性
    // MaxAge<0表示立刻删除该cookie,等价于"Max-Age: 0"
    // MaxAge>0表示存在Max-Age属性,单位是秒
    MaxAge   int
    Secure   bool
    HttpOnly bool
    Raw      string
    Unparsed []string // 未解析的“属性-值”对的原始文本
}
cookie的运行原理:
- 第一次向服务器发送请求时在服务器端创建cookie
- 将在服务器端创建的cookie以响应头的方式发送给浏览器
- 以后再发送请求浏览器就会携带着该cookie
- 服务器得到cookie之后根据cookie的信息来区分不同的用户
2.1.1 创建 Cookie 并将它发送给浏览器
在服务器创建 Cookie 并将它发送给浏览器:
-
服务端代码:
func handler(w http.ResponseWriter, r * http.Request) { cookie1: = http.Cookie { Name: "user1", Value: "admin", HttpOnly: true, } cookie2: = http.Cookie { Name: "user2", Value: "superAdmin", HttpOnly: true, } //将 Cookie 发送给浏览器,即添加第一个 Cookie w.Header().Set("Set-Cookie", cookie1.String()) //再添加一个 Cookie w.Header().Add("Set-Cookie", cookie2.String()) } -
除了 Set 和 Add 方法之外,Go 还提供了一种更快捷的设置 Cookie 的方式,就是通过
net/http 库中的 SetCookie() 方法
func handler(w http.ResponseWriter, r * http.Request) { cookie1: = http.Cookie { Name: "user1", Value: "admin", HttpOnly: true, } cookie2: = http.Cookie { Name: "user2", Value: "superAdmin", HttpOnly: true, } http.SetCookie(w, & cookie1) http.SetCookie(w, & cookie2) } -
浏览器响应报文中的内容
HTTP/1.1 200 OK
Set-Cookie: user1=admin; HttpOnly
Set-Cookie: user2=superAdmin; HttpOnly
Date: Sun, 12 Aug 2018 07:24:49 GMT
Content-Length: 0
Content-Type: text/plain; charset=utf-8
以后每次发送请求浏览器都会携带着 Cookie:
GET /cookie HTTP/1.1
Host: localhost:8080
Connection: keep-alive
Upgrade-Insecure-Requests: 1
User-Agent: Mozilla/5.0 (Windows NT 10.0; Win64; x64)
AppleWebKit/537.36 (KHTML, like Gecko) Chrome/67.0.3396.62
Safari/537.36
Accept:
text/html,application/xhtml+xml,application/xml;q=0.9,image/webp,image/
apng,*/*;q=0.8
Accept-Encoding: gzip, deflate, br
Accept-Language: zh-CN,zh;q=0.9,en-US;q=0.8,en;q=0.7
Cookie: user1=admin; user2=superAdmin
2.1.2 读取Cookie
可以通过 Request 结构中的Header 字段来获取 Cookie,也可以使用net/http提供的方法
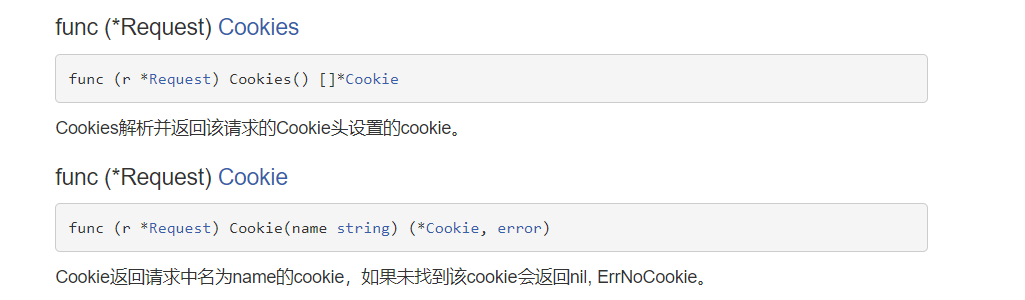
-
处理器端代码:
//getCookies 获取Cookie
func getCookies(w http.ResponseWriter, r *http.Request) {
	//获取请求头中所有的Cookie
	cookies := r.Header["Cookie"]
	fmt.Println("得到的Cookie有:", cookies)	//得到的Cookie有: [user=admin; user2=admin2]
	//如果想得到某一个Cookie,可以直接调用Cookie方法
	cookie, _ := r.Cookie("user")
	fmt.Println("得到的Cookie有:", cookie)		//得到的Cookie有: user=admin
}
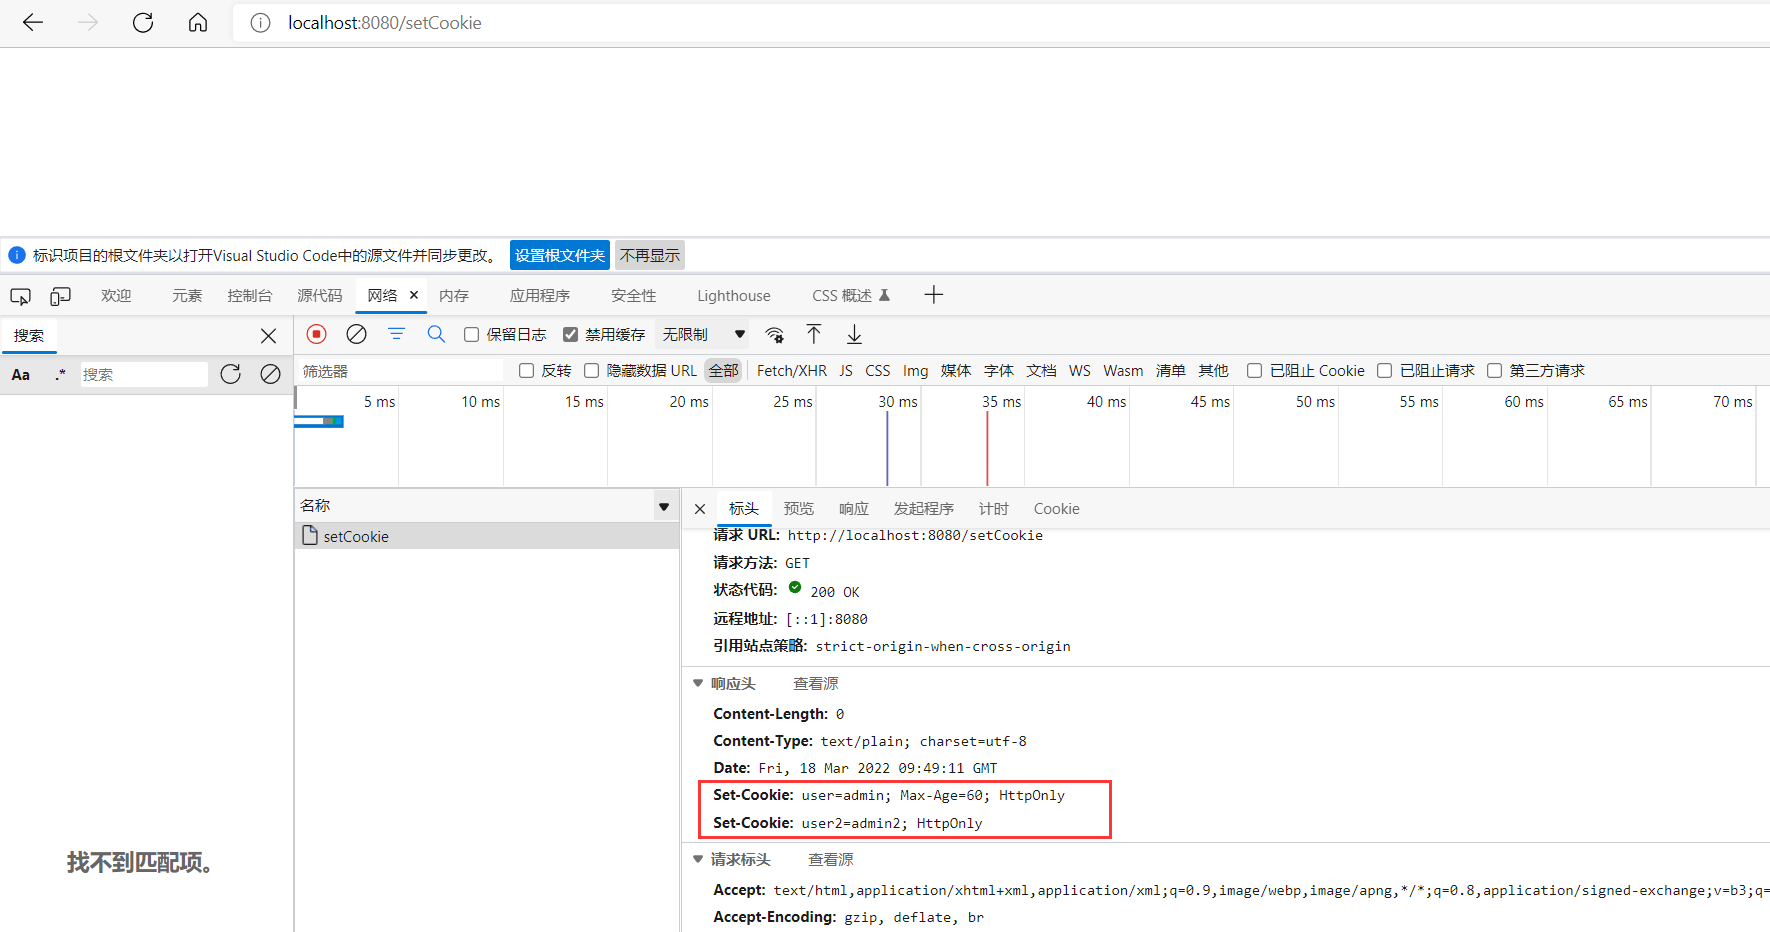
2.1.3 设置 Cookie 的有效时间
Cookie默认是会话级别的,当关闭浏览器之后Cookie将失效,我们可以通过Cookie结构的 MaxAge 字段设置 Cookie 的有效时间
func handler(w http.ResponseWriter, r * http.Request) {
	cookie: = http.Cookie {
		Name: "user",
		Value: "persistAdmin",
		HttpOnly: true,
		MaxAge: 60,		// Cookie 有效期设置为 60s
        // MaxAge=0表示未设置Max-Age属性
    	// MaxAge<0表示立刻删除该cookie,等价于"Max-Age: 0"
    	// MaxAge>0表示存在Max-Age属性,单位是秒
	}
	//将 Cookie 发送给浏览器
	w.Header().Set("Set-Cookie", cookie.String())
}
浏览器响应报文中的内容:
2.2 Session
使用 Cookie 有一个非常大的局限,就是如果 Cookie 很多,则无形的增加了客户端与服务端的数据传输量。而且由于浏览器对 Cookie 数量的限制,注定我们不能再Cookie 中保存过多的信息,于是 Session 出现。
Session 的作用就是在服务器端保存一些用户的数据,然后传递给用户一个特殊的 Cookie,这个 Cookie 对应着这个服务器中的一个 Session,通过它就可以获取到保存用户信息的 Session,进而就知道是那个用户再发送请求。
Session 的运行原理:
- 第一次向服务器发送请求时创建 Session,给它设置一个全球唯一的 ID(可以通过UUID 生成)
- 创建一个 Cookie,将 Cookie 的 Value 设置为 Session 的 ID 值,并将 Cookie 发送给浏览器
- 以后再发送请求浏览器就会携带着该 Cookie
- 服务器获取 Cookie 并根据它的 Value 值找到服务器中对应的 Session,也就知道了请求是那个用户发的
注意:官方没有提供的 Session 实现。如果在 Web 应用中使用到了 Session,需要自行去实现,或者使用第三方工具包,比如 gorilla/sessions,


 1891
1891


 被折叠的 条评论
为什么被折叠?
被折叠的 条评论
为什么被折叠?
 到【灌水乐园】发言


