


这里主要讲讲RPC的一些功能;spring的整合有些滞后,就大致讲讲怎么配置;
spring的使用
生产者
这里主要是看配置文件;
先看看服务提供方,对应的应用是:simple-rpc-test-spring-provider,然后看看目录:
.
├── SpringProviderAppMain.java
├── controller
│   └── ConsumerController.java
└── impl
    └── SpringHelloServiceImpl.java

.
├── application.yml
├── config
│   └── spring-rpc-consumer.xml
└── spring-config.xml
- 这里的
ConsumerController先不测试,暂时这个服务只提供服务,不消费; SpringHelloServiceImpl:这里就是提供类实现,这里仅仅是普通的接口;
@Service("springHelloService")
public class SpringHelloServiceImpl implements SpringHelloService {

    @Override
    public String helloSpring() {
        return "hello spring simple rpc!!!";
    }
}
上面有了接口,然后再看看配置类yml文件里面就是springboot的配置文件这里就不看了;
spring-config.xml文件配置:
<import resource="classpath:config/spring-rpc-consumer.xml"/>
<context:component-scan base-package="com.simple.rpc" />
<aop:aspectj-autoproxy/>
指定Rpc注册的文件,然后是开启包扫描;都是spring相关的,然后在看看rpc定义文件,这里面的信息就是服务提供配置:
<?xml version="1.0" encoding="UTF-8"?>
<beans xmlns="http://www.springframework.org/schema/beans"
       xmlns:xsi="http://www.w3.org/2001/XMLSchema-instance" xmlns:rpc="http://rpc.simple.com/schema/rpc"
       xsi:schemaLocation="http://www.springframework.org/schema/beans http://www.springframework.org/schema/beans/spring-beans.xsd
    http://rpc.simple.com/schema/rpc http://rpc.simple.com/schema/rpc/rpc.xsd">

    <!-- 注册中心 -->
    <rpc:server id="providerServer" address="redis://127.0.0.1:6379" password="123456"/>
    <rpc:provider id="helloServiceRpc"
                  beanName="springHelloService"
                  interfaceName="com.simple.rpc.test.common.spring.SpringHelloService"
                  alias="providerRpc"/>
</beans>
这里的rpc:server对应就是xsd文件中定义的元素类型,这里的值会通过xsd文件加载解析然后映射到对应的ServerConfig中,同理其他的也是一样;服务提供方大概就是这些;
消费者
消费者端的配置其实跟生产者差不多,这里看看controller:
@RestController
@RequestMapping("/hello")
public class HelloServiceController {

    @Autowired
    SpringHelloService springHelloService;

    @GetMapping("/info")
    public String hello() {
        return springHelloService.helloSpring();
    }
}
SpringHelloService是生产者提供的服务,这里因为已经注册到spring中了,所以这里只需要通过spring自带的注解注入即可;
spring-config.xml文件跟服务端的配置是一样的;直接看看消费端的配置:
<?xml version="1.0" encoding="UTF-8"?>
<beans xmlns="http://www.springframework.org/schema/beans"
       xmlns:xsi="http://www.w3.org/2001/XMLSchema-instance"
       xmlns:rpc="http://rpc.simple.com/schema/rpc"
       xsi:schemaLocation="http://www.springframework.org/schema/beans http://www.springframework.org/schema/beans/spring-beans.xsd
    http://rpc.simple.com/schema/rpc http://rpc.simple.com/schema/rpc/rpc.xsd">

    <!-- 注册中心 -->
    <rpc:server id="consumer" address="redis://127.0.0.1:6379" password="123456"/>
    <rpc:consumer id="helloService"
                  interfaceName="com.simple.rpc.test.common.spring.SpringHelloService"
                  beanName="springHelloService"
                  alias="providerRpc"
                  timeout="60"/>
</beans>
整个配置就是这样的;然后就可以正常调用了;
然后启动两端,浏览器中调用:http://localhost:8082/hello/info
浏览器返回的信息:
hello spring simple rpc!!!
SpringBoot的使用
基本功能测试
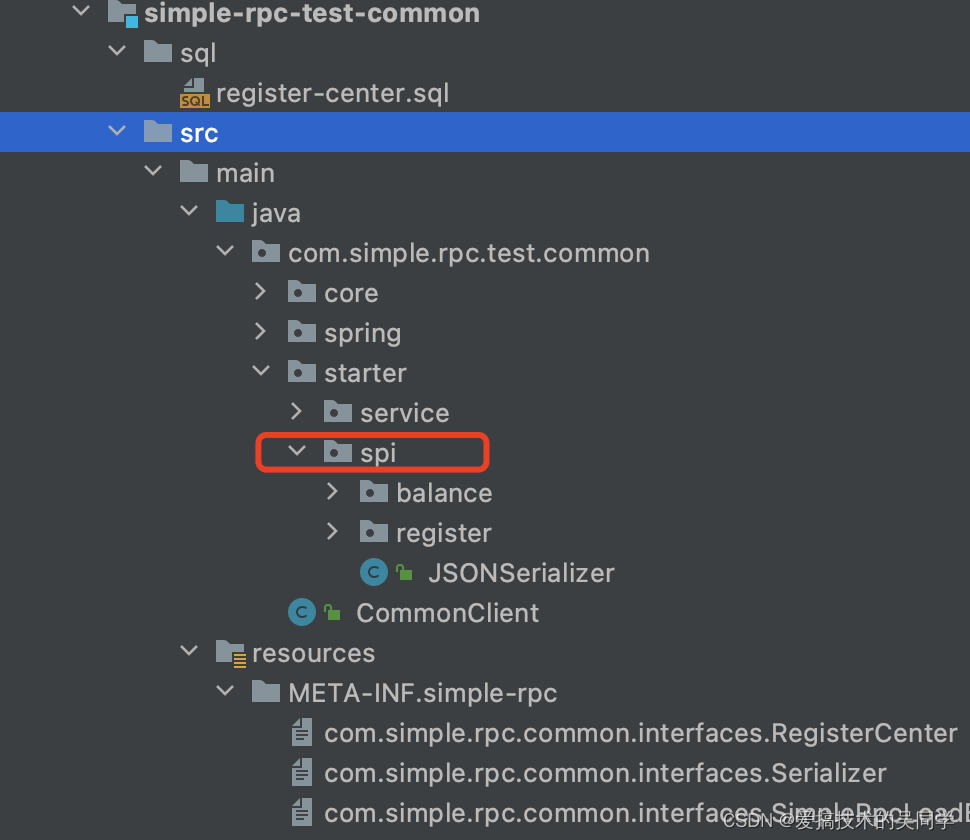
这里会将负载SPI等也一起进行介绍;项目是
simple-rpc-test-starter;单独测试功能可用,大致代码跟之前spring的差不多,这里就不多说了,主要是看看负载的效果;
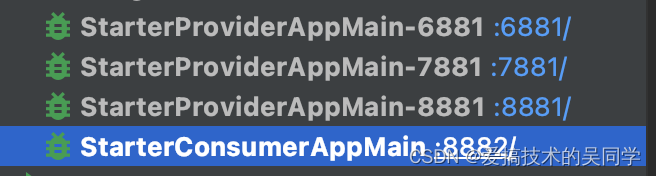
服务端根据不同配置文件启动三个服务端:
server:
  port: 8881
simple:
  rpc:
    register:
      address: redis://127.0.0.1:6379
      password: 123456
    base:
      load-balance-rule: random-weight
      serializer: serializer
      weights: 20
这里的配置可以参考整合springboot里面有个spring-configuration-metadata.json文件,这里有详细的描述;
这里的话其他几个文件就是下面权重不一样,其他服务对应的端口和权重为:7881、6881;30、50,其他倒是一样,这里的serializer是自己SPI实现的;
然后启动项目:
然后在浏览器访问:
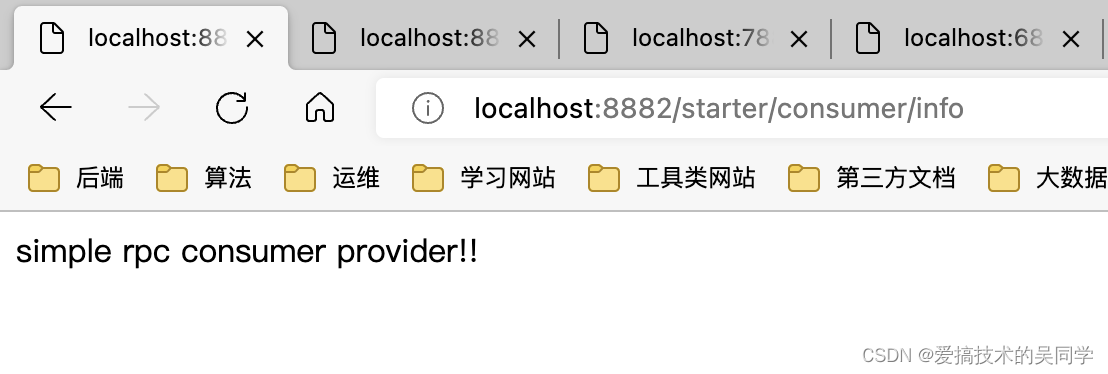
消费端访问:http://localhost:8882/starter/consumer/info;这里的话会走负载均衡策略;
服务端访问:http://localhost:8881/starter/provider/info;这里的话可以修改8881端口,都能进行正常访问;
额外的配置用法
这里的话就是各种SPI的使用,就不介绍了,在core里面详细介绍了;代码在这;
simple-lottery项目的使用
这里就不过多说了,只是简单实用了RPC,具体的可以从我的gitee上面拉取代码看看具体使用场景,这个项目里面还有很多其他自研的中间件;
https://gitee.com/yysimple/simple-lottery
阶段性总结
rpc就打算先写这些东西了,至于链路追踪、优雅上下线都比较简单,看代码就能懂,所以这里就先不说了,而且文章可能存在一些滞后性,这个手写RPC是当时,部门小组里面轮到我技术分享了,然后就准备了这么一个rpc,然后这个应该是5月份左右就分享完了,后续也持续更新了一段时间,所以文章会有点滞后性,但是可以关注下公众号,也可以加我好友;
谢谢大家阅读!!!
公众号: 搜索关注,爱搞技术的吴同学 ,公众号上会经常写实用性的文章,谢谢关注!!回复:“加好友”,可获取我的微信二维码,欢迎加好友,一起学习!!!
大量源码: 欢迎star,可能会分享微服务实战,分页插件等;gitee


 1149
1149


 被折叠的 条评论
为什么被折叠?
被折叠的 条评论
为什么被折叠?
 到【灌水乐园】发言


