Vue3 table表格使用axios调用后端Api数据,统一返回格式

1.安装axios

npm install axios

2.封装axios

import axios, {
  AxiosRequestConfig,
  AxiosRequestHeaders,
  AxiosResponse,
} from "axios";
import { ElMessage, ElLoading } from "element-plus";
import { storeToRefs } from "pinia";
import appStore from "@/store/appStore";
let {  token } = storeToRefs(appStore());

const state = {
  ok: 0,//请求成功状态码
};

//返回数据规则
interface IResponseData<T> {
  status: number;
  message?: string;
  data: T;
  code: string;
}

//请求默认配置规则
type TOption = {
  baseURL: string;
  timeout: number;
};

//默认配置
const config = {
  baseURL: "",
  timeout: 30 * 1000,
  withCredentials: true,
};


let loading:any = null;

class Http {
  service: any;
  constructor(config: TOption) {
    //实例化请求配置
    this.service = axios.create(config);

    //请求拦截
    this.service.interceptors.request.use(
      (config: AxiosRequestConfig) => {
        loading = ElLoading.service({ fullscreen: true,text:'加载中...' });
        console.log(token.value);
        if (token.value) {
          (config.headers as AxiosRequestHeaders).authorization = token.value;
        }
        return config;
      },
      (error: any) => {
        loading.close();
        return Promise.reject(error);
      }
    );

    //响应拦截
    this.service.interceptors.response.use(
      (response: AxiosResponse) => {
        loading.close();

        const data = response.data;
      
        const { code } = data;
  
        if (code == undefined) {
          //如果没有返回状态码,直接返回数据,针对于返回数据为blob类型    
          return response;
        } else if (code !== 0) {
          ElMessage.error(data.message);
          return Promise.reject(data);
        }
        // code == 0 的时候,提取我们只关注的Api数据data
        return response.data.data;
      },
      (error: any) => {
        loading.close();
        ElMessage.error("请求失败:");
        return Promise.reject(error);
      }
    );
  }

  get<T>(url: string, params?: object, data = {}): Promise<IResponseData<T>> {
    return this.service.get(url, { params, ...data });
  }

  post<T>(url: string, params?: object, data = {}): Promise<IResponseData<T>> {
    return this.service.post(url, params, data);
  }

  put<T>(url: string, params?: object, data = {}): Promise<IResponseData<T>> {
    return this.service.put(url, params, data);
  }

  delete<T>(
    url: string,
    params?: object,
    data = {}
  ): Promise<IResponseData<T>> {
    return this.service.delete(url, { params, ...data });
  }
}

export default new Http(config);

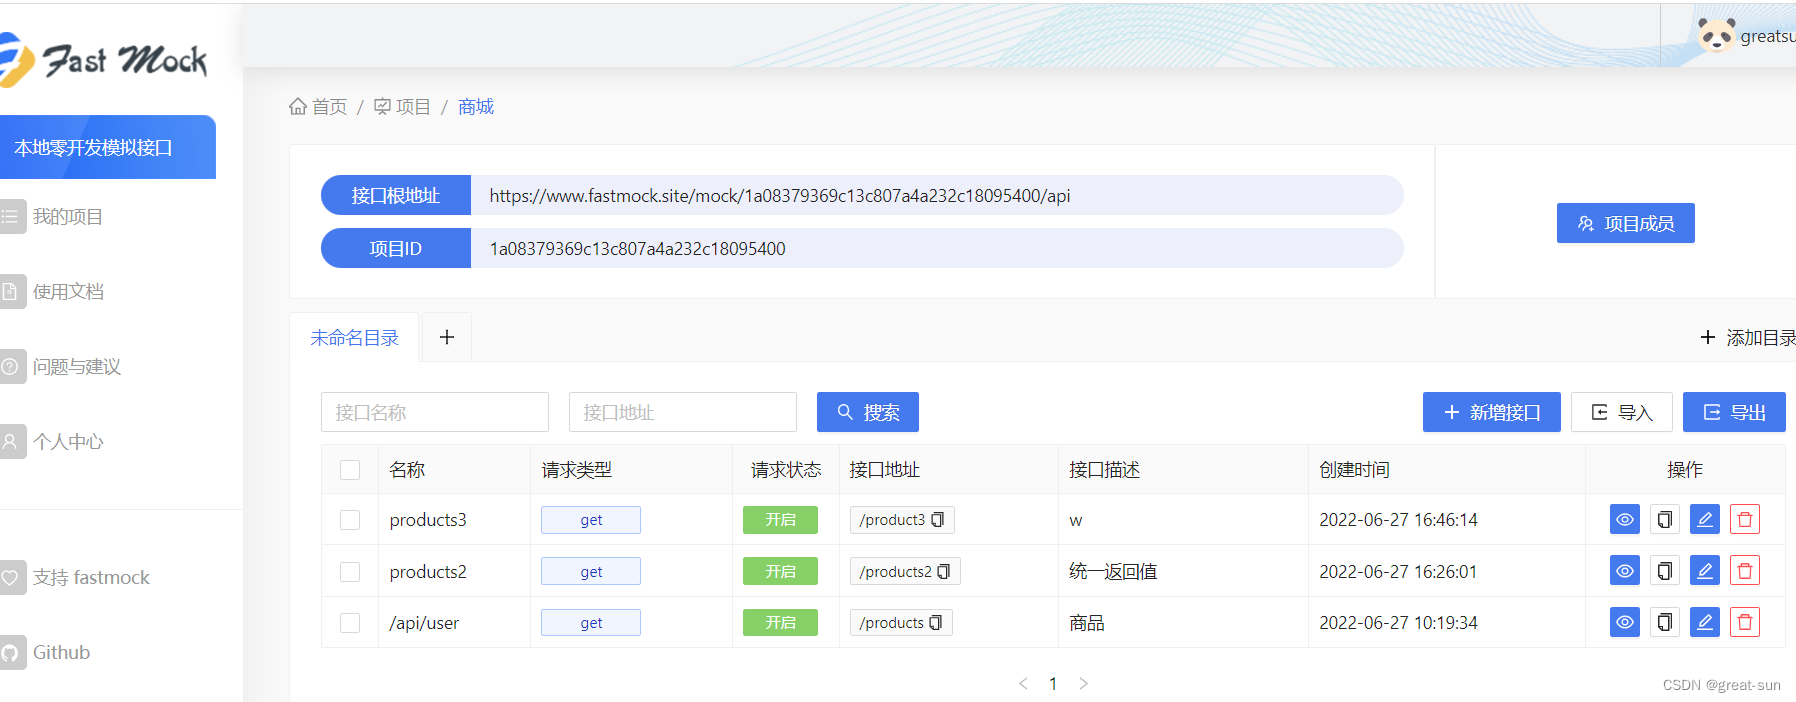
3.使用fastmock,模拟后台数据传参
在这里插入图片描述

{
"code":0,
"message": "",
"data": [
  {
    "id": 1,
    "name": "手机",
    "img": "https://cdn.cnbj1.fds.api.mi-img.com/mi-mall/d764150a470174741d8b0b04515f7a78.jpg"
  },
  {
    "id": 2,
    "name": "平板",
    "img":
      "https://cdn.cnbj1.fds.api.mi-img.com/mi-mall/d764150a470174741d8b0b04515f7a78.jpg"
  },
  {
    "id": 3,
    "name": "笔记本",
    "img":
      "https://cdn.cnbj1.fds.api.mi-img.com/mi-mall/271ca8f503f72cfe33d282c74a499ebf.png"
  }
]
}

4.Proxy配置
在vite.config.ts 文件中配置

import { defineConfig } from 'vite'
import vue from '@vitejs/plugin-vue'
import path from "path";
// https://vitejs.dev/config/
export default defineConfig({
  plugins: [vue()],
  server: {

    port: 4000, // 你需要定义的端口号
// target:api地址
    proxy: {
      "/api": {
        target: "https://www.fastmock.site/mock/15a3f8addfbc34c652777f67064eb49f/",
        changeOrigin: true,
      },

    },
  },
  resolve: {
    // 配置路径别名时,要安装npm install @types/node --save-dev
    alias: {
      '@': path.resolve(__dirname, './src'),
    }
  },

})

5.使用axios

<template>
  <el-table :data="tableData" style="width: 100%">
    <el-table-column prop="id" label="#ID" width="60"> </el-table-column>
    
    <el-table-column prop="name" label="名称" width="100">
    <!-- scope代表的是当前列的填充数据 -->
      <!-- 丰富table标签,用 <template #default="scope">标签进行扩展 -->
      <template #default="scope">
        <router-link :to="{ name: 'about', query: { id: scope.row.id } }">
          {{ scope.row.name }}</router-link
        >
      </template>
    </el-table-column>

<!-- contain图片等比例缩放 -->
    <el-table-column prop="img" label="图片">
      <template #default="scope">
        <el-image
          style="width: 100px; height: 100px"
          :src="scope.row.img"
          fit="contain"
        />
      </template>
    </el-table-column>
  </el-table>
</template>

<script lang="ts" setup>
import { ref, onMounted } from "vue";
import http from "@/http/index";
//定义变量是需要用ref包裹一下
const tableData = ref([]);

//onMounted当页面加载时,显示数据
onMounted(() => {
  http
    .get("/api/products2")
    .then((res: any) => {
      tableData.value = res;
    })
    .catch((err: any) => {});
});


</script>
<style scoped>
.item {
  margin-top: 10px;
  margin-right: 40px; 
}
</style>
  • 0
    点赞
  • 8
    收藏
    觉得还不错? 一键收藏
  • 打赏
    打赏
  • 0
    评论
好的,以下是具体步骤: 1. 在 MySQL 数据库中创建 `library` 数据库,并在该数据库中创建 `student` 表: ```sql CREATE DATABASE library; USE library; CREATE TABLE student ( id INT(11) NOT NULL AUTO_INCREMENT, student_no VARCHAR(20) NOT NULL, name VARCHAR(50) NOT NULL, college VARCHAR(50) NOT NULL, age INT(11) NOT NULL, gender VARCHAR(10) NOT NULL, PRIMARY KEY (id) ); INSERT INTO student (student_no, name, college, age, gender) VALUES ('20210001', '张三', '计算机科学与技术', 20, '男'), ('20210002', '李四', '通信工程', 21, '女'), ('20210003', '王五', '软件工程', 19, '男'), ('20210004', '赵六', '电子信息工程', 22, '女'); ``` 2. 创建一个后端 API,接收前端请求并操作数据库,以下是使用 Node.js 和 Express 框架的示例代码: ```javascript const express = require('express'); const mysql = require('mysql'); const app = express(); // 创建 MySQL 连接池 const pool = mysql.createPool({ connectionLimit: 10, host: 'localhost', user: 'yourusername', password: 'yourpassword', database: 'library' }); // 查询所有学生信息 app.get('/api/students', (req, res) => { pool.query('SELECT * FROM student', (err, results) => { if (err) { console.error(err); res.status(500).json({ error: '服务器内部错误' }); } else { res.json(results); } }); }); // 根据学号删除学生信息 app.delete('/api/student/:studentNo', (req, res) => { const studentNo = req.params.studentNo; pool.query('DELETE FROM student WHERE student_no = ?', studentNo, (err, results) => { if (err) { console.error(err); res.status(500).json({ error: '服务器内部错误' }); } else if (results.affectedRows === 0) { res.status(404).json({ error: '找不到该学生信息' }); } else { res.json({ message: '删除成功' }); } }); }); // 新增学生信息 app.post('/api/student', (req, res) => { const data = req.body; pool.query('INSERT INTO student SET ?', data, (err, results) => { if (err) { console.error(err); res.status(500).json({ error: '服务器内部错误' }); } else { res.json({ message: '添加成功', id: results.insertId }); } }); }); // 监听端口 app.listen(3000, () => { console.log('服务已启动'); }); ``` 3. 创建一个 Vue 页面,使用 Axios 调用后端 API,以下是示例代码: ```html <template> <div> <h2>学生信息列表</h2> <table> <thead> <tr> <th>学号</th> <th>姓名</th> <th>所在学院</th> <th>年龄</th> <th>性别</th> <th>操作</th> </tr> </thead> <tbody> <tr v-for="student in students" :key="student.id"> <td>{{ student.student_no }}</td> <td>{{ student.name }}</td> <td>{{ student.college }}</td> <td>{{ student.age }}</td> <td>{{ student.gender }}</td> <td> <button @click="deleteStudent(student.student_no)">删除</button> </td> </tr> </tbody> </table> <h2>添加学生信息</h2> <form @submit.prevent="addStudent"> <div> <label>学号:</label> <input type="text" v-model="newStudent.student_no"> </div> <div> <label>姓名:</label> <input type="text" v-model="newStudent.name"> </div> <div> <label>所在学院:</label> <input type="text" v-model="newStudent.college"> </div> <div> <label>年龄:</label> <input type="number" v-model.number="newStudent.age"> </div> <div> <label>性别:</label> <select v-model="newStudent.gender"> <option value="男">男</option> <option value="女">女</option> </select> </div> <button type="submit">添加</button> </form> </div> </template> <script> import axios from 'axios'; export default { data() { return { students: [], newStudent: { student_no: '', name: '', college: '', age: 0, gender: '男' } }; }, mounted() { this.getStudents(); }, methods: { getStudents() { axios.get('/api/students').then(response => { this.students = response.data; }).catch(error => { console.error(error); }); }, deleteStudent(studentNo) { axios.delete(`/api/student/${studentNo}`).then(response => { this.getStudents(); }).catch(error => { console.error(error); }); }, addStudent() { axios.post('/api/student', this.newStudent).then(response => { this.newStudent = { student_no: '', name: '', college: '', age: 0, gender: '男' }; this.getStudents(); }).catch(error => { console.error(error); }); } } }; </script> ``` 在以上示例中,需要将 `yourusername` 和 `yourpassword` 分别替换为你自己的 MySQL 用户名和密码,然后可以通过 `npm install express mysql axios vue` 安装所需的依赖,最后通过 `npm run dev` 启动 Vue 应用程序。 这样,当访问 Vue 应用程序时,会显示所有学生信息的列表,并提供删除和添加学生信息的功能。

“相关推荐”对你有帮助么?

  • 非常没帮助
  • 没帮助
  • 一般
  • 有帮助
  • 非常有帮助
提交
评论
添加红包

请填写红包祝福语或标题

红包个数最小为10个

红包金额最低5元

当前余额3.43前往充值 >
需支付:10.00
成就一亿技术人!
领取后你会自动成为博主和红包主的粉丝 规则
hope_wisdom
发出的红包

打赏作者

great-sun

你的鼓励将是我创作的最大动力

¥1 ¥2 ¥4 ¥6 ¥10 ¥20
扫码支付:¥1
获取中
扫码支付

您的余额不足,请更换扫码支付或充值

打赏作者

实付
使用余额支付
点击重新获取
扫码支付
钱包余额 0

抵扣说明:

1.余额是钱包充值的虚拟货币,按照1:1的比例进行支付金额的抵扣。
2.余额无法直接购买下载,可以购买VIP、付费专栏及课程。

余额充值