


Alamofire
官方仓库地址:https://github.com/Alamofire/Alamofire
Alamofire是一个基于Swift语言开发的优秀网络请求库。它封装了底层的网络请求工作,提供了更简单、更易用的接口,大大简化了网络请求代码的编写。Alamofire提供了一套优雅且易于理解的API,使得开发者可以轻松发起各种类型的HTTP请求。它支持GET、POST、PUT、DELETE等常用的请求方法,并且提供了丰富的参数设置选项。Alamofire提供了强大的响应处理功能,支持数据解析、文件上传和下载等常见需求。它基于Swift的特性和语法,代码简洁、可读性强,易于维护和扩展。
安装到Xcode
在xcode中安装依赖包方法可以看我的这篇文章:Xcode给项目安装依赖包或者第三方库,操作教程-CSDN博客
如果安装好之后,在项目中还是提示 No such module ‘Alamofire‘ 解决办法,可以看我这篇文章:xcode依赖包package已经安装,但是提示No such module ‘Alamofire‘解决办法-CSDN博客
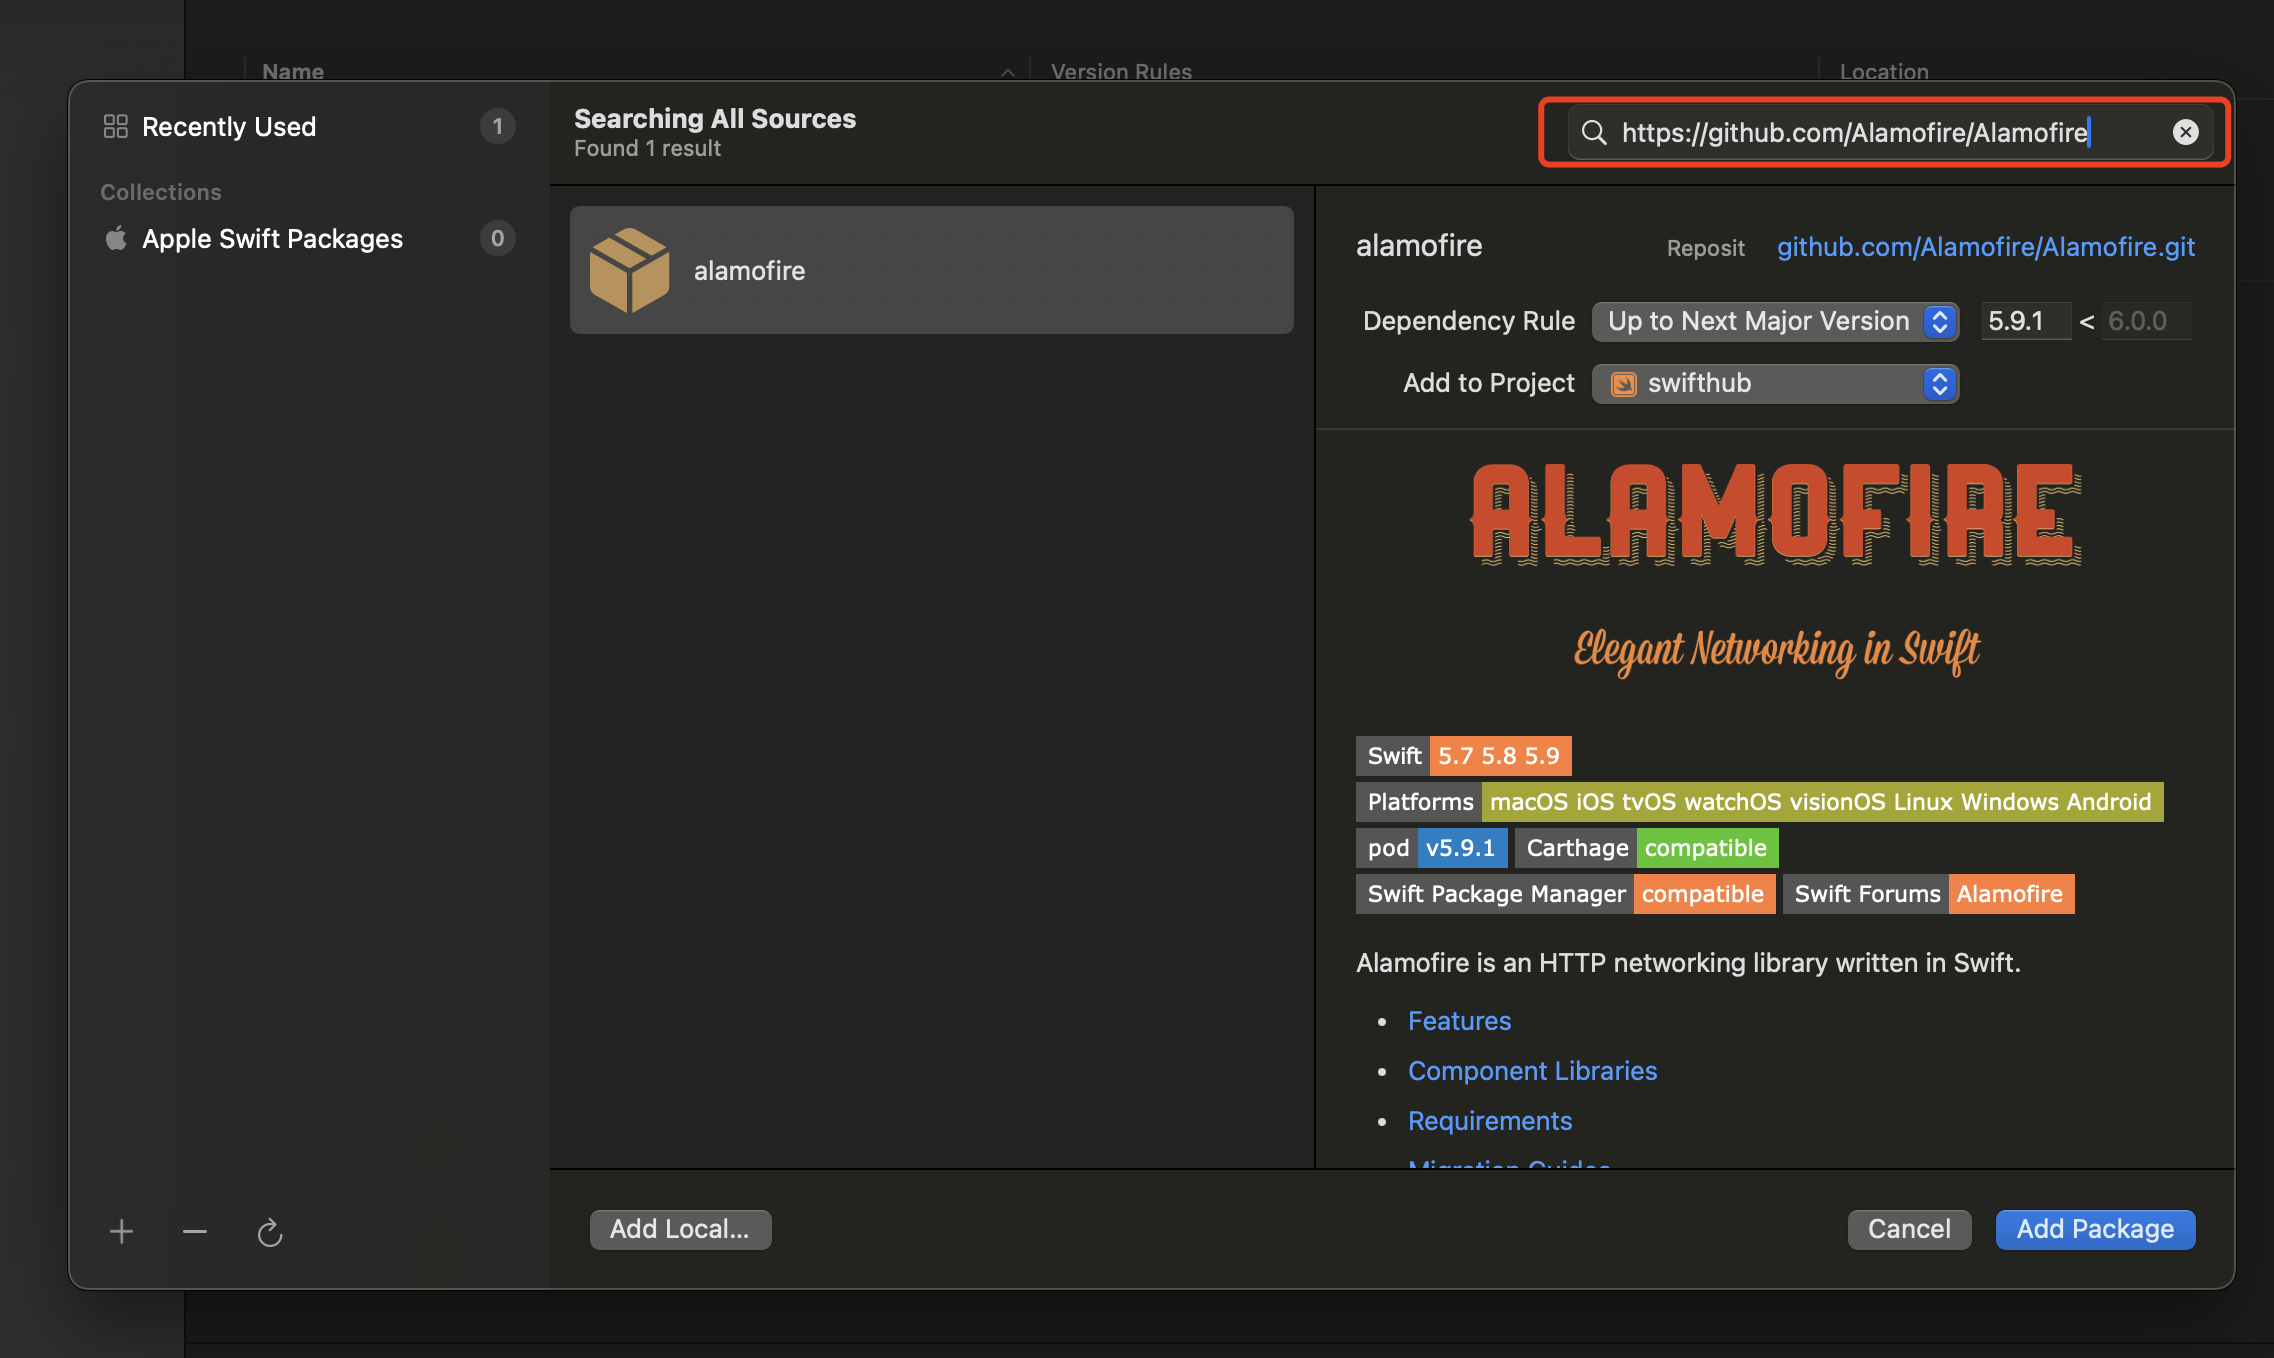
按照教程,我们只需要将Alamofire的仓库链接输入到右上角即可:
简单使用
在项目中使用的时候,要先导入Alamofire:
import Alamofire //使用Alamofire就必须导入然后再编写一个发送网络请求的方法:
func load_data() {
        // 准备一个url
        let url = "https://github.com/xiaoyouxinqing/PostDemo/raw/master/PostDemo/Resources/PostListData_hot_1.json"
        // 使用Alamofile发起请求
        AF.request(url).responseData(completionHandler: { res in
            // response.result为枚举类型,所以需要使用switch
            switch res.result {
                case let .success(Data):
                // 将Data类型的数据转为Json字符串
                let jsonString = try? JSONSerialization.jsonObject(with: Data)
                // 打印json字符串
                print("success\(String(describing: jsonString))")
                case let .failure(error):
                    print("error\(error)")
            }
            // print("响应数据:\(res.result)")
        })
}这里面涉及到了JSONSerialization的使用,可以实现json字符串和字典或者数组的转化:详细文章可以看:swift中json和字典Dict或者数组相互转换-CSDN博客
实现的效果:

示例源代码:
//
//  ContentView.swift
//  swiftPro
//
//  Created by song on 2024/5/21.
//

import Alamofire
import SwiftUI

struct ContentView: View {
    // 加载网络数据
    func load_data() {
        // 准备一个url
        let url = "https://github.com/xiaoyouxinqing/PostDemo/raw/master/PostDemo/Resources/PostListData_hot_1.json"
        // 使用Alamofile发起请求
        AF.request(url).responseData(completionHandler: { res in
            // response.result为枚举类型,所以需要使用switch
            switch res.result {
                case let .success(Data):
                // 将Data类型的数据转为Json字符串
                let jsonString = try? JSONSerialization.jsonObject(with: Data)
                // 打印json字符串
                print("success\(String(describing: jsonString))")
                case let .failure(error):
                    print("error\(error)")
            }
            // print("响应数据:\(res.result)")
        })
    }

    // json 序列化
    func jsonDecode() {
        print("json 数据解码")
        let decode = JSONDecoder()
    }

    // json 转为字符串
    func jsonToStr() {
        print("json 转为字符串")
    }

    var body: some View {
        VStack {
            Image(systemName: "sun.min.fill")
                .imageScale(.large)
                .foregroundStyle(.tint)
            Button(action: {
                load_data()
            }, label: {
                Text("获取数据").font(/*@START_MENU_TOKEN@*/ .title/*@END_MENU_TOKEN@*/).foregroundColor(.white).padding(10)
            }).background(.orange).cornerRadius(10)
        }
        .padding()
    }
}

#Preview {
    ContentView()
}


 873
873

 被折叠的 条评论
为什么被折叠?
被折叠的 条评论
为什么被折叠?
 到【灌水乐园】发言


