


```javascript
<!DOCTYPE html>
<html lang="en">
<head>
<meta charset="UTF-8" />
<title>Tutorial Demo</title>
</head>
<body>
<div id="container"></div>
<script src="https://gw.alipayobjects.com/os/antv/pkg/_antv.g6-3.7.1/dist/g6.min.js"></script>
<script>
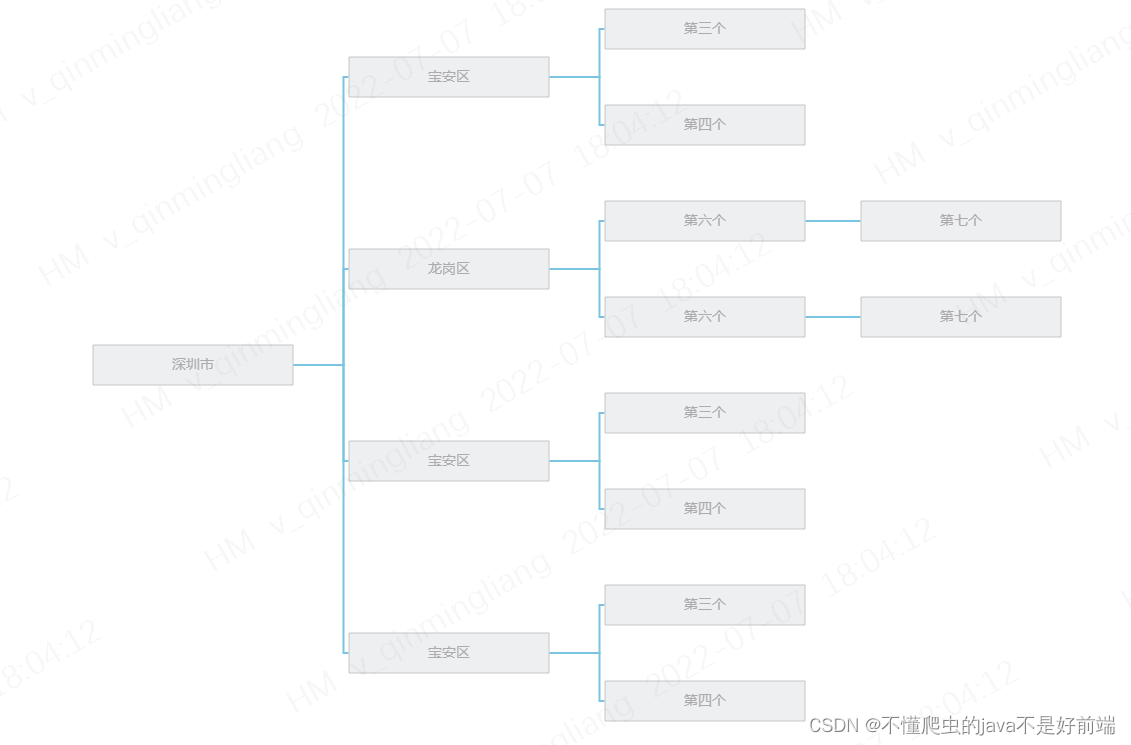
const data = {
id: '0',
label: '深圳市',
anchorPoints: [
[1, 0.5],
],
children: [
{
id: '1',
label: '宝安区',
anchorPoints: [
[1, 0.5],
[0, 0.5]],
children: [
{ id: '2', label: '第三个', anchorPoints: [[0, 0.5]] },
{ id: '3', label: '第四个', anchorPoints: [[0, 0.5]] },
]
},
{
id: '4',
label: '龙岗区',
anchorPoints: [
[1, 0.5],
[0, 0.5]],
children: [
{
id: '5',
label: '第六个',
anchorPoints: [
[1, 0.5],
[0, 0.5]],
children: [
{ id: '6', label: '第七个', },
]
},
{
id: '7',
label: '第六个',
anchorPoints: [
[1, 0.5],
[0, 0.5]],
children: [
{ id: '8', label: '第七个', },
]
},
]
},
{
id: '9',
label: '宝安区',
anchorPoints: [
[1, 0.5],
[0, 0.5]],
children: [
{ id: '10', label: '第三个', anchorPoints: [[0, 0.5]] },
{ id: '11', label: '第四个', anchorPoints: [[0, 0.5]] },
]
},
{
id: '12',
label: '宝安区',
anchorPoints: [[0,0.5], [1, 0.5]],
children: [
{ id: '13', label: '第三个', anchorPoints: [[0, 0.5]], },
{ id: '14', label: '第四个', anchorPoints: [[0, 0.5]], },
]
},
]
}
const initTree = (data)=> {
// 画布宽高
const width = document.getElementById('container').scrollWidth || 800;
const height = document.getElementById('container').scrollHeight || 800;
const graph = new G6.TreeGraph({
// 图的 DOM 容器,可以传入该 DOM 的 id 或者直接传入容器的 HTML 节点对象。
container: 'container',
// 指定画布宽度,单位为 'px'。
width,
// 指定画布高度,单位为 'px'。
height,
// 是否开启画布自适应。开启后图自动适配画布大小。
fitView: true,
// v3.5.1 后支持。开启后,图将会被平移,图的中心将对齐到画布中心,但不缩放。优先级低于 fitView
// fitCenter: true,
// 最小缩放比例
minZoom: 1.5,
// 最大缩放比例
// maxZoom: 1.5,
// 指定边是否连入节点的中心
// linkCenter: true,
// 设置画布的模式
modes: {
default: [
{
// 只适用于树图,展开或收起子树
type: 'collapse-expand',
// trigger:收起和展开节点分组的方式。支持 'click' 和 'dblclick' 两种方式。默认为 'dblclick',即双击。
trigger: 'click',
// onChange:收起或展开的回调函数。警告:V3.1.2 版本中将移除;
onChange: function onChange(item, collapsed) {
const data = item.get('model').data;
data.collapsed = collapsed;
return true;
},
},
// 拖拽画布;
'drag-canvas',
// 缩放画布;
'zoom-canvas',
],
},
// 默认状态下节点的配置,比如 type, size, color。会被写入的 data 覆盖。
defaultNode: {
type: 'rect',
// size 是单个数字,表示直径
// size: 16,
// 指定边连入节点的连接点的位置(相对于该节点而言),可以为空。例如: [0, 0],代表节点左上角的锚点,[1, 1],代表节点右下角的锚点
// anchorPoints: [
// [1,0.5],
// [0,0.5],
// [0, 0.5]
// ],
// 节点样式
style: {
// 节点填充色
fill: '#edeff1',
// 节点的描边颜色,''就是没颜色的意思
stroke: '#c5c6c6',
// 那个小手
cursor: 'pointer',
},
// Object 类型。配置标签文本
labelCfg: {
// 标签的样式属性。
style: {
// 文本颜色
fill: '#acacb0',
// 文本字体大小
fontSize: 14,
},
},
},
// 默认状态下边的配置,比如 type, size, color。会被写入的 data 覆盖。
defaultEdge: {
// 指定边的类型,可以是内置边的类型名称,也可以是自定义边的名称。默认为 'line'
type: 'polyline',
// 边的样式属性
style: {
// 边的颜色
stroke: '#79c5df',
lineWidth:2
},
},
// 布局配置项,使用 type 字段指定使用的布局方式
layout: {
// 布局名称
type: 'compactBox',
// layout 的方向。
direction: 'LR', // H / V / LR / RL / TB / BT
// 下面的参数都是一个节点,当存在某些奇葩点节点的时候,可以通过以下控制
// 节点 id 的回调函数
getId: function getId(d) {
return d.id;
},
// 节点高度的回调函数
getHeight: function getHeight() {
return 16;
},
// 节点宽度的回调函数
getWidth: function getWidth() {
return 16;
},
// 节点纵向间距的回调函数
getVGap: function getVGap() {
return 40;
},
// 节点横向间距的回调函数
getHGap: function getHGap() {
return 120;
},
},
// 动画
animate: true,
});
// 设置各个节点样式及其他配置,以及在各个状态下节点的 KeyShape 的样式
// 该方法必须在 render 之前调用,否则不起作用
// 使用 graph.node(nodeFn) 配置 > 数据中动态配置 > 实例化图时全局配置
graph.node(function (node) {
return {
label: node.label,
size:[200,40],
labelCfg: {
// position: node.children && node.children.length > 0 ? 'top' : 'bottom',
// offset: 5,
style: {
textAlign: 'center',
},
},
};
});
// 初始化的图数据
graph.data(data);
// 根据提供的数据渲染视图。
graph.render();
// 让画布内容适应视口
graph.fitView();
}
initTree(data)
</script>
</body>
</html>


 1万+
1万+


 被折叠的 条评论
为什么被折叠?
被折叠的 条评论
为什么被折叠?
 到【灌水乐园】发言


