


前面已经发过了Nginx+Vsftp实现Java文件的步骤,这里就不再累述,如需要,可以找上一个博客内容:https://blog.csdn.net/weixin_44889894/article/details/115751062
1,编写UploadController
@Controller
public class UploadController {
    @ResponseBody
    @RequestMapping(value = "/upload",produces = "multipart/form-data;charset=utf-8",  method= RequestMethod.POST)
    public String upload(MultipartFile file){
        String filename = "上传失败";
        try {
            filename = file.getOriginalFilename();
            filename = UUID.randomUUID().toString().replace("-","").substring(0,10)+
                    filename.substring(filename.lastIndexOf("."));
            InputStream in = file.getInputStream();
            boolean flag = FtpUtil.upload("192.168.38.128", 21, "ftpuser", "ftp123456",
                    "/home/ftpuser/wang/images", filename, in);
        }catch (Exception ex){
            ex.printStackTrace();
        }
        return "http://192.168.38.128/images/"+filename;
    }
}
2,在页面中
1,html代码
1,table表格中:
<el-table-column label="图标">
            <template slot-scope="scope">
                <span style="margin-left: 10px">
                    <img :src="scope.row.icon"
                         width="50px" height="50px" style="border-radius: 50%">
                </span>
            </template>
        </el-table-column>
注意:这里的icon是图标,src里面只需要写明他的字段就可以了,因为element-ui中已经做过封装
2,添加的表单中:
<el-form :model="form">
            <el-form-item label="图标" :label-width="formLabelWidth">
                <!--:with-credentials='false' 身份认证关闭-->
                <el-upload
                        class="avatar-uploader"
                        action="/upload"
                        :show-file-list="false"
                        :with-credentials='false'
                        :on-success="handleAvatarSuccess"
                        :before-upload="beforeAvatarUpload">
                    <img v-if="form.icon" :src="form.icon" class="avatar" style="width: 50px;height: 50px">
                    <i v-else class="el-icon-plus avatar-uploader-icon"></i>
                </el-upload>
            </el-form-item>
        </el-form>
2,vue代码
			/*图片上传回显*/
            handleAvatarSuccess(res,file){
                this.form.icon = file.response;
                //this.imageUrl = URL.createObjectURL(file.raw);
            },
            //图片上传之前检测大小格式
            beforeAvatarUpload(file){
                const isJPG = file.type === 'image/jpeg';
                const isLt2M = file.size / 1024 / 1024 < 2;

                if (!isJPG) {
                    this.$message.error('上传头像图片只能是 JPG 格式!');
                }
                if (!isLt2M) {
                    this.$message.error('上传头像图片大小不能超过 2MB!');
                }
                return isJPG && isLt2M;
            }
提示:要关闭主机的防火墙以及虚拟机的防火墙
点击添加按钮,上传图片:

添加成功:

最后查看虚拟机:
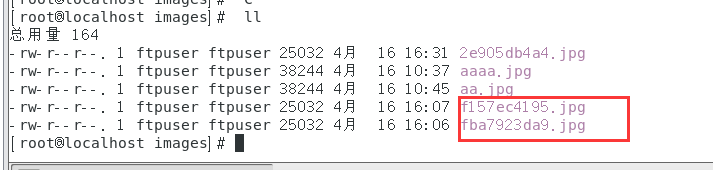
访问虚拟机的文件夹:


 4888
4888


 被折叠的 条评论
为什么被折叠?
被折叠的 条评论
为什么被折叠?
 到【灌水乐园】发言


