


关闭防火墙和selinux
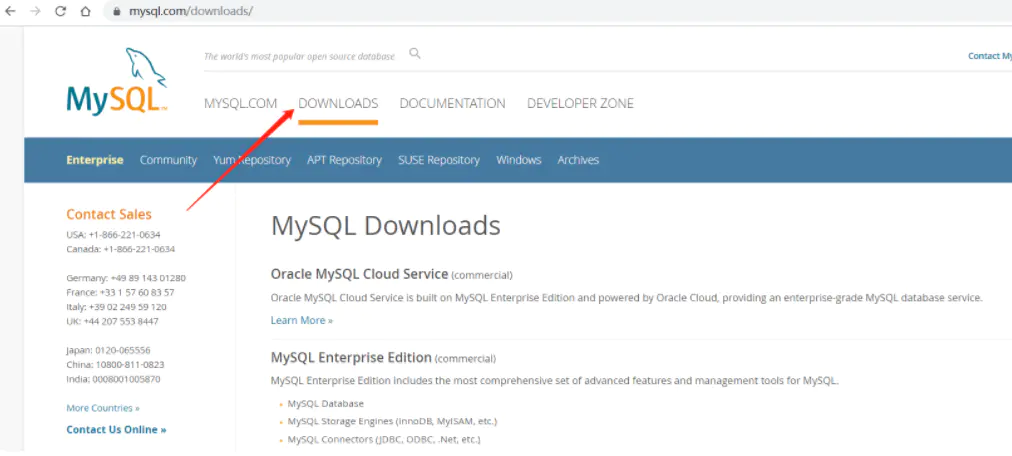
mysql的官方网站:www.mysql.com
image.png
拉到底
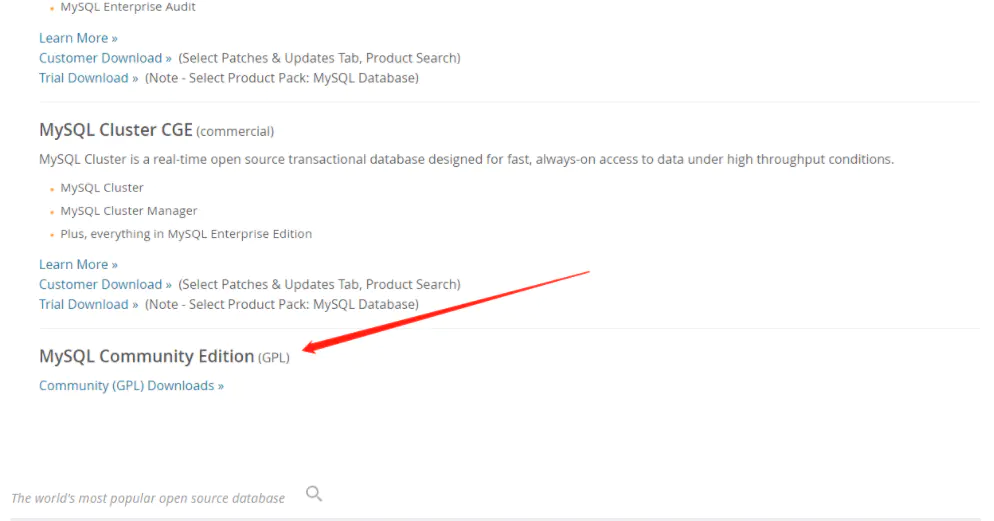
image.png
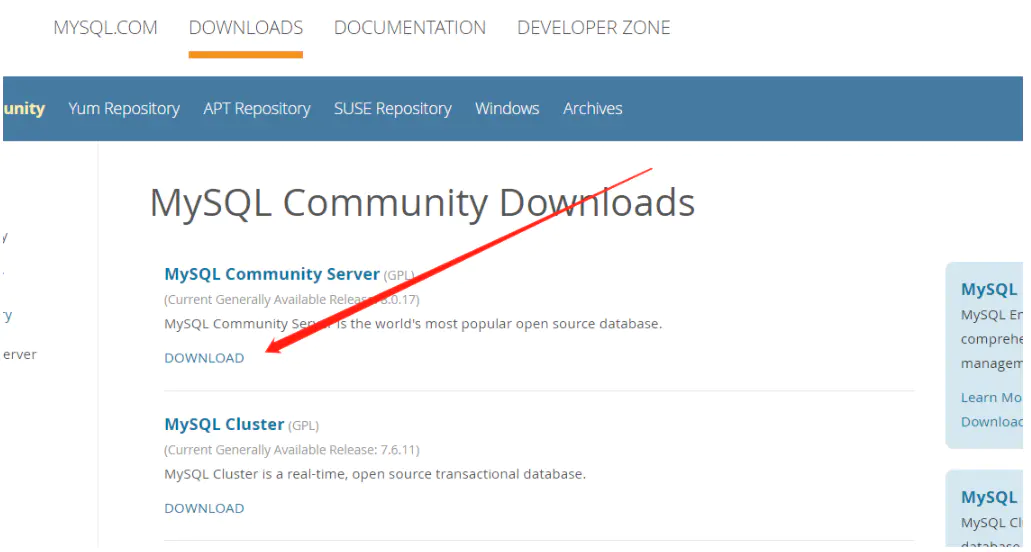
image.png
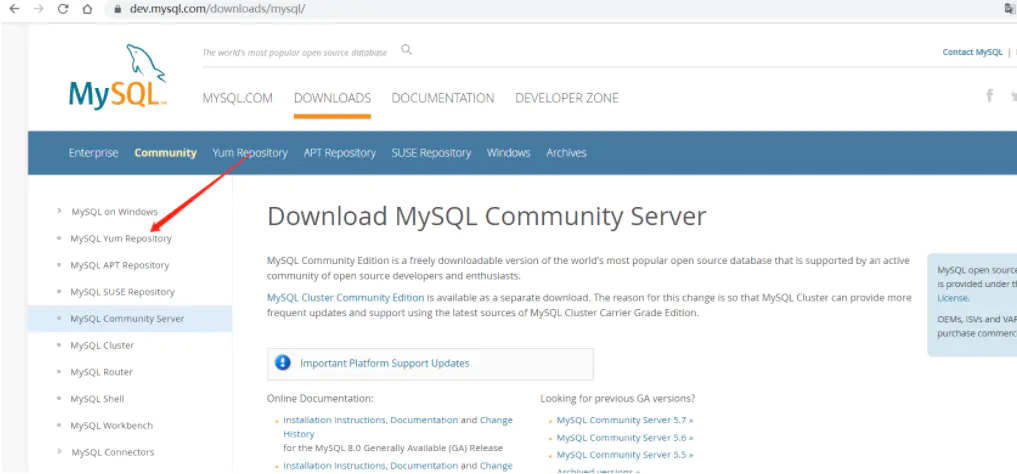
image.png

image.png
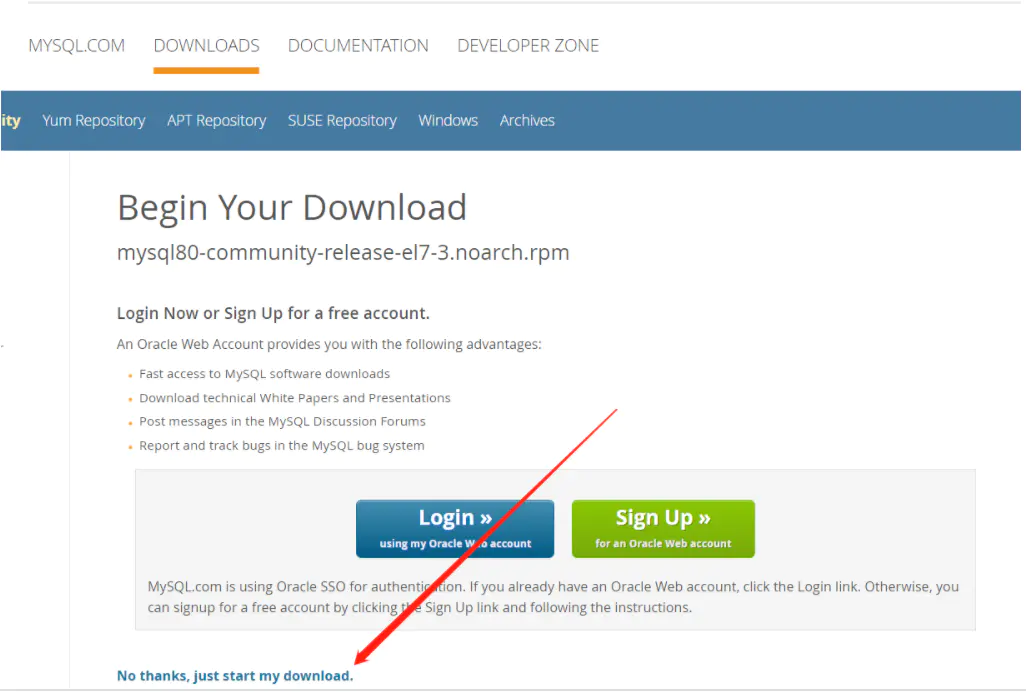
image.png
1.下载
[root@mysql-server ~]# wget https://dev.mysql.com/get/mysql80-community-release-el7-3.noarch.rpm
或者下载到本地上传到服务器
2.安装mysql的yum仓库
[root@mysql-server ~]# rpm -ivh mysql80-community-release-el7-3.noarch.rpm
[root@mysql-server ~]# yum -y install yum-utils    #安装yum工具包
3.配置yum源 (2种方式)
[root@mysql-server ~]# vim /etc/yum.repos.d/mysql-community.repo #修改如下
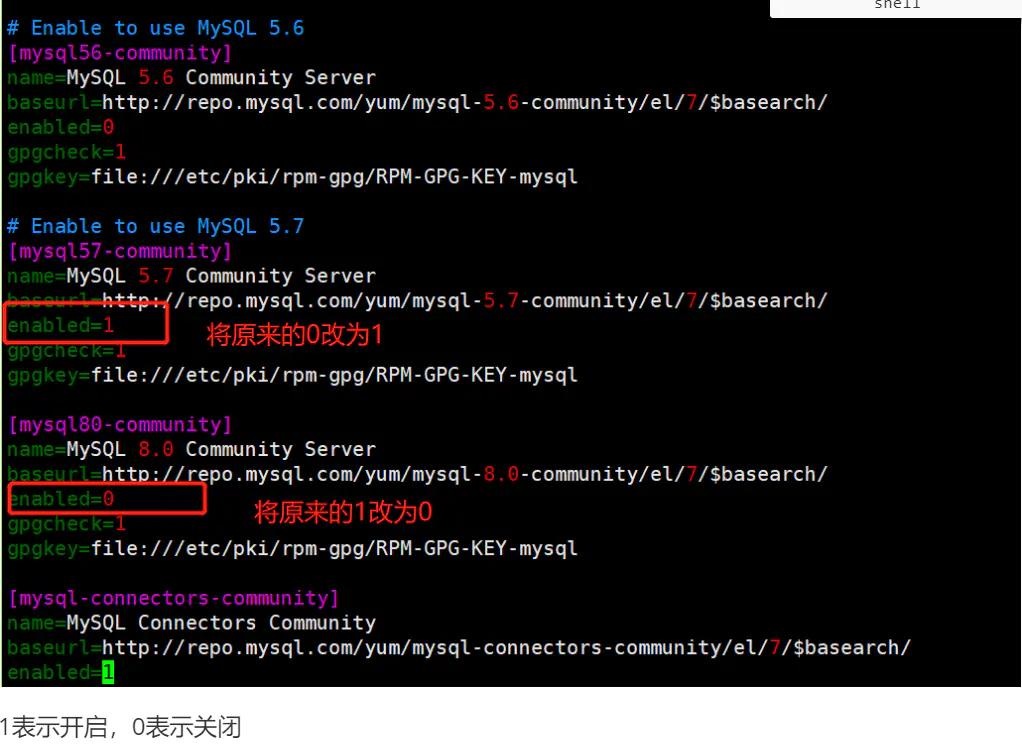
image.png
或者
# yum-config-manager --enable mysql57-community   将禁用的yum源库启用
# yum-config-manager --disable mysql80-community   将启用的yum源库禁用
4、安装数据库
[root@mysql-server ~]# yum install -y mysql-community-server
启动服务
[root@mysql-server ~]# systemctl start mysqld
设置开机启动
[root@mysql-server ~]# systemctl enable mysqld
5、查找密码
密码保存在日志文件中
[root@mysql-server ~]# grep password /var/log/mysqld.log
2019-08-18T14:03:51.991454Z 1 [Note] A temporary password is generated for root@localhost: woHtkMgau9,w
6、修改密码
[root@mysql-server ~]# mysql -uroot -p'woHtkMgau9,w'   #登录
三种方式:
第一种:最简单的方式   set password='新密码';
第二种:
mysql> alter user 'root'@'localhost' identified by 'QianFeng@123';
[root@mysql-server ~]# mysql -uroot -p'woHtkMgau9,w'
mysql: [Warning] Using a password on the command line interface can be insecure.
Welcome to the MySQL monitor.  Commands end with ; or \g.
Your MySQL connection id is 2
Server version: 5.7.27
....
mysql> alter user 'root'@'localhost' identified by 'QianFeng@123';
Query OK, 0 rows affected (0.01 sec)
mysql> exit
Bye
[root@mysql-server ~]# mysql -uroot -p'QianFeng@123'
mysql: [Warning] Using a password on the command line interface can be insecure.
Welcome to the MySQL monitor.  Commands end with ; or \g.
Your MySQL connection id is 3
Server version: 5.7.27 MySQL Community Server (GPL)
...
mysql> exit
Bye
第三种:
# mysqladmin -u root -p'旧密码' password '新密码'
注:修改密码必须大小写数字和特殊符号都有。
扩展
通过配置文件设置密码强度
[root@mysql-server ~]# vim /etc/my.cnf   #在最后添加如下内容
validate_password=off
[root@mysql-server ~]# systemctl restart mysqld   #重启mysql生效
可以用第二种方式修改为简单的密码:
[root@mysql-server ~]# mysqladmin -uroot -p'QianFeng@123' password 'qf123'
mysqladmin: [Warning] Using a password on the command line interface can be insecure.
Warning: Since password will be sent to server in plain text, use ssl connection to ensure password safety.
[root@mysql-server ~]# mysql -uroot -pqf123
mysql: [Warning] Using a password on the command line interface can be insecure.
Welcome to the MySQL monitor.  Commands end with ; or \g.
Your MySQL connection id is 3
Server version: 5.7.27 MySQL Community Server (GPL)

Copyright (c) 2000, 2019, Oracle and/or its affiliates. All rights reserved.

Oracle is a registered trademark of Oracle Corporation and/or its
affiliates. Other names may be trademarks of their respective
owners.

Type 'help;' or '\h' for help. Type '\c' to clear the current input statement.

mysql> exit
Bye
编译安装:
# ls
COPYING       README       bin   include  mysql-test  support-files
COPYING-test  README-test  docs  lib      share

1、bin目录
用于放置一些可执行文件,如mysql、mysqld、mysqlbinlog等。
2、include目录
用于放置一些头文件,如:mysql.h、mysql_ername.h等。
3、lib目录
用于放置一系列库文件。
4、share目录
用于存放字符集、语言等信息。

yum安装:
/var/lib/mysql   存放数据文件
/usr/share/mysql  用于存放字符集、语言等信息。
mysql忘记登录密码怎么办
<meta charset="utf-8">
1、找到 my.cnf 配置文件的位置
windows下修改的是my.ini,这里主要说的是Linux的具体操作,
Linux系统使用 whereis 能够很方便地找到文件的位置:
$ whereis my
$ my:/etc/my.cnf
2、修改 my.cnf
如果你是 root 用户,直接vim /etc/my.cnf (注:windows下修改的是my.ini)
如果你是普通用户 , sudo vim /etc/my.cnf
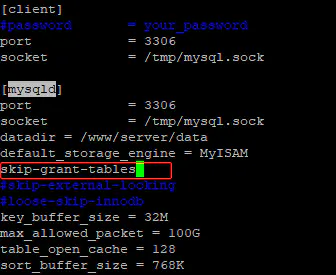
进入vim编辑器编辑之后,找到 [mysqld] ,按键盘的 i 键进入编辑模式,在[mysqld]后面任意一行添加 skip-grant-tables 用来跳过密码验证的过程:
image
按 ESC 退出编辑,键入:wq ,回车即保存并退出。
3、 重启 mysqld 服务
$ sudo /etc/init.d/mysqld restart
普通用户在这个命令最前面加上 sudo ,root 用户就不用啦。
4、无密进入MySQL
$ mysql -u root -p
出现Entering password 无需理会,回车即可进入 MySQL 数据库。
5、修改root密码
进入到 MySQL 数据库之后,我们就可以更新 "mysql"数据库中“user”表的 root 记录的密码了
mysql > use mysql;
mysql > update user set password=password('YOUR_NEW_PASSWORD') where user='root';
mysql > flush privileges;
步骤解析:
use mysql; 进入到名为 “mysql” 的数据库,
然后使用 update 语句更新密码,
更新密码之后使用 flush privileges; 刷新权限。
注意: password()函数是用于密码储存的加密函数,该函数的加密过程不可逆!因此除非用大量的数据进行比对,不然没办法使用什么逆函数查看旧的密码,只能使用该函数更新密码,YOUR_NEW_PASSWORD 就是自己设置的新密码。
设置好新密码之后,Ctrl + D退出 MySQL 数据库。
6、重新配置 my.cnf 文件
重新用 vim 打开 my.cnf ,将刚才的 skip-grant-tables 删除或者在前面加上#号注释,保存并退出。
7、重启 mysqld 服务
$ sudo /etc/init.d/mysqld restart
8、用新密码进入MySQL
$ mysql -u root -p
出现Entering password 时,输入你的新密码,回车进入,出现 mysql 欢迎界面,恭喜你,修改密码完成!


 976
976


 被折叠的 条评论
为什么被折叠?
被折叠的 条评论
为什么被折叠?
 到【灌水乐园】发言


